3 Easy Pumpkin DIYs For Your Fall Home Decor
I’ve always loved decorating my home for fall. Ever since I was little, I loved doing crafts. So it’s no surprise that when I moved into my own home, I decided to join the two and craft some fall home decor!
Of course, what would be a fall home decor without some pumpkins thrown into the mix. But I’m not really the kind to display a big orange pumpkin and call it a day! I prefer a neutral and cozy fall decor. That’s how I came to make my own pumpkins for the home.
So here are three easy pumpkin DIYs for your home that I hope you’ll love! As you’ll see, they are highy customizable with different materials and colors. So get inspired and make them your own!
Easy Twine Pumpkins
I LOVE twine. It’s just an easy craft material to work with and it can be used in so many ways, I never have enough lol. So I came up with these super easy way to make pumpkins using twine.
Check out the tutorial and the video tutorial here:
Easy Sock Pumpkin DIYs
Eric and I always have socks that have just ran their course and need a second life. And I’m always there for it! So I decided to reuse our old socks to make cute little pumpkins.
Check out the tutorial and the video tutorial here:
Easy Air Dry Clay Pumpkins

In the past few years, I’ve been really into air dry clay. There’s something about molding with your hands and getting a little bit dirty that is super relaxing! Plus, it’s a more apartment-friendly activity than traditional pottery. It also requires a lot less skills and since crafting is a hobby, I don’t need it to get stressful!
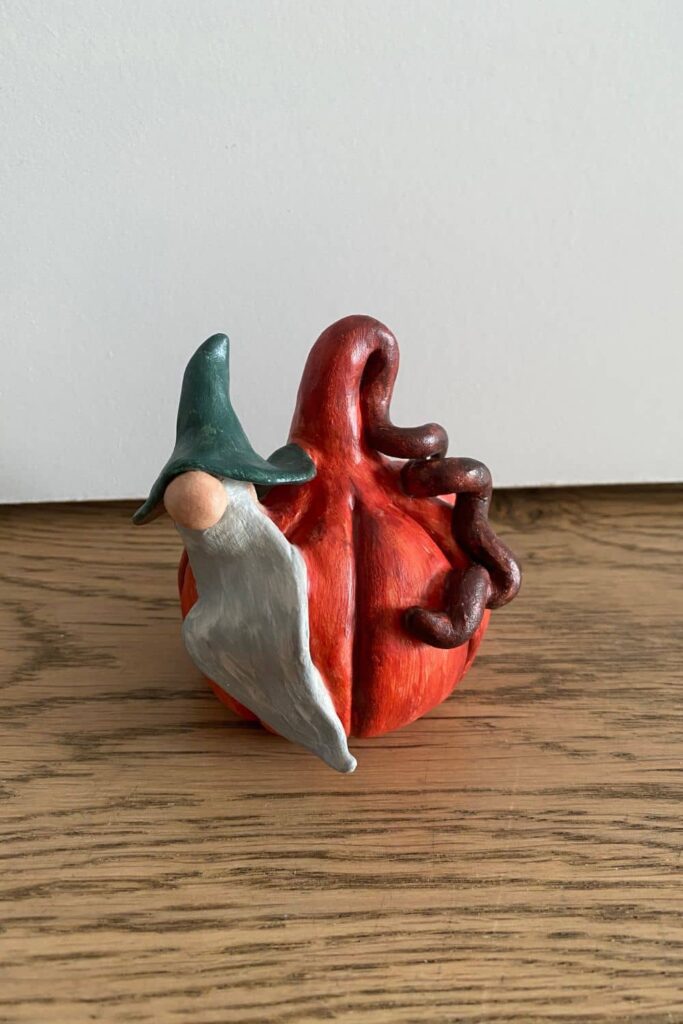
So I decided to make cute pumpkins with air-dry clay. Air-dry clay dries within 24 hours and then you can just paint it. It’s really easy to use.
To make your pumpkins, you’ll need air-dry clay from your local store, some water and a wooden stick such as a cuticle stick.
First, create a ball with the clay. You’ll need to add some water to it to make it smooth. Once your ball is created, shaped it as a pumpkin. A pumpkin isn’t a perfect round so you can make it a bit chunky.
Then, you’ll have to use the stick to create six lines and give it its shape. Once that’s done, you can simply create a stem.
With your wooden stick, score both the top of the pumpkin and the bottom of the stem. Then add a bit of water and press them together. You now have a pumpkin!
Let it dry for 24 hours and then use acrylics to paint it.
I’ll add to this post as I create more DIY pumpkins. If you decide to recreate one of these ideas, send me a photo and I’ll add it to this post!
— SAVE THIS POST —
Did you like this post? If you liked this post, don’t hesitate to share it!
Want to save this post? You can pin the following images on pinterest to save this post.
We are Mary and Eric, the founders of Be Right Back, a blog dedicated to romance around the globe and at home.
We are Mary and Eric, the founders of Be Right Back, a blog dedicated to romance around the globe and at home. With over 10 years of experience in dating and traveling to romantic places, we share our favorite date ideas and romantic destinations to help couples level up their relationships. Having lived in and traveled through the USA, we also share our favourite things to do in the States.
With 70,000 monthly readers and 16,000 followers on social media, Be Right Back is your go-to resource for romantic trip ideas and couple activities at home and abroad.
