Easy DIY Icicle Ornament Tutorial For Your Christmas Tree
As a big fan of both Christmas and crafting, creating my own decorations is one of my favorite holiday activities. There’s something so special about adding handmade touches to your holiday decor, and these DIY icicle ornaments are a perfect example of that. They’re easy to make, don’t require a lot of materials, and add a beautiful, frosty touch to your Christmas tree.
Whether you’re crafting solo or looking for a fun project to do with family and friends, these icicle ornaments are sure to bring some festive cheer. They also make for a really cute gift!
So, let’s gather our supplies and get ready to add some sparkling, homemade charm to our Christmas trees. I’ll guide you through each step to make sure your ornaments turn out great. Let’s get started!
Why These DIY Icicle Ornaments are Great for a DIY
Making DIY icicle ornaments is a fantastic project because:
- They are easy to make.
- They only require two basic utensils: a hot glue gun and pearls.
These ornaments are a great way to add a personal, handcrafted touch to your Christmas tree without a lot of fuss or expense.
What You Need
To make your DIY icicle ornaments, gather the following materials:
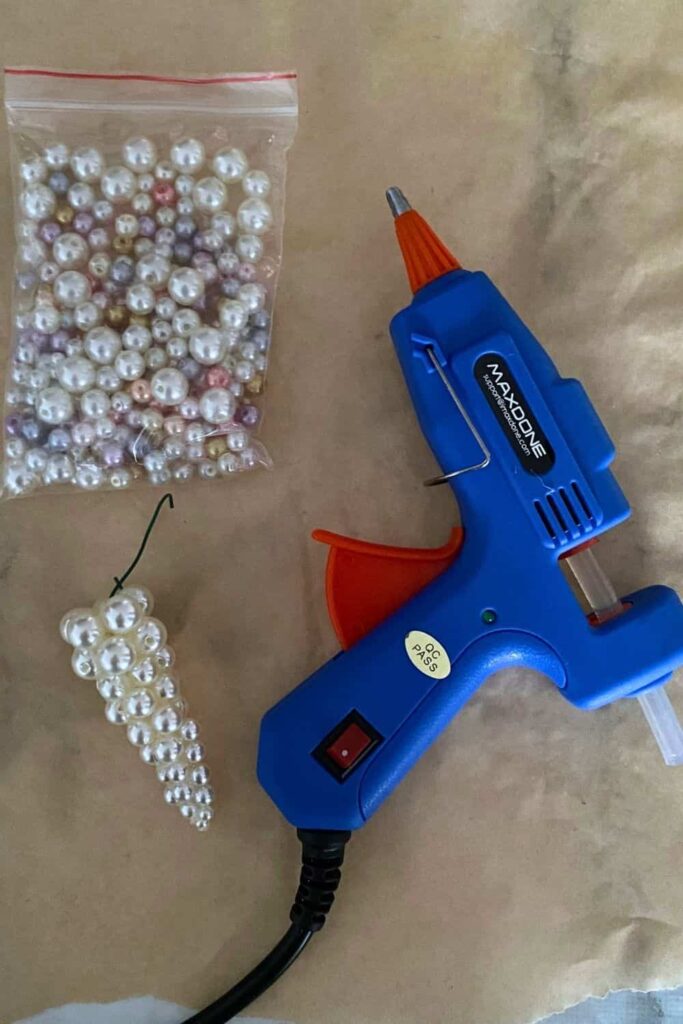
- Hot glue gun and glue sticks
- Pearls: big, mid-size, and small
- Some thread
- Baking paper
These simple materials are all you need to create stunning icicle ornaments for your Christmas tree.
Step-by-Step Instructions
Step 1: Sort the Pearls
First, sort your pearls into three different groups: big, mid-size, and small. This will make it easier to create the gradual taper of the icicle shape as you work.
Step 2: Plan the Icicle Structure
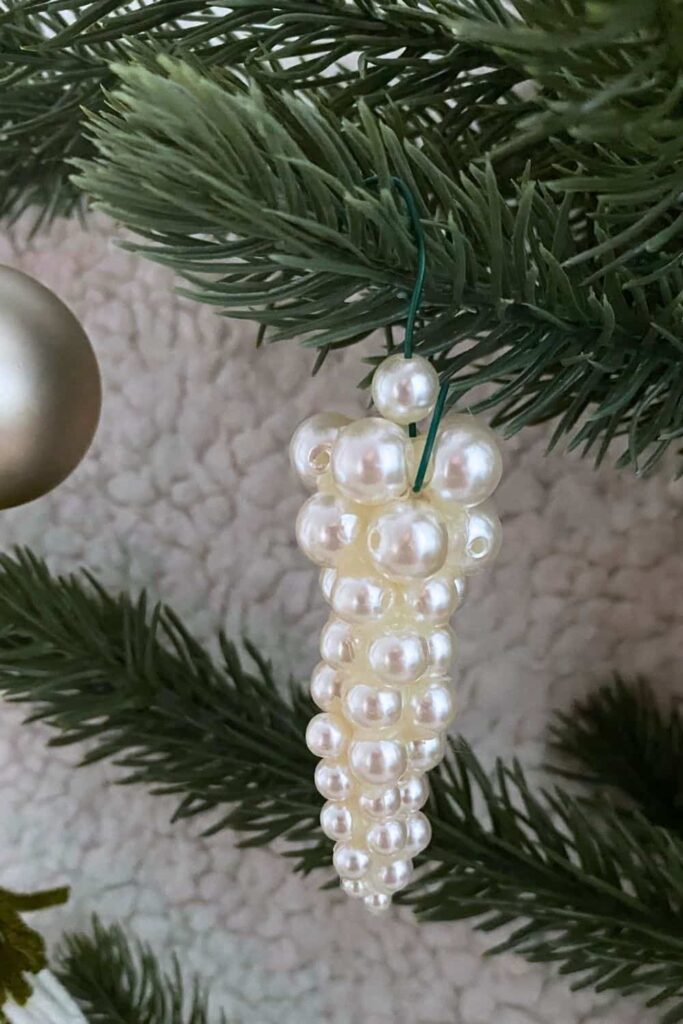
The base of your icicle will be made of the bigger pearls. As you work towards the tip of the icicle, you’ll switch to mid-size pearls and then to the small ones.
There are no strict rules for when to switch sizes—it depends on the look you like. For my icicles, I switch sizes about every third of the way up.
Step 3: Create the Base
Start with your base. On a sheet of baking paper, create a 2 cm circle with hot glue. Place your bigger pearls within this circle, making sure to fill it completely. Your icicle base should not be shallow, so use enough pearls to create a solid foundation.
Step 4: Build the Icicle Shape
Continue gluing pearls together, working your way up to form the shape of the icicle. Alternate the positions of the pearls slightly so they don’t align perfectly, which will give your icicle some dimension and texture.
As you reach the end of the larger pearls, switch to the mid-size pearls, and finally to the small ones at the tip.
Step 5: Finish and Add the Hanging Loop
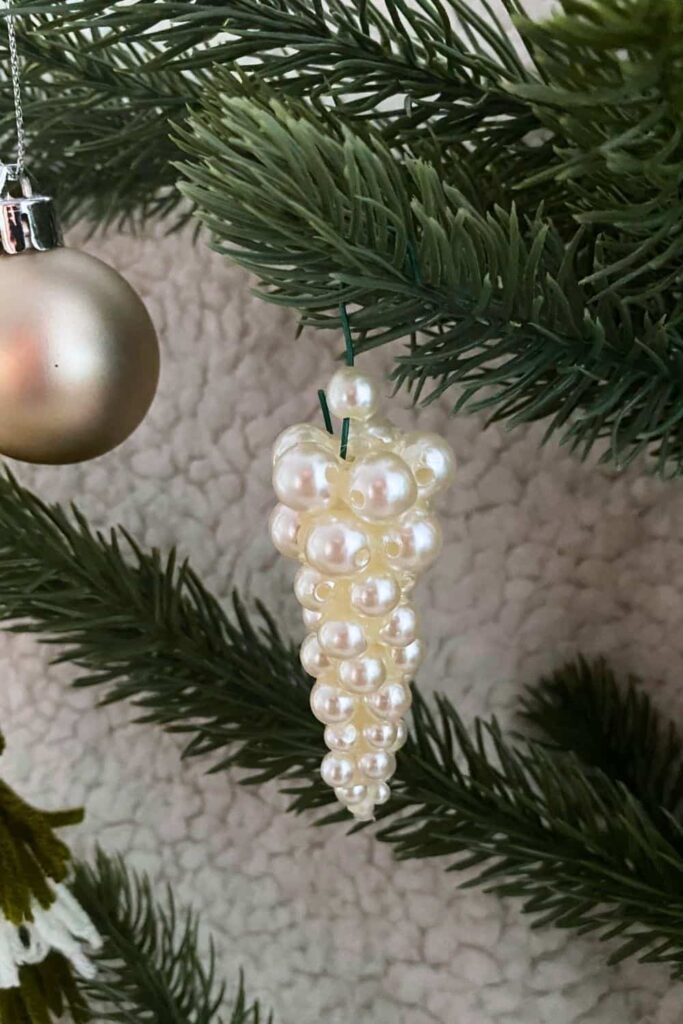
Once you’ve finished with the last small pearl, flip your icicle so you’re looking at the wider base. Glue a pearl with a hole in it at the base so you can pass the thread through it. Tie a knot in the thread to create a loop for hanging your ornament on the Christmas tree.
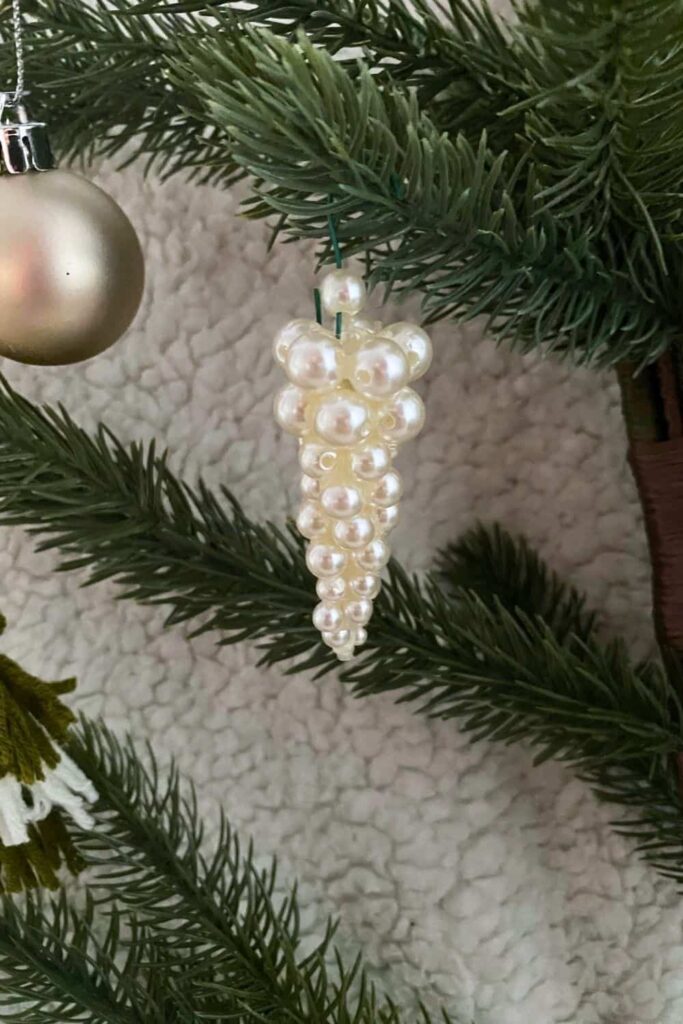
Step 6: Admire Your Creation
And there you have it—your very own DIY icicle ornament! These ornaments are quick to make and add a beautiful, handmade touch to your holiday decorations.
More Like This
- 19 Spooktacular Summerween Party Ideas To Say goodbye to Summer And Hello To Fall
- 15 Heartwarming Fall Family Traditions to Cherish Every Year
- 20 Creative Fall Candy Centerpiece Ideas to Sweeten Your Harvest Decor
- 20 Creative Fall Baby Shower Ideas for a Perfect Celebration
- 20 Adorable Baby Shower Ideas for a Little Boo on the Way
— SAVE THIS POST —
Did you like this post? If you liked this post, don’t hesitate to share it!
Want to save this post? You can pin the following images on pinterest to save this post.
We are Mary and Eric, the founders of Be Right Back, a blog dedicated to romance around the globe and at home.
We are Mary and Eric, the founders of Be Right Back, a blog dedicated to romance around the globe and at home. With over 10 years of experience in dating and traveling to romantic places, we share our favorite date ideas and romantic destinations to help couples level up their relationships. Having lived in and traveled through the USA, we also share our favourite things to do in the States.
With 70,000 monthly readers and 16,000 followers on social media, Be Right Back is your go-to resource for romantic trip ideas and couple activities at home and abroad.