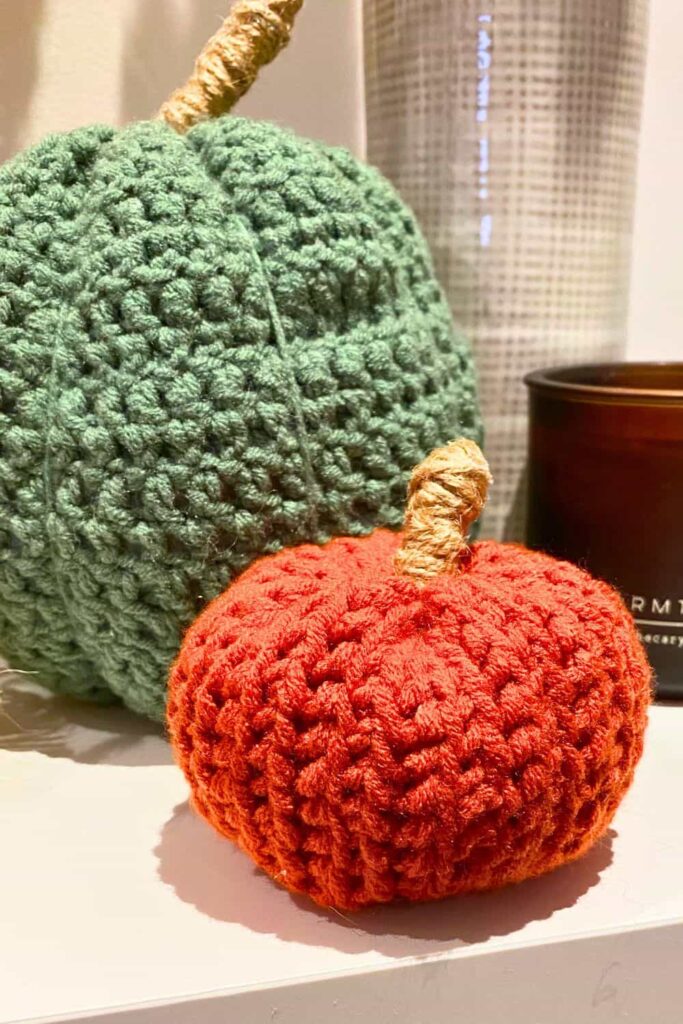
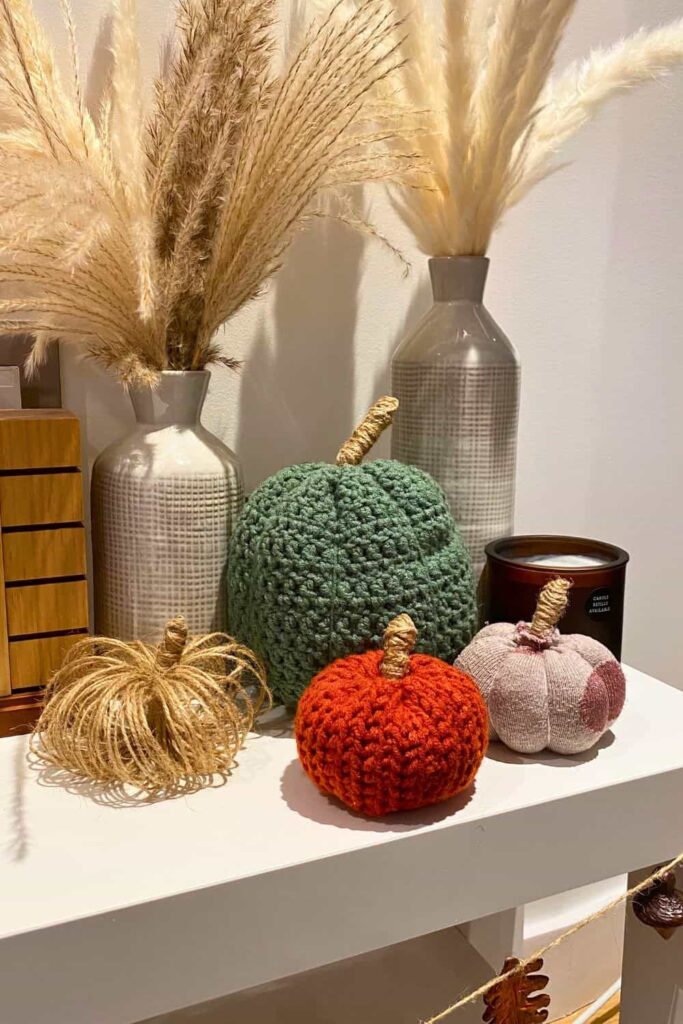
Easy Yarn Crochet Pumpkin Tutorial for Beginners + Video tutorial
If you’ve never crocheted before but are looking for a fun and easy project to get started, this yarn pumpkin tutorial is perfect for you! Crocheting a pumpkin may sound tricky at first, but don’t worry, I’ve designed this tutorial specifically for beginners.
I’ll walk you through each step, from making your first crochet chain to putting the final touches on your pumpkin. No need to feel overwhelmed, because I’ve broken everything down into simple instructions. I’ve also included a video tutorial to help you see each step in action, making it even easier to follow along.
In this tutorial, we’ll be covering basic crochet stitches like the chain, single crochet, and half double crochet. If these terms sound unfamiliar, don’t worry, I’ll explain exactly how to do them as we go. The great thing about this project is that it’s super forgiving. Each pumpkin you make will turn out a little unique, and that’s what makes them so charming!
So grab your yarn, crochet hook, and a little patience, and let’s make some cute pumpkins together to decorate your home interior. Whether you’re making these as a cozy fall decoration for your home or as a handmade gift for someone special, this project will give you the chance to learn some new skills and create something adorable. If at any point you feel stuck, you can check out the video tutorial for a visual guide to help you out.
What You’ll Need
- Yarn (color of your choice)
- Crochet hook
- Stuffing
- Stick (for the pumpkin stem)
- Twine
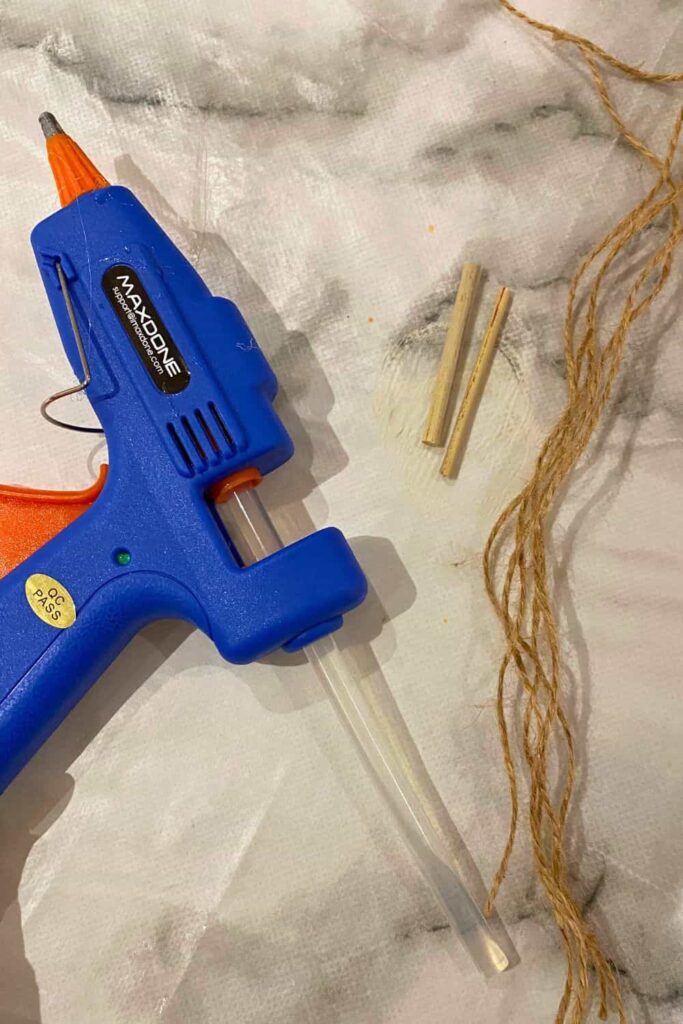
- Hot glue gun
- Needle
Getting Started: The Basics of Crocheting
Before diving into the pumpkin itself, let’s cover the basic crochet stitches you’ll need for this project. If you’re completely new to crochet, don’t worry, these are simple stitches that you’ll quickly get the hang of. You can refer to this while you’re making your pumpkin if you get confused.
1. How to Make a Crochet Chain
To start your pumpkin, you’ll first need to make a crochet chain. A chain is the foundation of many crochet projects and is created by making a series of loops.
- First, make a slip knot: Form a loop with your yarn, then pull the yarn through to create a small loop (your slip knot).
- Next, slide your crochet hook into the loop.
- To create a chain, yarn over (wrap the yarn around your hook) and pull it through the loop on your hook. Repeat this motion until you’ve created your desired number of chain stitches. For this project, you’ll start with 11 chains.
2. How to Make a Single Crochet (sc)
The single crochet (sc) is one of the most basic stitches in crochet. Here’s how to do it:
- Insert your hook into the second chain from the hook (skip the first chain).
- Yarn over and pull through, so you have two loops on your hook.
- Yarn over again and pull through both loops. You’ve now completed a single crochet!
3. How to Make a Half Double Crochet (hdc)
The half double crochet (hdc) is similar to a single crochet but gives your project more height.
- Yarn over (wrap the yarn around your hook).
- Insert your hook into the stitch.
- Yarn over again and pull through the stitch (you should have three loops on your hook now).
- Yarn over one last time and pull through all three loops on your hook. That’s a half double crochet!
Video tutorial
Step-by-Step Yarn Pumpkin Tutorial
1. Crochet the Pumpkin Body
Now that you know the basic stitches, let’s start creating the body of the pumpkin!
- Start by chaining 11 stitches for a small pumpkin like mine. If you want a medium sized pumpkin, chain 22 stitches. For a large pumpkin, chain 40 stitches. If it’s your first one, I’d recommend sticking with the small one.
- Once your chain is ready, you’ll begin to crochet back across the chain.
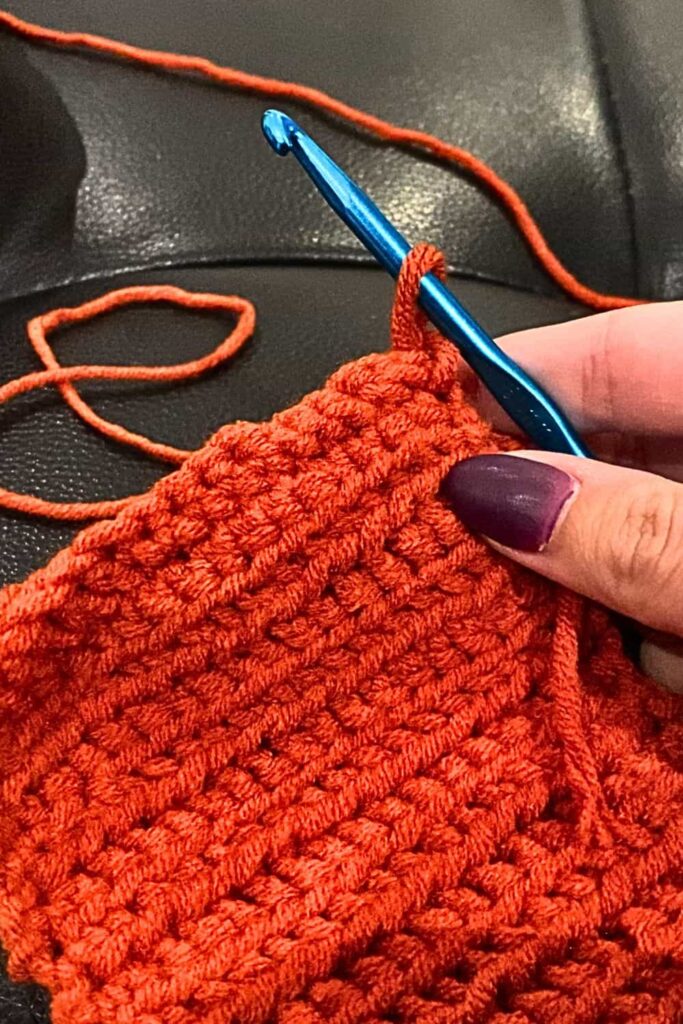
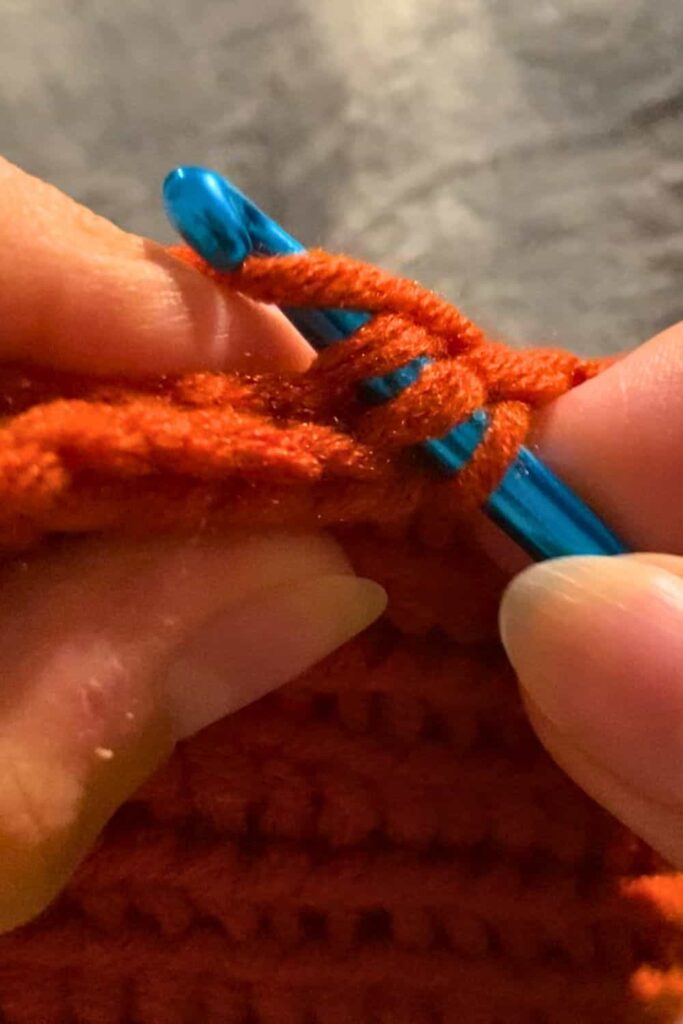
- Each stitch will be done through the front stitch only to give a 3D effect to your pumpkin and making the ridges.
- For each row, your first and last stitches will be a single crochet.
- So, first, crochet a single stitch into the first front stitch.
- Then, crochet half double crochet (hdc) stitches (except the last which will be a single stitch).
- After finishing the first row, chain one and turn your work.
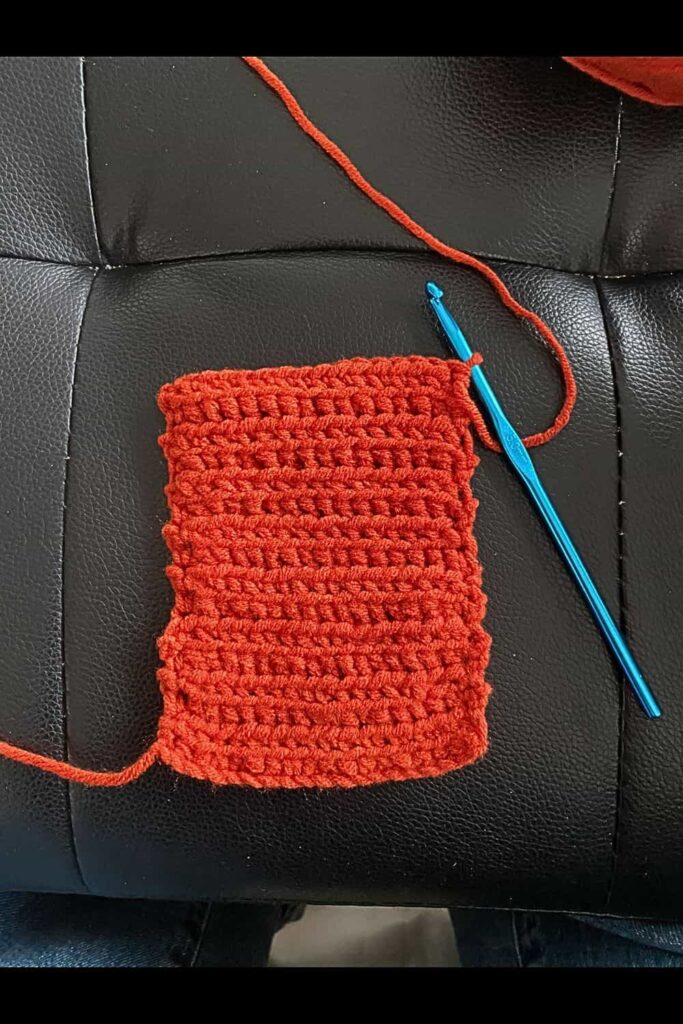
- Continue crocheting rows using sc stitches and hdc stitches until you have a rectangle that is about 20-26 rows long.
- Make sure you have enough rows to wrap the rectangle into a tube shape to form the pumpkin. The width of the rectangle will determine the height of your pumpkin, and the length will determine how wide it is.
- Chain one before starting your new row.
- Only stitch in the front stitch.
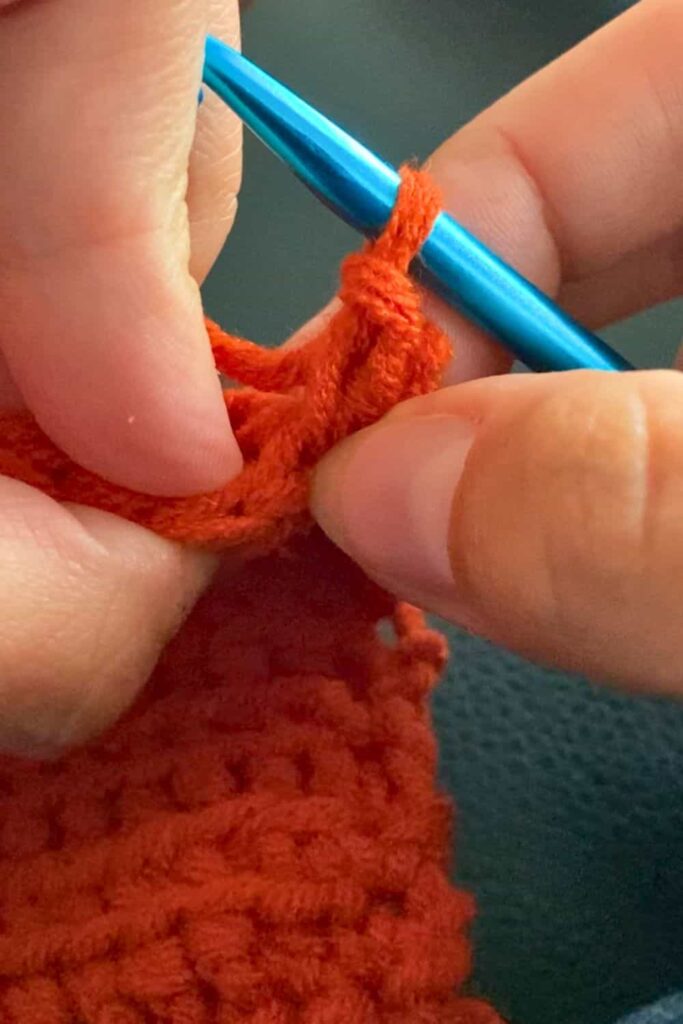
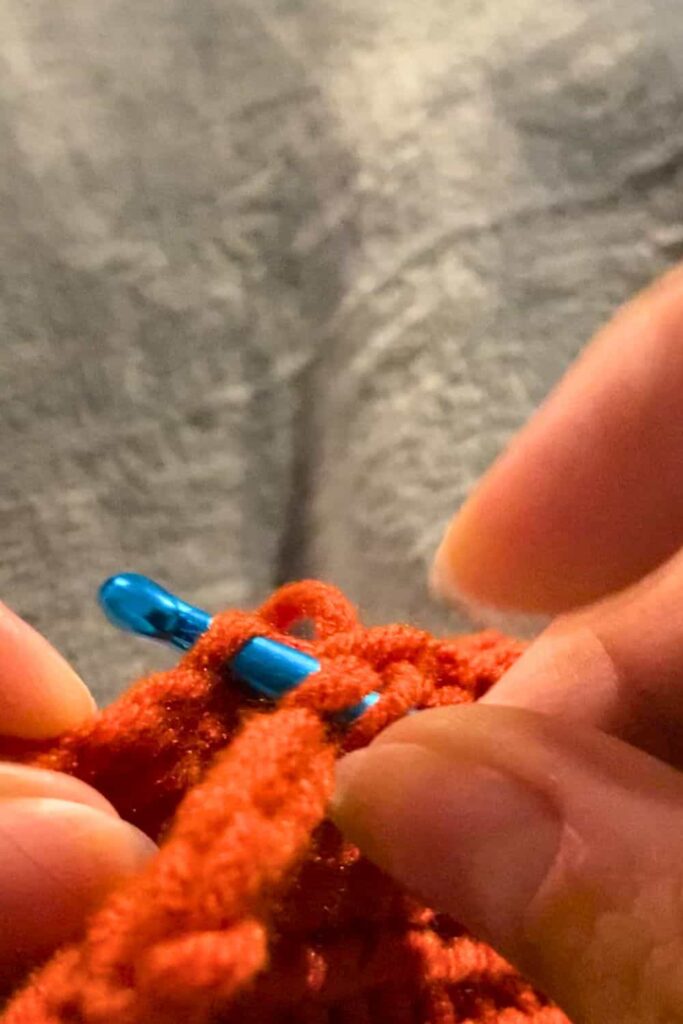
- This is what a half double crochet looks like halfway through your stitch.
2. Form the Pumpkin Shape
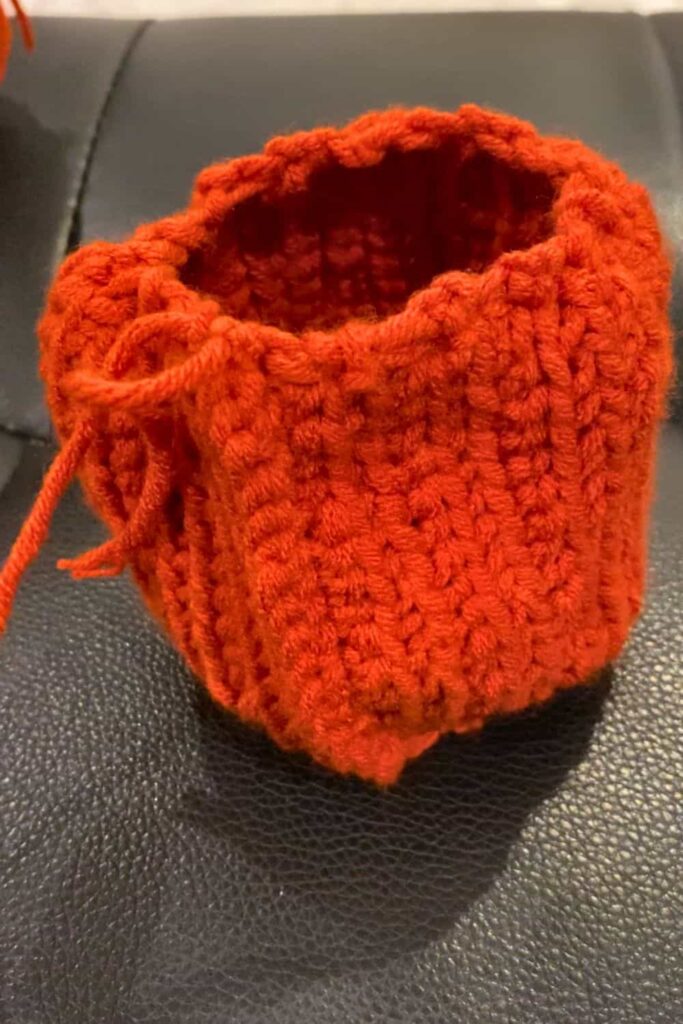
- Once you’ve crocheted enough rows, fold the rectangle in half with the wrong sides together (the inside of your work should face out).
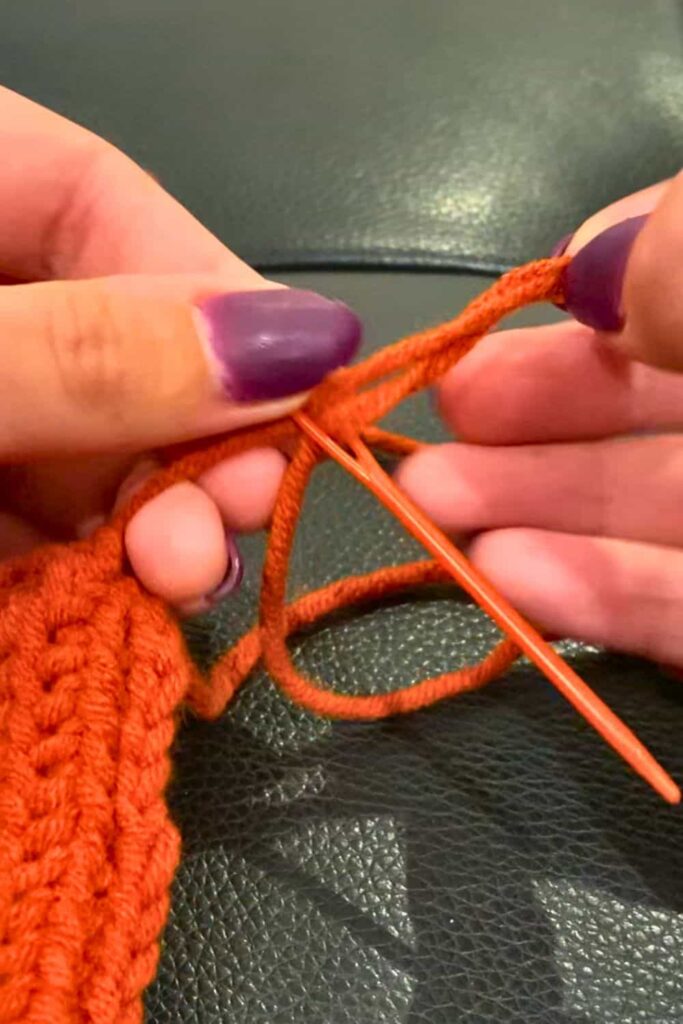
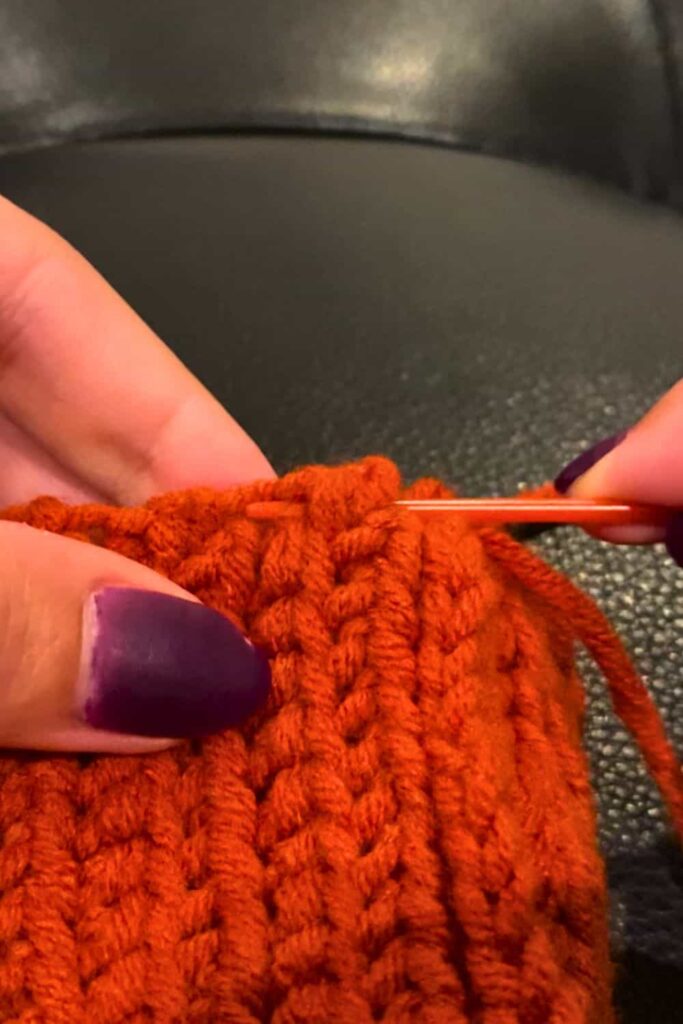
- Using your needle and yarn, sew up the side of the rectangle to form a tube. You can do this by threading the yarn through both sides and securing it tightly with a half double corchet stitch.
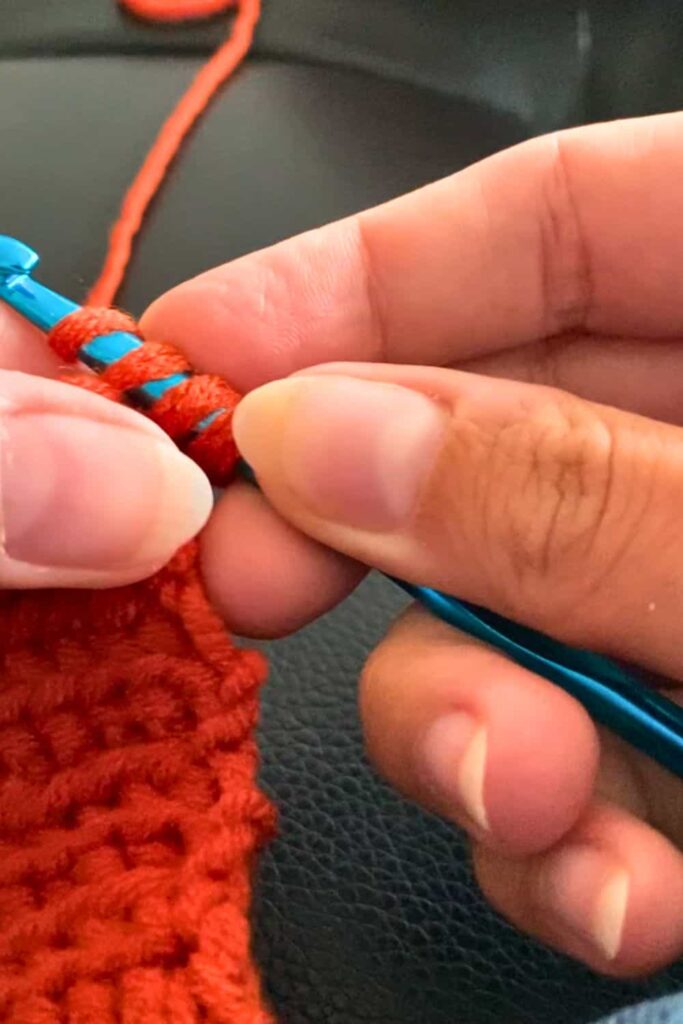
- Go through a stitch on each end of your rectangle to link both.
- You can use a single crochet but I recommend using a half double crochet to link both sides.
3. Close the Bottom
- Now you’ll want to close up the bottom of your pumpkin.
- To close the top, weave your needle through the top edge of the tube (the row of stitches) and pull the yarn tight to gather the opening. Secure it with a few stitches, then flip the pumpkin inside out so the seam is on the inside.
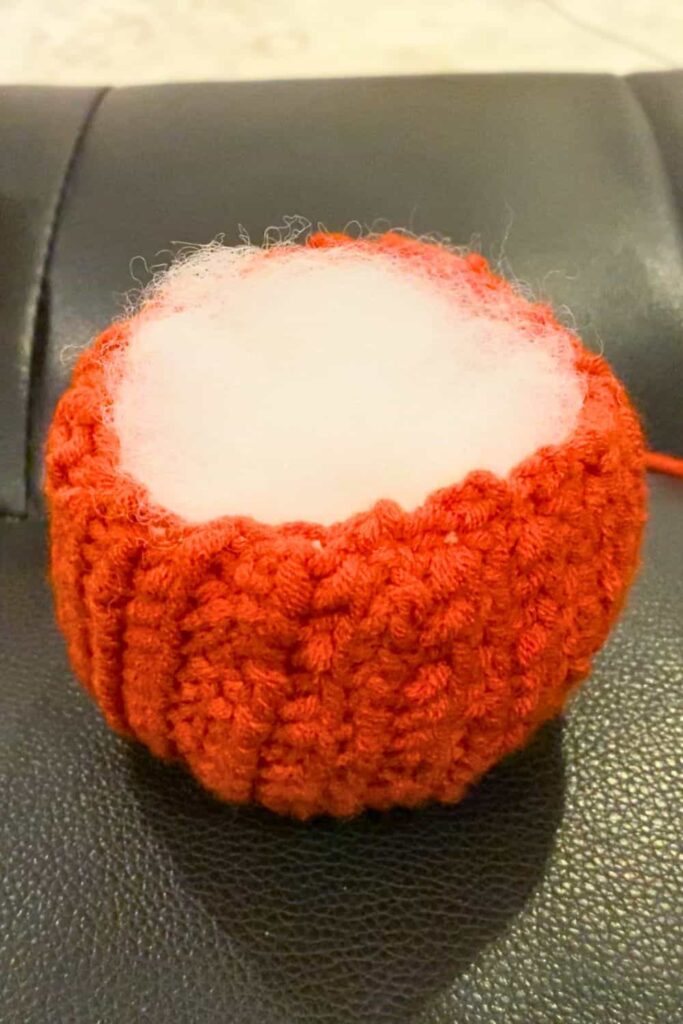
4. Stuff the Pumpkin
- Stuff the pumpkin with your chosen filling (like polyester stuffing) until it’s nice and plump. Make sure it holds its shape.
5. Close The Top
To close the top, repeat the same process: weave your needle through the bottom stitches, pull tight, and secure with a few stitches. You now have the basic shape of your pumpkin!
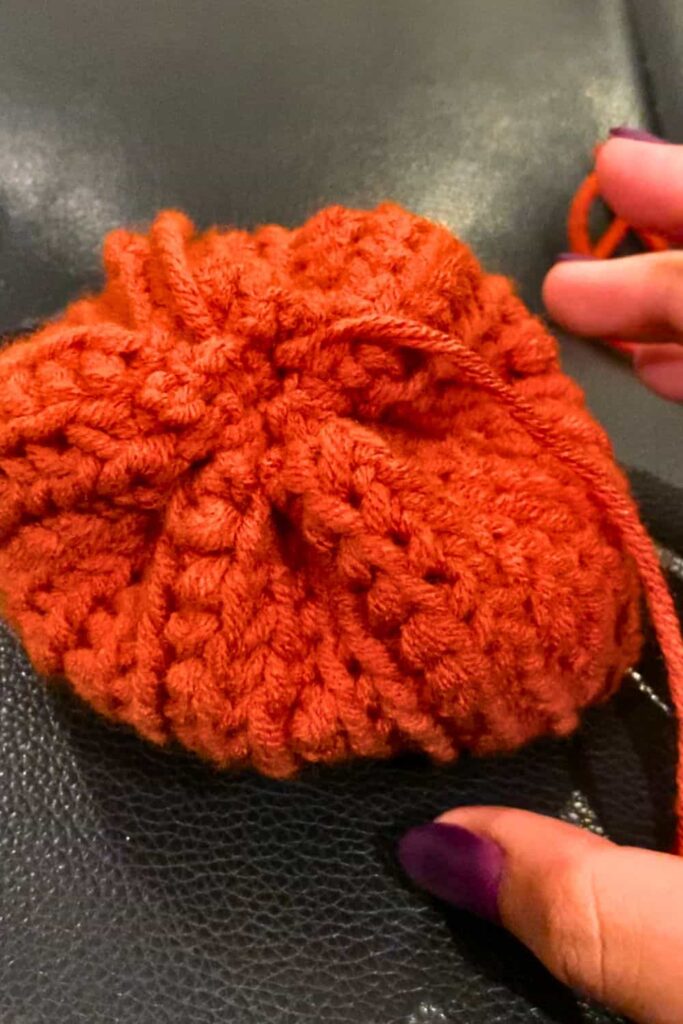
6. Shape the Pumpkin Ridges
- To create the pumpkin ridges, thread a long piece of yarn through the top center of the pumpkin and out through the bottom. Pull it tight and loop it going from top to bottom through the centre. Repeat this several times until the pumpkin gets “scrunched” in place.
- Secure the yarn by tying it off at the top or bottom.
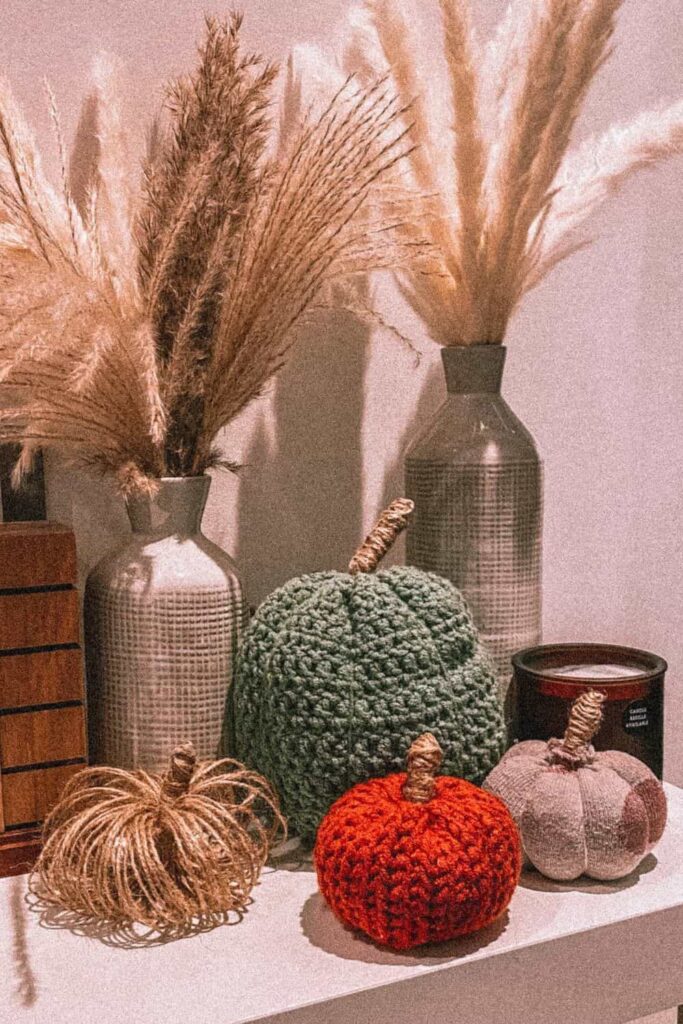
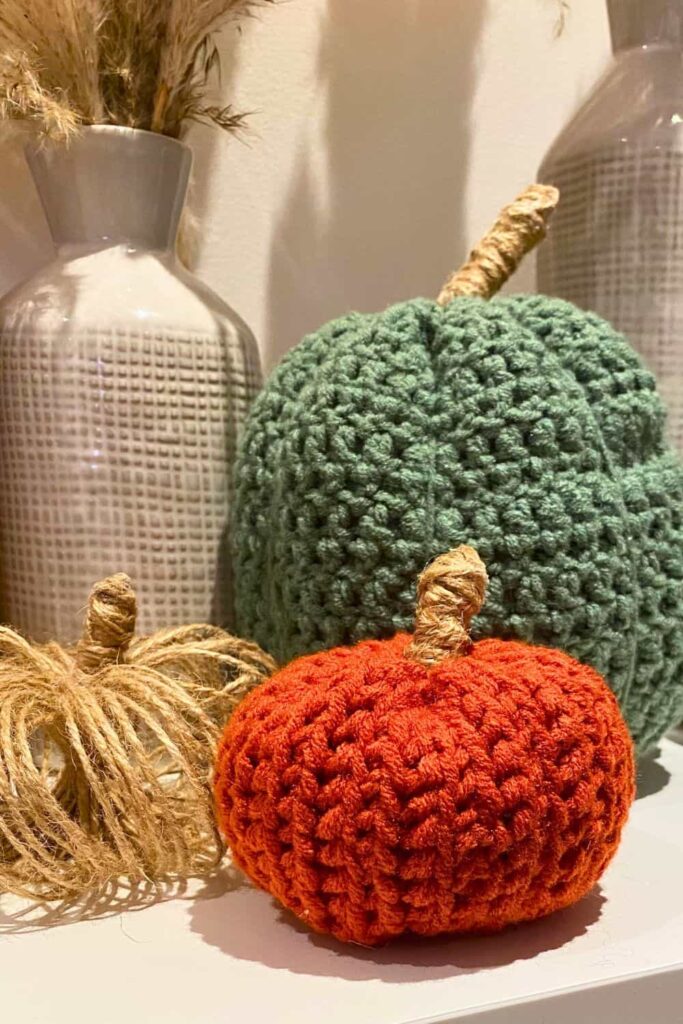
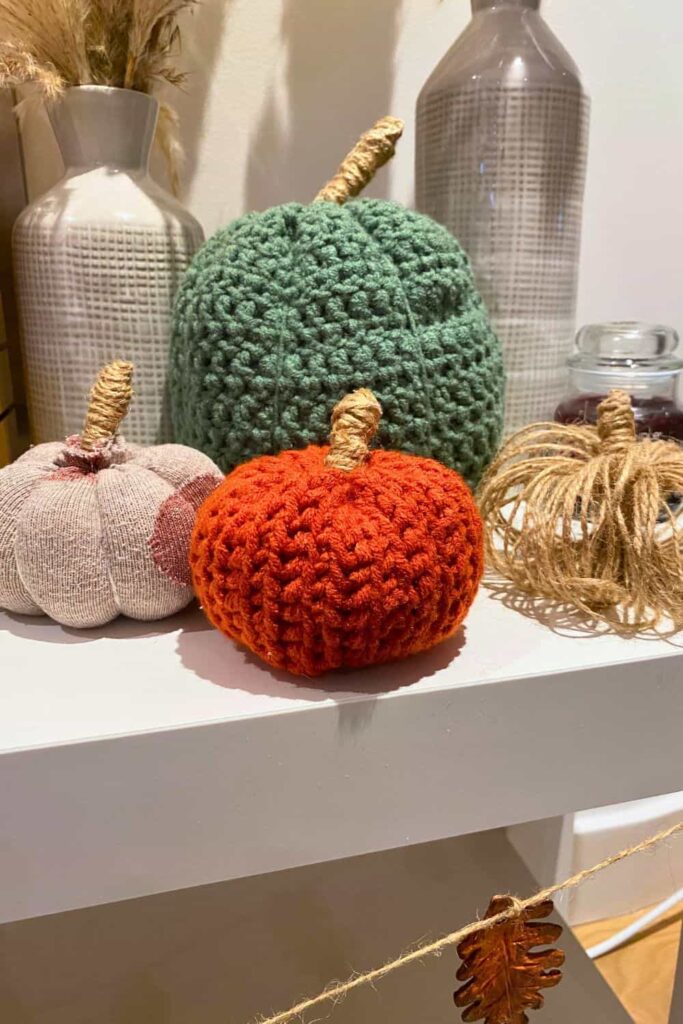
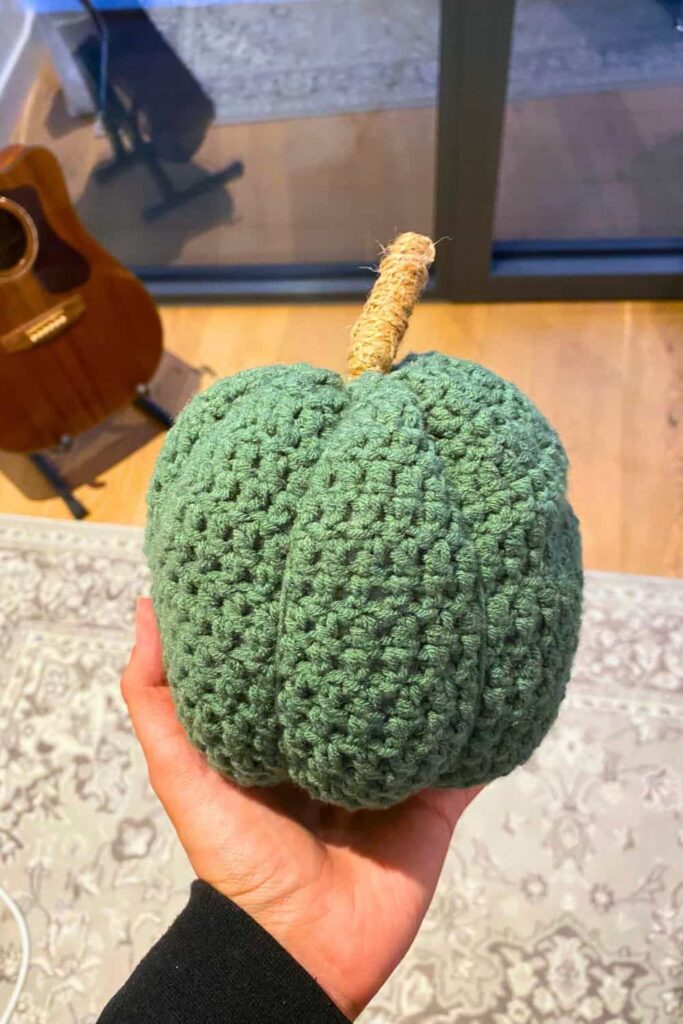
- If you decide to make a large pumpkin, it might be difficult to go through the centre as your needle might not be long enough. Instead, you can use the yarn and wrap it around the pumpkin like I did for my green pumpkin as below.
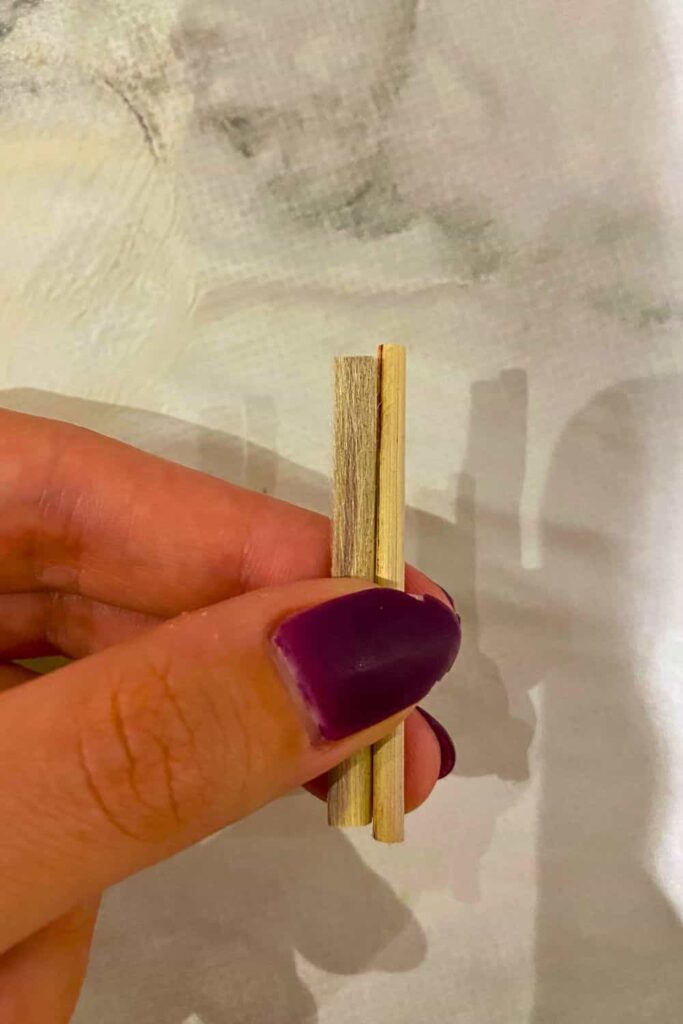
7. Attach the Stem
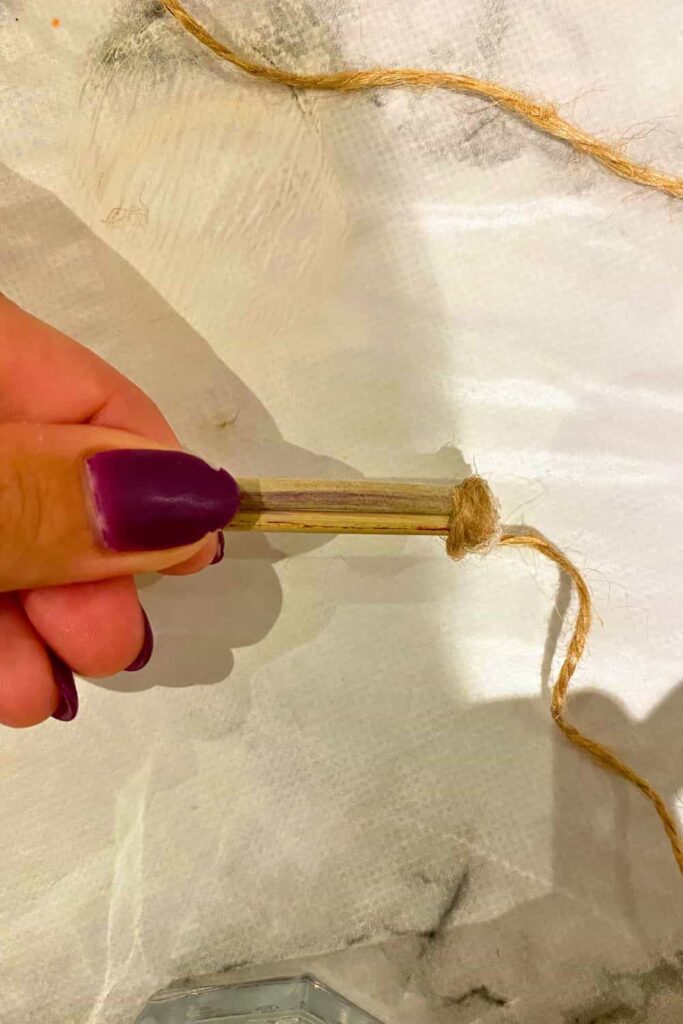
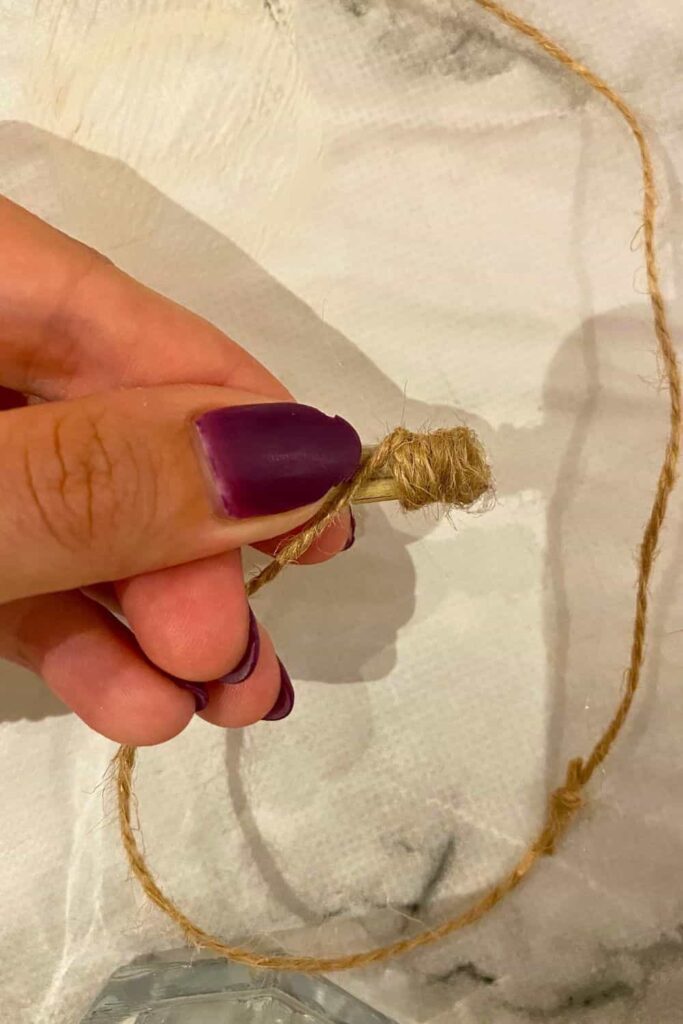
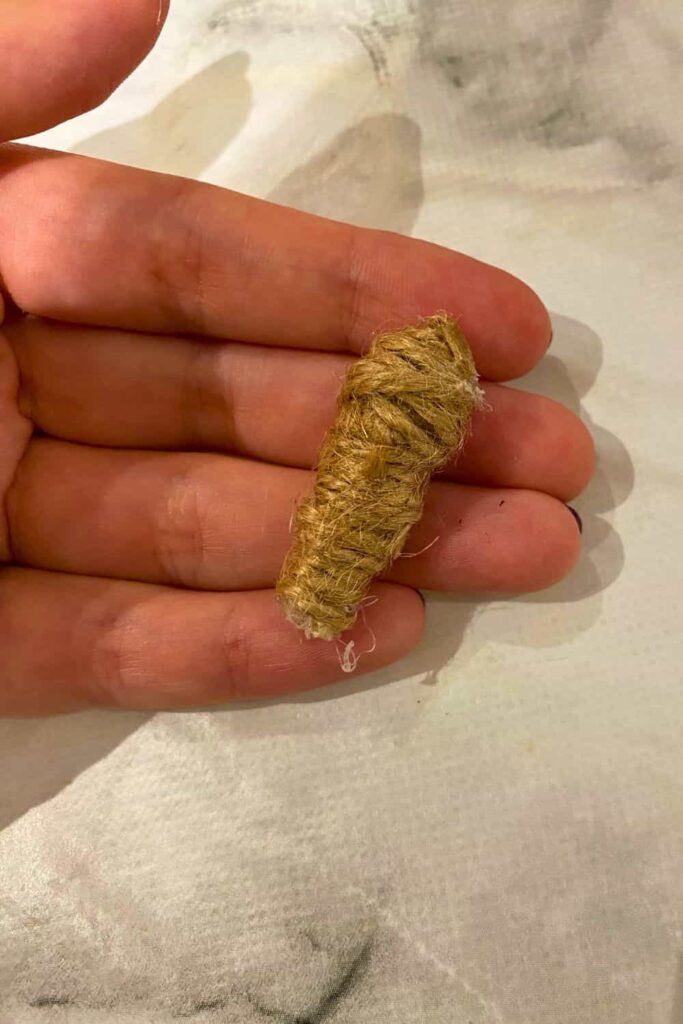
- For the pumpkin stem, take your small stick or wooden piece and wrap your twine around it with a hot glue gun. Hold it in place until the glue sets.
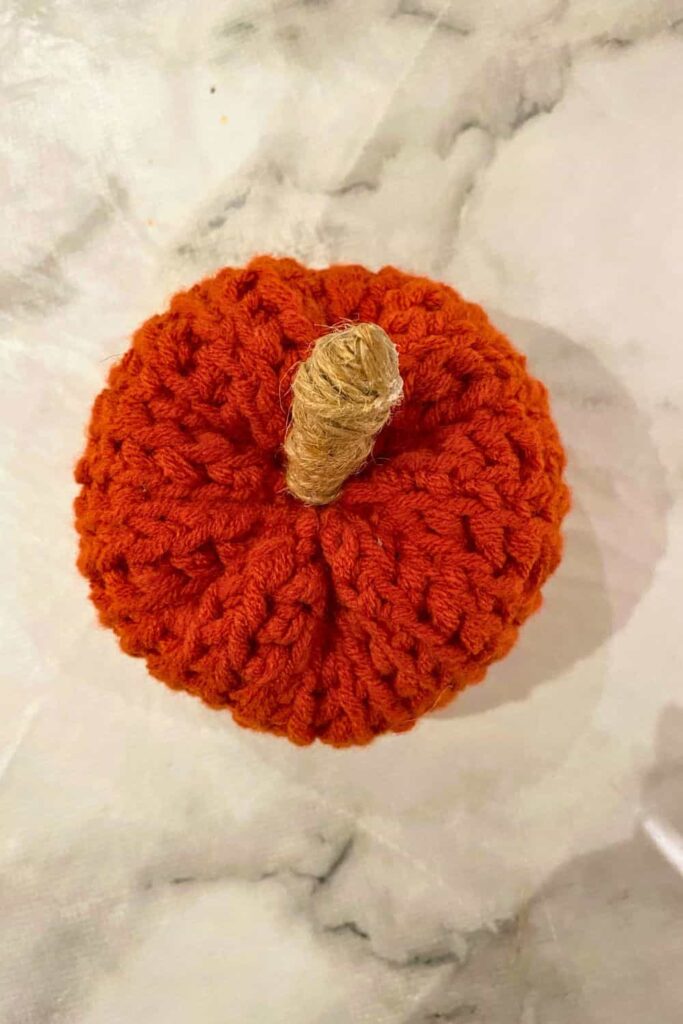
- Once it’s done, glue the stem to your pumpkin.
Final Touches
Once your pumpkin is fully assembled, you can customize it by adding decorations like felt leaves, twine bows, or even painting on cute faces or designs.
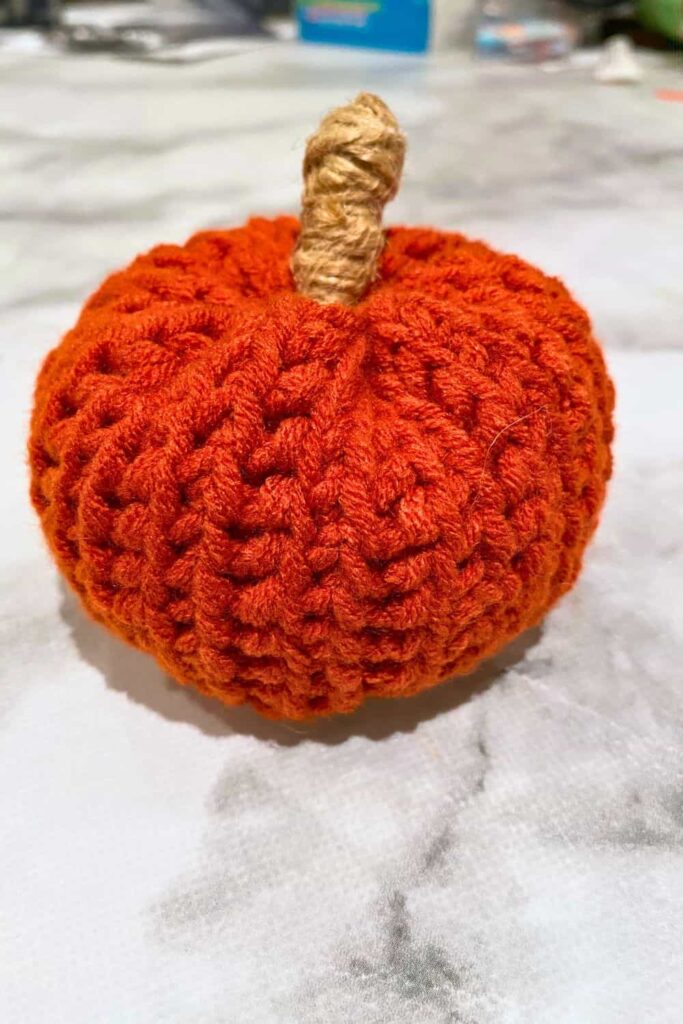
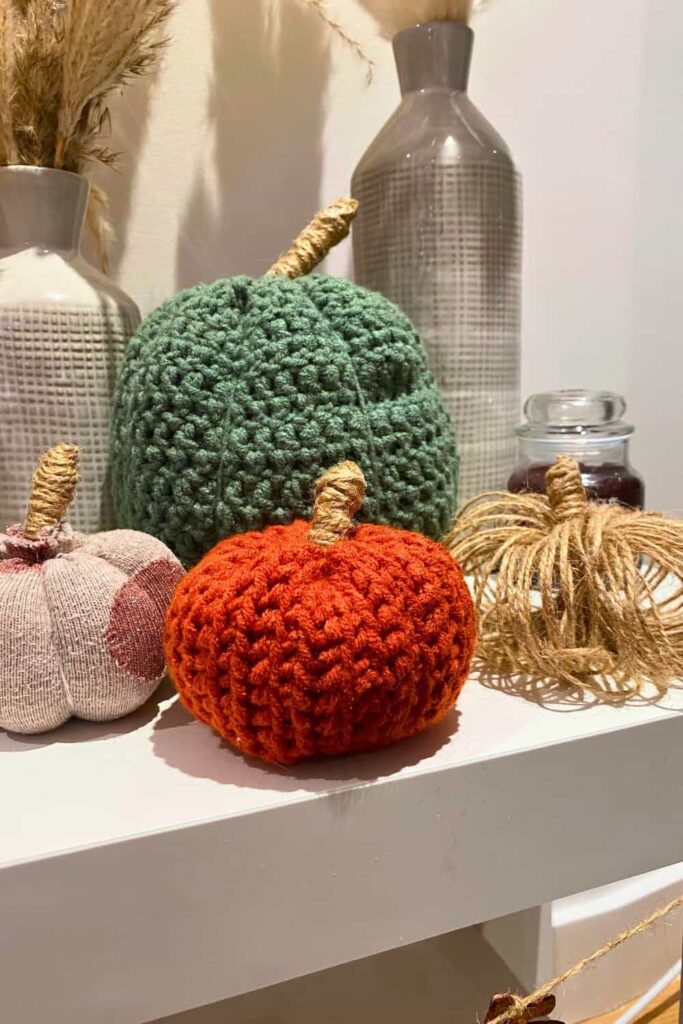
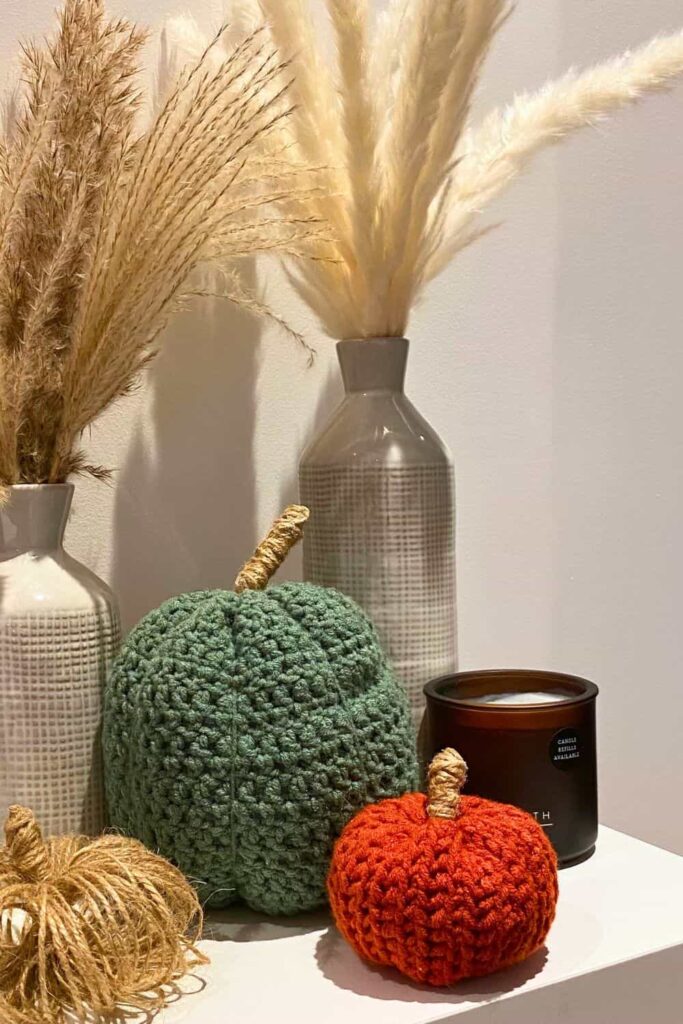
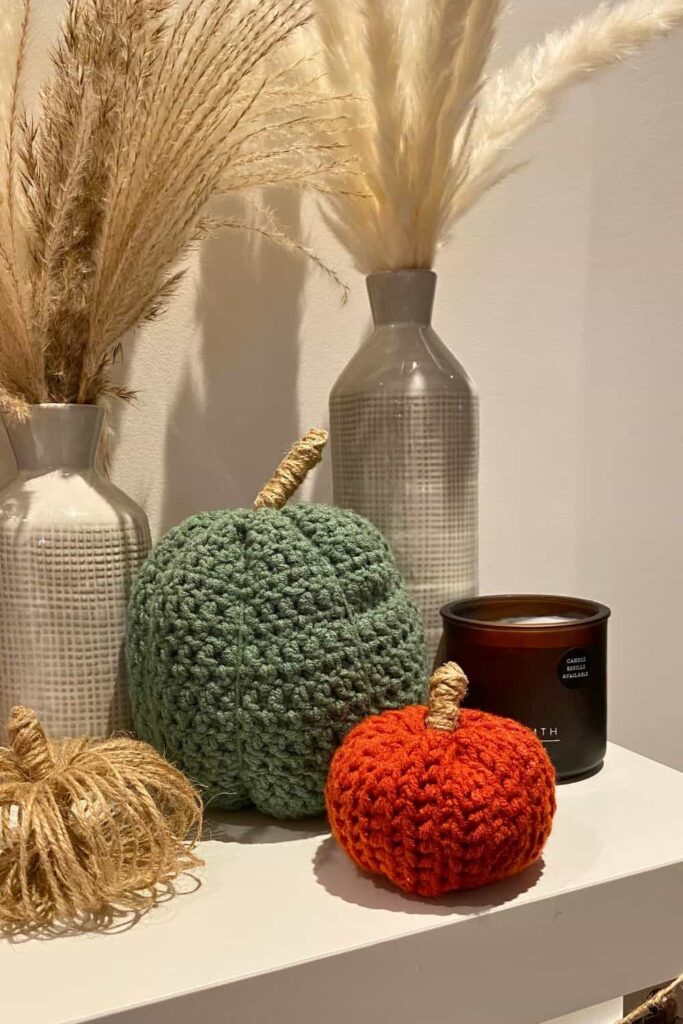
Now you’ve made your very own crochet pumpkin! This simple DIY project is perfect for beginners and makes a great addition to your fall decor. I love how each pumpkin turns out a little unique, and you can make them in different sizes to create a cute display.
More Like This
— SAVE THIS POST —
Did you like this post? If you liked this post, don’t hesitate to share it!
Want to save this post? You can pin the following images on pinterest to save this post.
We are Mary and Eric, the founders of Be Right Back, a blog dedicated to romance around the globe and at home.
We are Mary and Eric, the founders of Be Right Back, a blog dedicated to romance around the globe and at home. With over 10 years of experience in dating and traveling to romantic places, we share our favorite date ideas and romantic destinations to help couples level up their relationships. Having lived in and traveled through the USA, we also share our favourite things to do in the States.
With 70,000 monthly readers and 16,000 followers on social media, Be Right Back is your go-to resource for romantic trip ideas and couple activities at home and abroad.

