How to Make a 3D Burlap Owl for Christmas Decor
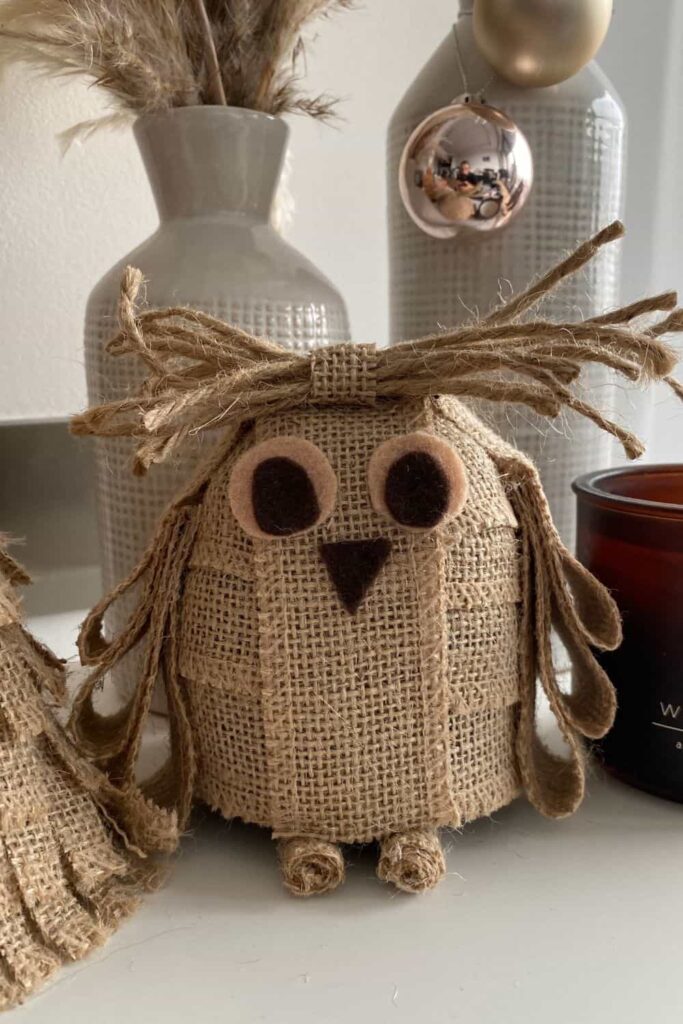
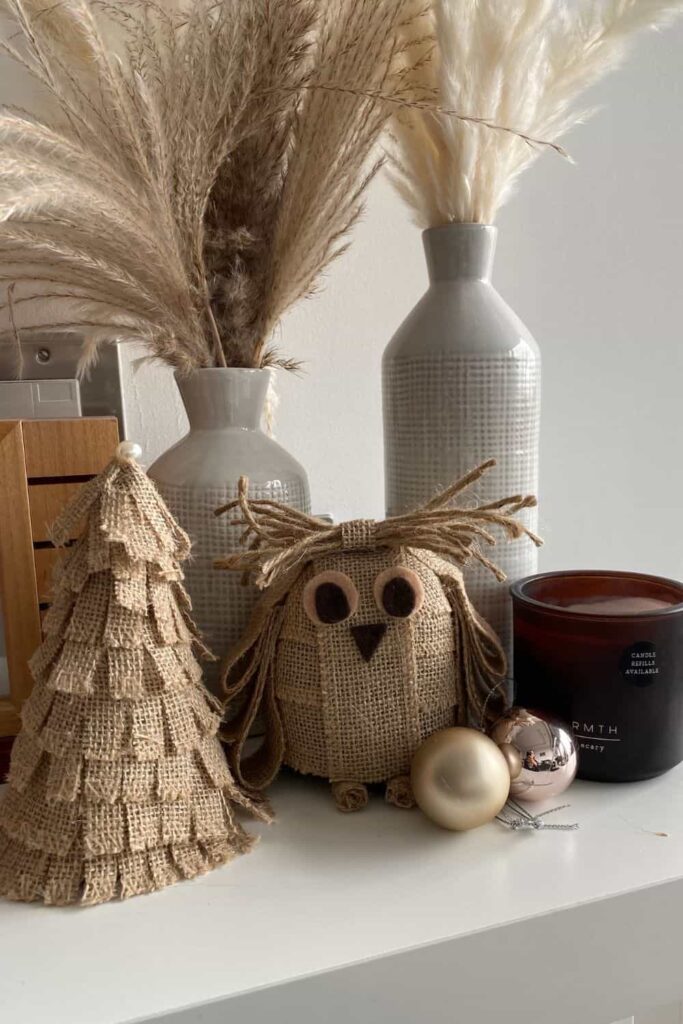
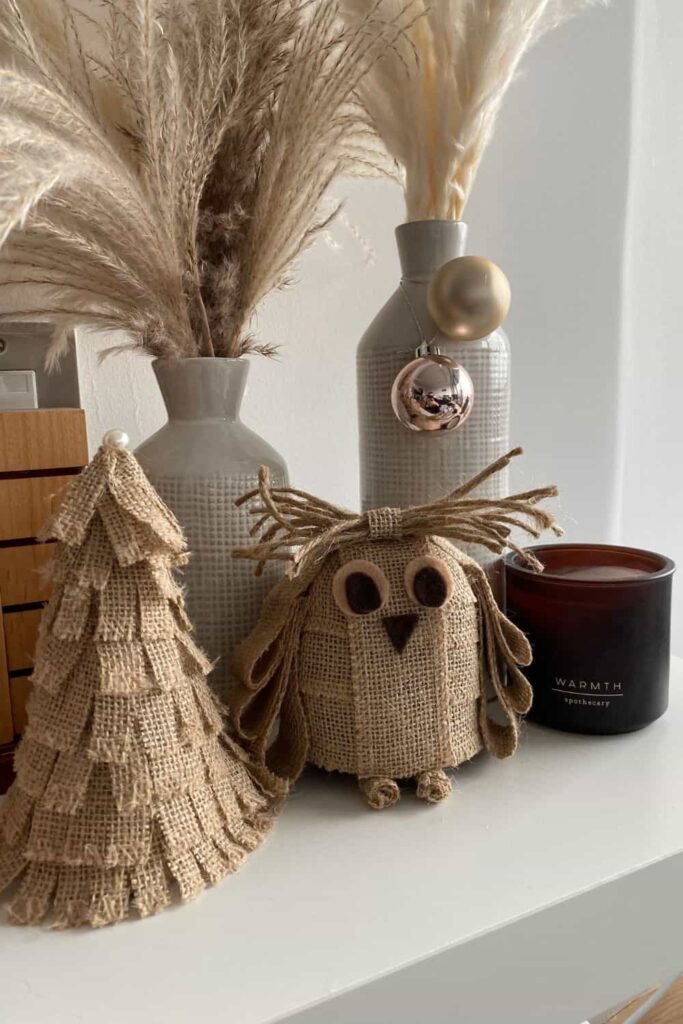
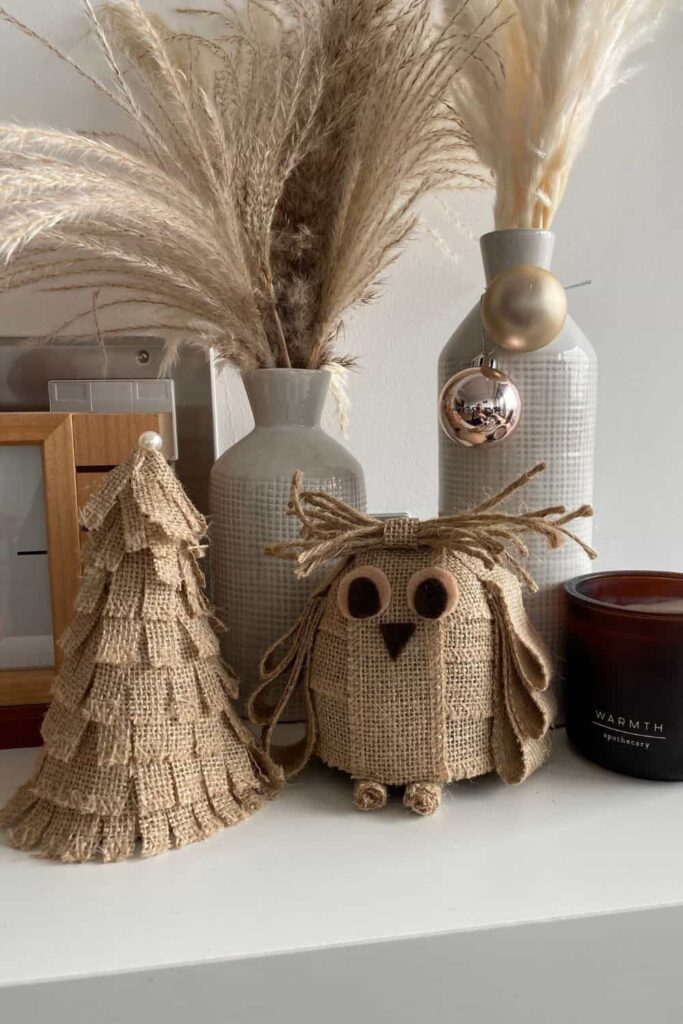
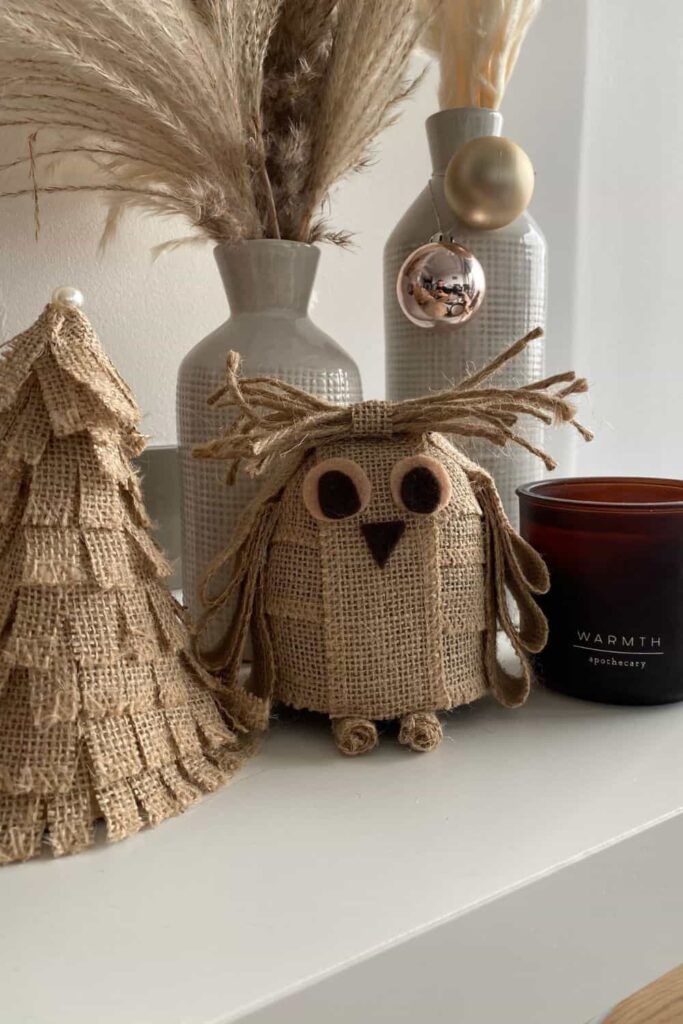
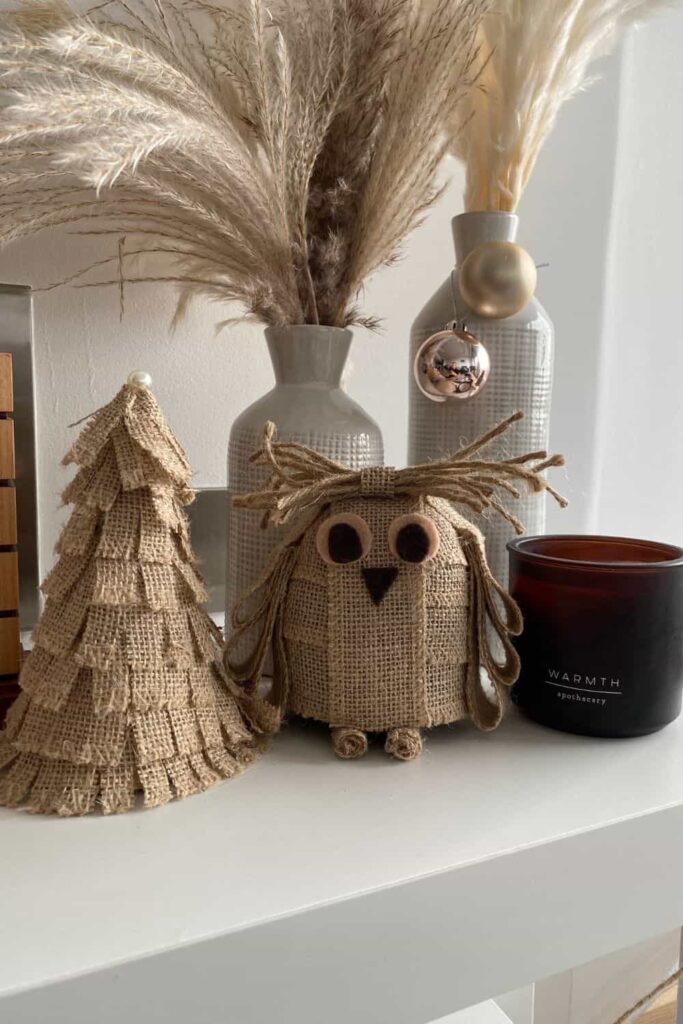
I’ve wanted to make a burlap owl for so long, but every idea I came across was always flat and two-dimensional. I really wanted something that stood out, so I decided to try my hand at a 3D owl. Having some experience from making a 3D Christmas gnome, I figured the owl wouldn’t be too different, and I’m happy to report it’s just as easy! You’ll only need about 1 hour and 30 minutes to 2 hours to complete this project.
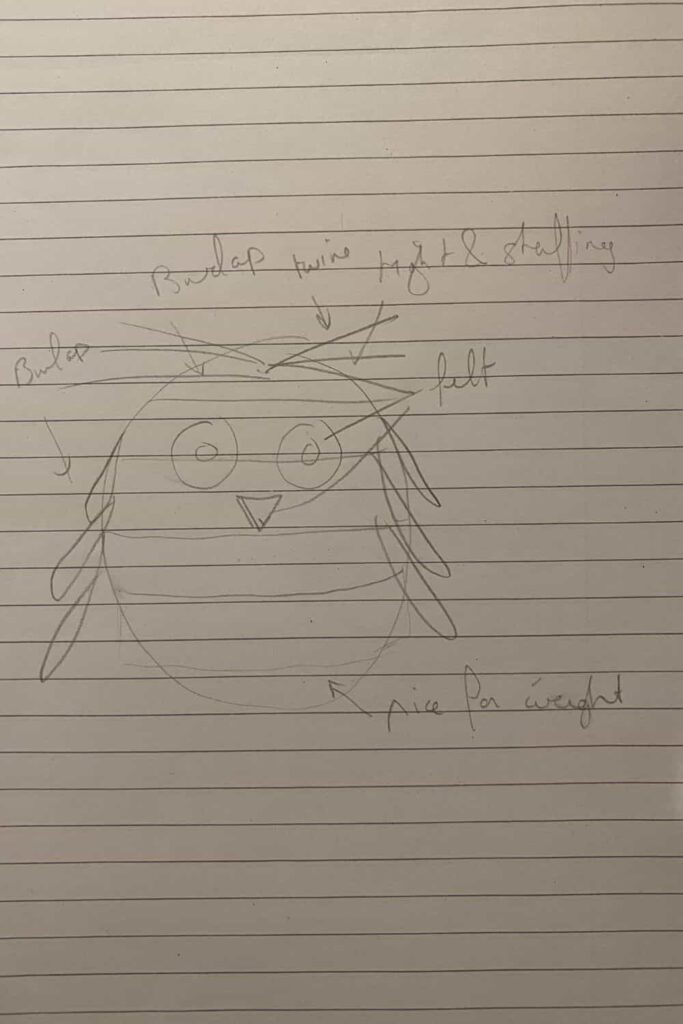
Before I started, I sketched out my ideas on paper. As you can see from the photos, it helps to get everything organized. I wanted the owl to have a natural, rustic feel, which is why I went with burlap, twine, and felt for this project.
It turned out even better than I imagined, and now it’s one of my favorite handmade Christmas decorations. I’ll walk you through how to create your own 3D owl step-by-step, and I promise it’s fun and easy. Let’s get started!
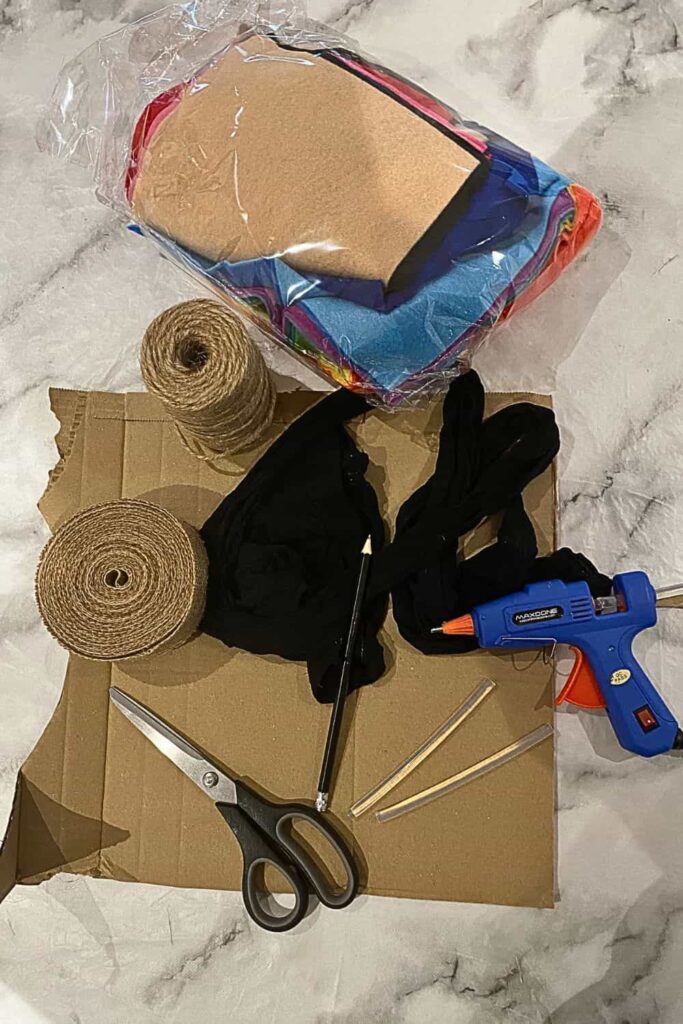
Materials You’ll Need
- An old pair of tights (mine had holes, so they were perfect for this)
- Stuffing (or rice if you don’t have stuffing)
- Cardboard
- A burlap roll (mine was 4 cm wide)
- Hot glue
- Twine
- Beige and brown felt (for the eyes)
- A pencil
- A coffee cup (or any round object to trace)
Step 1: Build the Body
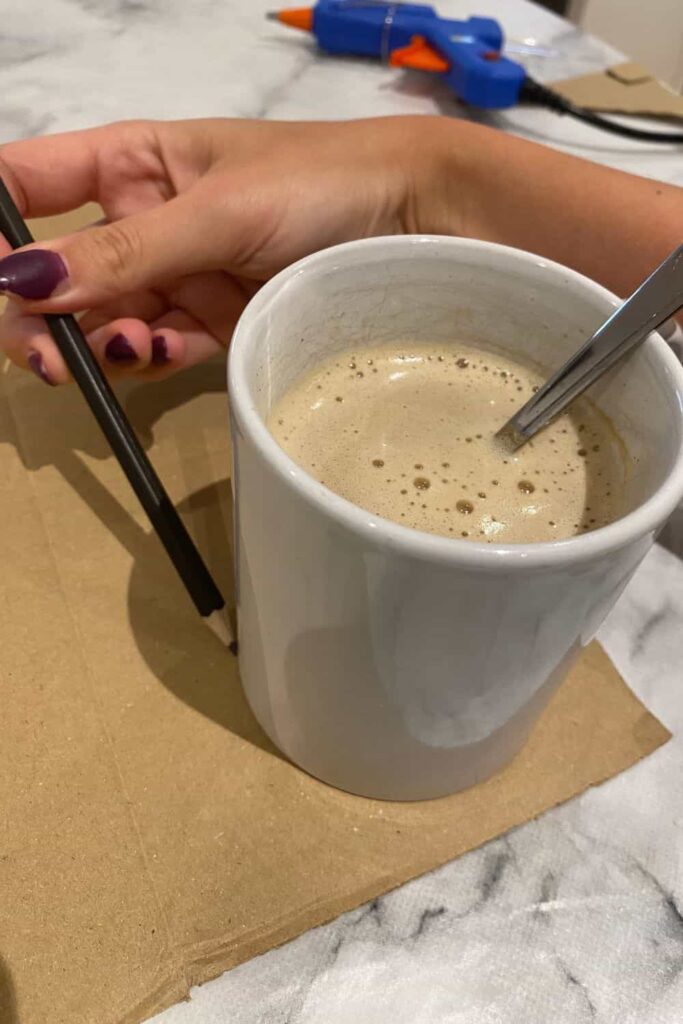
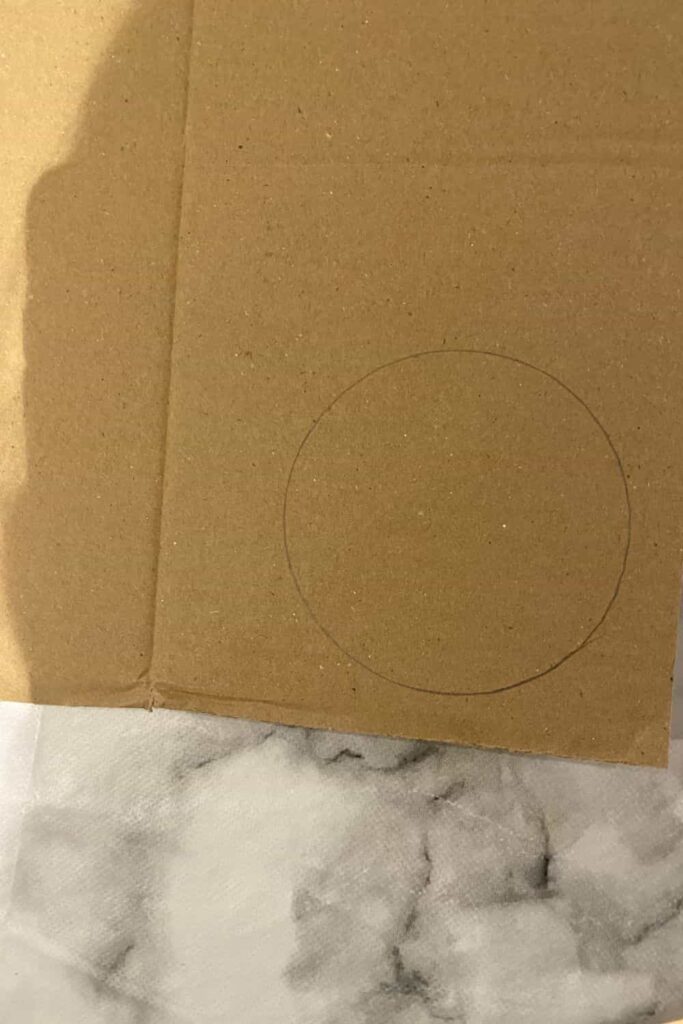
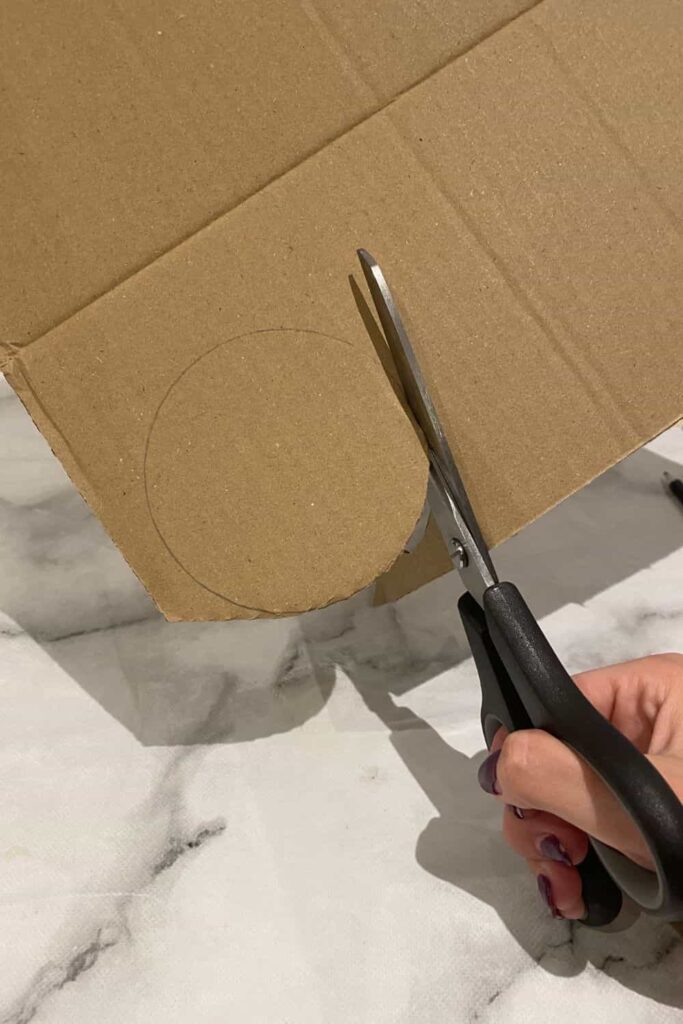
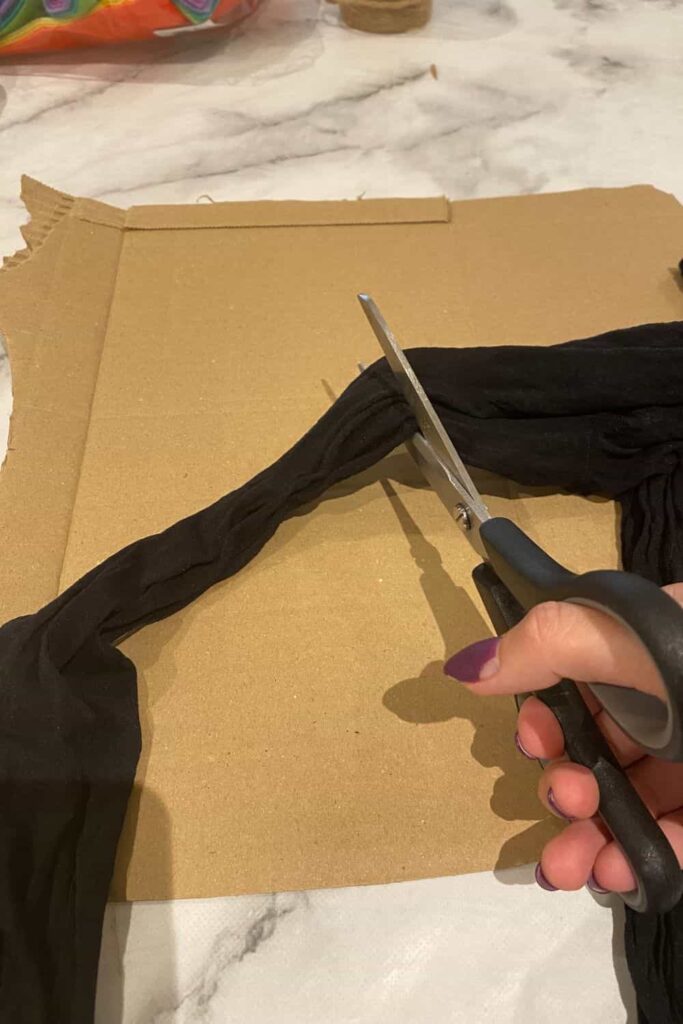
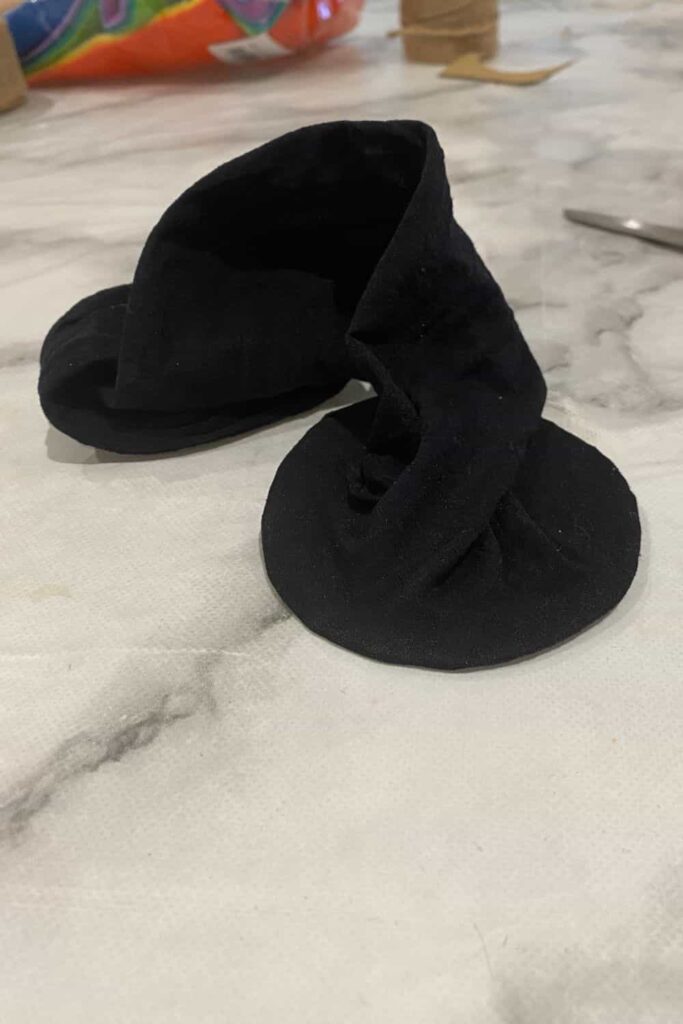
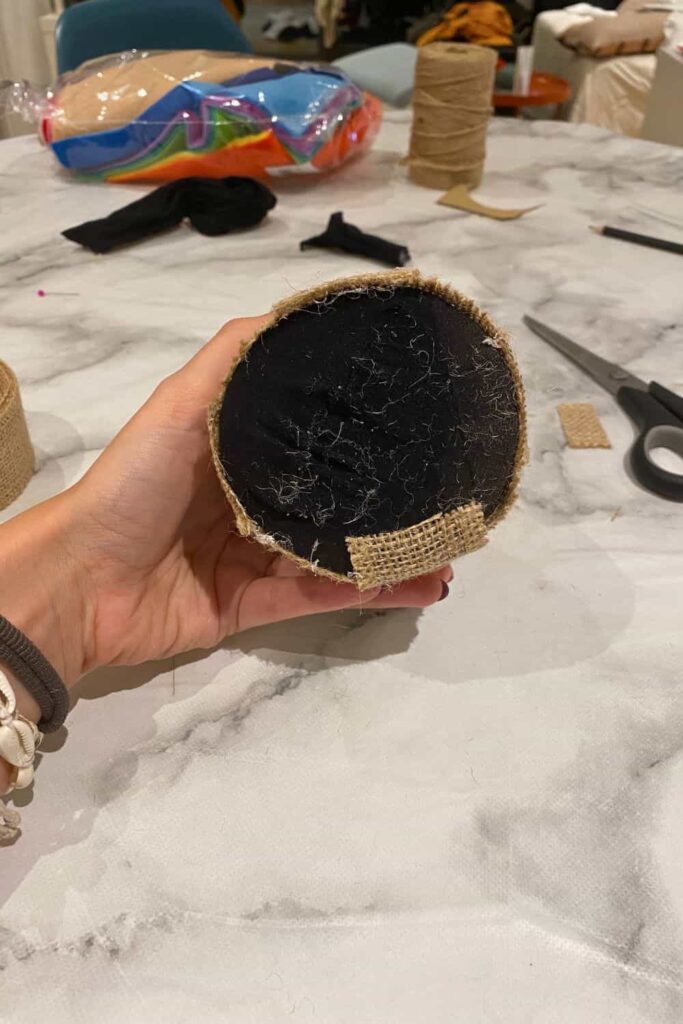
Start by cutting one leg off your tights. This will become the body of your owl. To give the body a sturdy base, trace a circle onto a piece of cardboard using a coffee cup (yes, chai latte optional, but highly recommended!). Cut out the circle and place it at the bottom of your tights where the foot would normally go.
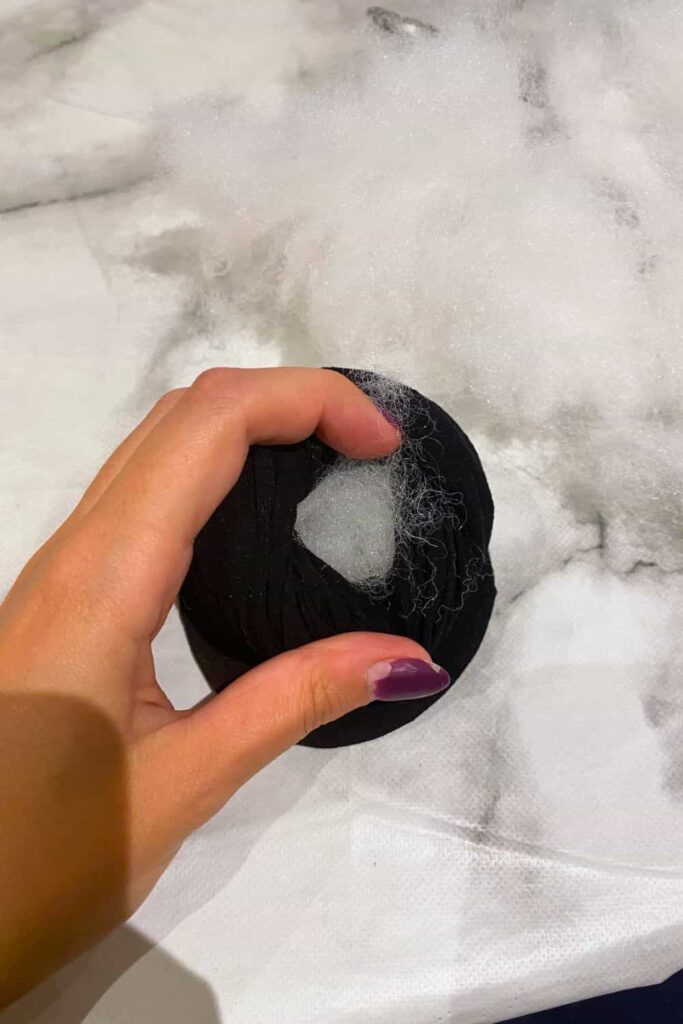
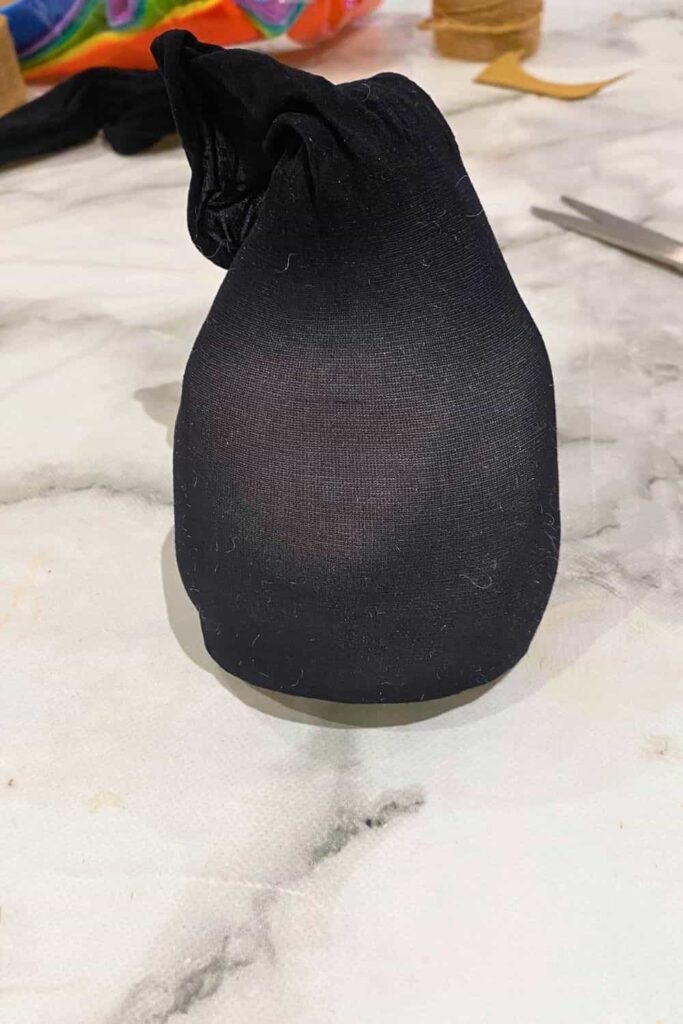
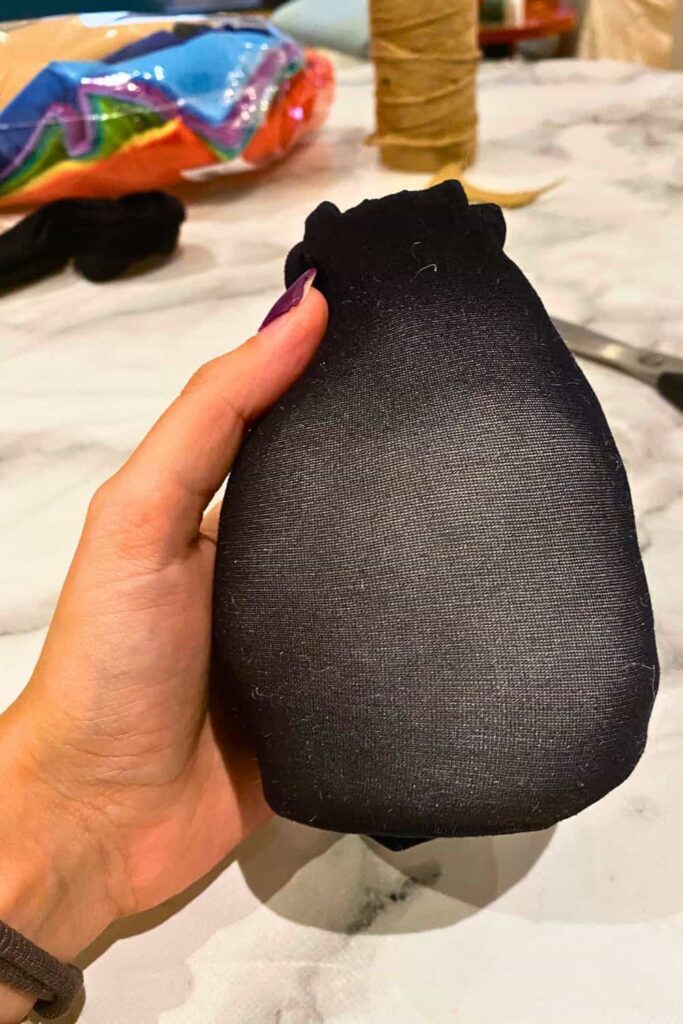
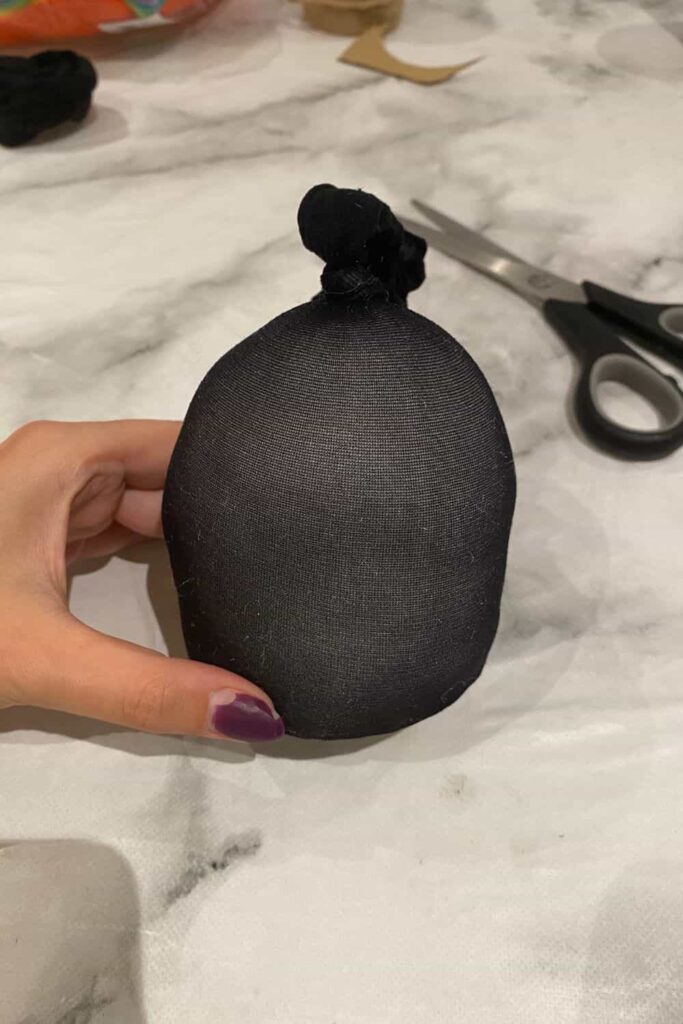
Once the base is set, fill the tights with stuffing until you get your desired round shape. I went for a fuller, rounder look, so I added quite a bit of stuffing. If you don’t have stuffing, rice works as a great alternative! Once you’re happy with the shape, tie a knot at the top of the tights and trim off the excess fabric.
Step 2: Wrap in Burlap
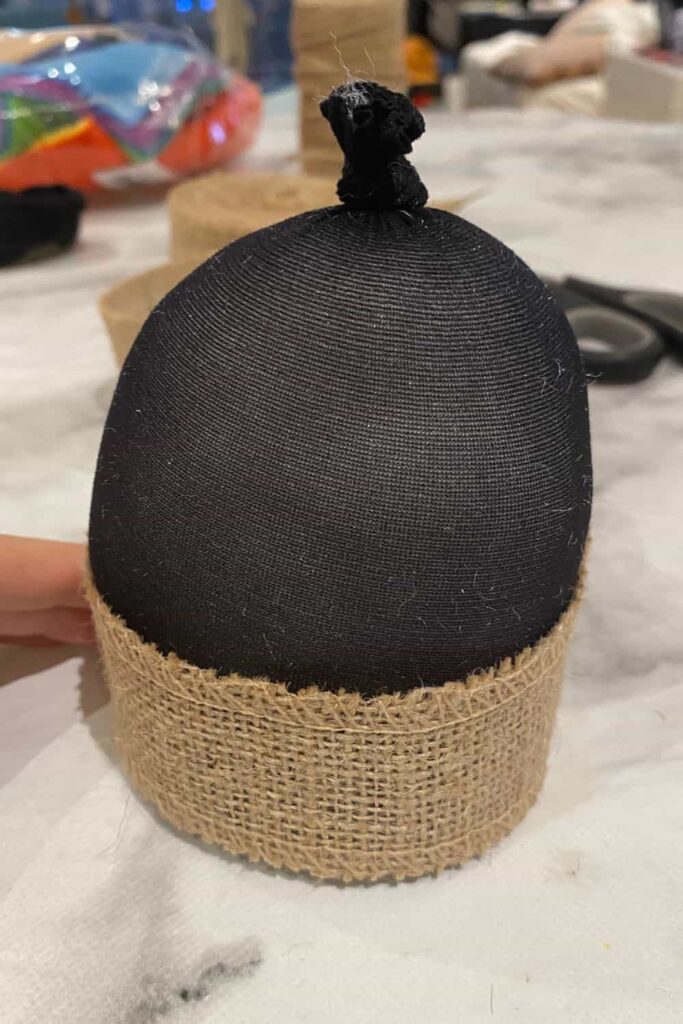
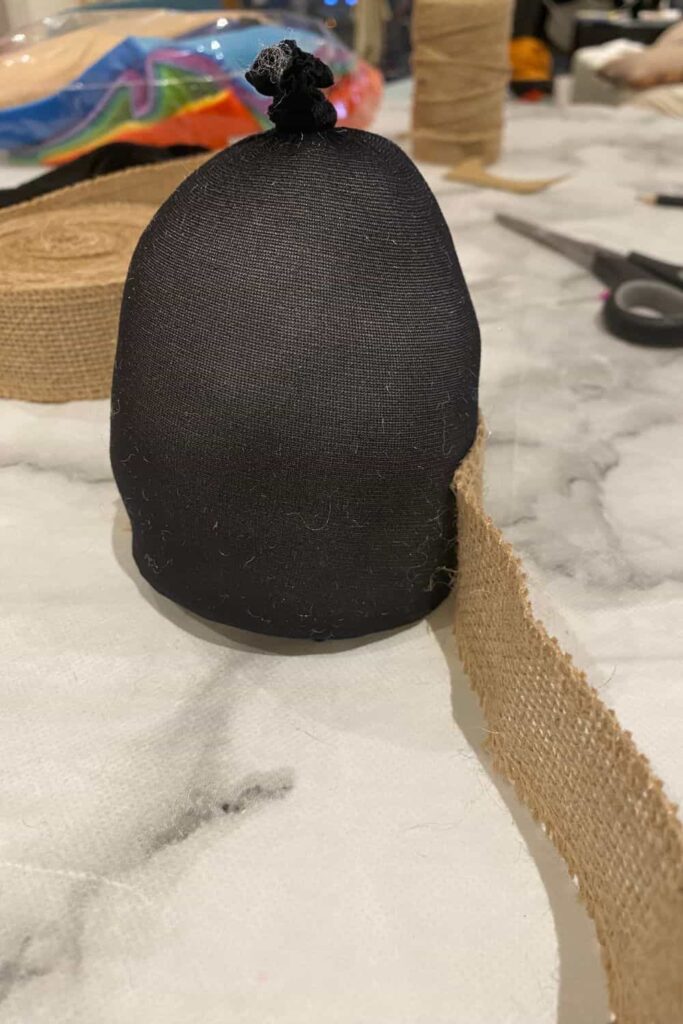
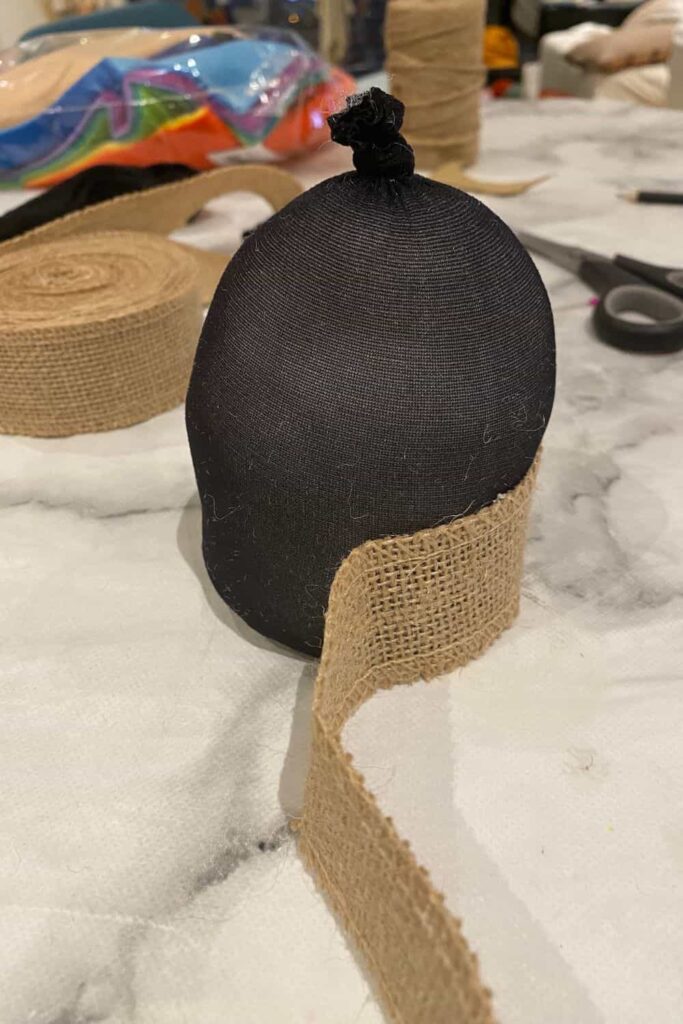
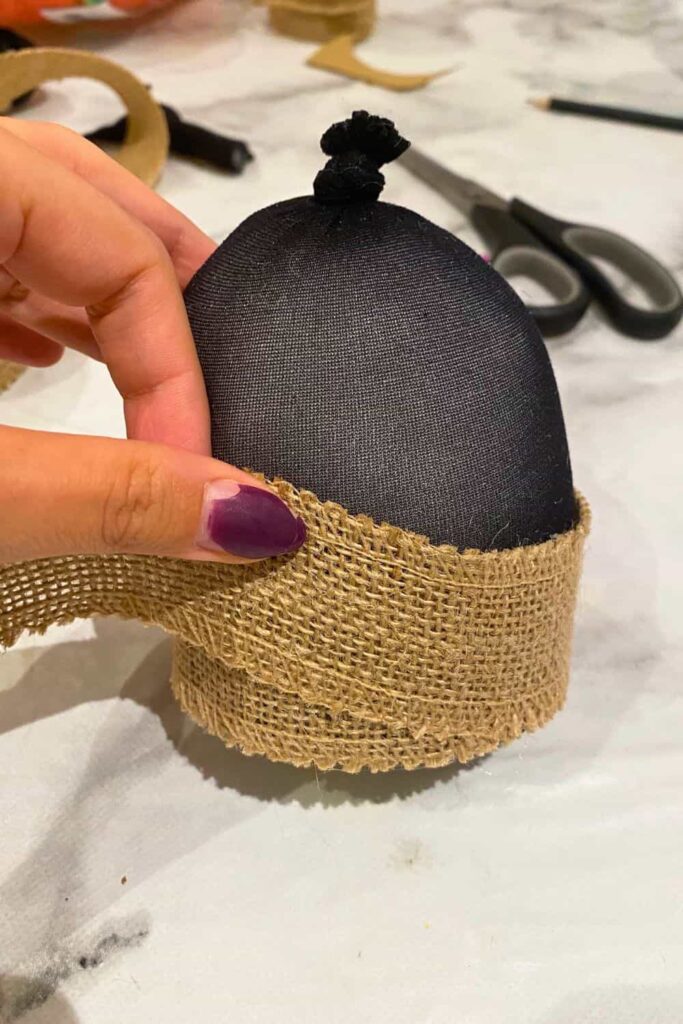
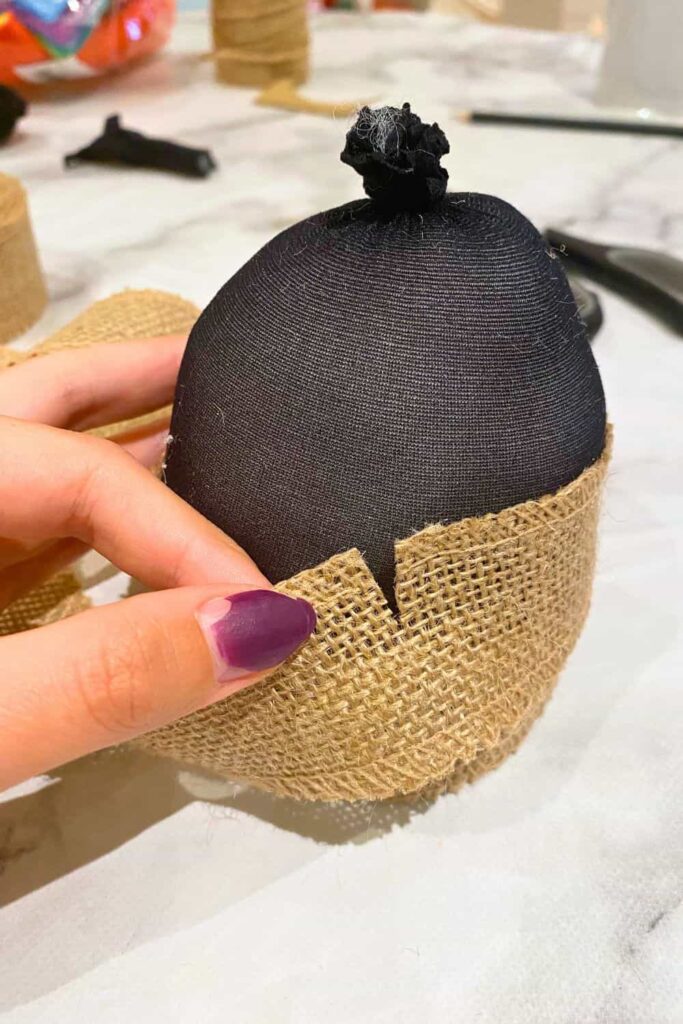
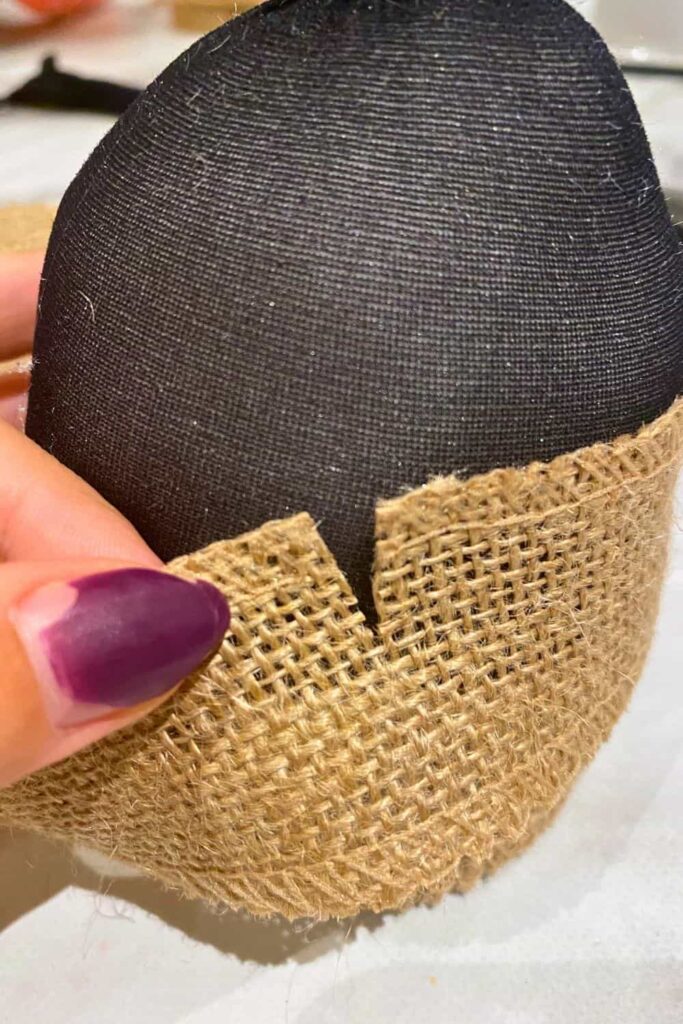
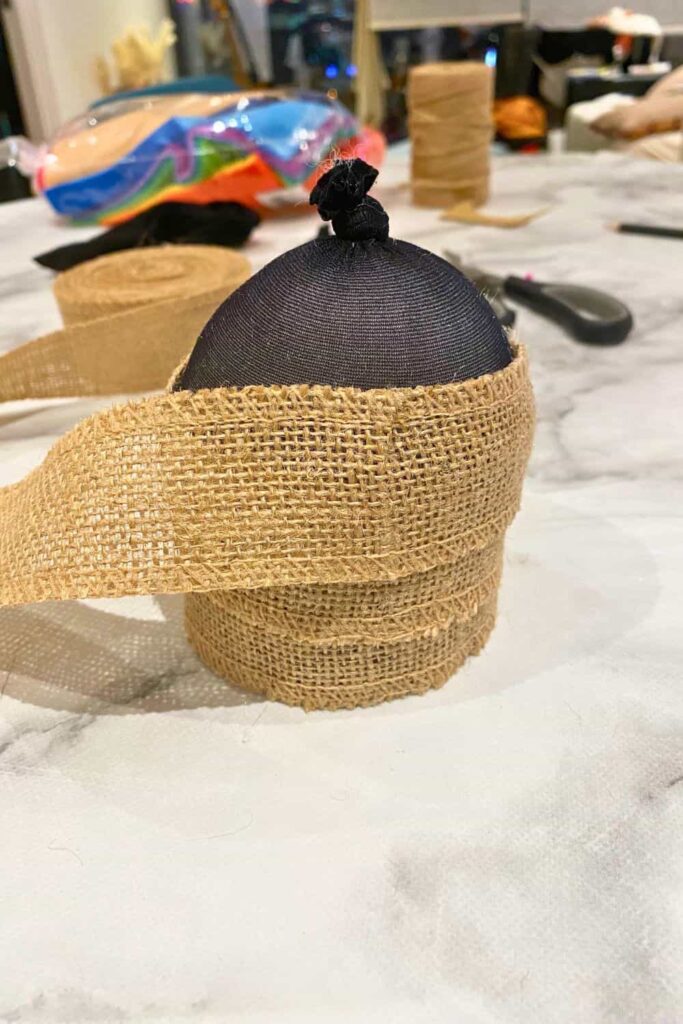
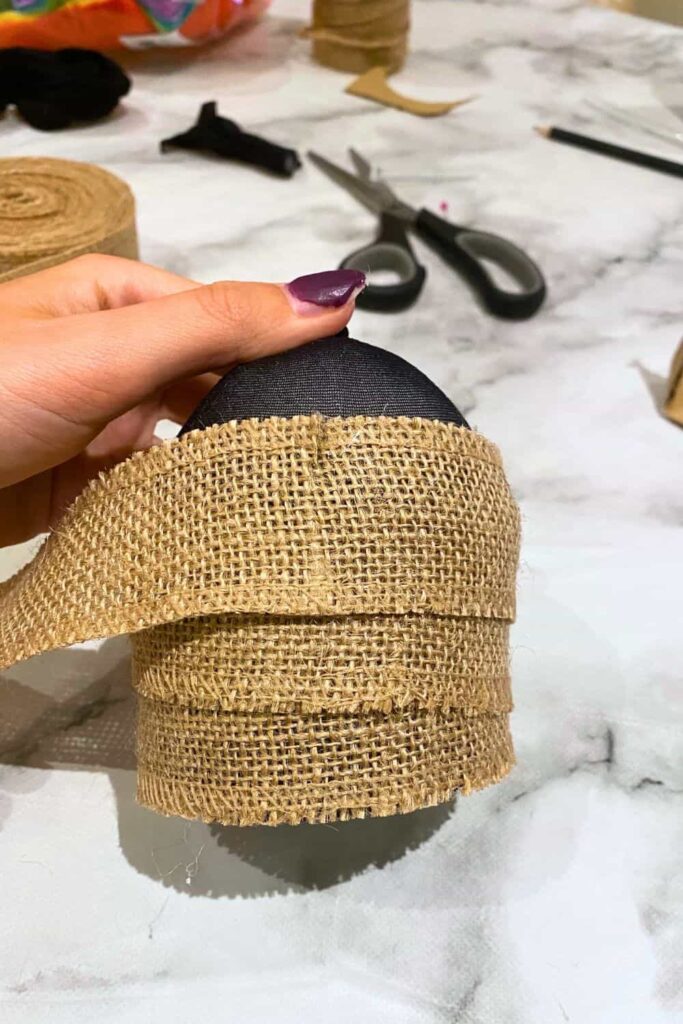
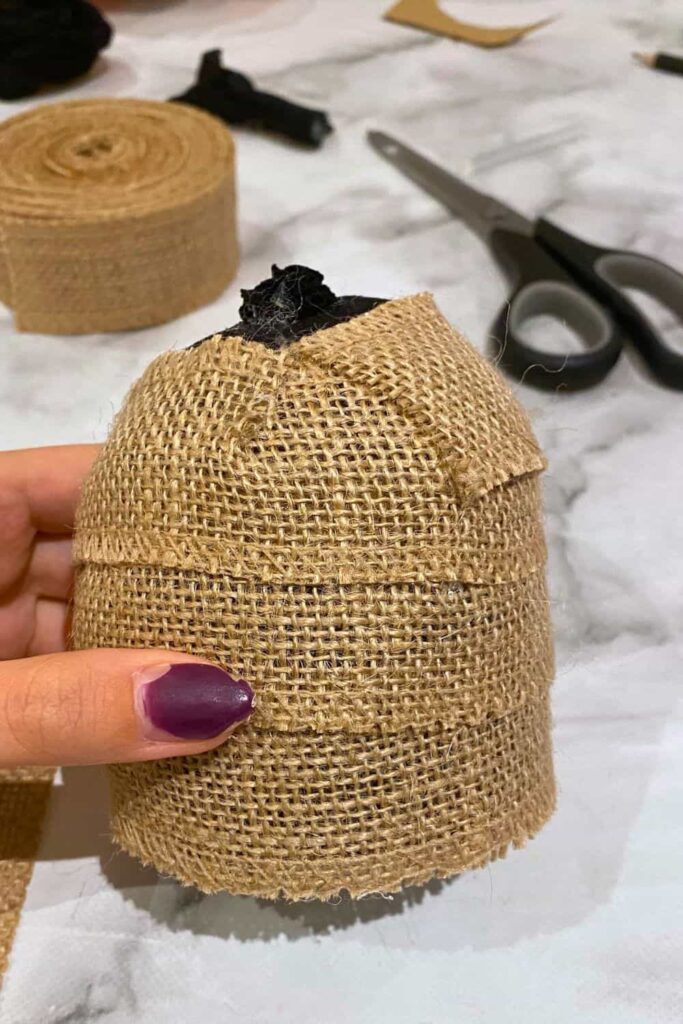
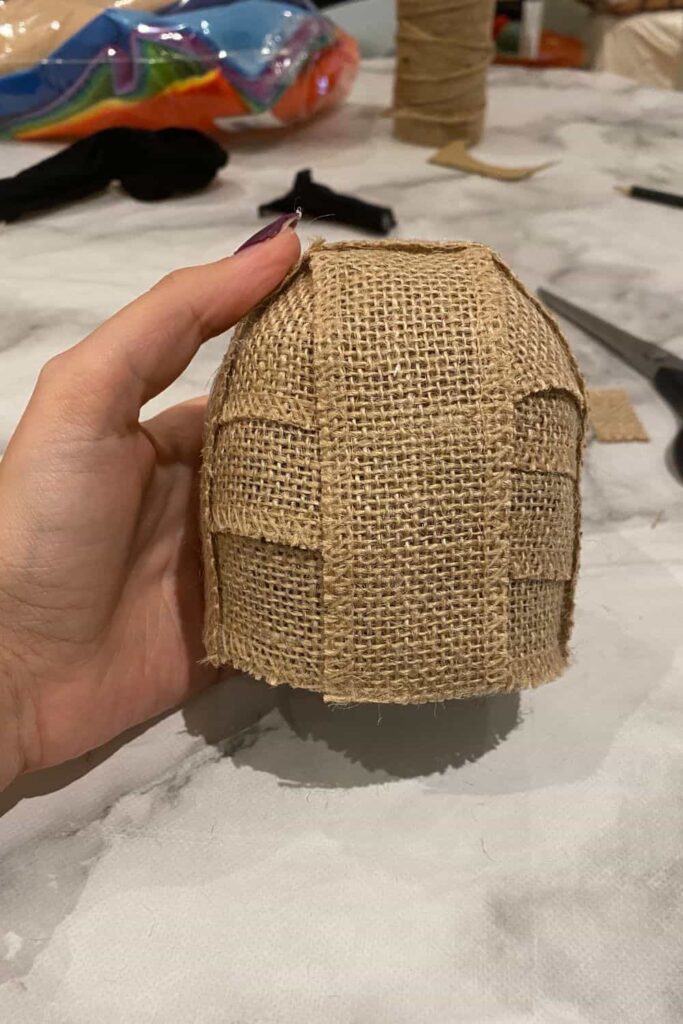
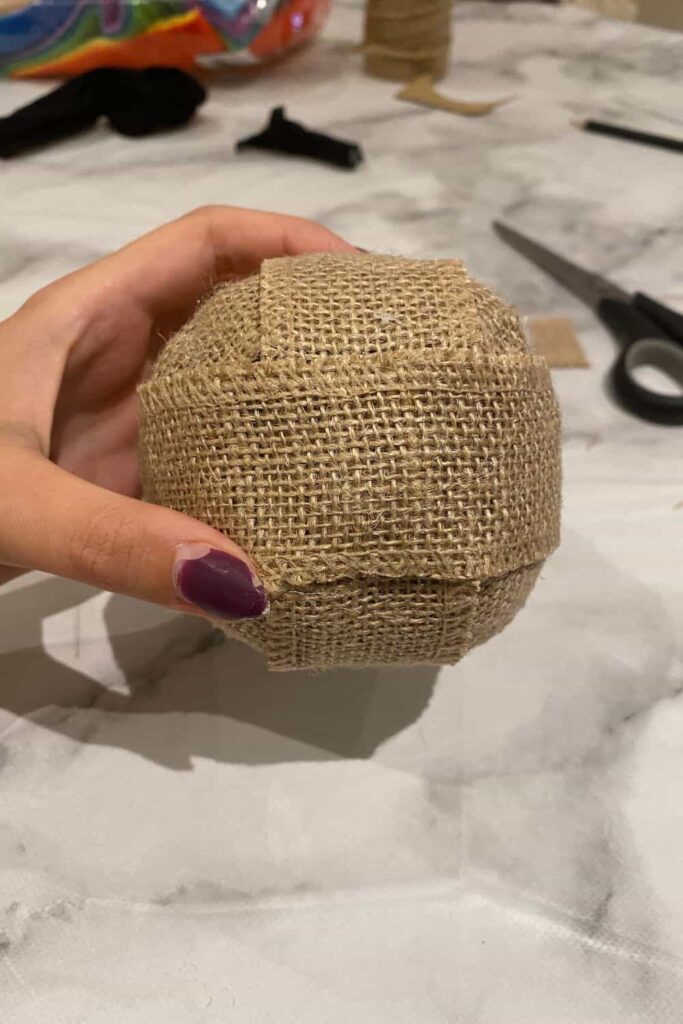
Now it’s time to wrap the body in burlap. Begin by gluing one end of the burlap at the base of the body. Start wrapping the burlap around, moving upward with each layer. After each full wrap, pull the burlap up slightly so you can continue spiraling up toward the top of the owl.
Because the body is cone-shaped, you’ll need to make small slits in the burlap every now and then to help it conform to the shape. This will make it easier to keep the burlap laying flat against the body as you move toward the top.
Step 3: Finish the Body
When you get close to the top, you’ll notice some of the tights are still showing.
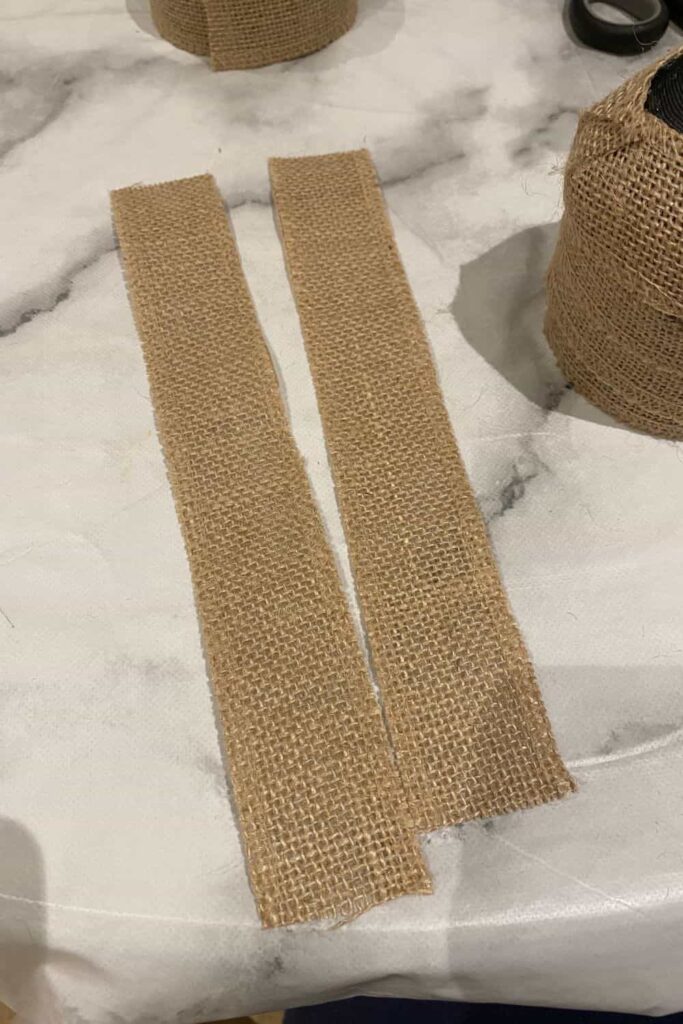
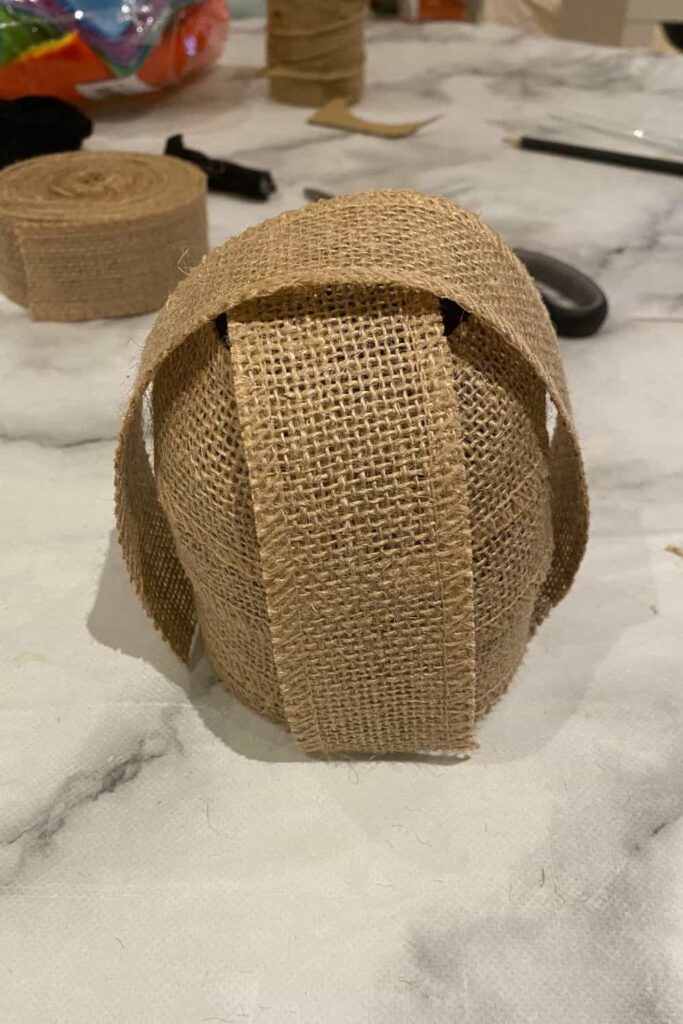
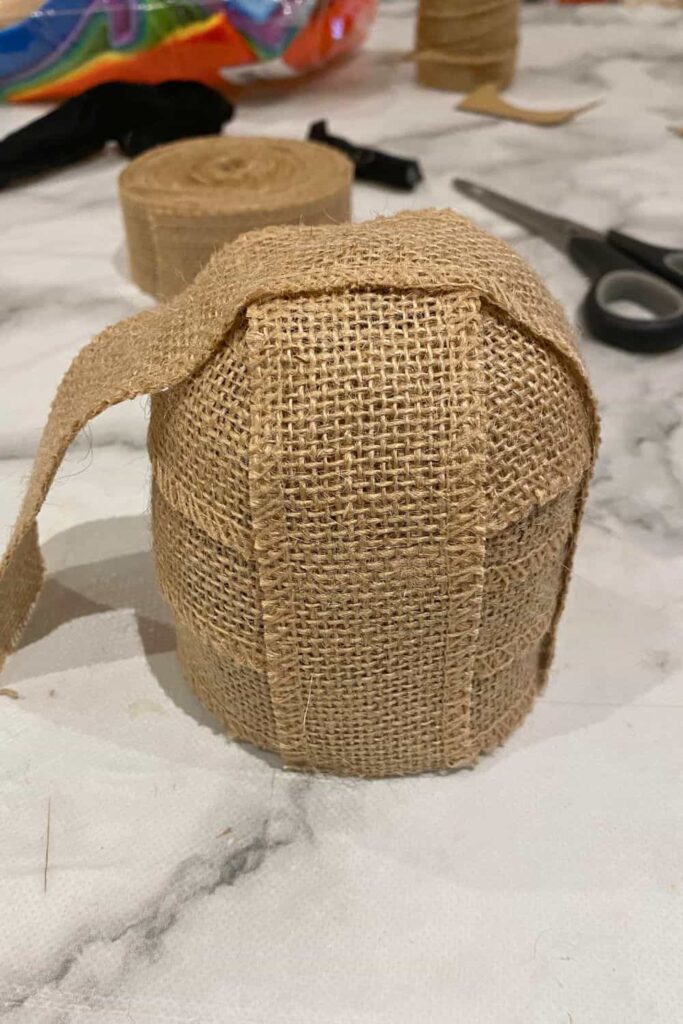
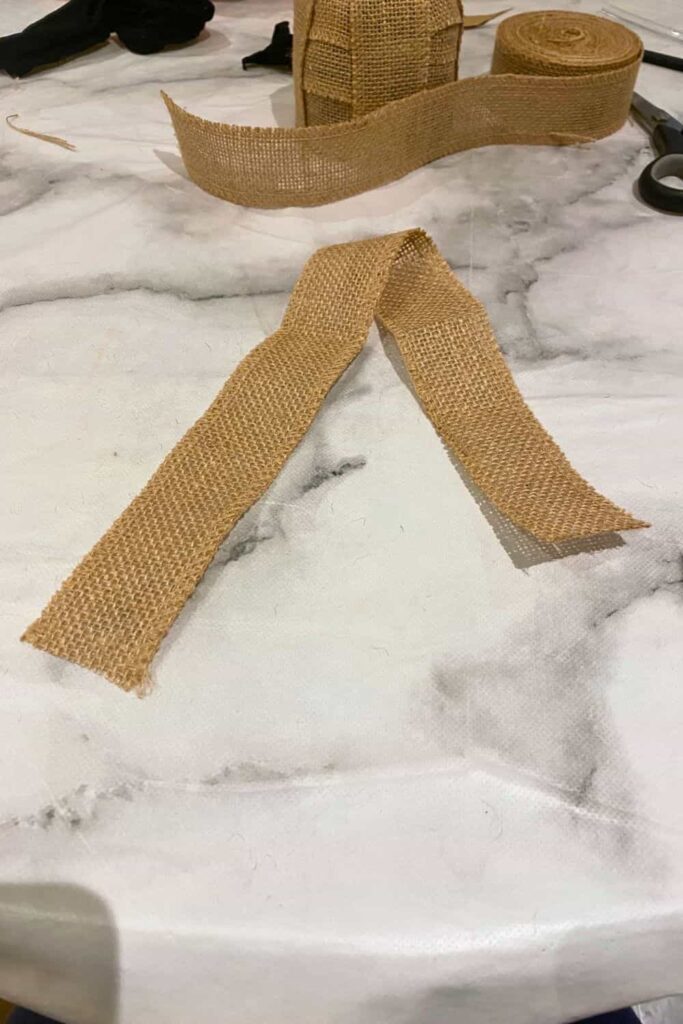
To finish off the body, cut two long strips of burlap (long enough to reach from one side of the base to the other). Glue each strip of burlap down on either side, crossing them at the top of the owl to cover the remaining fabric.
Step 4: Make the Wings
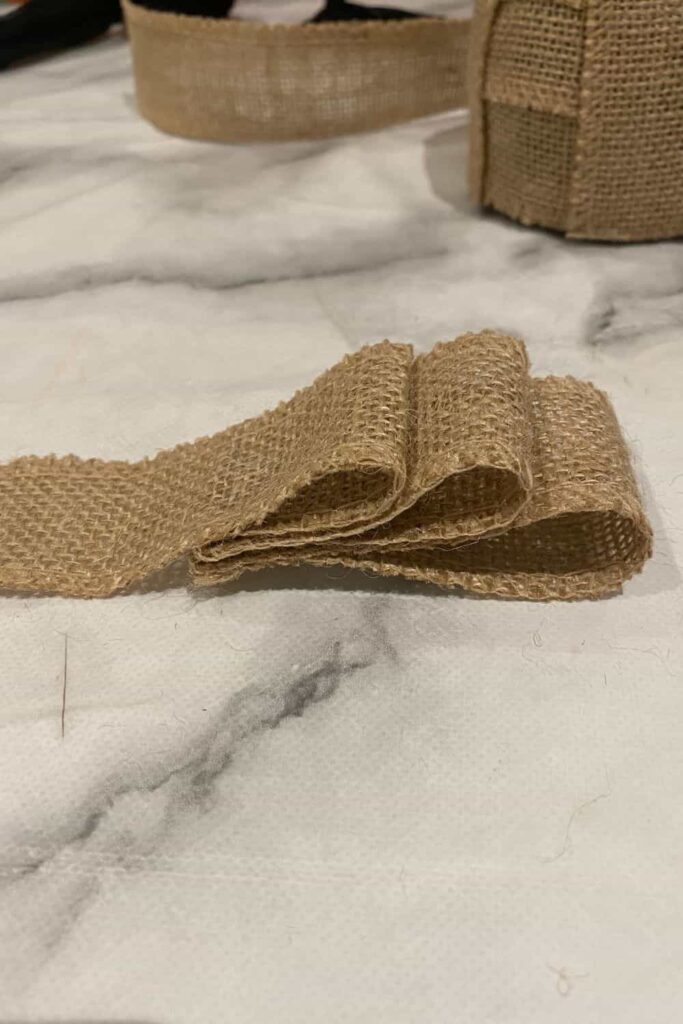
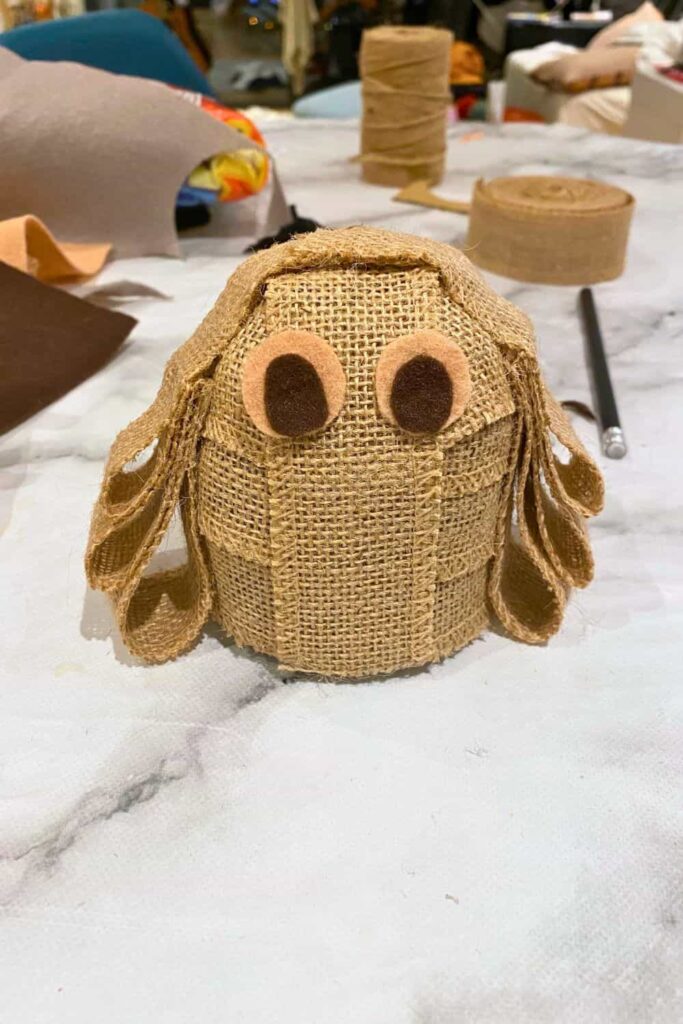
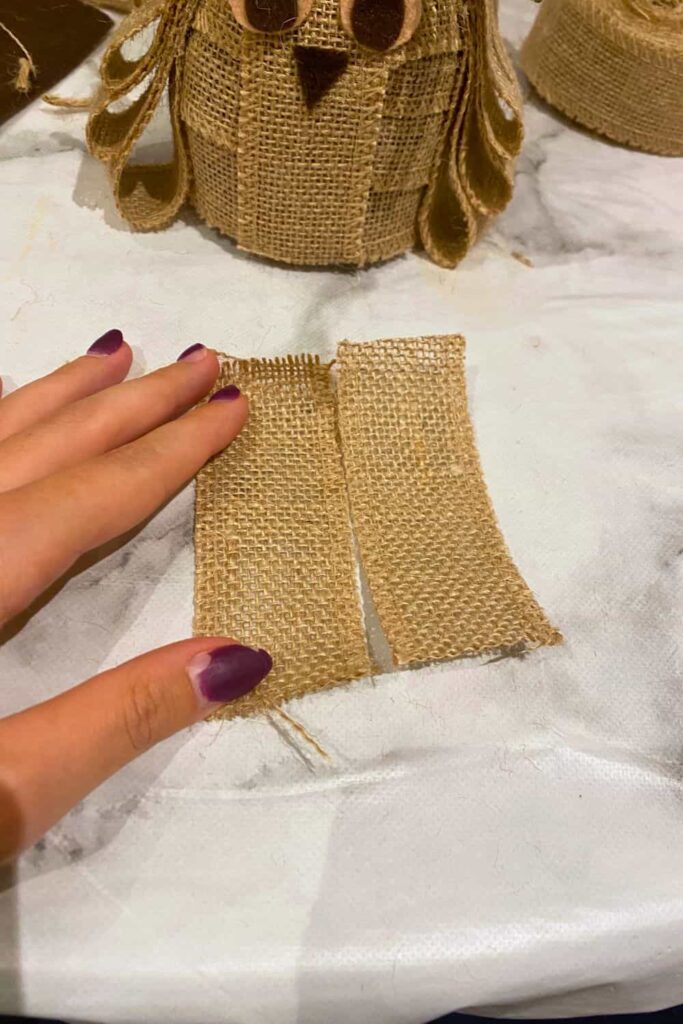
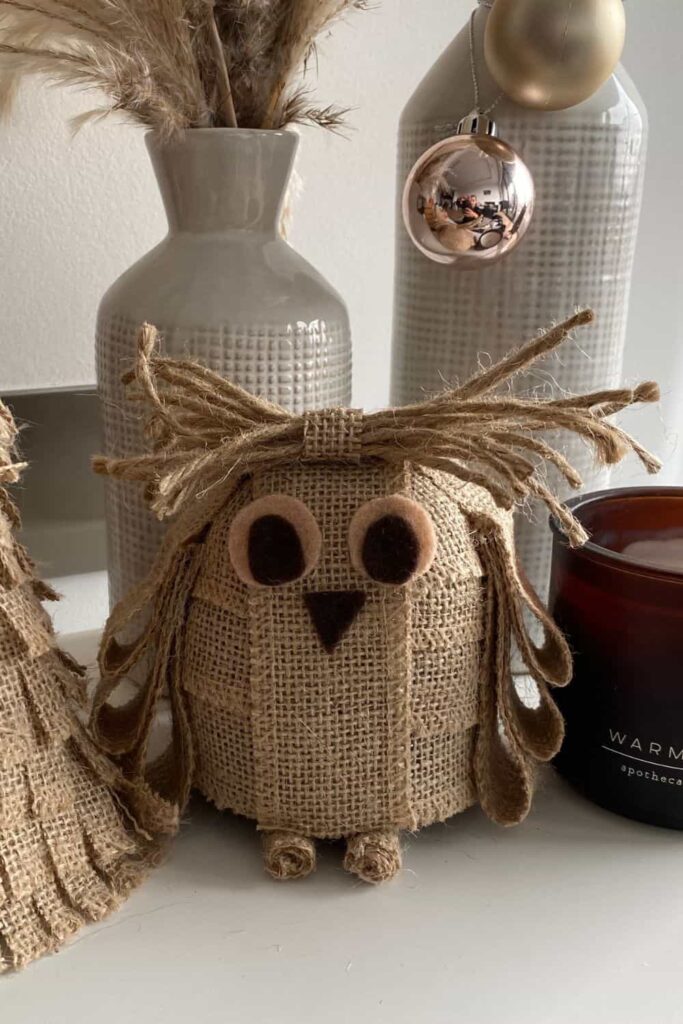
To create the owl’s wings, cut two pieces of burlap, about 18 cm each. I wanted my wings to reach the bottom of the owl, but you can adjust the length depending on your preference.
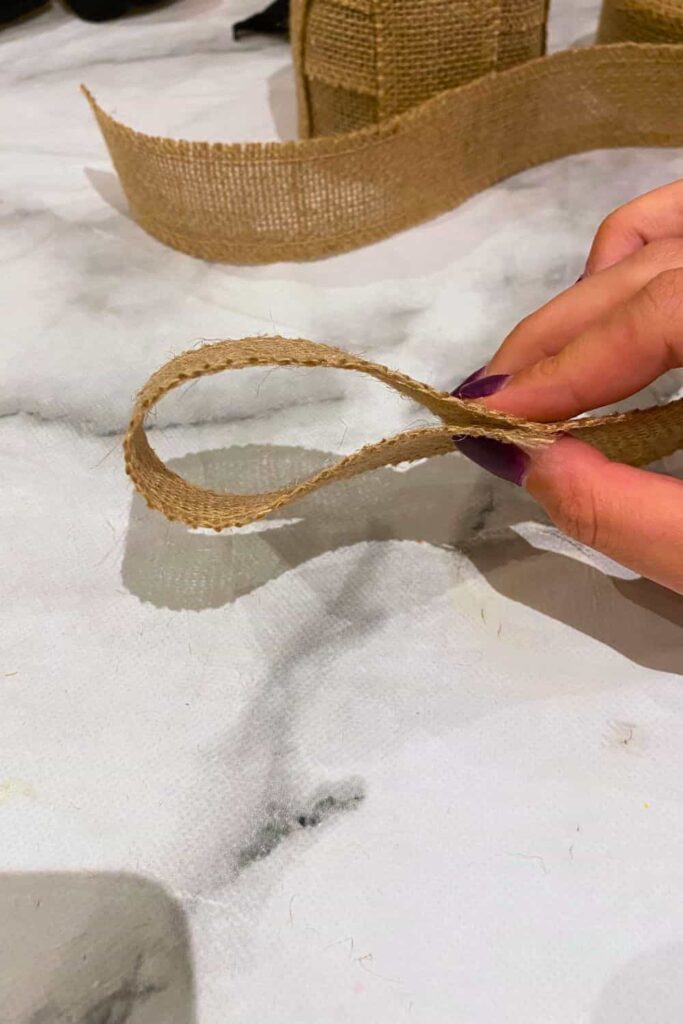
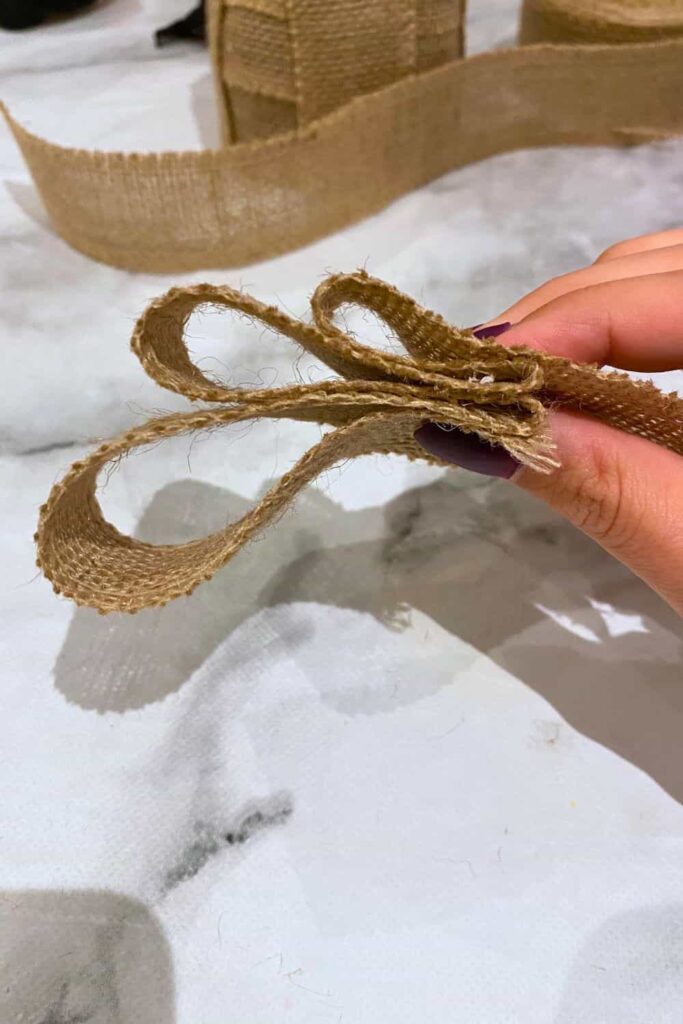
Fold the burlap pieces to form the wing shape, with each fold slightly smaller than the last to give a layered effect. Once you’ve got the shape right, glue the folds together, then glue the wings onto the sides of the owl’s body.
Step 5: Create the Eyes
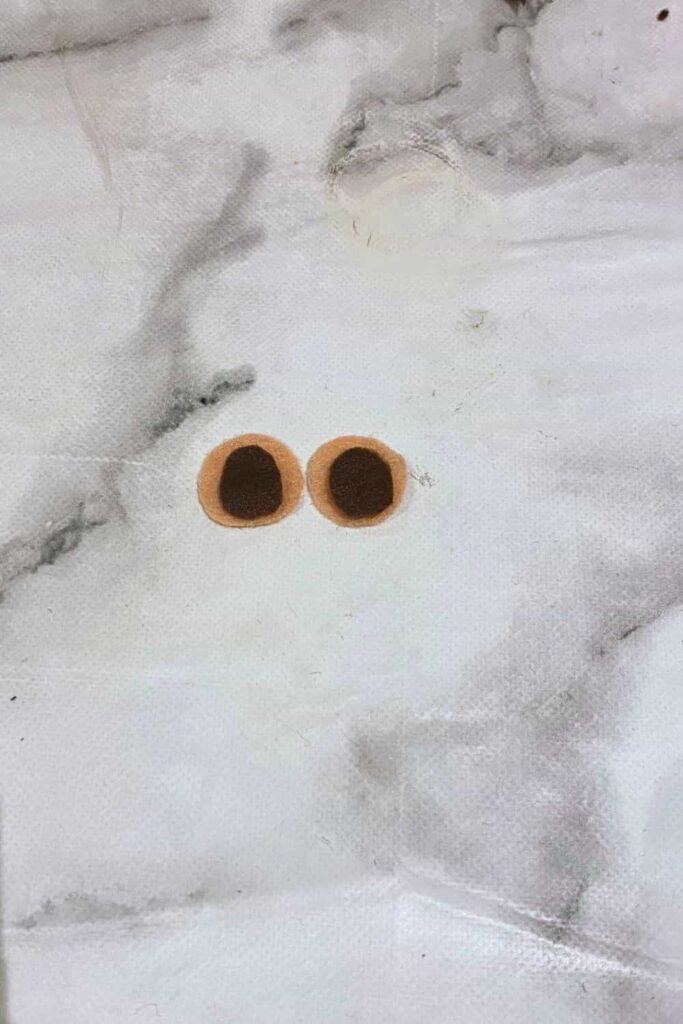
For the eyes, cut out two circles from the beige felt (mine were about 2 cm in diameter). Then, cut two smaller circles from the brown felt. Glue the brown circles onto the beige circles, and then glue the eyes onto the owl’s body. This gives your owl that wide-eyed, curious look!
Step 6: Make the Hair/Ears
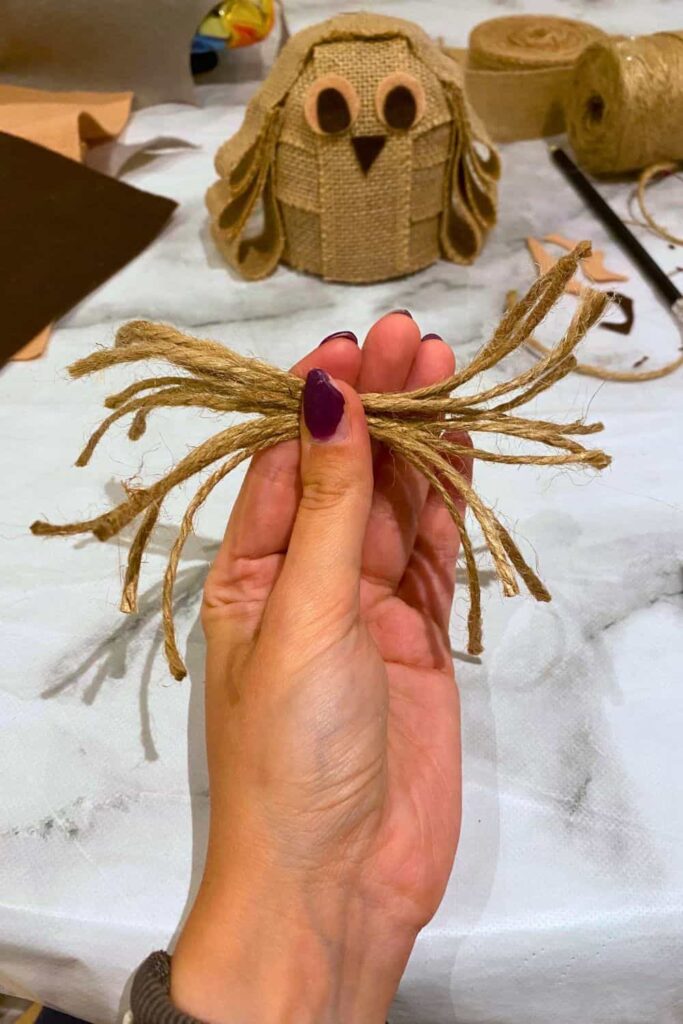
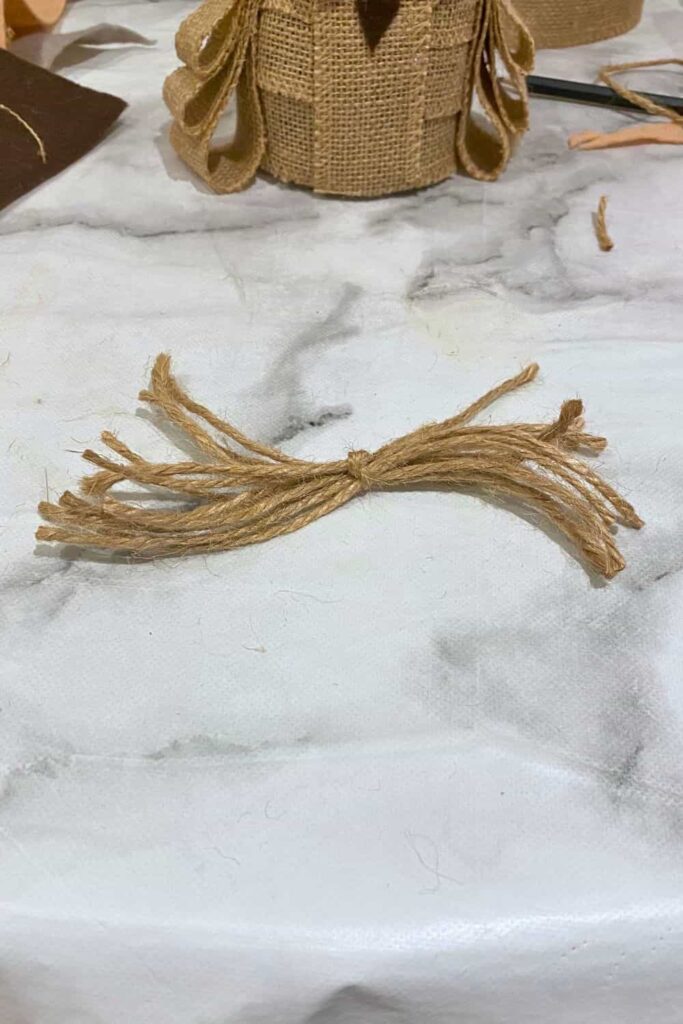
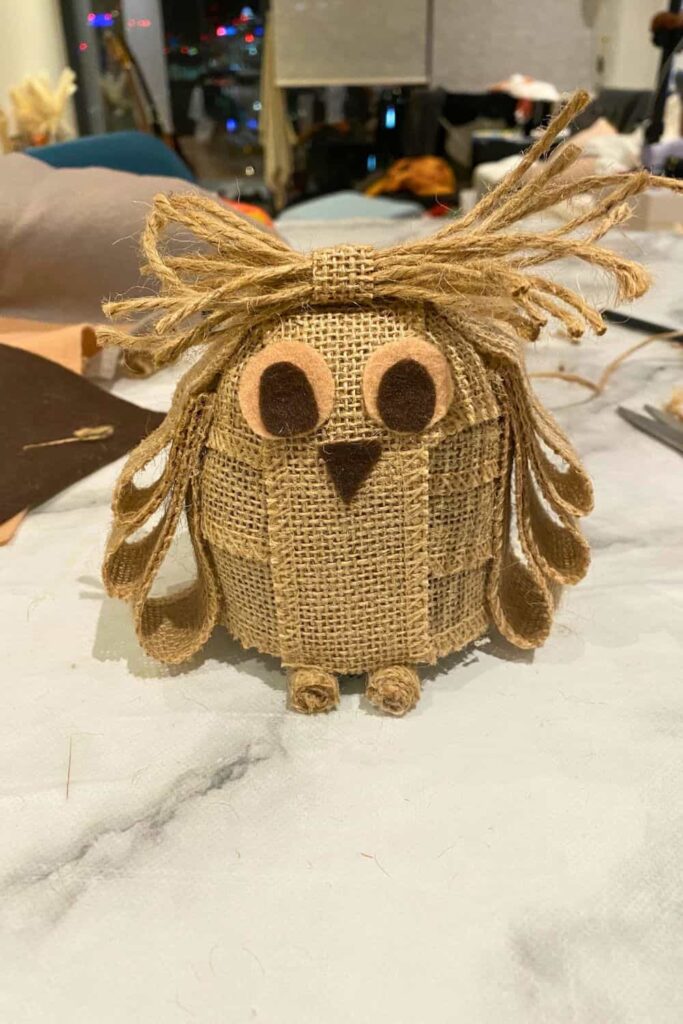
Next, cut about 8 to 10 pieces of twine, each around 10 cm long. Gather them together, and with another piece of twine, tie them in the middle to hold them together.
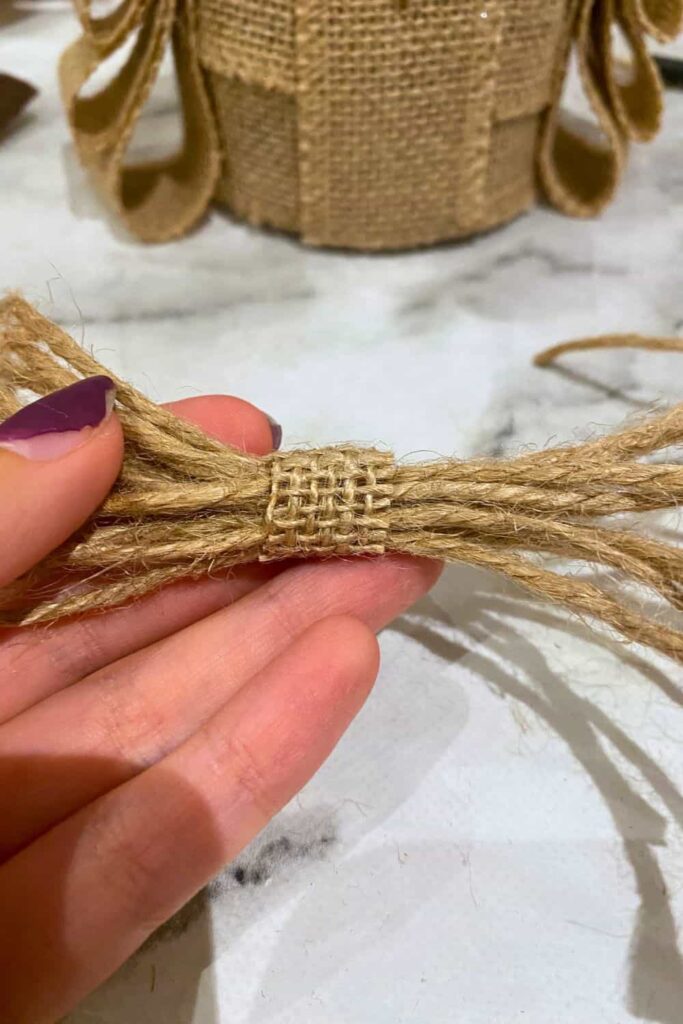
For an extra touch, I wrapped a small piece of burlap around the bundle before gluing it to the top of the owl’s head to act as its hair or ears. You can trim the twine if you want it shorter once it’s glued on.
Step 7: Create the Feet
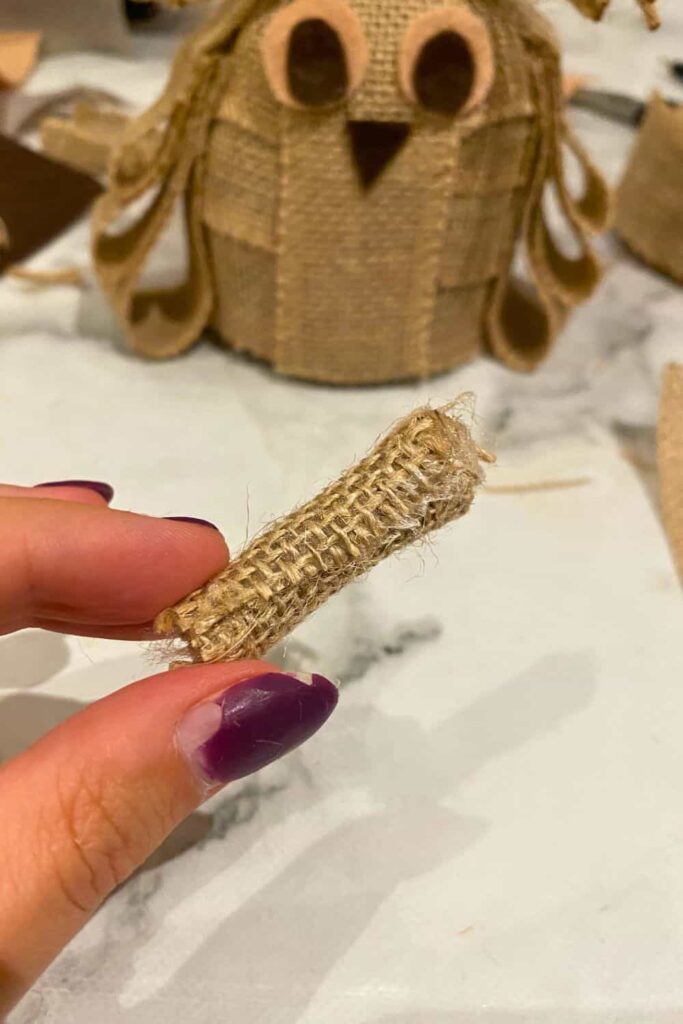
To give your owl some feet, cut two small pieces of burlap (about 4-5 cm long). Roll each piece tightly and glue the ends so they stay in place. Then glue the rolled burlap to the bottom of the owl to give it cute little feet.
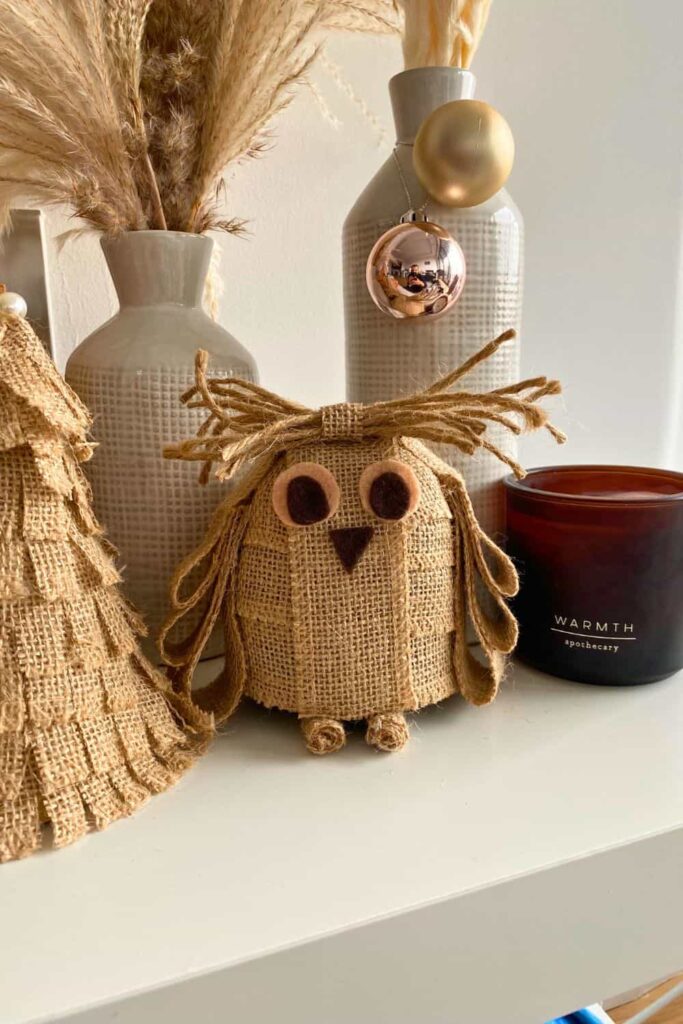
And that’s it! You’ve made your very own 3D burlap owl. I decided to name mine Ollie, because Ollie the Owl just sounded perfect. I’d love to know what you name yours! Let me know if you try this tutorial, and feel free to reach out if you have any questions.
— SAVE THIS POST —
Did you like this post? If you liked this post, don’t hesitate to share it!
Want to save this post? You can pin the following images on pinterest to save this post.
We are Mary and Eric, the founders of Be Right Back, a blog dedicated to romance around the globe and at home.
We are Mary and Eric, the founders of Be Right Back, a blog dedicated to romance around the globe and at home. With over 10 years of experience in dating and traveling to romantic places, we share our favorite date ideas and romantic destinations to help couples level up their relationships. Having lived in and traveled through the USA, we also share our favourite things to do in the States.
With 70,000 monthly readers and 16,000 followers on social media, Be Right Back is your go-to resource for romantic trip ideas and couple activities at home and abroad.

