How to Make Your Own Wedding Bouquet (and Save Money!): Wedding Bouquet DIY Guide
Weddings are magical, but let’s be real, they can also get expensive, especially when it comes to flowers. But if you’re looking for a way to save some money without sacrificing beauty, making your own wedding bouquet is the perfect solution.
Not only does it add a personal touch, but it’s also surprisingly easy to pull off (We’ll keep things simple in order to maintain some sense of sanity here haha). With a little time and creativity, you can create a stunning bouquet that fits your winter theme and budget.
I love how DIY projects like this allow you to make something that feels unique to you, while also giving you full control over the colors, textures, and overall look. If you’re nervous about putting one together yourself, don’t worry, I’ve got you covered with simple, step-by-step tips that will help you create the perfect bouquet.
Let’s walk through each step together, and by the end, you’ll have a gorgeous wedding bouquet that’s just as beautiful as anything from a florist, but way more affordable.
Step 1: Choose Your Flowers (And Mix Real with Faux)
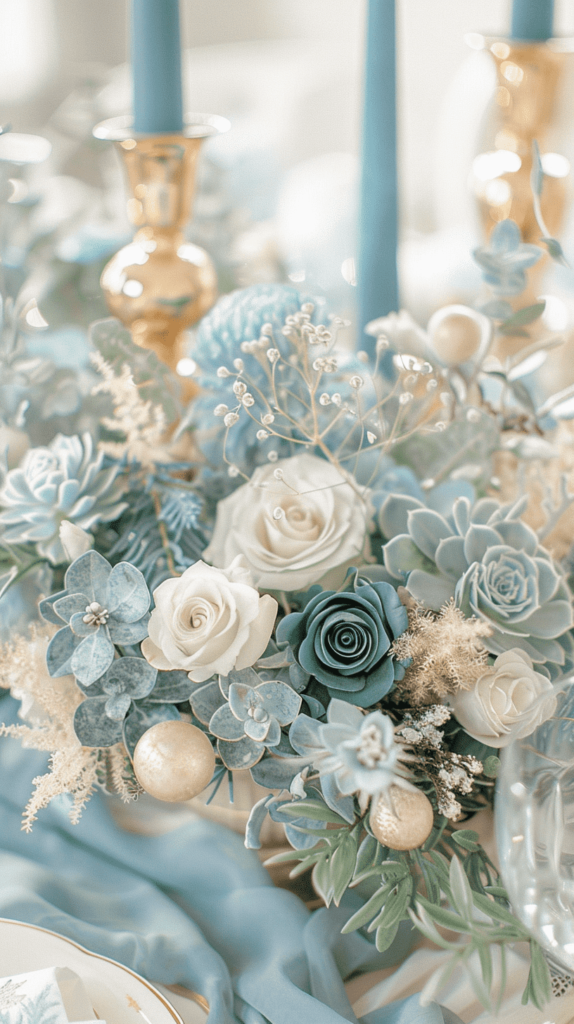
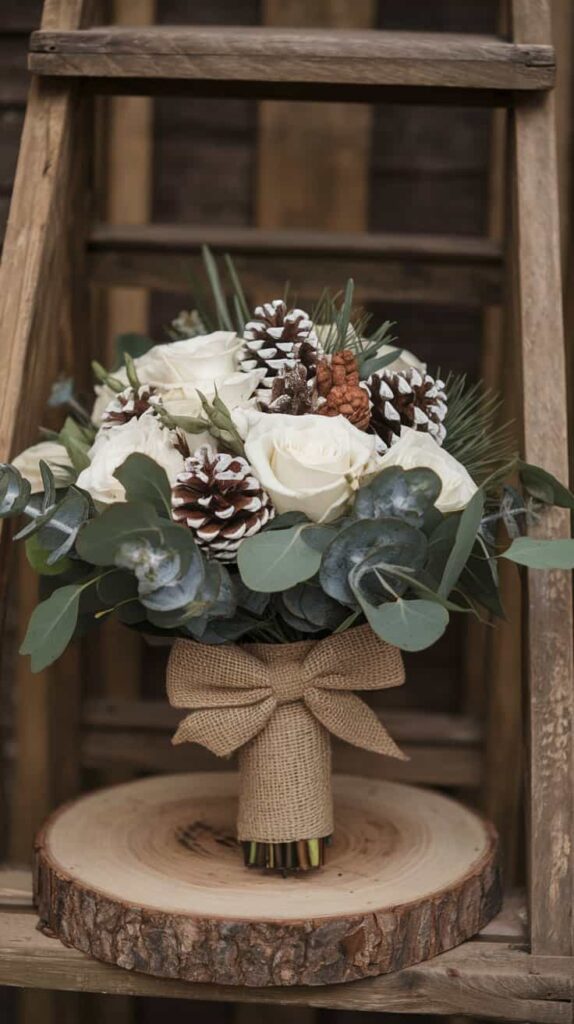
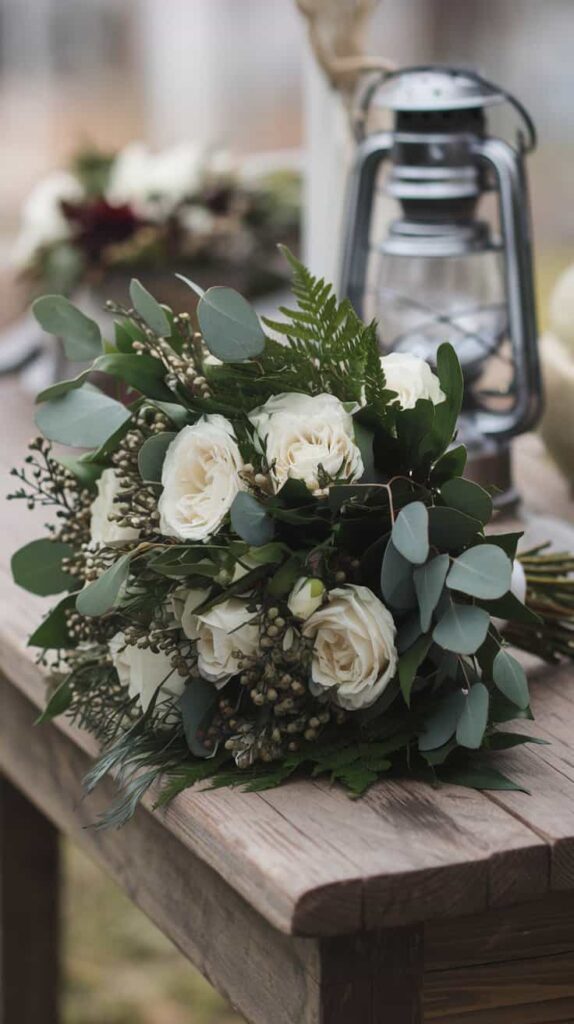
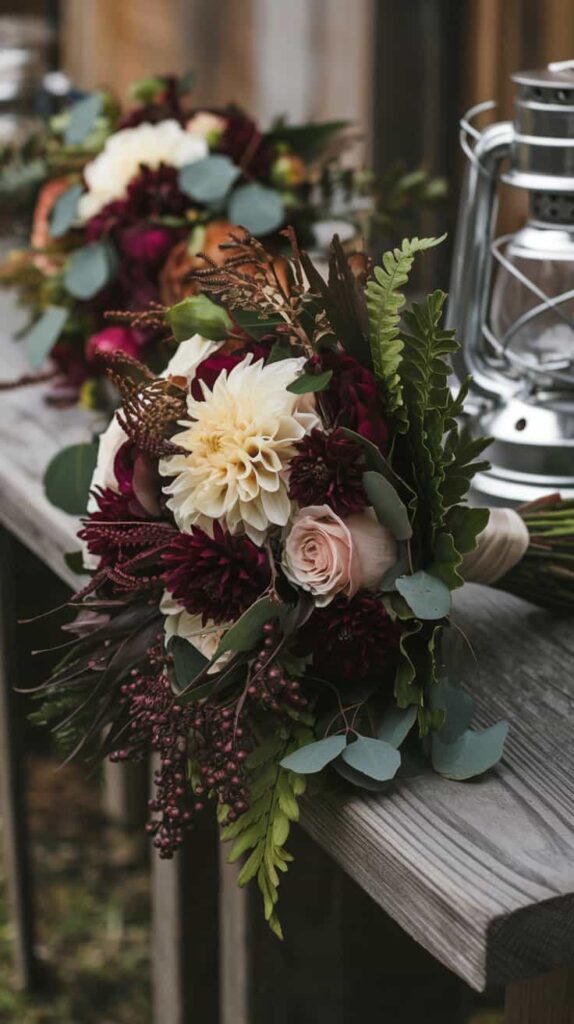
When it comes to winter weddings, certain flowers just naturally fit the season. Think white roses, eucalyptus, baby’s breath, and pine branches.
These all give off a wintery, elegant vibe. The great thing about a DIY bouquet is that you can mix real and faux flowers to cut costs.
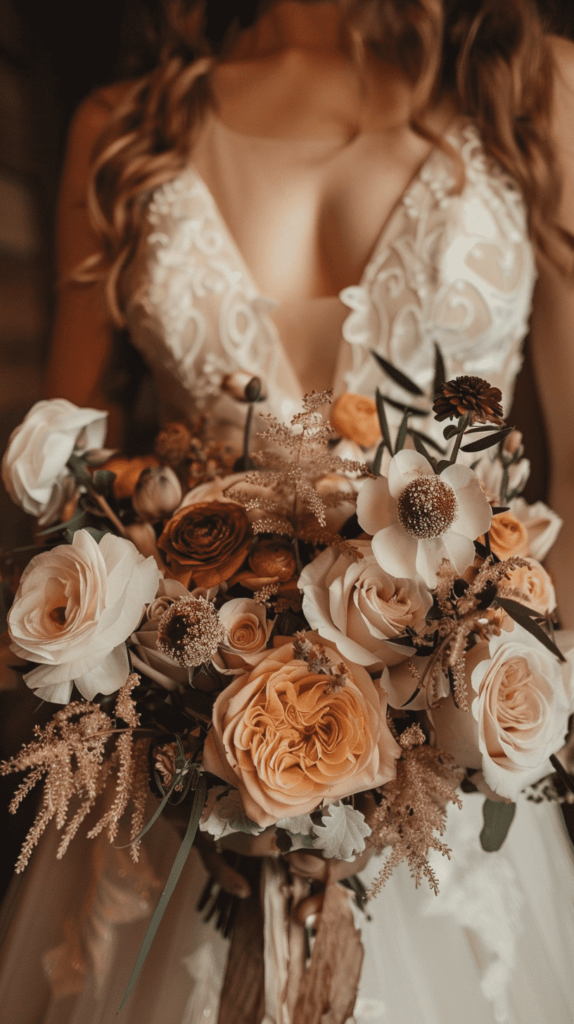
I think using real greenery, like eucalyptus or pine branches, is great because they add a natural look and can be rather cheap or even free! Then, mix in some faux flowers like roses or peonies, these are usually a bit pricier if bought fresh, but faux ones can look just as good and last forever.
My tip: You can roughen the faux flowers as to give them a more real look if they are looking to fake. You can gently file the edges for example to get rid of the “plastic sleek” look.
Step 2: Gather Your Supplies
Before you start assembling your bouquet, make sure you have everything you need at hand. You’ll need:
- floral wire,
- floral tape,
- scissors,
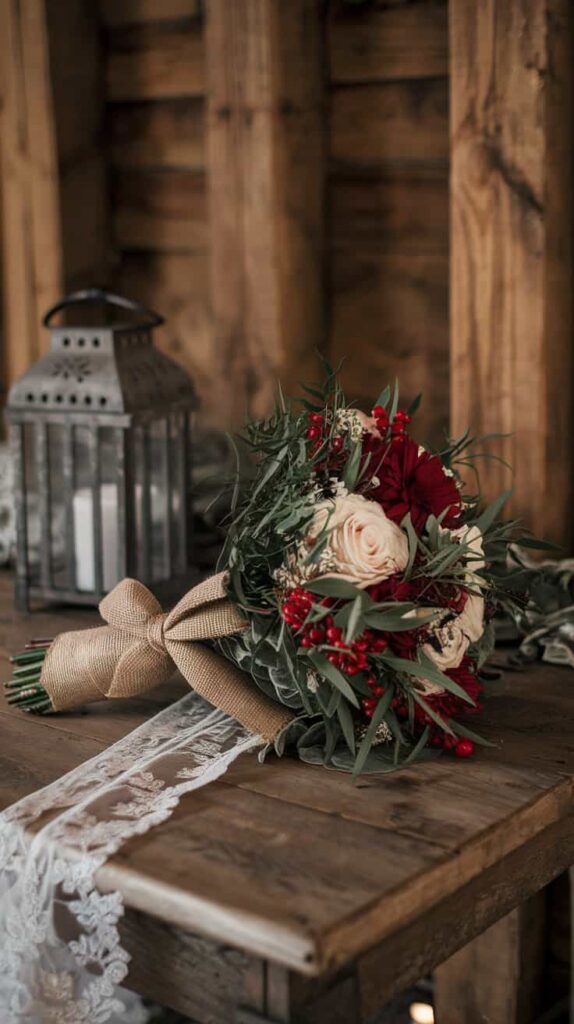
- ribbon, burlap or twine for the handle.
Having all your supplies ready helps keep the process smooth, and trust me, it makes a big difference when you’re in the middle of putting it all together and feel like you could have benefited being born with 5 hands!
Step 3: Start with the Greenery
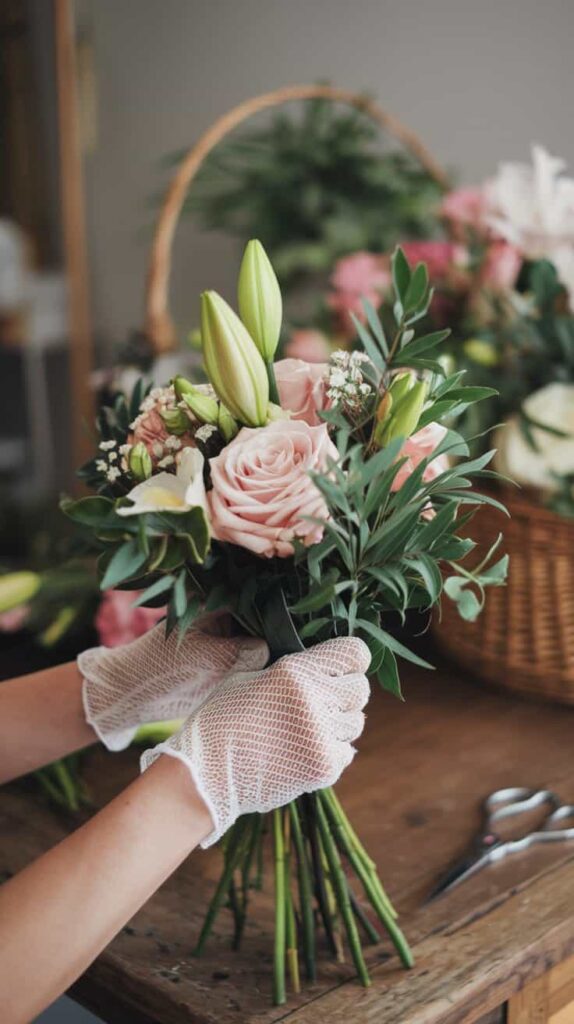
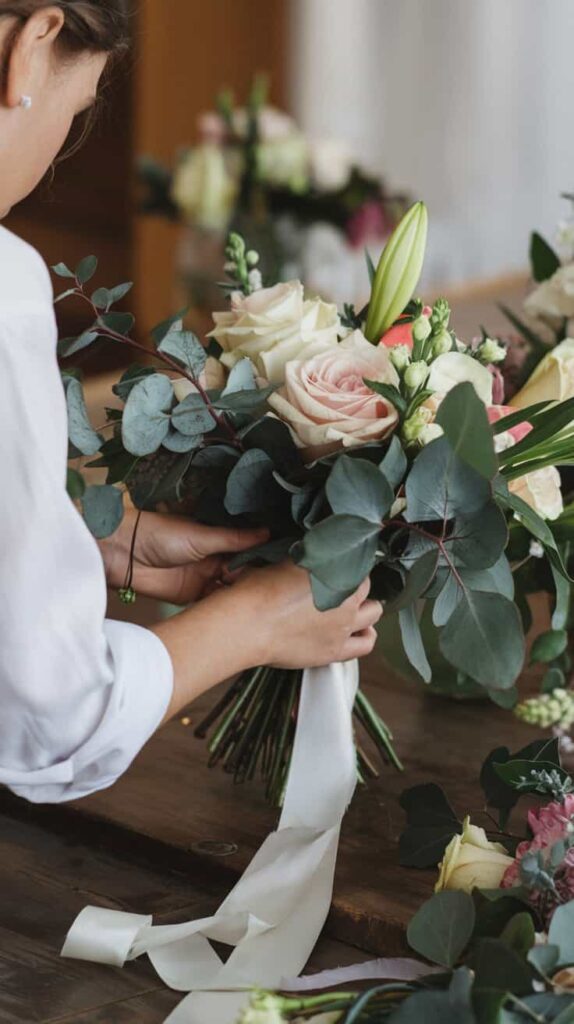
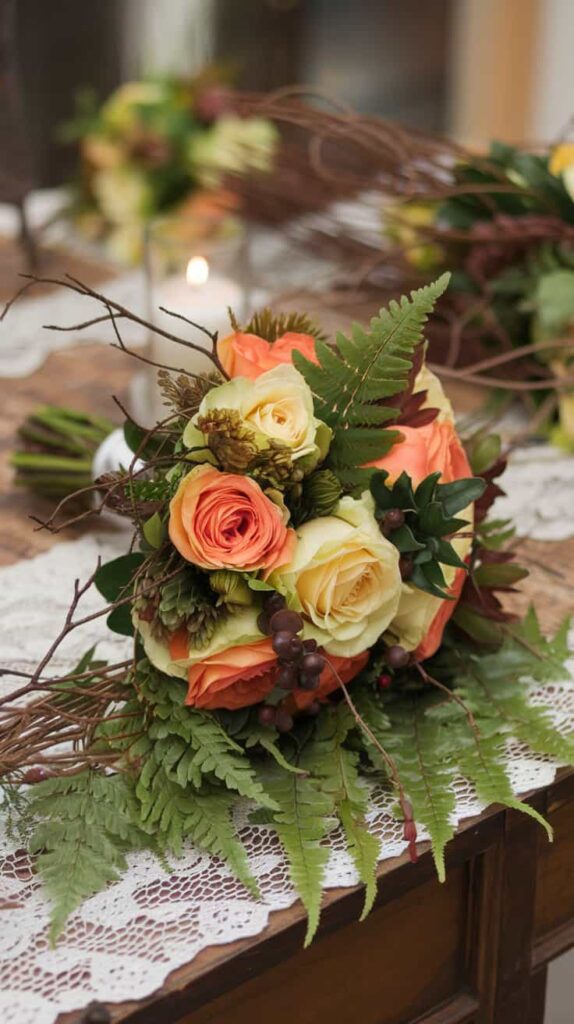
To begin, start with your greenery, like eucalyptus, fern or pine branches. These form the base of your bouquet and help shape it. I suggest holding a few stems in my hand and adjusting them until I’m happy with how they look.
The greenery helps give the bouquet a fuller look. Layer them at different heights and lengths to create dimension. This step also helps you figure out the shape of your bouquet and how full you want it.
Step 4: Add in the Larger Flowers
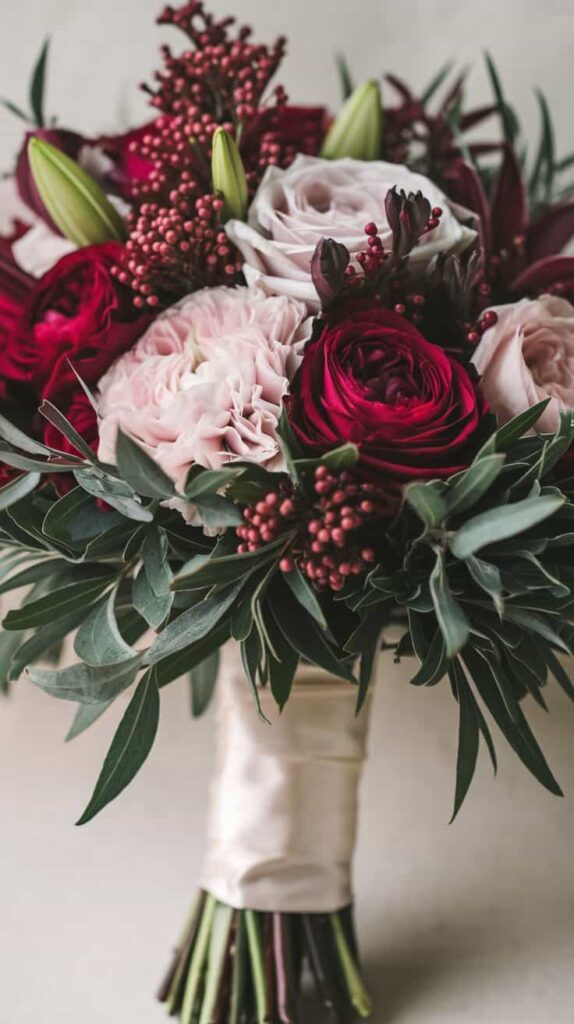
Once you’ve got the greenery in place, it’s time to add your larger flowers. This could be white roses, faux peonies, or even some red dahlias.
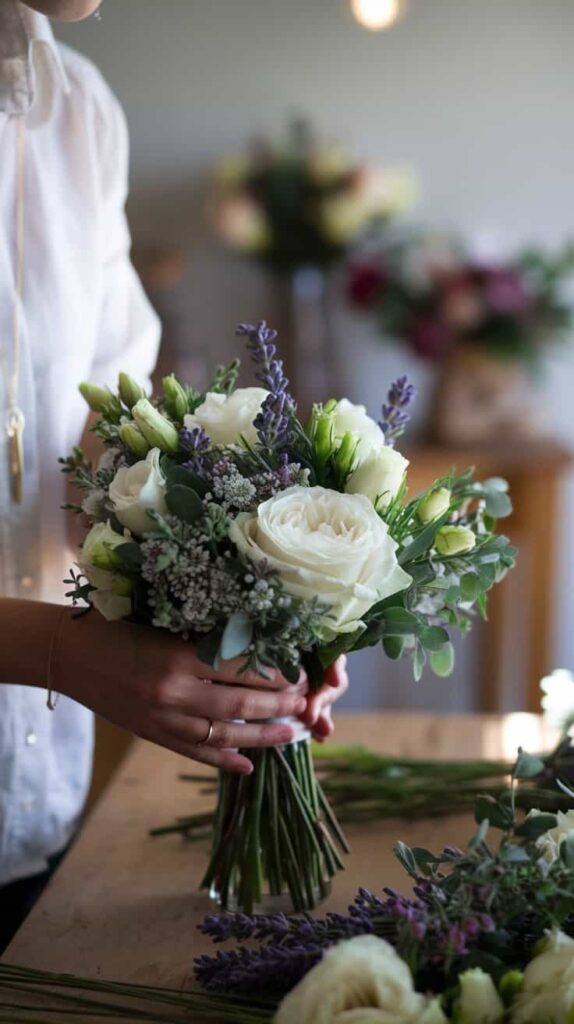
Place them in a staggered pattern, weaving them through the greenery to create balance. I recommend keeping your larger flowers toward the center of the bouquet, as they become the focal point, while smaller accent flowers or fillers can be placed around them.
Step 5: Layer in Smaller Flowers and Accents
Next, it’s time to add in smaller flowers like baby’s breath, pinecones, or even some faux berries if you’re having a winter wedding. These small accents really make a bouquet feel festive and full of texture.
Don’t be afraid to mix it up here: pinecones, pearls, or even a little sparkle can give your bouquet a nice look. Just tuck them in around the larger flowers and greenery until everything looks balanced.
Step 6: Secure Everything with Floral Wire and Tape
Once your bouquet looks the way you want, it’s time to secure everything together. Wrap the stems tightly with floral wire to hold everything in place.
I recommend starting at the top and work my way down, making sure the wire is snug but not too tight to avoid crushing the stems. After the wire, cover it with floral tape to keep things neat and hide the wire.
Step 7: Finish with Ribbon or Twine
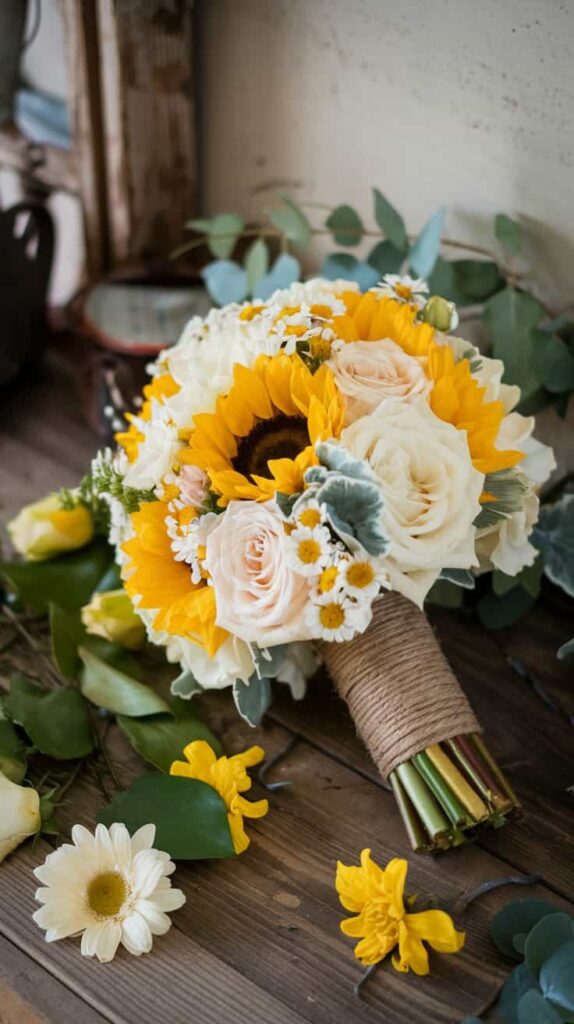
The last step is to wrap the handle with ribbon, burlap or twine to give your bouquet a polished look. You can use satin ribbon for a more traditional look or rustic twine if you’re going for a more chic rustic look.
Secure the ribbon or twine with a few dabs of hot glue or a pin, and you’re done! The handle should feel secure and comfortable to hold.
Step 8: Store Your Bouquet Properly Until the Big Day
If you’ve made your bouquet ahead of time, make sure to store it properly until your wedding day. If you’re using fresh flowers, keep the bouquet in water to keep the blooms looking their best. For faux flowers, storing them in a cool, dry place will help them keep their shape.
My tip: If you’re using real flowers, don’t forget to remove them from the water an hour before your ceremony so th flowers aren’t wet when it’s your turn to hold them.
With just a few easy steps, you’ve now created a beautiful wedding bouquet that not only saves you money but adds a personal touch to your special day. I love how DIY bouquets can feel so much more meaningful, especially when you’ve taken the time to craft something that reflects your style. Plus, since you mixed real and faux flowers, you’ll have a keepsake that can last long after the wedding is over!
If this post inspired you and you decide to make your own wedding bouquet, please make sure to send me a photo so I can share it here!
More Like This
- 15 Stunning Burnt Orange Wedding Color Combinations to Inspire Your Big Day
- 15 Stunning Burnt Orange Wedding Arch Ideas for Your Big Day
- 24 Stunning Burnt Orange Wedding Table Decoration Ideas
- 20 Rustic Fall Wedding Aisle Decor Ideas That Feel Cozy and Timeless
- 34 Stunning Fall Wedding Arch Ideas And How To DIY Them
— SAVE THIS POST —
Did you like this post? If you liked this post, don’t hesitate to share it!
Want to save this post? You can pin the following images on pinterest to save this post.
We are Mary and Eric, the founders of Be Right Back, a blog dedicated to romance around the globe and at home.
We are Mary and Eric, the founders of Be Right Back, a blog dedicated to romance around the globe and at home. With over 10 years of experience in dating and traveling to romantic places, we share our favorite date ideas and romantic destinations to help couples level up their relationships. Having lived in and traveled through the USA, we also share our favourite things to do in the States.
With 70,000 monthly readers and 16,000 followers on social media, Be Right Back is your go-to resource for romantic trip ideas and couple activities at home and abroad.

