Quick And Easy No Bake Protein Balls With Chocolate Chips
Chickpea protein balls with almond butter are one of those snacks that feel like a treat but are actually packed with good-for-you ingredients. They’re soft, slightly chewy, and have just the right amount of sweetness. Plus, they’re ridiculously easy to make; no baking, no complicated steps, just toss everything into a blender, roll into balls, and you’re done.
I love these because they hit that perfect balance between healthy and delicious. The chickpeas add protein and fiber without making them taste like, well, chickpeas. The almond butter gives them a creamy texture, and the chocolate chips bring just enough sweetness to make them feel indulgent.
And the best part? You can customize them however you like. Want them a little crunchier? Add chopped nuts. Prefer them sweeter? Drizzle a little extra maple syrup.
These are great for meal prep too. I keep a batch in the freezer and grab one whenever I need a quick snack. They’re also perfect before or after a workout, and since they don’t have any processed ingredients, you won’t get that sugar crash that comes with store-bought protein bars. If you need a snack that’s filling, easy to make, and actually tastes good, these protein balls are the answer.
Tips for Making the Best Chickpea Protein Balls
- Make sure to drain the chickpeas well – Too much liquid will make the mixture too soft, and the balls won’t hold their shape. Save a little chickpea water just in case, but don’t overdo it.
- Use a high-powered blender or food processor – A weaker blender might struggle with the thickness of the mix. If blending gets stuck, add a small splash of chickpea water to get things moving.
- Chill before eating – These taste best after setting in the freezer for at least 30 minutes. The texture firms up, making them easier to handle and more satisfying to eat.
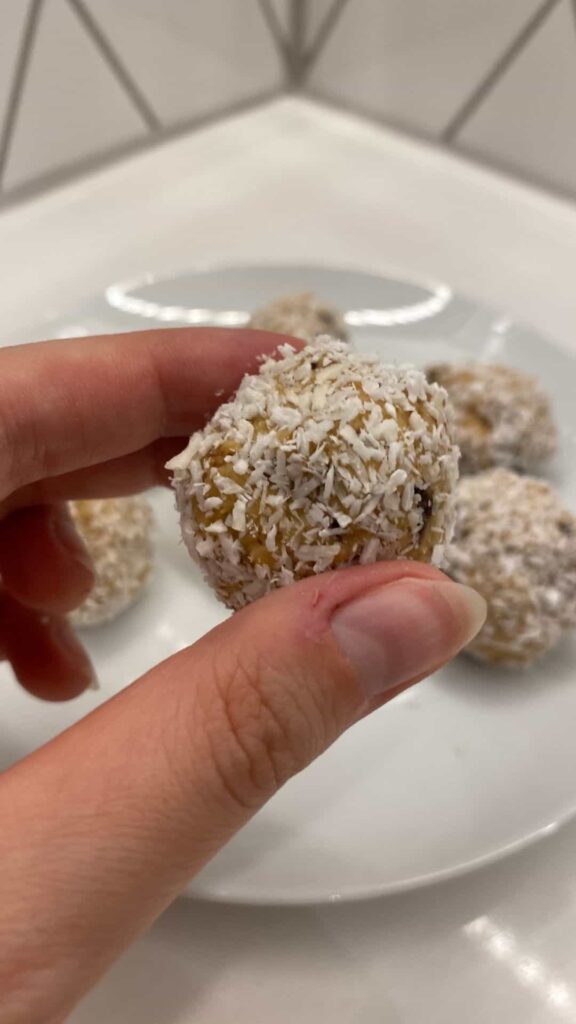
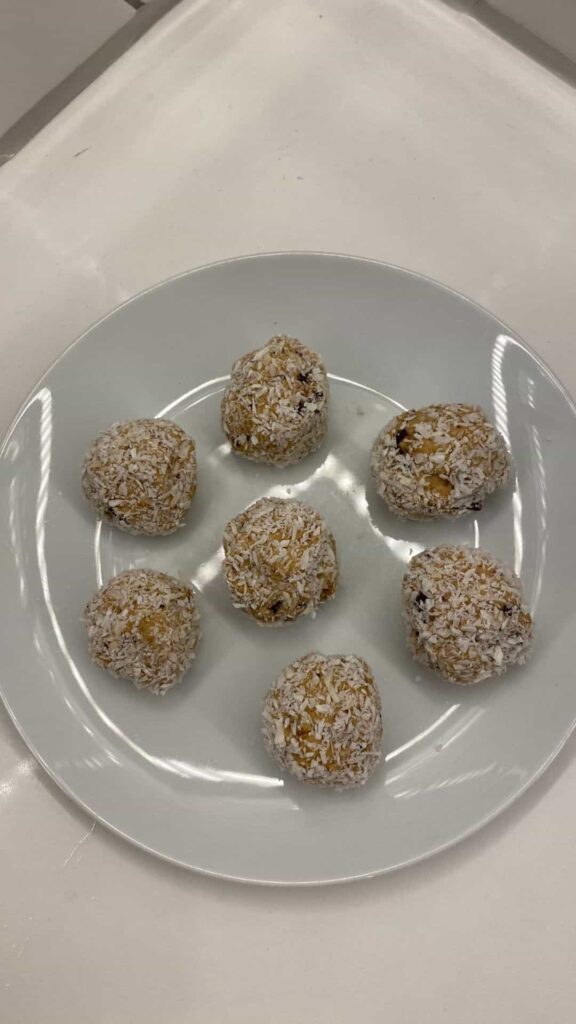
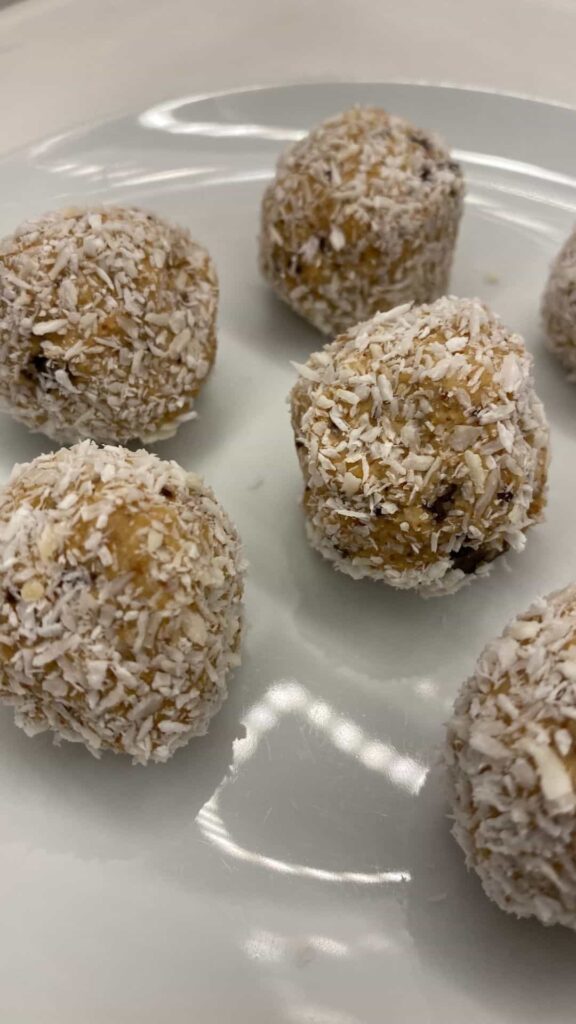
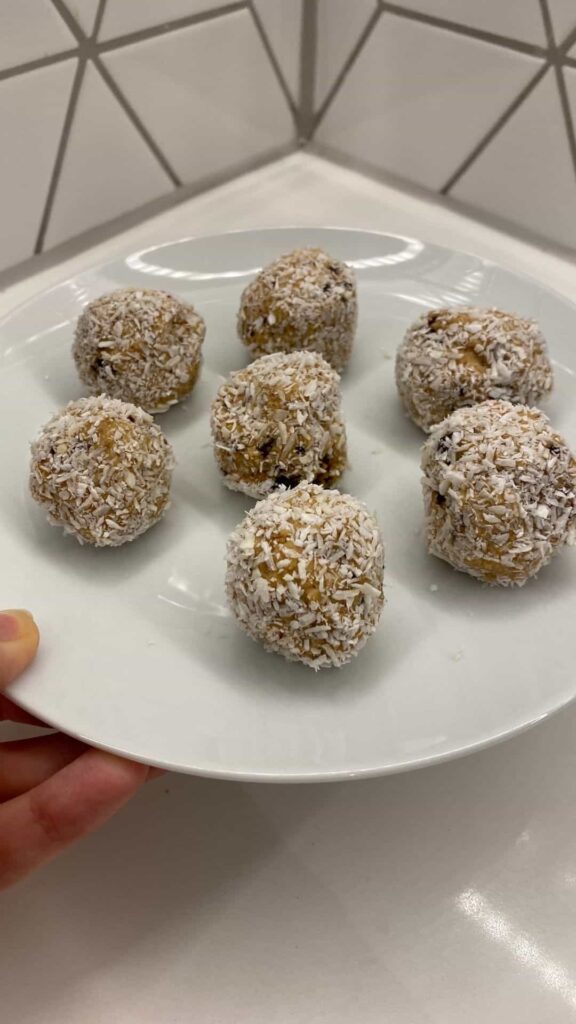
- Roll in coconut for extra flavor – The desiccated coconut isn’t just for looks; it adds a slight crunch and enhances the flavor.
Ingredients
- Chickpeas – 1 can (about 400g / 14oz)
- Almond butter – ½ cup (about 2-3 tbsp)
- Desiccated coconut – ⅓ cup (about 30g / 1oz)
- Oats – 3 tbsp (a pack of instant oats works fine)
- Chocolate chips – ¼ cup (about 45g / 1.6oz) – I like to make these myself by cutting my favorite Morrisons dark chocolate!
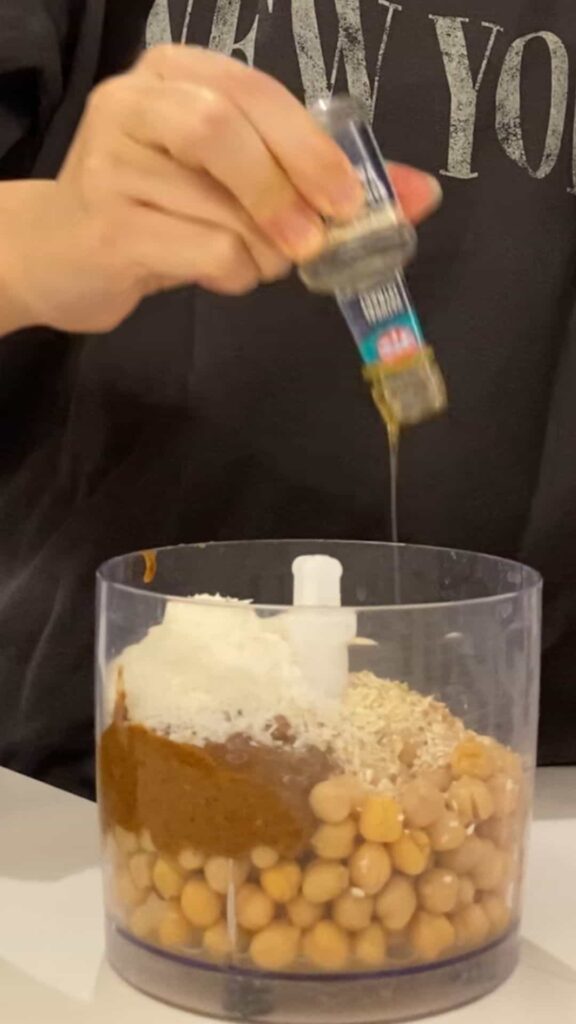
- Vanilla extract – 1 tsp
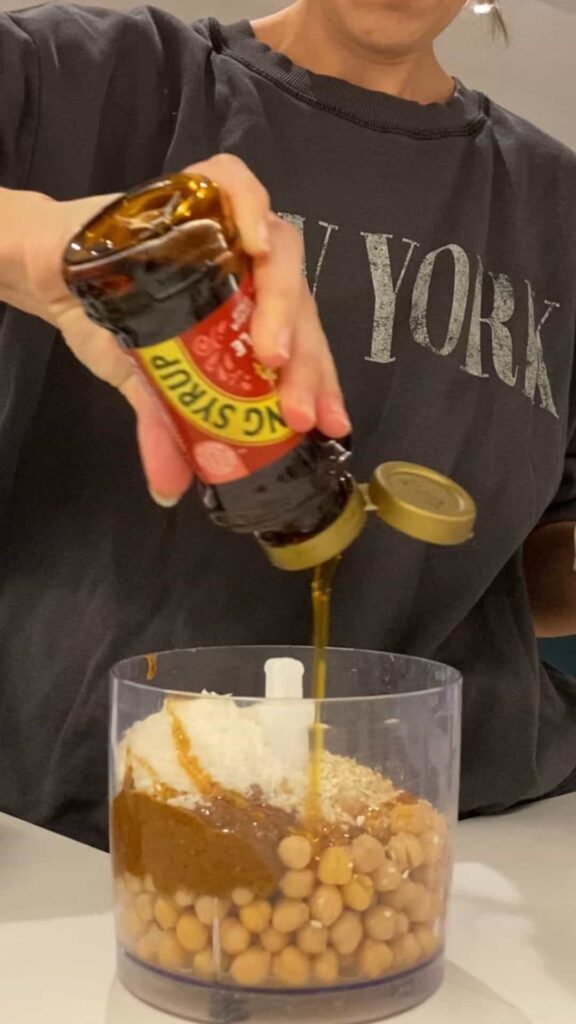
- Maple syrup – ¼ cup (about 60ml / 2fl oz)

Alternative Ingredients
- Almond butter substitute: If you don’t have almond butter, peanut butter works just as well. Cashew butter is another great option for a slightly sweeter taste.
- Oats: If you prefer a grain-free version, ground flaxseeds or almond flour can replace the oats.
- Chocolate chips: Swap them for cacao nibs for a less sweet, more intense chocolate flavor. If you want a fruitier twist, dried cranberries or raisins also work.
- Maple syrup: Honey or agave syrup can replace the maple syrup with no problem.
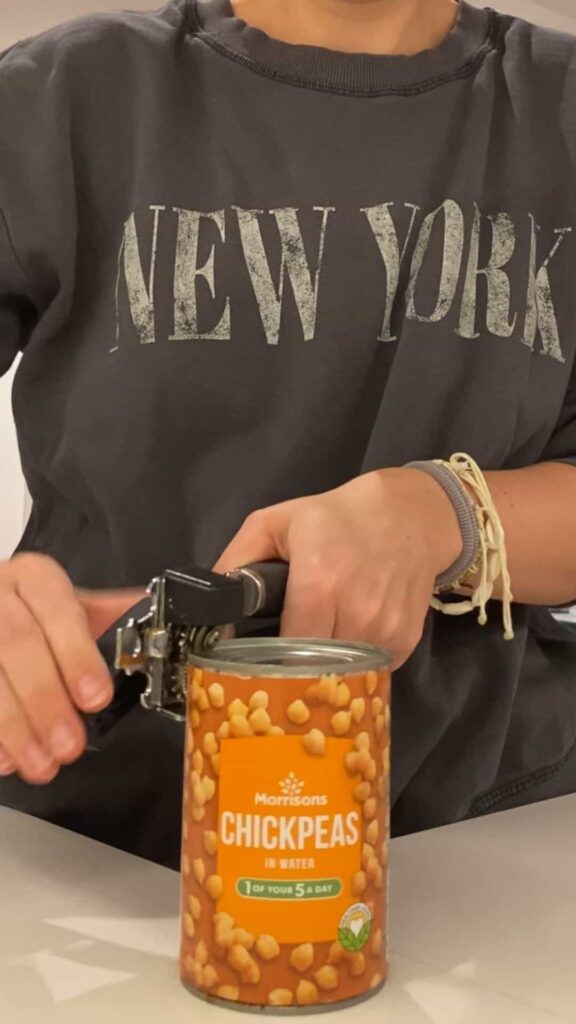
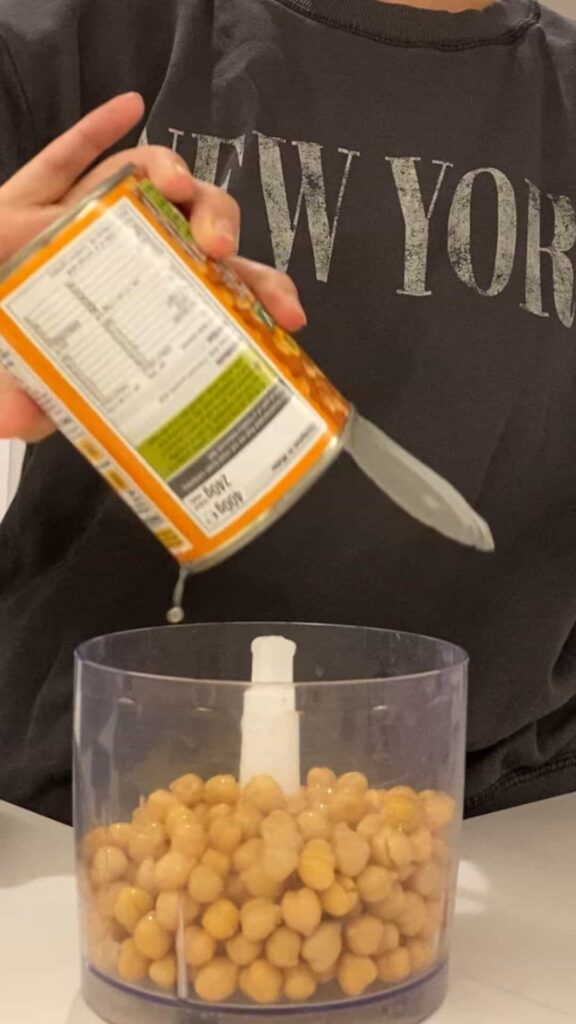
Step 1: Drain the Chickpeas
Open the can of chickpeas and drain them well. Set aside a little of the chickpea water in case you need it later. Too much liquid can make the mixture too soft, so start with dry chickpeas and only add liquid if necessary.
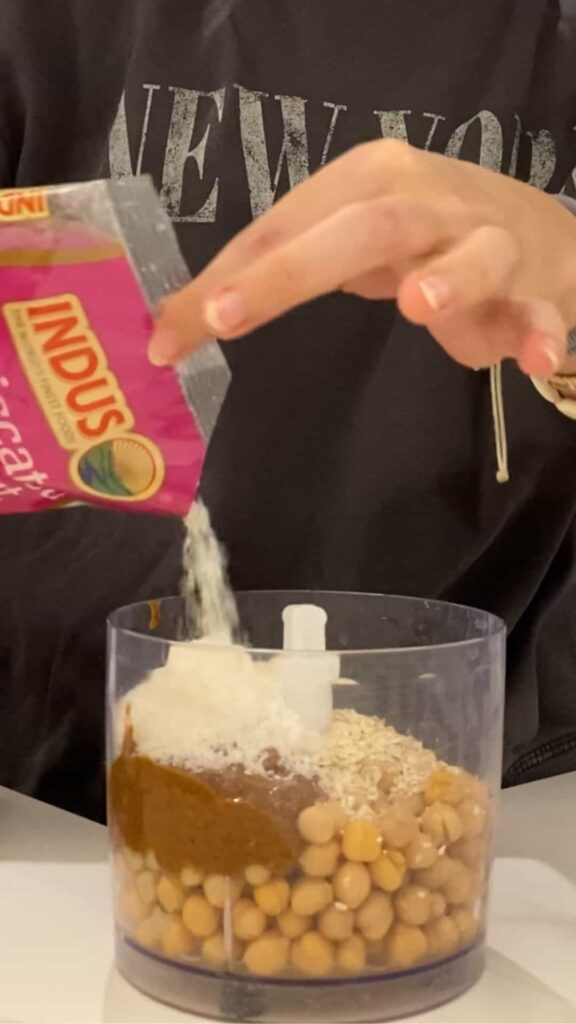
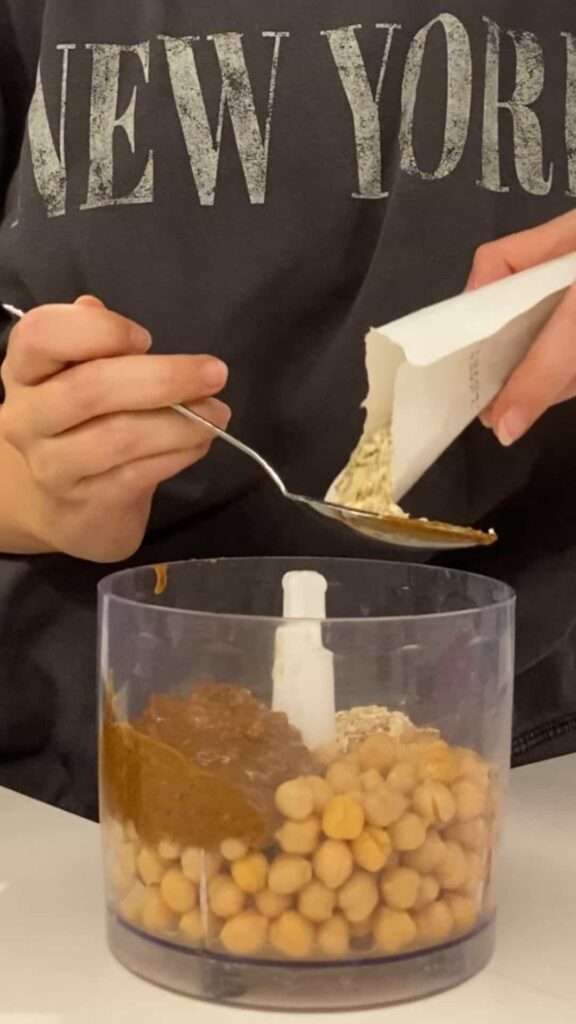
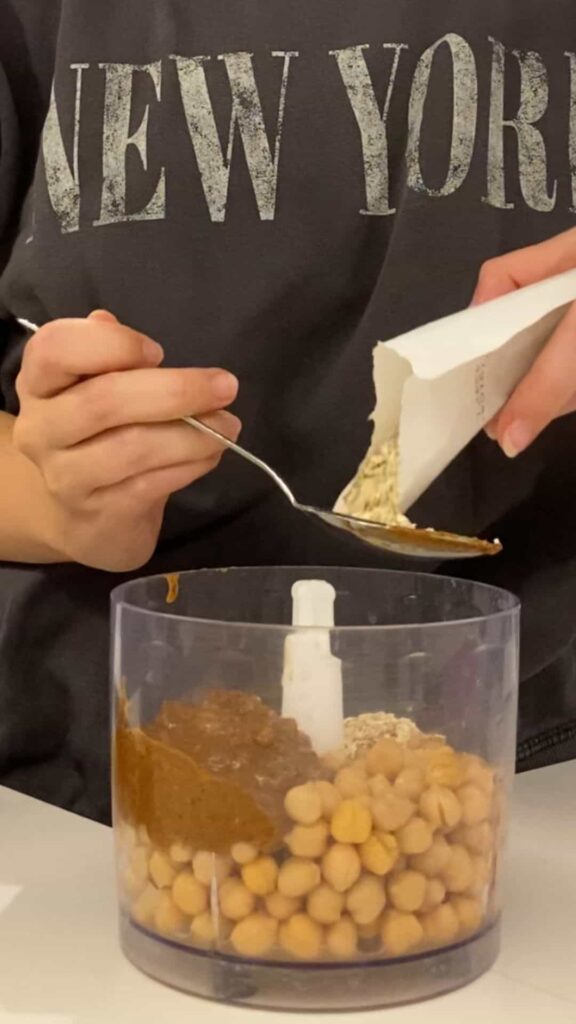
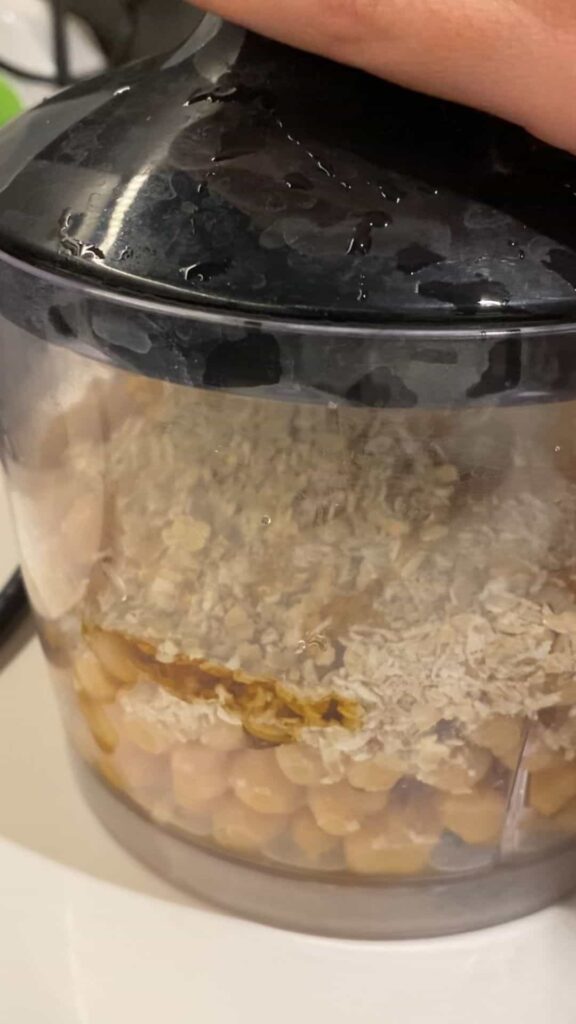
Step 2: Blend the Ingredients
Add the drained chickpeas, almond butter, oats, vanilla extract, maple syrup, and desiccated coconut to a blender or food processor. Blend until you get a thick, smooth mixture. If your blender struggles, add a tiny bit of the reserved chickpea water to help it along—but don’t add too much or the mixture will get too soft.

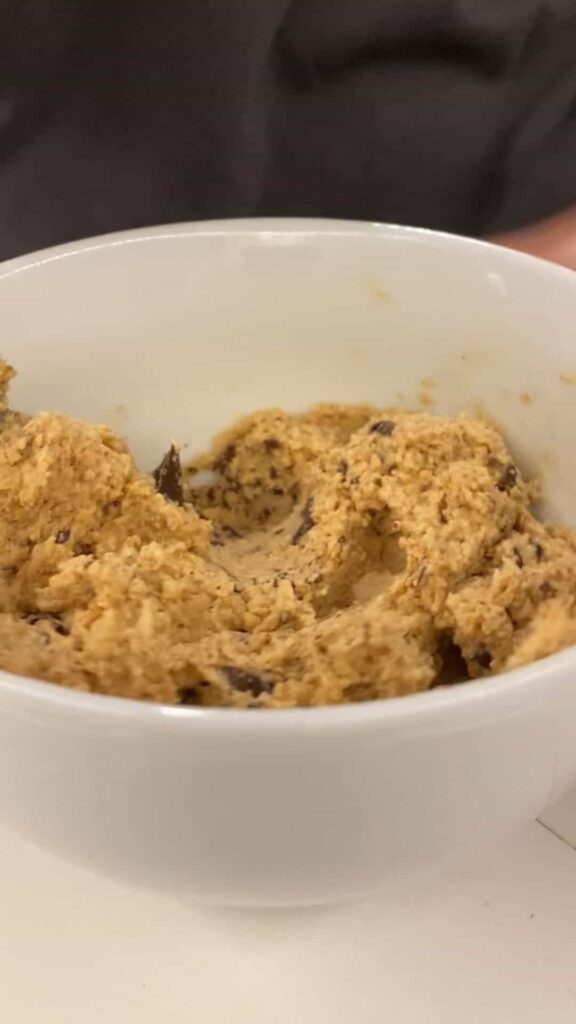
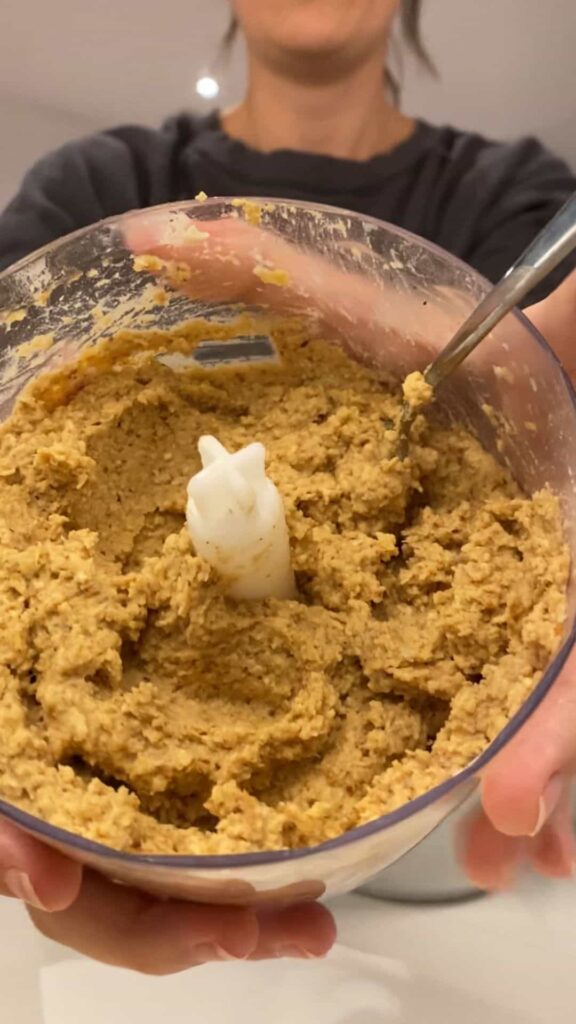
Step 3: Mix in the Chocolate Chips
Transfer the blended mixture into a bowl. Add the chocolate chips and stir until they’re evenly distributed. The mix will be thick and slightly sticky, which is perfect for forming into balls.
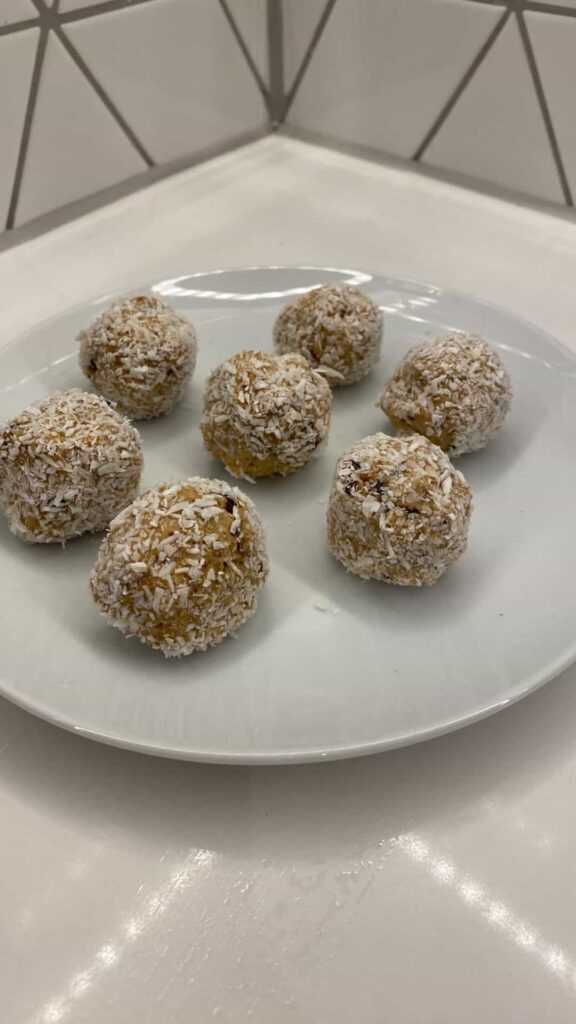
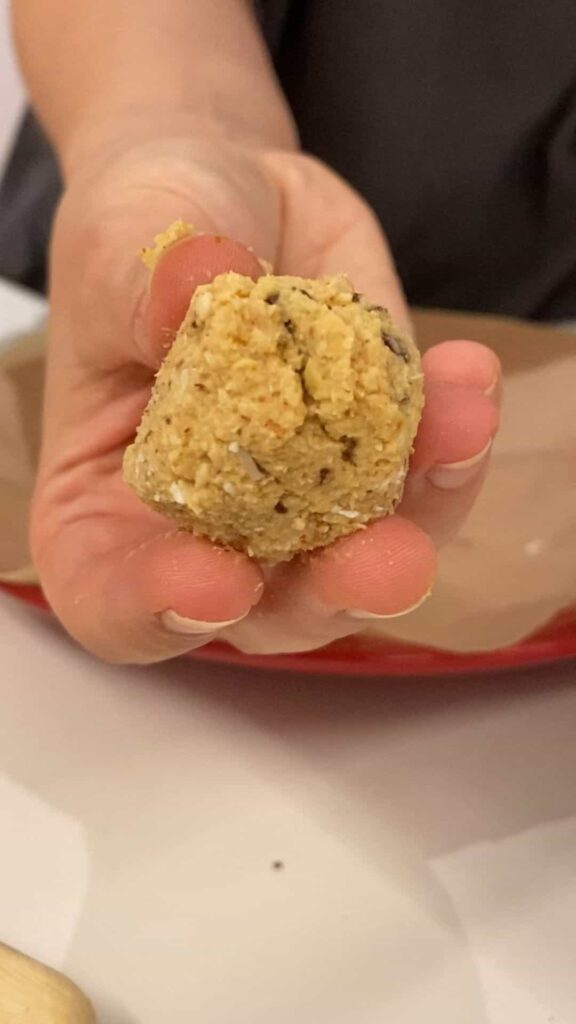
Step 4: Roll into Balls
Take small portions of the mixture and roll them into bite-sized balls with your hands. If the mixture is too sticky, lightly wet your hands to make rolling easier.
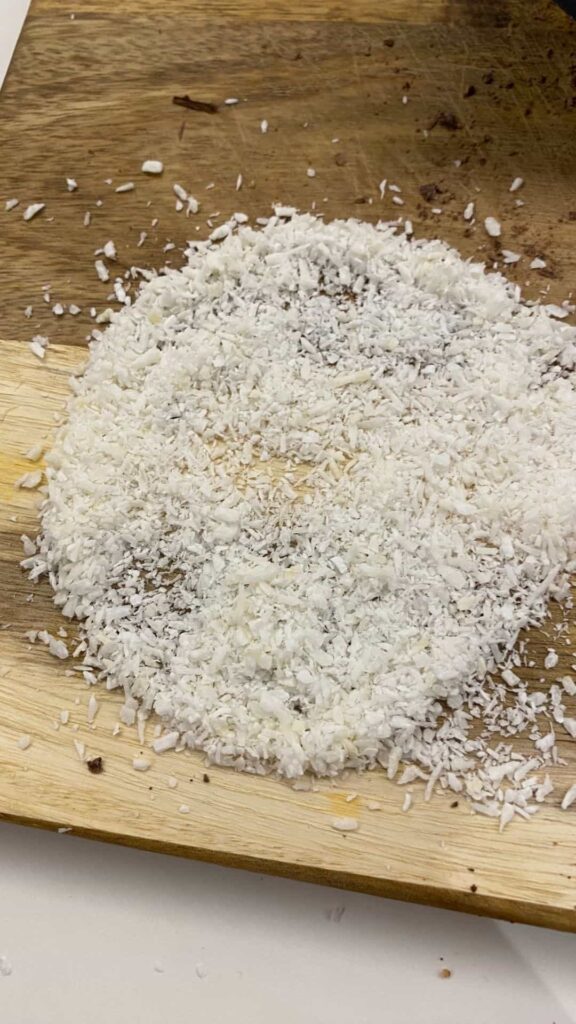
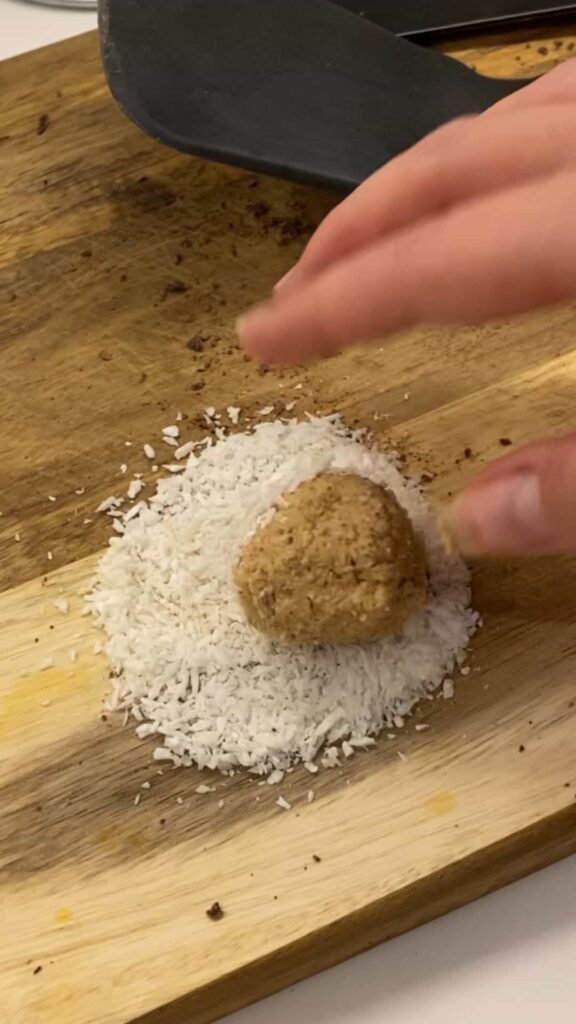
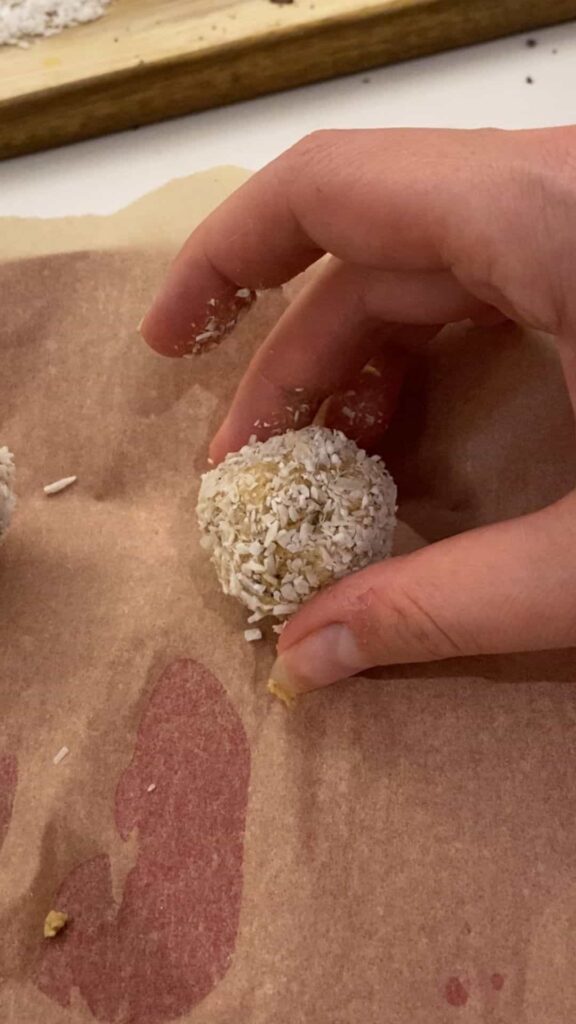
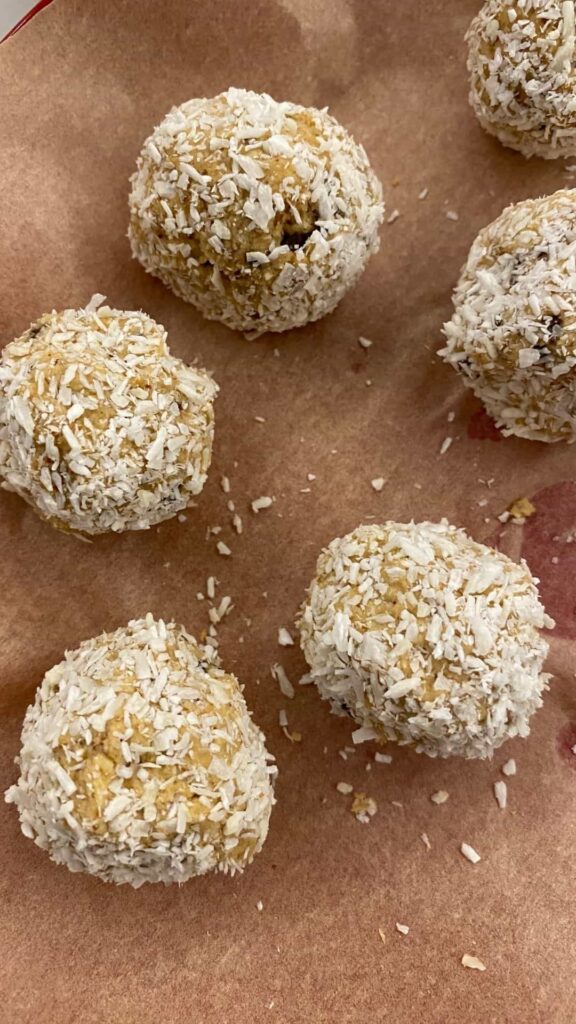
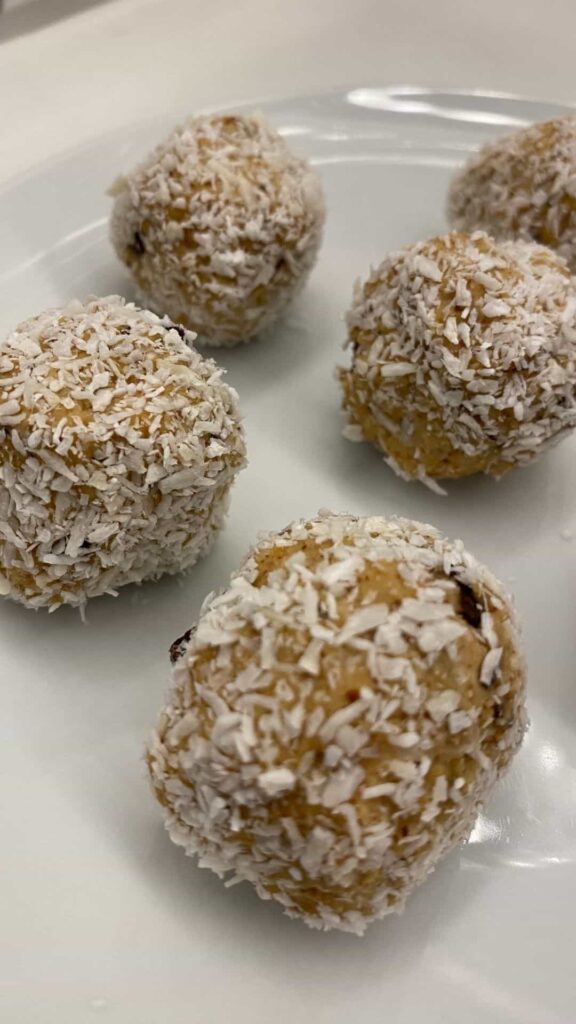
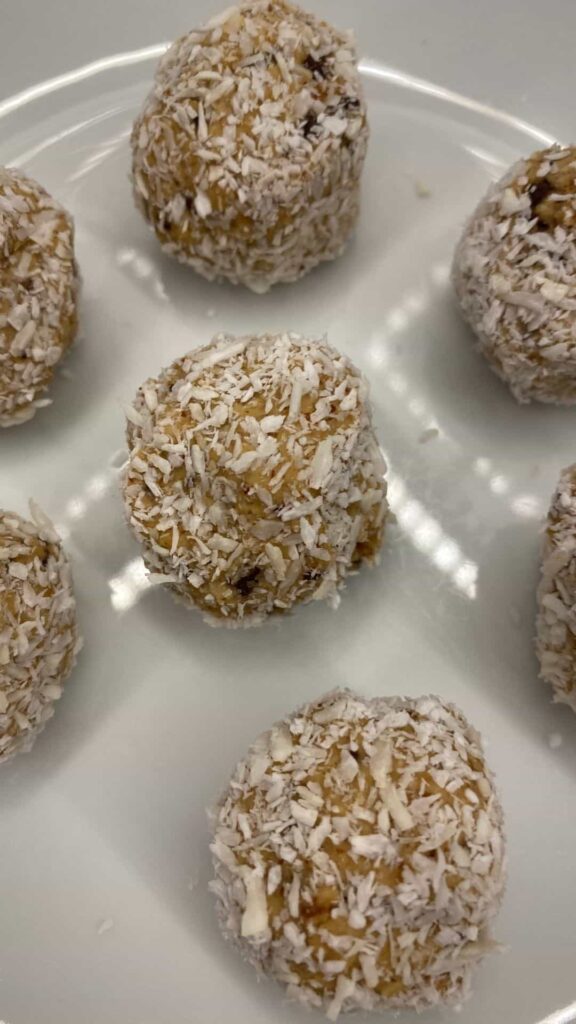
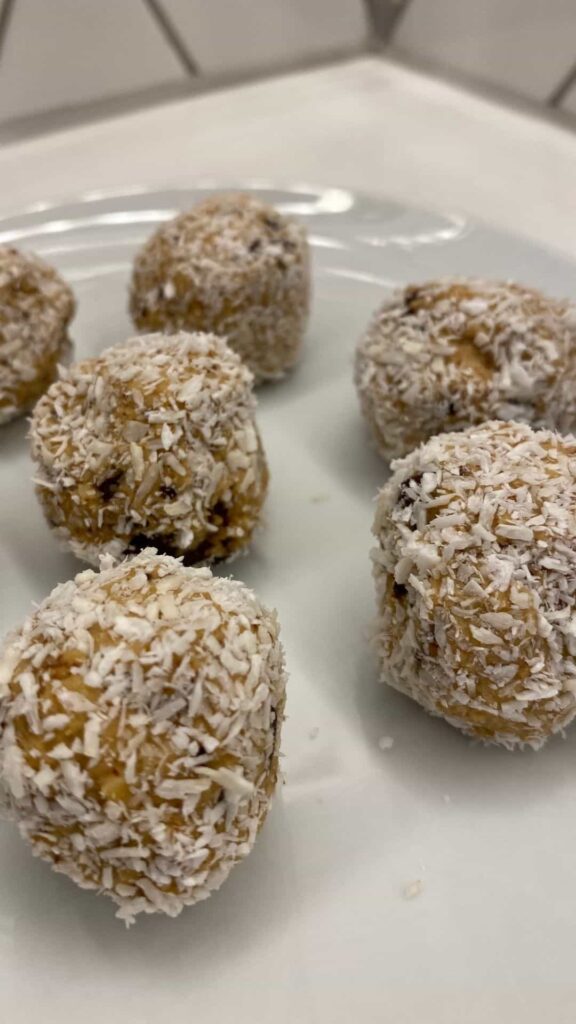
Step 5: Coat with Coconut
Pour a little extra desiccated coconut onto a plate. Roll each ball in the coconut until fully coated. This adds a nice texture and extra flavor.
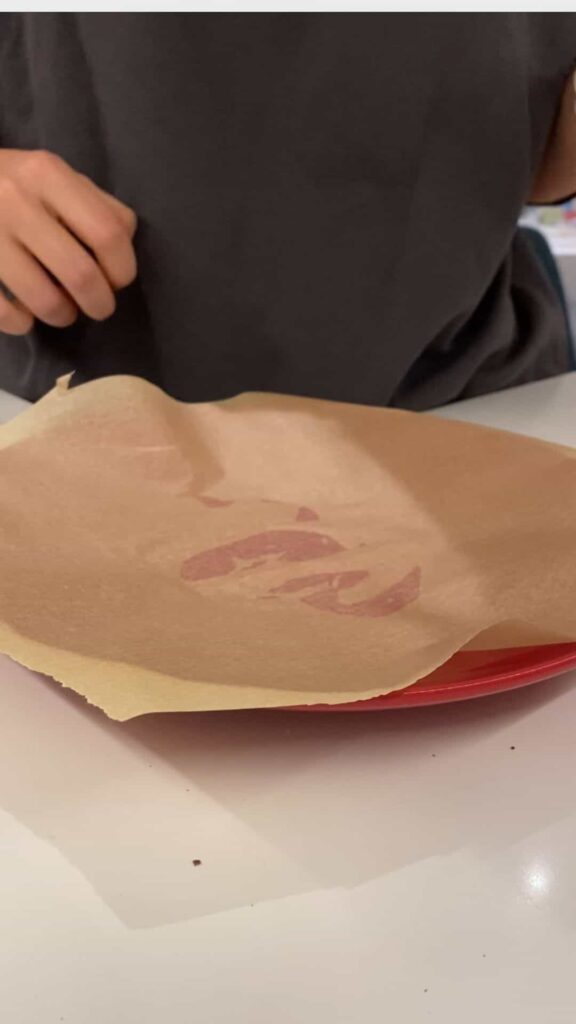
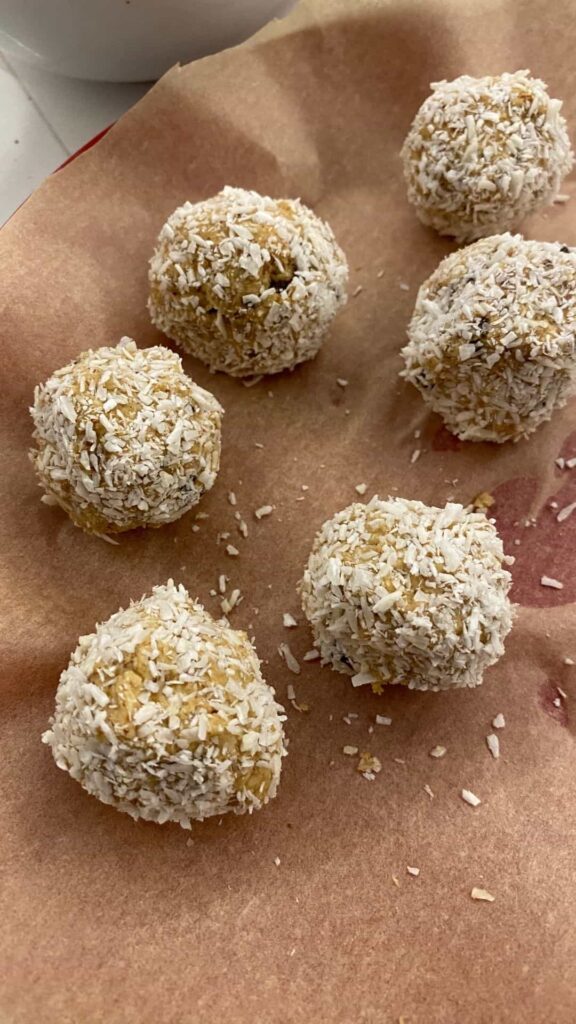
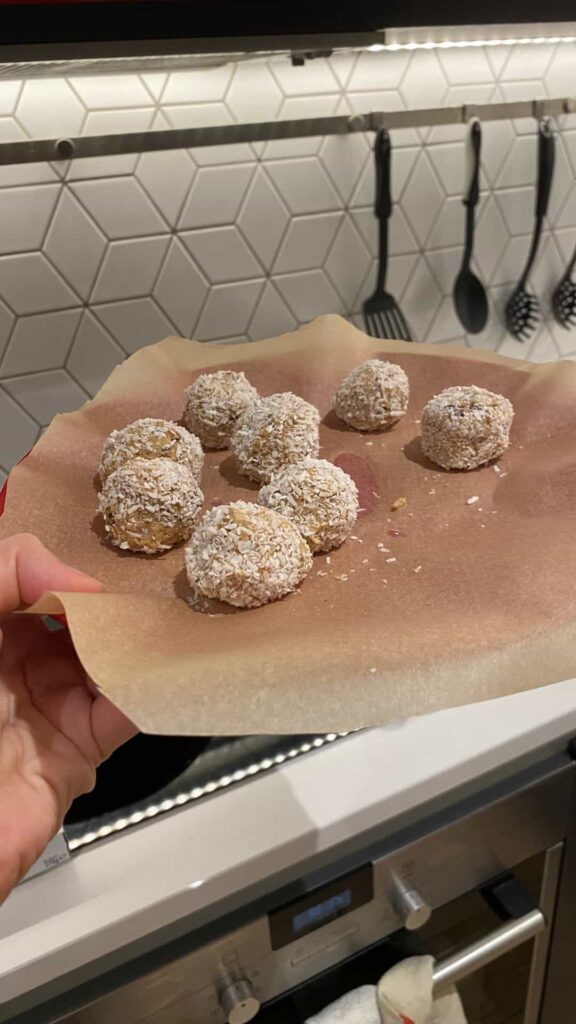
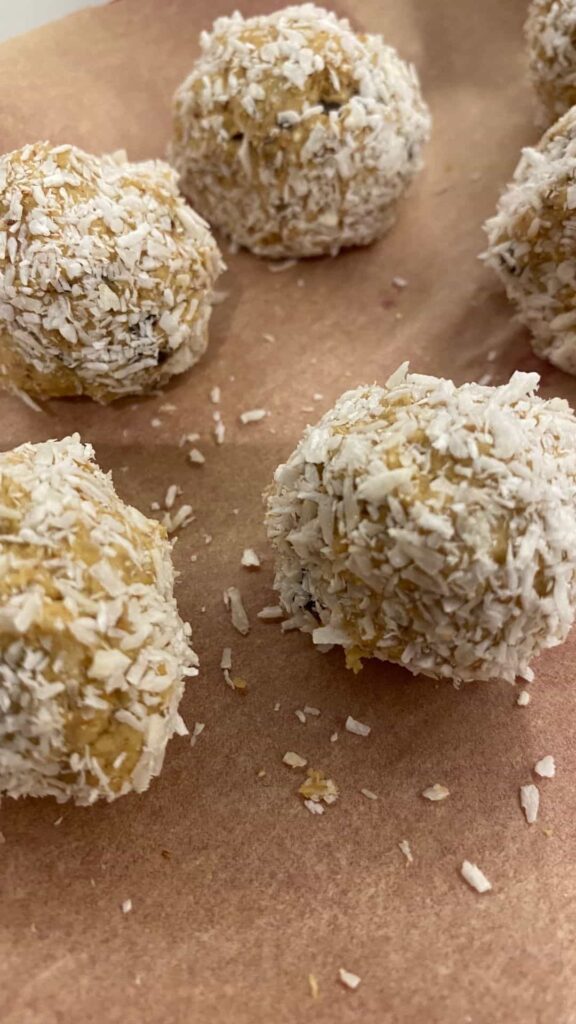
Step 6: Store the Protein Balls
- Place a piece of parchment paper on a plate (wet the plate slightly so the paper sticks).
- Arrange the protein balls on the parchment paper so they don’t stick together.
- Set in the freezer for 30 minutes to firm up.
How to Store and Serve
- Freezer storage: Keep them in the freezer for up to a month. When you want to eat one, let it sit at room temperature for about 10 minutes or pop it in the microwave for 15 seconds to soften.
- Fridge storage: If you’re eating them within the next 48 hours, you can keep them in the fridge instead.
— SAVE THIS POST —
Did you like this post? If you liked this post, don’t hesitate to share it!
Want to save this post? You can pin the following images on pinterest to save this post.
We are Mary and Eric, the founders of Be Right Back, a blog dedicated to romance around the globe and at home.
We are Mary and Eric, the founders of Be Right Back, a blog dedicated to romance around the globe and at home. With over 10 years of experience in dating and traveling to romantic places, we share our favorite date ideas and romantic destinations to help couples level up their relationships. Having lived in and traveled through the USA, we also share our favourite things to do in the States.
With 70,000 monthly readers and 16,000 followers on social media, Be Right Back is your go-to resource for romantic trip ideas and couple activities at home and abroad.