My Oreo S’mores Bars Recipe That You Will Melt Over
If you’re in the mood for something easy, rich, and no-bake, these Oreo S’mores Bars are about to become your go-to. This is one of those recipes that I threw together on a whim one night, and now I make it anytime I need a quick treat that feels over-the-top but takes barely any effort.
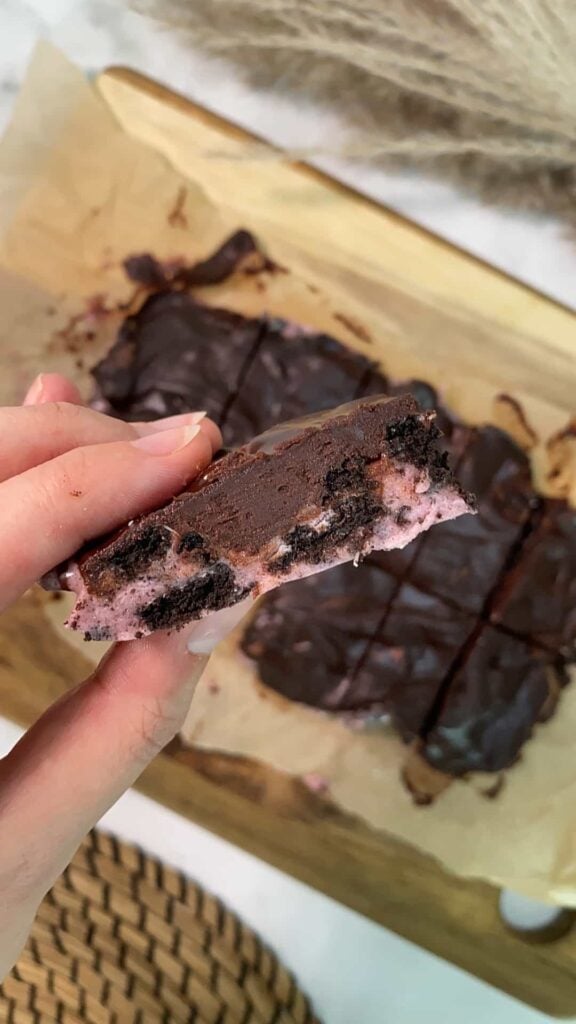
Think of it like a s’mores upgrade—there’s no graham cracker in sight, but the combo of Oreos, gooey marshmallows, and melted chocolate gets the same cozy campfire vibe, just with way more flavor.
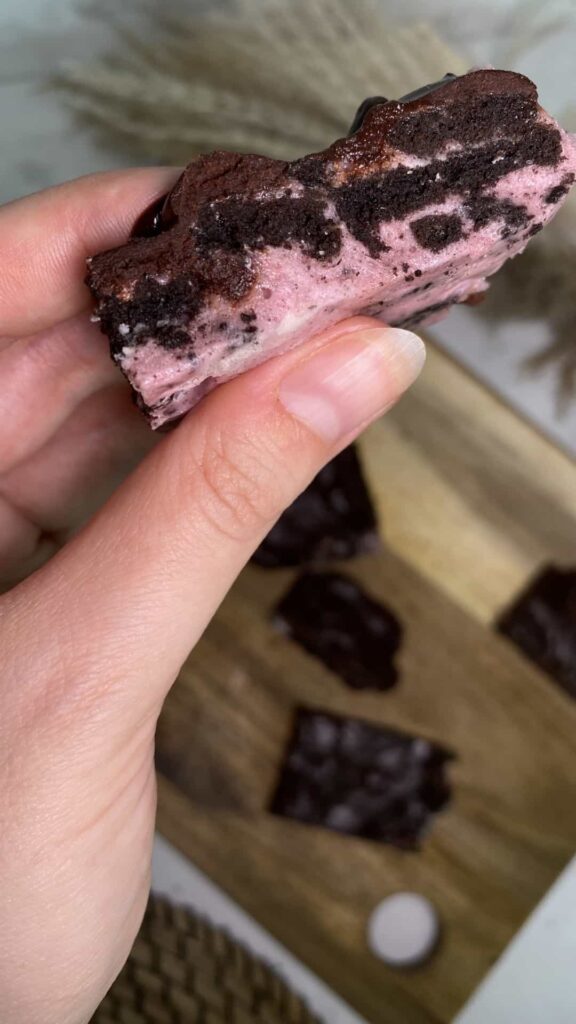
The best part? You don’t need to turn on the oven. All you do is melt, mix, and chill. These bars are rich, chocolatey, and slightly chewy thanks to the marshmallow layer that binds everything together.
The crushed Oreos give it just the right amount of crunch, and the melted chocolate topping makes everything taste like a candy bar. I’ve brought these to potlucks and parties, and they always disappear fast; plus, they hold up really well if you want to pack them in a lunchbox or wrap them up for a road trip snack.
Related
- My Oreo S’mores Bars Recipe That You Will Melt Over
- Oreo Cheesecake Ice Cream Bites With Cottage Cheese
- Cottage Cheese Cookie Dough Recipe: A High-Protein Sweet Treat
- No-Bake Date Cookies: A Sweet, Simple, and Healthy Treat
- Chocolate Mug Cake Microwave Style: A 5 minute recipe
Tips to Make These Oreo S’mores Bars
- Don’t skip the parchment paper. It makes your life so much easier when it’s time to lift the bars out and slice them cleanly.
- You can set these at room temperature, but I like popping them in the fridge to speed things up. Just 1–2 hours usually does the trick.
- Use regular marshmallows or mini ones—whatever you have on hand. Just don’t use marshmallow fluff, it doesn’t hold up the same way.
- Crush the Oreos by hand or with a food processor, but don’t pulverize them too much. You want a mix of crumbs and chunks.
Ingredients
- 3 tablespoons (125g) butter
- 2 packs Oreos (about 28 cookies)
- ½ pack marshmallows (about 150g or 3 cups)
- ½ bar of dark chocolate (about 50g or 1.75 oz)
Alternative Ingredients
If you’re short on Oreos or want to switch things up, you can use chocolate graham crackers or even Biscoff cookies. They’ll change the flavor a bit, but still work great with the marshmallow and chocolate.
You can use dark chocolate instead of milk if you want a slightly less sweet topping. And if you want to make these dairy-free, go for vegan butter and dairy-free marshmallows and chocolate—they’ll still come together just fine.
Step 1: Crush the Oreos
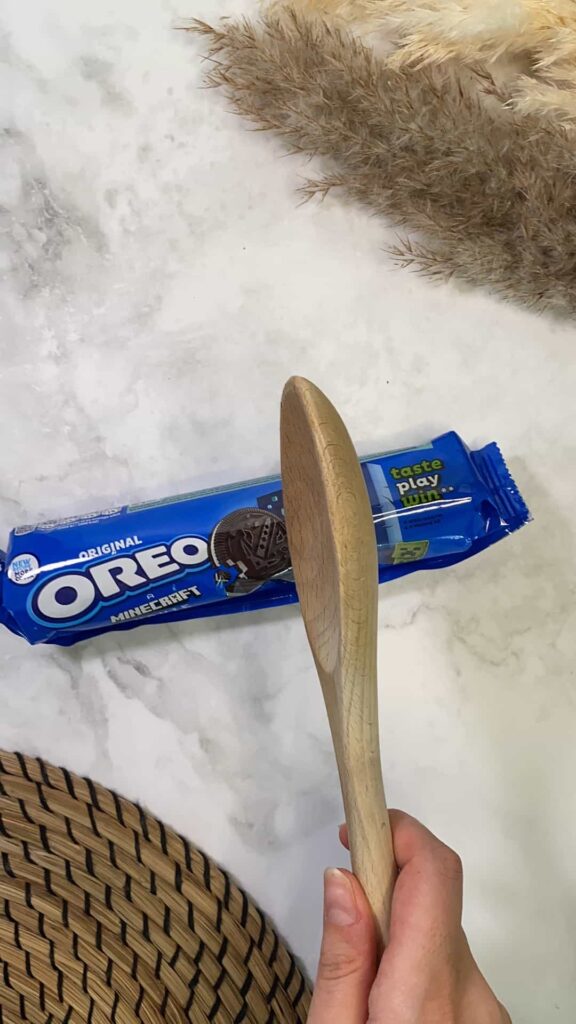
Use a rolling pin or food processor to crush the Oreos. You want them broken down into crumbs with some larger bits for texture.
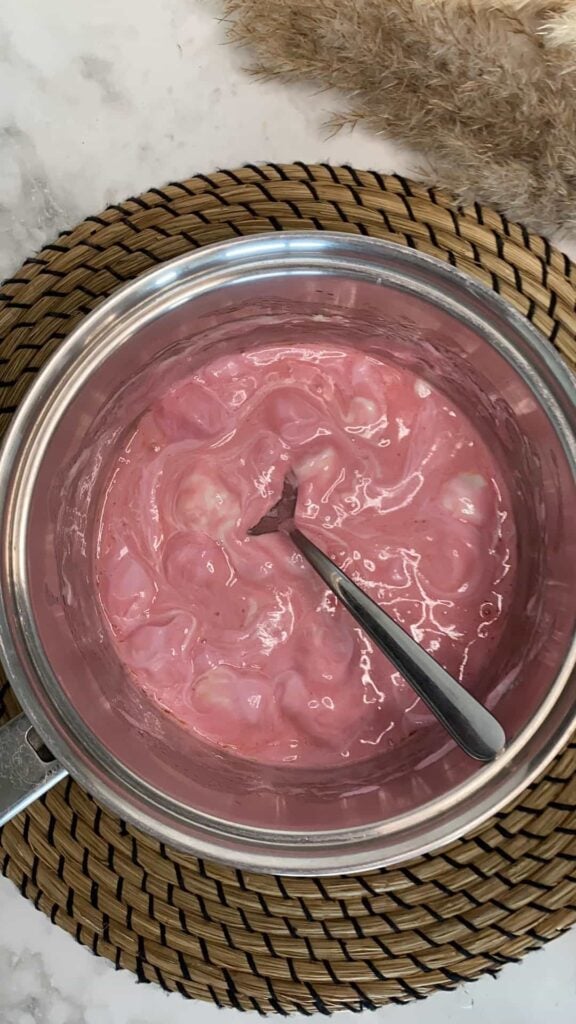
Step 2: Melt Butter with Marshmallows
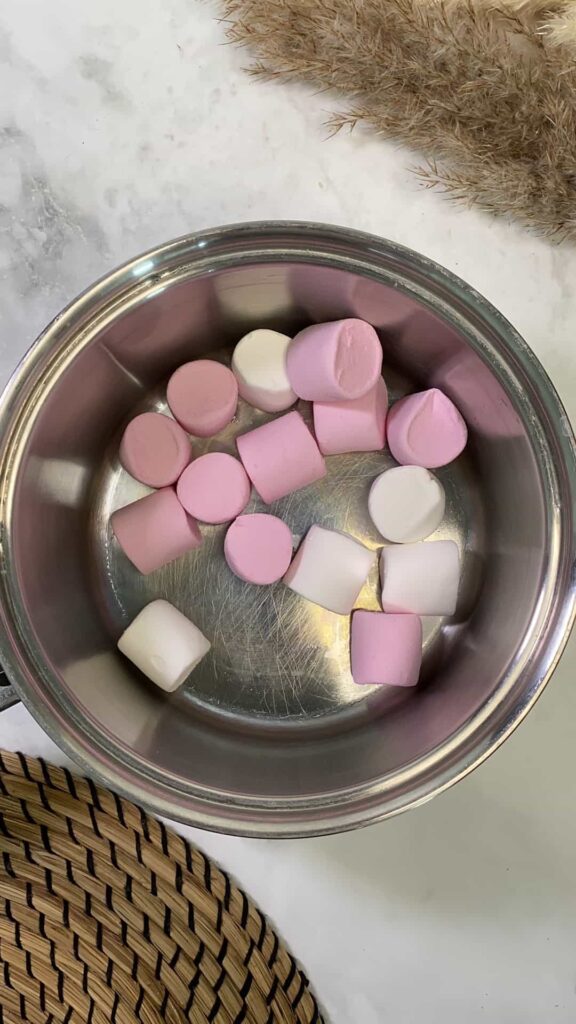
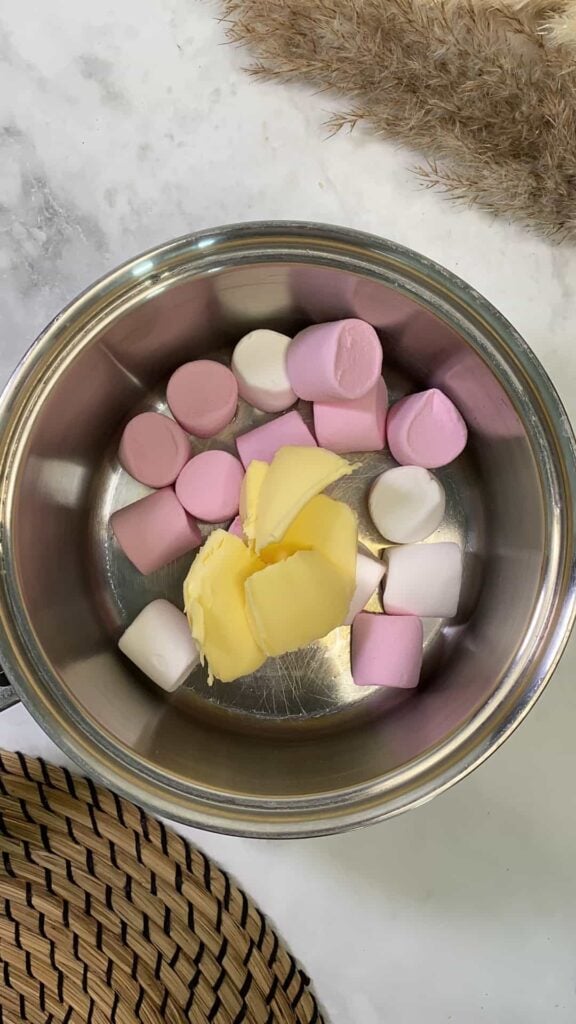
In a large saucepan over medium heat, melt the butter. Once melted, add the marshmallows and stir until completely smooth and gooey.
Step 3: Mix in the Crushed Oreos
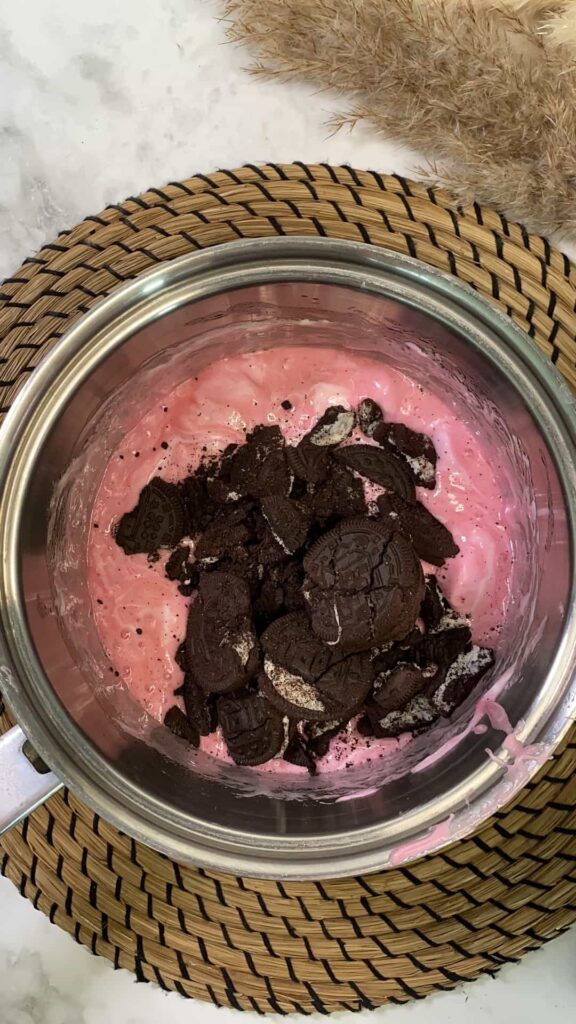

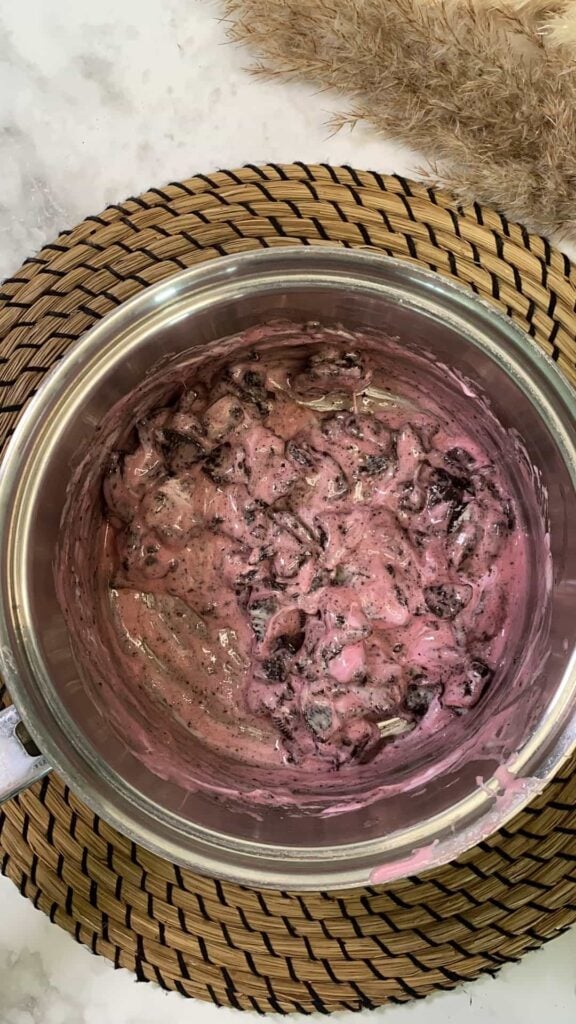
Take the pan off the heat and quickly mix in the crushed Oreos. Stir well until everything is coated in the marshmallow mixture.
Step 4: Pour into Lined Dish
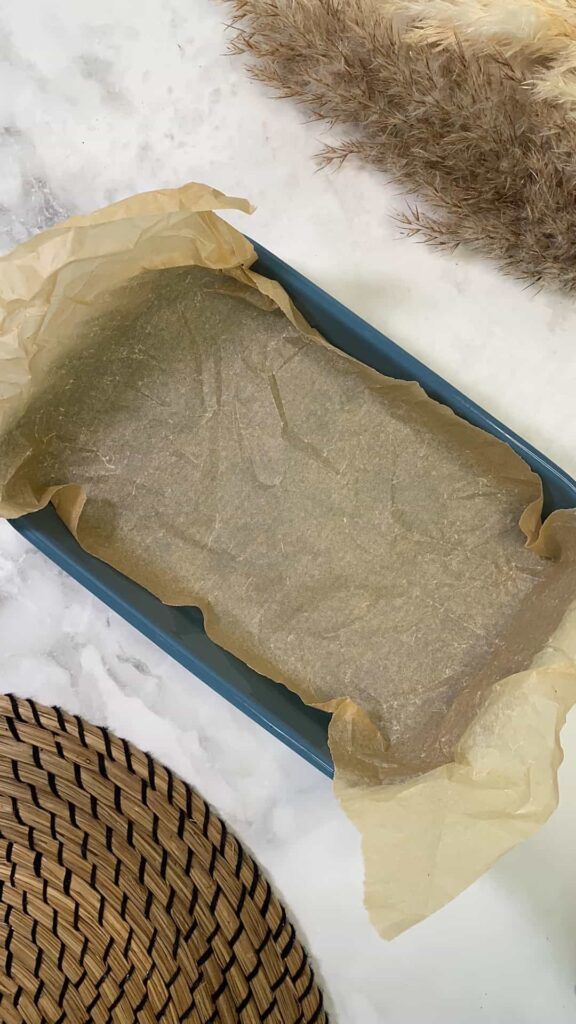
Line a small baking dish with parchment paper. Press the Oreo-marshmallow mix into the dish using a spatula or your hands (you can grease them lightly to avoid sticking).
Step 5: Melt the Chocolate
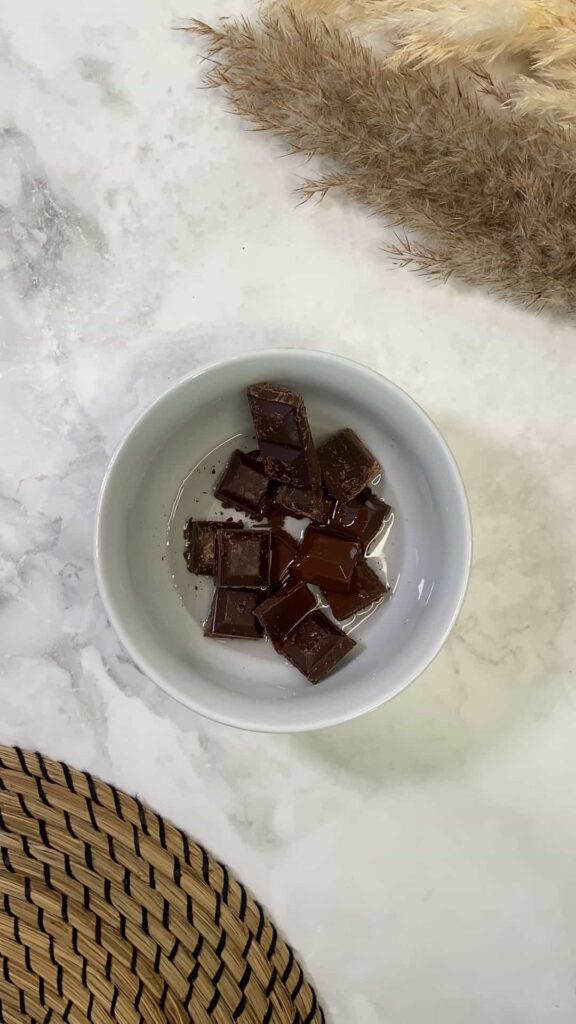
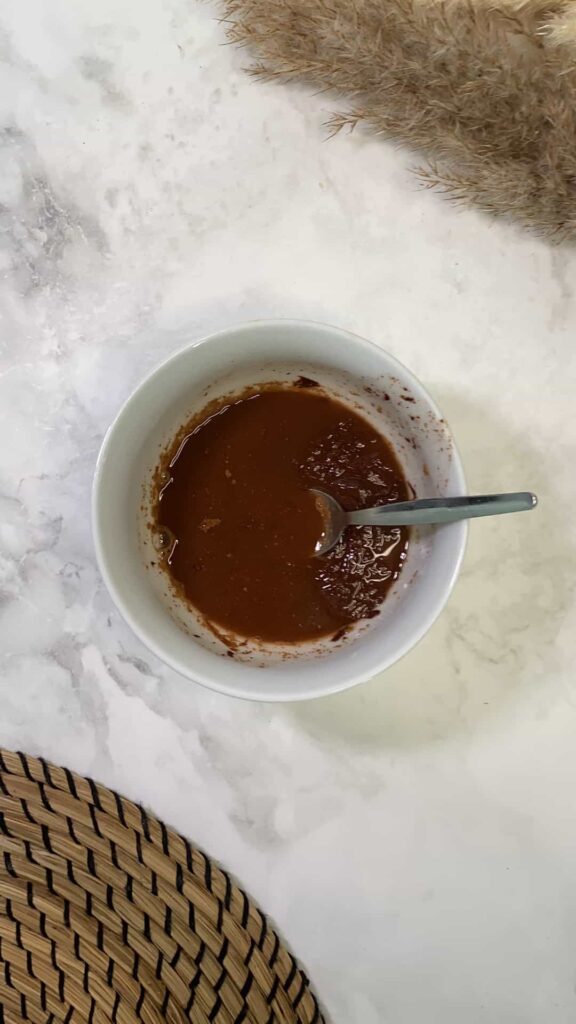
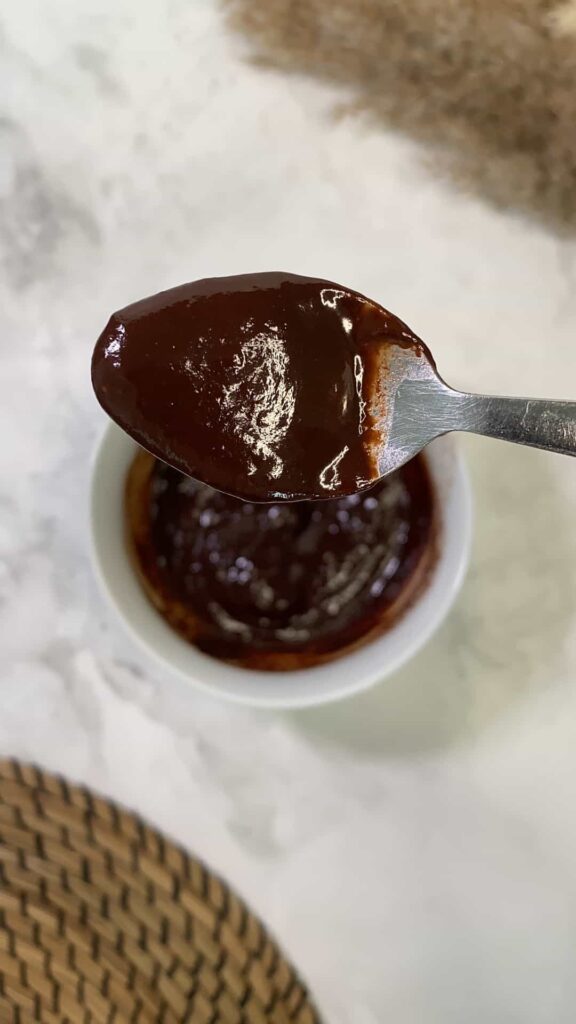
In a separate bowl, melt the chocolate in the microwave in 20-second intervals, stirring each time until smooth.
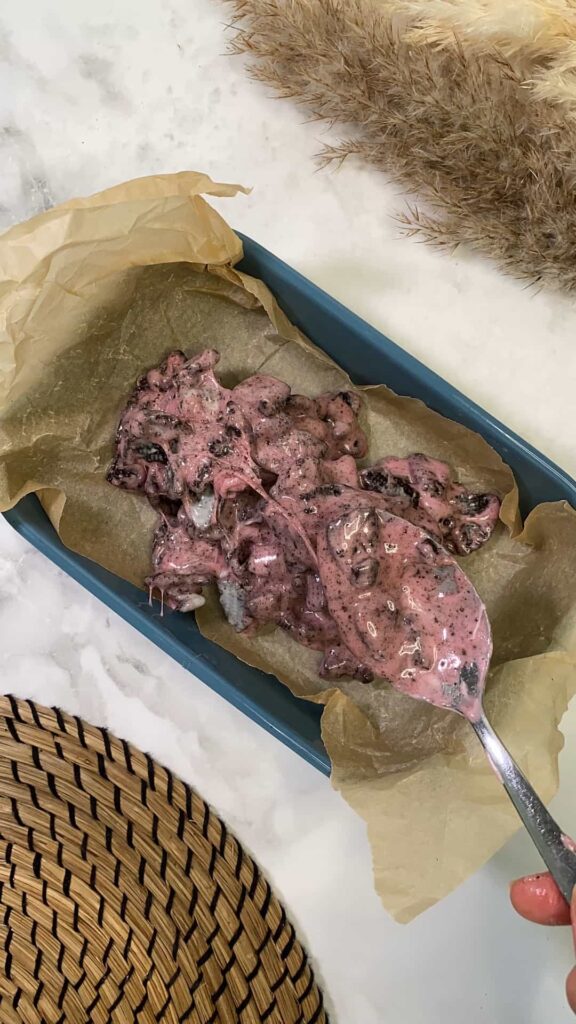
Step 6: Pour Over the Chocolate
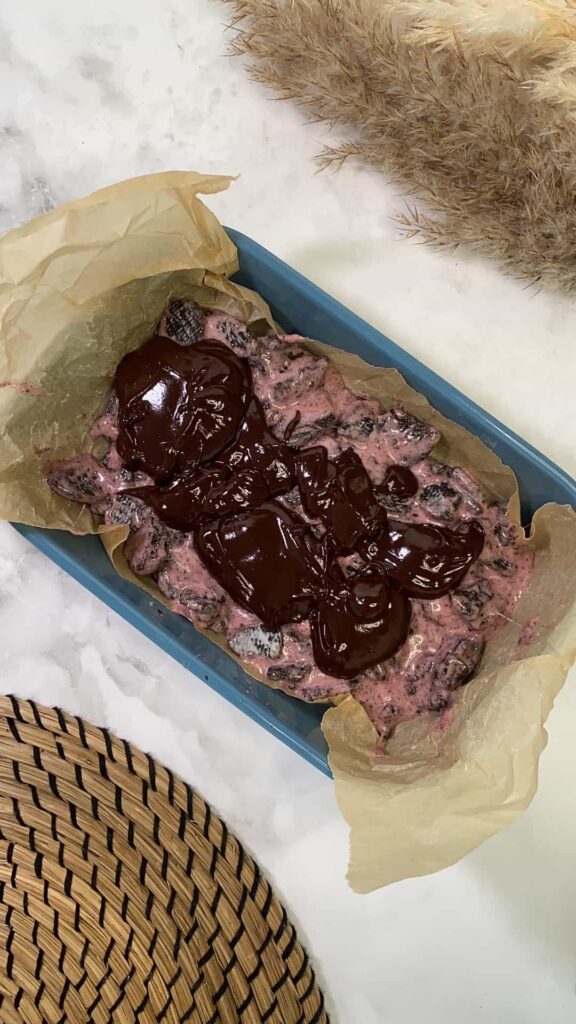
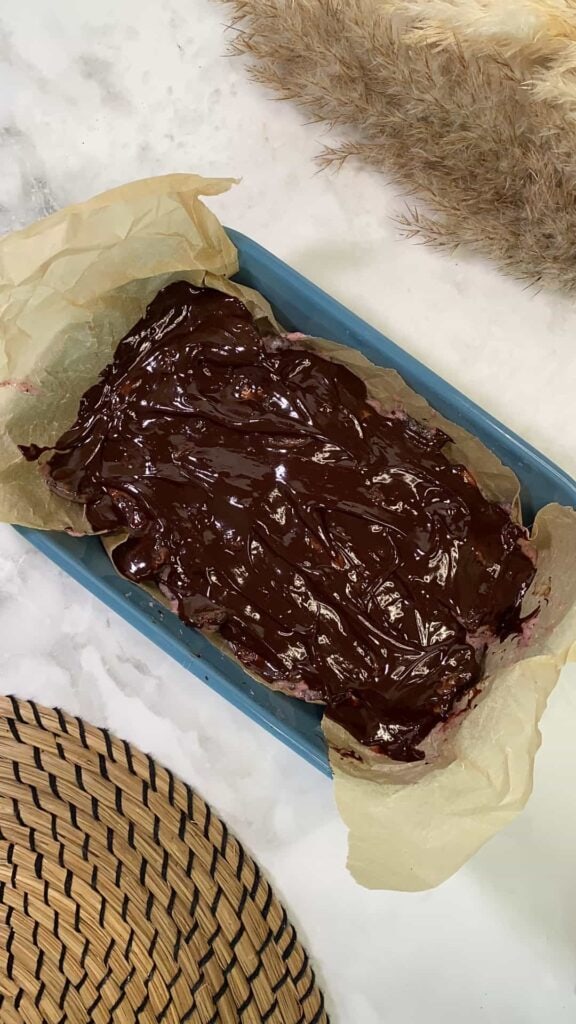
Pour the melted chocolate over the Oreo-marshmallow layer and spread it evenly across the top.
Step 7: Sprinkle with Extra Crushed Oreos
Before the chocolate sets, sprinkle a few extra crushed Oreos on top. This gives them a nice finish and extra crunch.
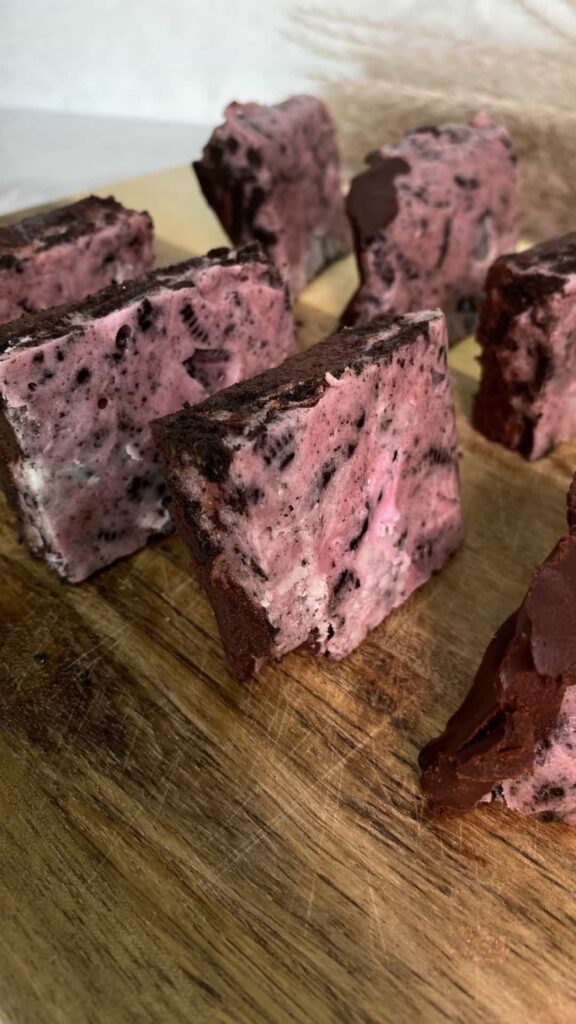
Step 8: Let Set
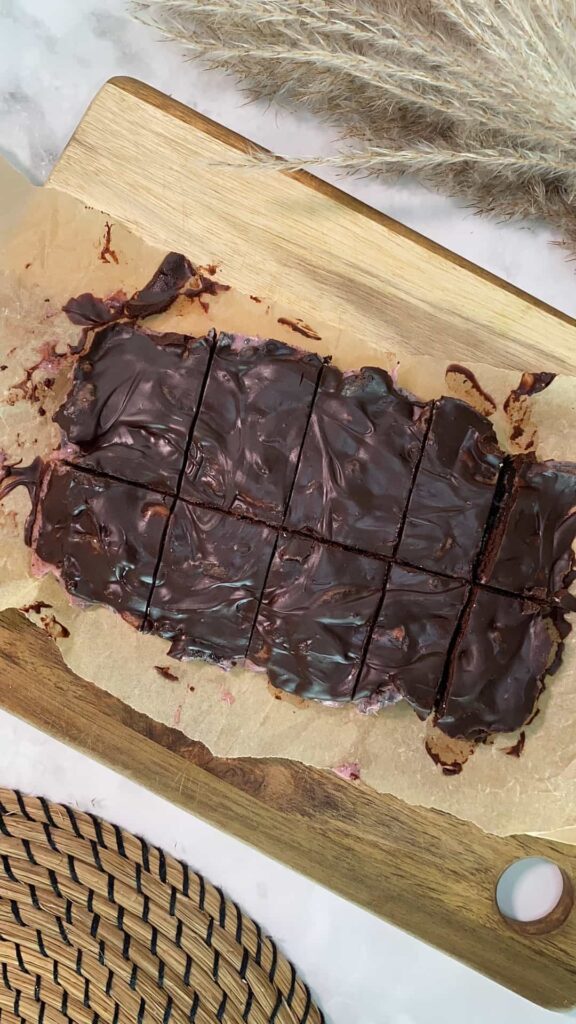
Let the bars set for 2 to 4 hours at room temperature, or place them in the fridge to speed things up. Once firm, slice into bars.
How to Conserve These Bars
You can keep Oreo S’mores Bars in an airtight container at room temperature for up to 3 days, but I usually store mine in the fridge so they stay nice and firm. They’ll last about a week chilled.
If you’re freezing them, wrap each bar in plastic wrap and then pop them into a freezer-safe bag. Thaw in the fridge or at room temperature for a couple of hours.
I don’t recommend microwaving them to defrost—they can melt too fast and get messy. If you want to retoast them just slightly, a few seconds in the microwave (literally 5 to 7 seconds) can give you a softer texture without turning them into goo.
How to Serve Oreo S’mores Bars
These bars are super flexible. You can slice them small and serve them as an after-dinner treat, or go big and pack them as a mid-afternoon snack. They work really well for road trips or lunchboxes since they’re not messy once set.
If you’re having people over, put them on a dessert tray with fruit and other finger foods—people always go for the chocolate-covered ones first. And honestly, if you’re like me, you might just eat one straight out of the fridge when the craving hits.
— SAVE THIS POST —
Did you like this post? If you liked this post, don’t hesitate to share it!
Want to save this post? You can pin the following images on pinterest to save this post.
We are Mary and Eric, the founders of Be Right Back, a blog dedicated to romance around the globe and at home.
We are Mary and Eric, the founders of Be Right Back, a blog dedicated to romance around the globe and at home. With over 10 years of experience in dating and traveling to romantic places, we share our favorite date ideas and romantic destinations to help couples level up their relationships. Having lived in and traveled through the USA, we also share our favourite things to do in the States.
With 70,000 monthly readers and 16,000 followers on social media, Be Right Back is your go-to resource for romantic trip ideas and couple activities at home and abroad.