Easy And Delicious Rice Paper Chips
If you’ve never made chips out of rice paper, let me just say—once you try these, you’ll probably never toss those leftover sheets back in the cupboard again. These rice paper chips are crispy, quick, and ridiculously easy. All you need is a few basic ingredients and five minutes in the oven.
What I love about these is how customizable they are. You can go savory, sweet, spicy—whatever mood you’re in. My go-to version uses a mix of soy sauce and sweet soy sauce, brushed on each square with a sprinkle of sesame seeds. They puff up in the oven and come out golden, crunchy, and full of flavor. No oil, no frying, no fuss.
They’re the perfect snack when you want something crispy but don’t feel like deep frying. And the best part? You can adjust the flavor however you like. Add chili flakes, nutritional yeast, garlic powder, or even just a bit of salt and pepper. You really can’t mess them up.
Tips to get them ultra crispy and flavorful:
- Use kitchen scissors to cut the rice paper cleanly into even squares or rectangles. This helps them bake evenly.
- Don’t soak them in water. Just brush your sauce or mix directly onto the dry sheets.
- Bake on parchment paper so they don’t stick or curl up too much.
- Keep a close eye on them in the oven—five minutes goes fast and they crisp up quickly!
Ingredients
- 1 rice paper sheet
- 1 teaspoon soy sauce
- 1 teaspoon sweet soy sauce
- ½ teaspoon sesame seeds
Alternative Ingredients
You can brush the rice paper with just water and a sprinkle of salt for a light, plain version. Or use olive oil with herbs, sriracha mixed with honey, or even cinnamon and sugar if you want a sweet snack.
Chili oil, tamari, or miso paste mixed with a bit of water also work great for more intense flavors.
No sesame seeds? Use everything bagel seasoning or crushed seaweed for a salty kick.
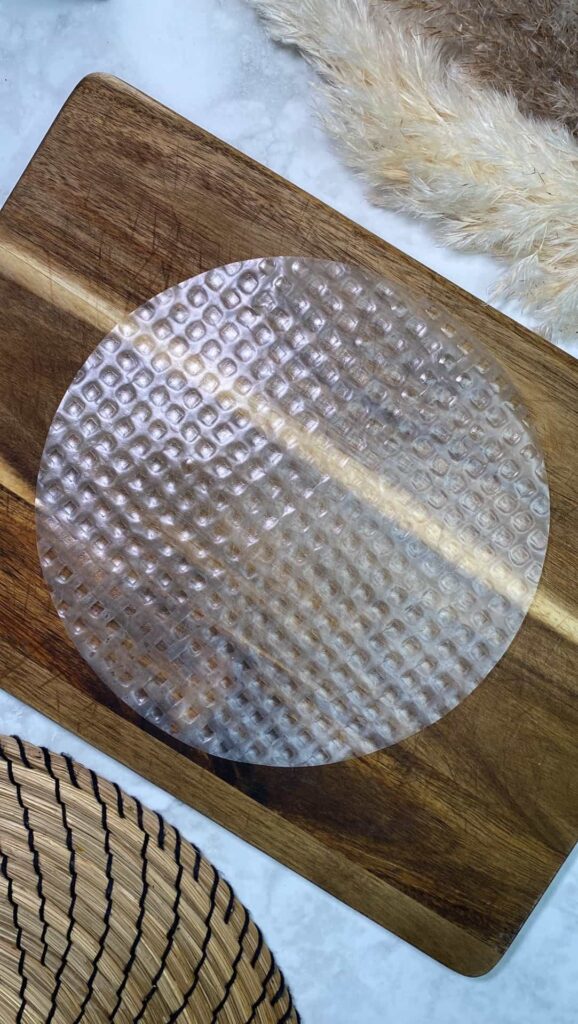
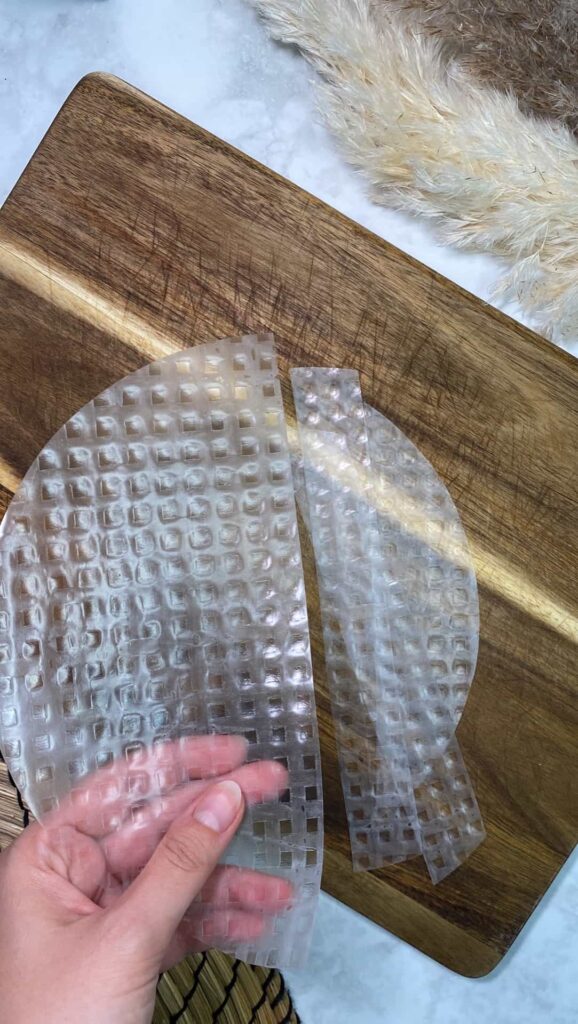
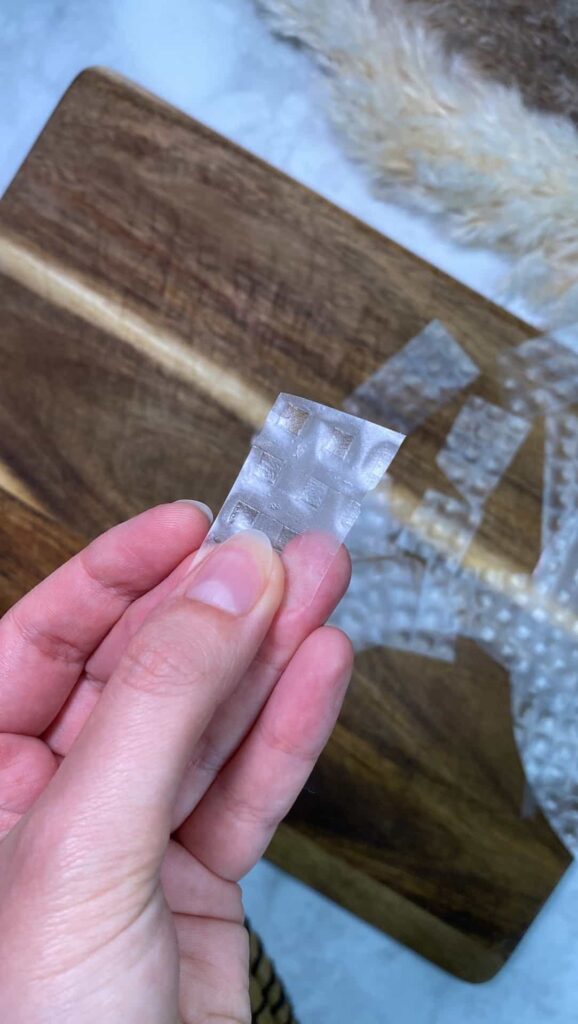
Step 1: Cut the Rice Paper
Take one rice paper sheet and cut it into squares or rectangles using kitchen scissors. You can also tear it if you don’t mind a more rustic look—just keep the pieces around the same size so they bake evenly.
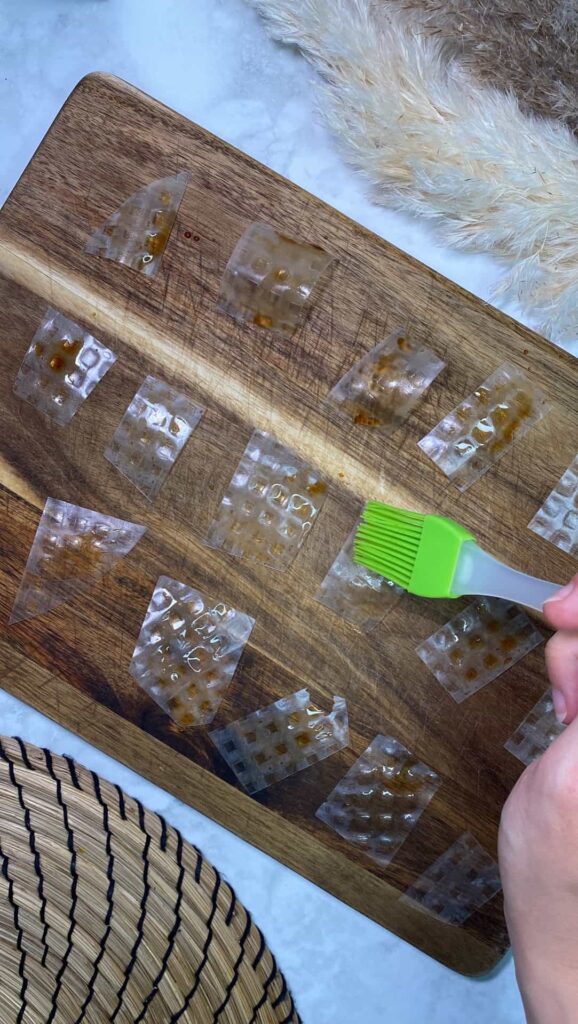
Step 2: Brush with Sauce
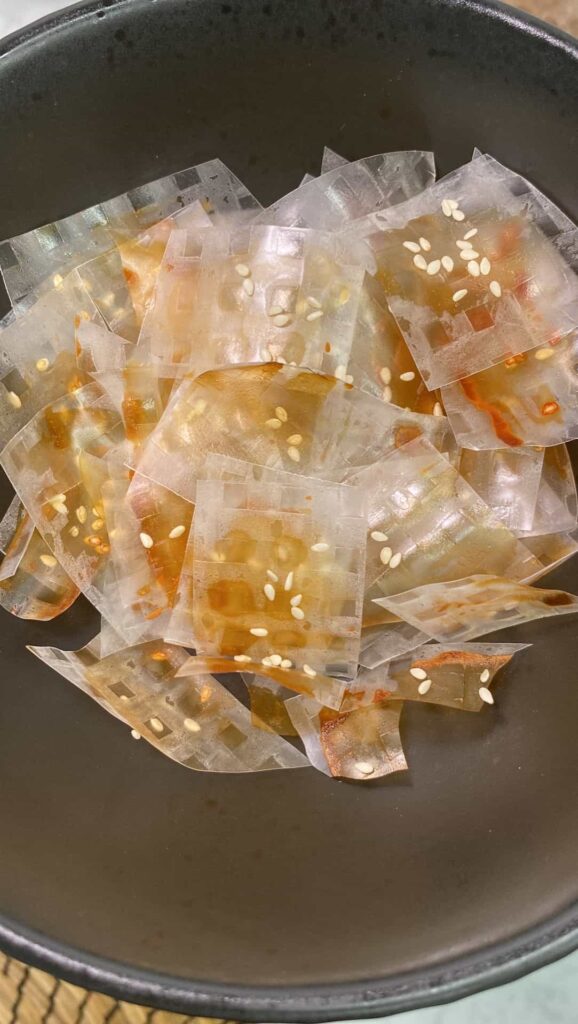
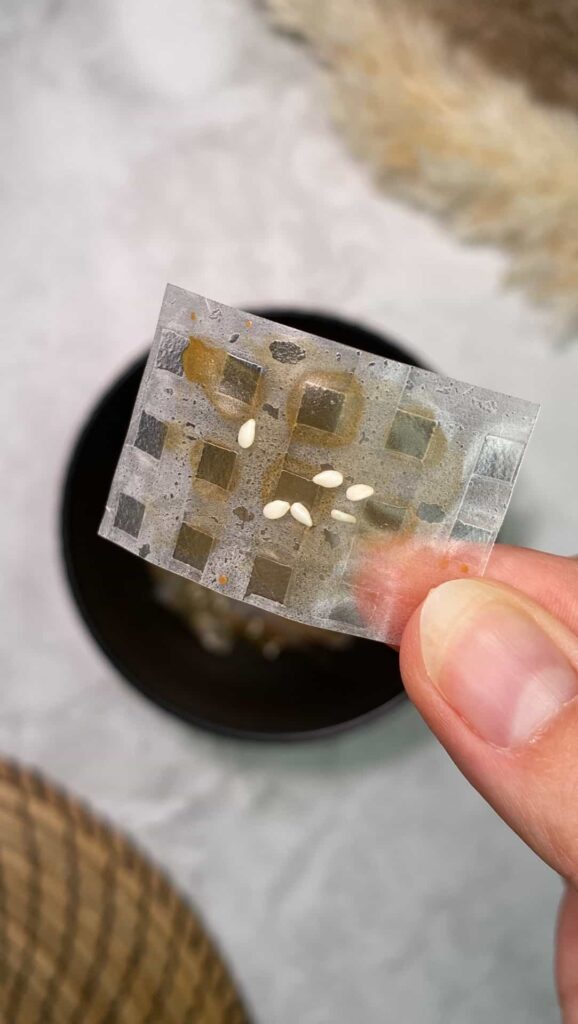
In a small bowl, mix your soy sauce and sweet soy sauce. Brush each rice paper square with the sauce mixture on one side only. Sprinkle sesame seeds over the top.
If you’re making multiple versions, prep them in separate batches—each flavor gets its own baking tray for best results.
Step 3: Bake
Preheat your oven to 180°C (350°F). Place the rice paper squares on a parchment-lined baking tray in a single layer.
Bake for 5 minutes, watching closely. They should puff up slightly and turn golden and crisp. If your oven runs hot, check them at 4 minutes to avoid burning.
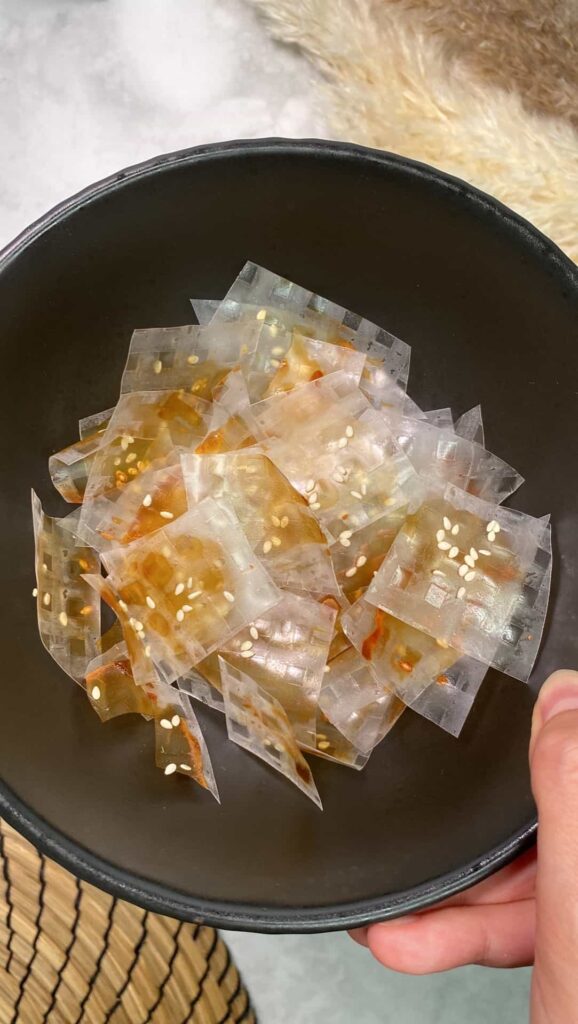

Step 4: Cool and Enjoy
Let them cool for a minute or two—they crisp up even more as they sit. Then snack away! Serve with dipping sauce, crumble over salads, or just eat by the handful.
How to Conserve the Recipe
These are best fresh out of the oven when they’re at peak crispiness. If you do want to save them, store in an open bowl or loosely covered container at room temperature. A paper towel in the bottom can help absorb any moisture.
Avoid sealing them in an airtight container—they’ll go soft fast. If that happens, you can pop them back in a hot oven for a couple of minutes to revive the crunch.
Different Ways to Serve This Dish
Rice paper chips are a perfect snack on their own, but you can get creative with how you use them. Break them into big shards and use them like crackers for dips—think hummus, baba ganoush, or spicy mayo. You can also crumble them over salads or noodle bowls for some crunch.
Want a quick appetizer? Make a few flavored versions and serve with a trio of dipping sauces. They also pair well with soups—you can treat them like croutons and toss them on top for texture.
Or make them sweet: brush with melted coconut oil and sprinkle with cinnamon sugar before baking. They come out like super thin churro chips and are great with yogurt or fruit.
Whether you go savory or sweet, these rice paper chips are such a fun way to turn pantry staples into something snack-worthy.
— SAVE THIS POST —
Did you like this post? If you liked this post, don’t hesitate to share it!
Want to save this post? You can pin the following images on pinterest to save this post.
We are Mary and Eric, the founders of Be Right Back, a blog dedicated to romance around the globe and at home.
We are Mary and Eric, the founders of Be Right Back, a blog dedicated to romance around the globe and at home. With over 10 years of experience in dating and traveling to romantic places, we share our favorite date ideas and romantic destinations to help couples level up their relationships. Having lived in and traveled through the USA, we also share our favourite things to do in the States.
With 70,000 monthly readers and 16,000 followers on social media, Be Right Back is your go-to resource for romantic trip ideas and couple activities at home and abroad.