

Easy Pumpkin Bars

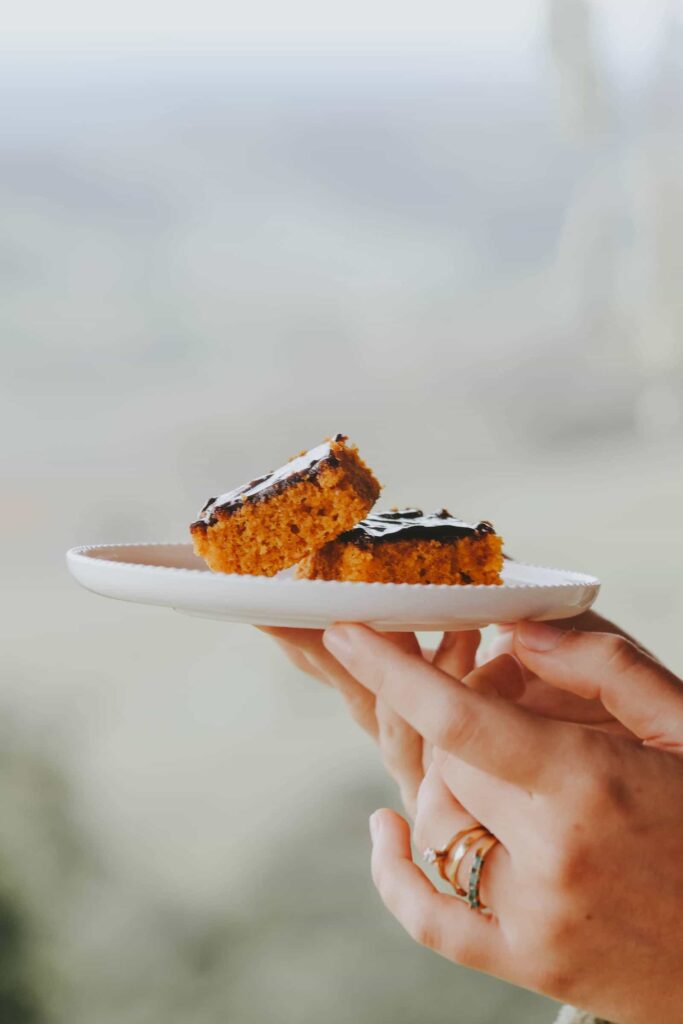
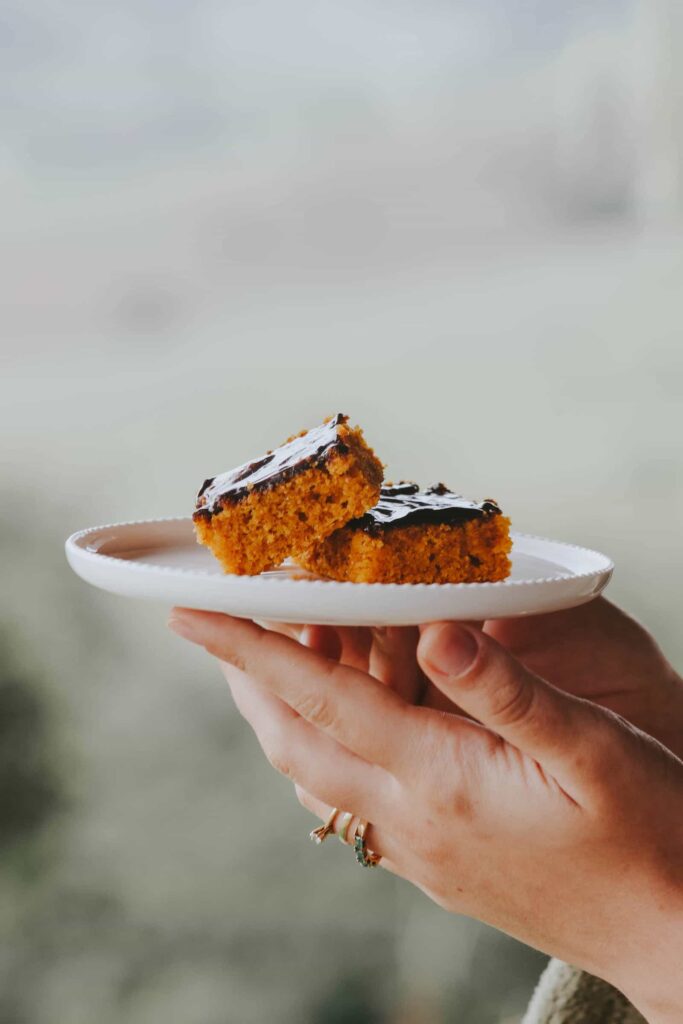
These pumpkin bars are simple in the best way: a moist, spiced pumpkin cake baked in a single pan, cut into squares, and topped with a shiny layer of chocolate ganache. There’s no layering, no piping, and no fuss with a stand mixer, just a straightforward batter and a quick chocolate topping poured on once the cake has cooled.
They’re an easy dessert to make ahead for the week or to bring to a gathering, since they hold together well and are easy to hand out square by square. The pumpkin keeps the crumb soft and tender, while the chocolate topping adds a rich contrast to the warm spice in the cake. One bowl, one pan, and a topping that sets into a smooth, glossy layer.
Ingredients
For the pumpkin cake:
- 190 g / 1 ½ cups all-purpose flour
- 1 teaspoon baking powder
- ½ teaspoon baking soda
- ½ teaspoon salt
- 1 ½ teaspoons ground cinnamon
- ½ teaspoon ground ginger
- ¼ teaspoon ground nutmeg
- 200 g / 1 cup granulated sugar
- 100 g / ½ cup packed brown sugar
- 3 large eggs
- 240 g / 1 cup canned pumpkin purée
- 160 ml / ⅔ cup vegetable oil
- 1 teaspoon vanilla extract
For the chocolate topping:
- 170 g / 6 oz dark chocolate, chopped
- 120 ml / ½ cup heavy cream
- 15 g / 1 tablespoon unsalted butter
Easy Pumpkin Bars
Step 1: Prepare the Pan and Oven
- Preheat your oven to 175°C / 350°F.
- Line a 23 x 33 cm / 9 x 13-inch baking pan with parchment paper, leaving some overhang on the sides for easy removal.
Step 2: Mix the Dry Ingredients
- In a medium bowl, whisk together the flour, baking powder, baking soda, salt, cinnamon, ginger, and nutmeg.
Step 3: Mix the Wet Ingredients
- In a large bowl, whisk together the granulated sugar, brown sugar, and eggs until smooth.
- Add the pumpkin purée, vegetable oil, and vanilla extract, and whisk until fully combined.
Step 4: Combine the Batter
- Add the dry ingredients to the wet ingredients and fold gently with a spatula until just combined.
- Stop mixing as soon as no streaks of flour remain.
Step 5: Bake the Cake
- Pour the batter into the prepared pan and spread it into an even layer.
- Bake for 25 to 30 minutes, until a toothpick inserted into the center comes out clean.
- Remove from the oven and let the cake cool completely in the pan, about 1 hour.
Step 6: Make the Chocolate Topping
- Place the chopped chocolate in a heatproof bowl.
- Heat the heavy cream in a small saucepan over medium heat until it just begins to simmer, then remove from the heat.
- Pour the hot cream over the chocolate and let it sit for 2 minutes without stirring.
- Add the butter, then stir gently until the mixture is smooth and glossy.
Step 7: Top the Bars
- Once the cake has cooled completely, pour the chocolate topping over the top.
- Use an offset spatula or the back of a spoon to spread it into an even layer.
- Let the topping set at room temperature for about 30 minutes, or in the refrigerator for 15 minutes if you’re short on time.
Step 8: Slice and Serve
- Lift the cake out of the pan using the parchment overhang.
- Cut into even squares using a sharp knife, wiping the blade clean between cuts.
- Serve at room temperature.
Things to Remember
- Let the cake cool completely before adding the chocolate topping; pouring it over a warm cake will cause it to melt and slide off instead of setting into a smooth layer.
- Don’t overmix the batter once the wet and dry ingredients are combined, since this can make the bars dense instead of light and tender.
- Let the hot cream sit on the chocolate for a couple of minutes before stirring, so the chocolate melts evenly rather than seizing.
- Cut the bars into even, modest-sized squares rather than very large pieces; smaller squares make for cleaner slicing and easier serving.
- Wipe your knife clean between cuts for neat edges, especially once the chocolate topping has set.
- Store any leftover bars in an airtight container; they keep well at room temperature for a couple of days or in the fridge for about a week.

We are Mary and Eric, the founders of Be Right Back, a blog dedicated to romance around the globe and at home.
We are Mary and Eric, the founders of Be Right Back, a blog dedicated to romance around the globe and at home. With over 10 years of experience in dating and traveling to romantic places, we share our favorite date ideas and romantic destinations to help couples level up their relationships. Having lived in and traveled through the USA, we also share our favourite things to do in the States.
With 70,000 monthly readers and 16,000 followers on social media, Be Right Back is your go-to resource for romantic trip ideas and couple activities at home and abroad.