DIY Yarn Star Ornament Tutorial (+ video): How To Make Stars Out Of Yarn For Your Christmas Tree
I absolutely love Christmas. It’s always been my favorite time of the year. There’s something magical about the lights, the music, and the general sense of joy and togetherness. One of my favorite aspects of the holiday season is decorating the Christmas tree. I’ve always enjoyed making my own decorations, and over the years, I’ve found that DIY ornaments are some of the easiest and most useful projects you can tackle. They add a personal touch to the tree and make wonderful gifts for family and friends.
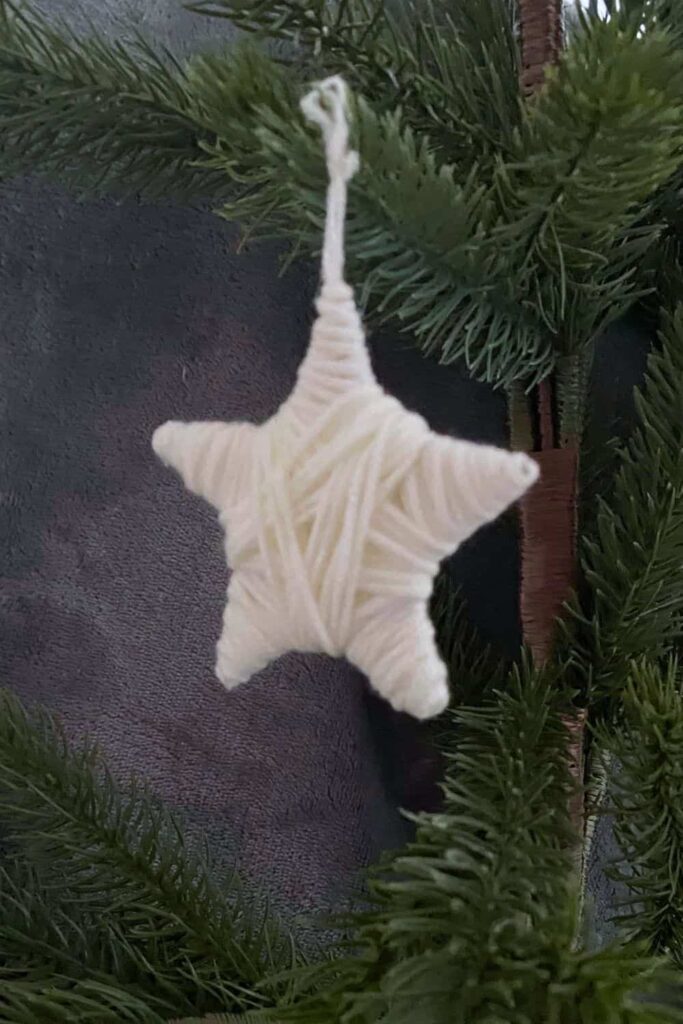
They don’t require a lot of materials or time, making them ideal for busy schedules. You can customize them in endless ways to match your decor or give them a unique twist. Whether you’re a seasoned crafter or a beginner, making your own ornaments is a fun and rewarding activity that brings a touch of homemade charm to your Christmas tree. In this post, I’ll share a simple and quick method to make beautiful star ornaments to decorate your home. Let’s get started!
No Time To Read? Watch The Video Tutorial:
Why These Star Ornaments Are Great for a DIY
These star ornaments are fantastic for a quick and easy DIY project. One of the best things about them is how fast they come together—you can complete one in about 15 minutes. This makes them an ideal craft for those who are short on time but still want to add a personal touch to their holiday decorations.
They are incredibly easy to make, so even if you’re a beginner, you’ll find this project manageable. Another great feature is the ability to customize them with different colors of yarn, allowing you to match your ornaments to your holiday decor or personal preference. This project is also perfect for using up leftover yarn from other projects, making it both economical and environmentally friendly.
Plus, you won’t need to buy a lot of materials; most of us already have the necessary items at home, which makes this project convenient and budget-friendly.
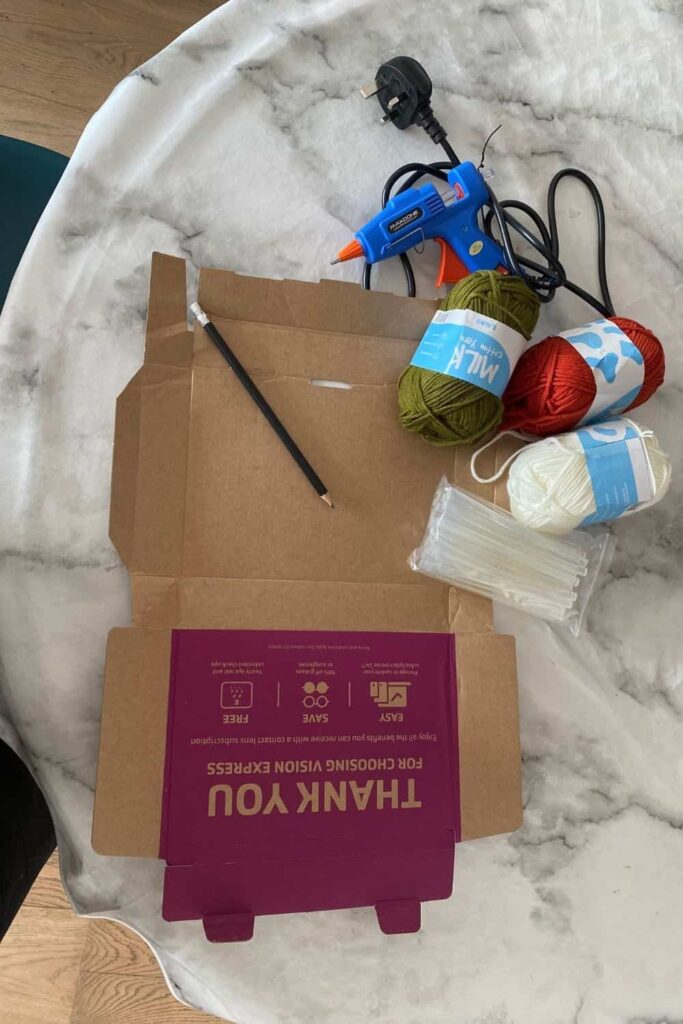
What You Need
- Yarn: Choose the color and thickness you prefer. Mixing different thicknesses can add a unique touch.
- Cardboard: Any sturdy piece will do.
- Pencil: For drawing the star shape.
- Scissors: To cut the star out of the cardboard.
- Hot Glue Gun and Glue Sticks: Alternatively, you can use super glue.
What to Do
Step 1: Decide on the Size
First, decide how big you want your ornament to be. Keep in mind that wrapping it in yarn will add a bit to its overall size. Consider the space on your Christmas tree or where you plan to hang the ornament to help you decide the appropriate size.
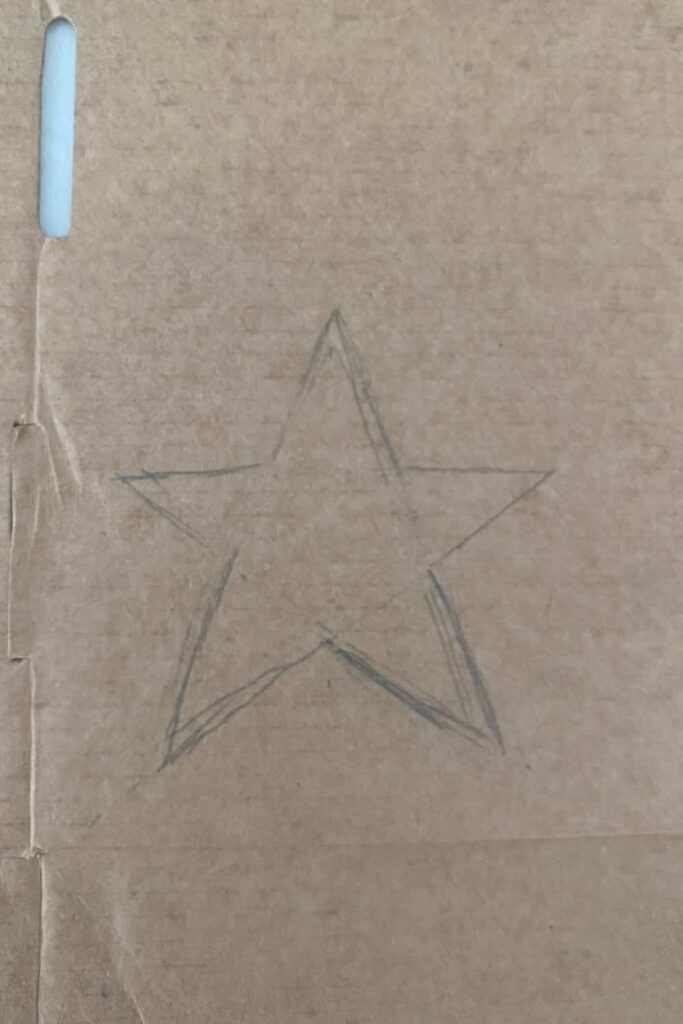
Step 2: Draw the Star
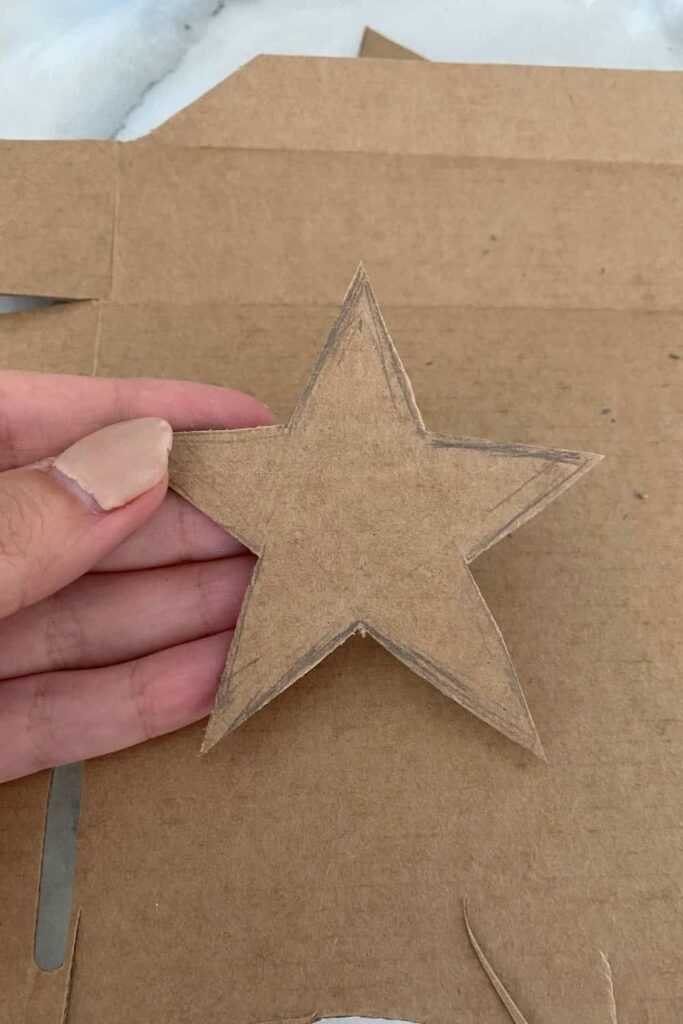
Using your pencil, draw a star shape on your piece of cardboard. Don’t worry if it’s not perfect; slight imperfections will be hidden once you wrap it in yarn. You can draw the star once and then refine it if needed. The goal is to have a general star shape to work with.
Step 3: Cut Out the Star
Once you’re satisfied with your star shape, use scissors to cut it out from the cardboard. Take your time to ensure the edges are as smooth as possible, but remember, minor imperfections won’t show once the yarn is wrapped around it.
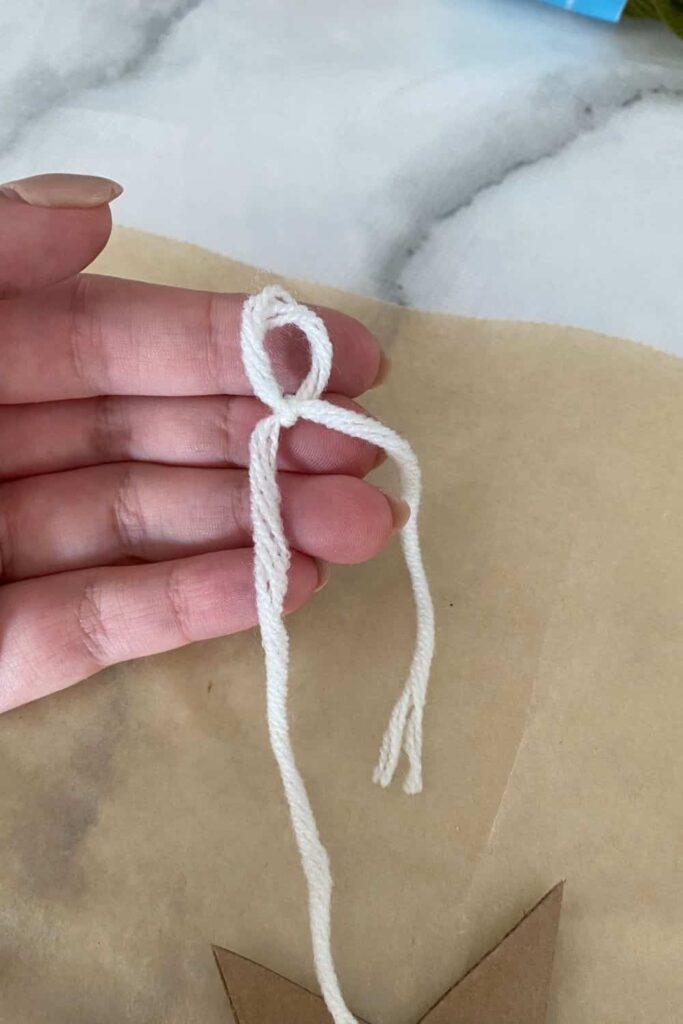
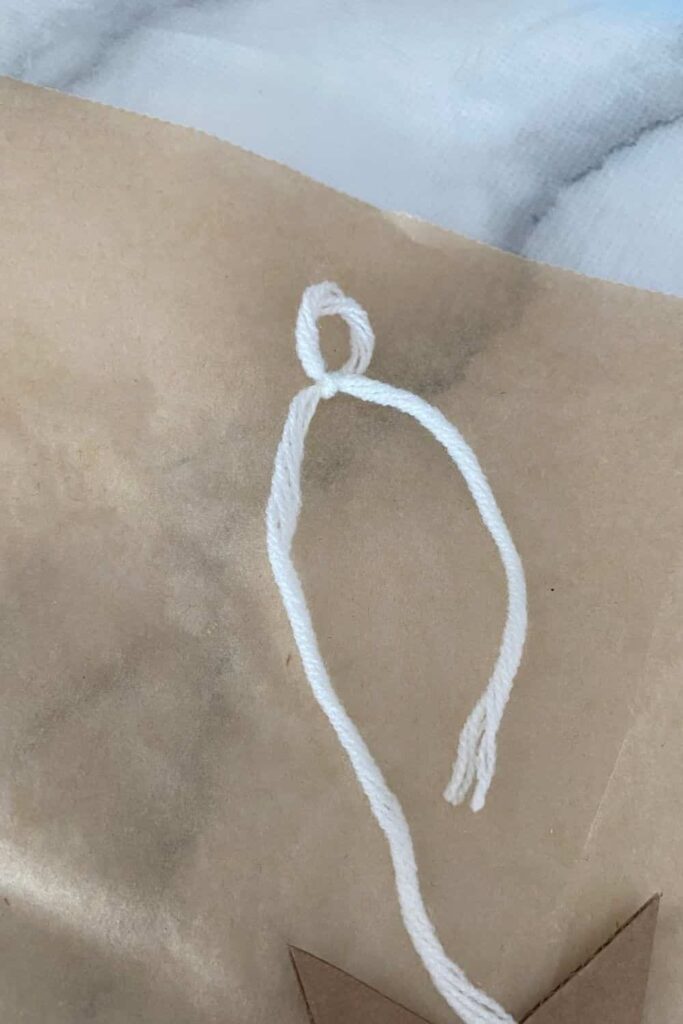
Step 4: Prepare the Yarn
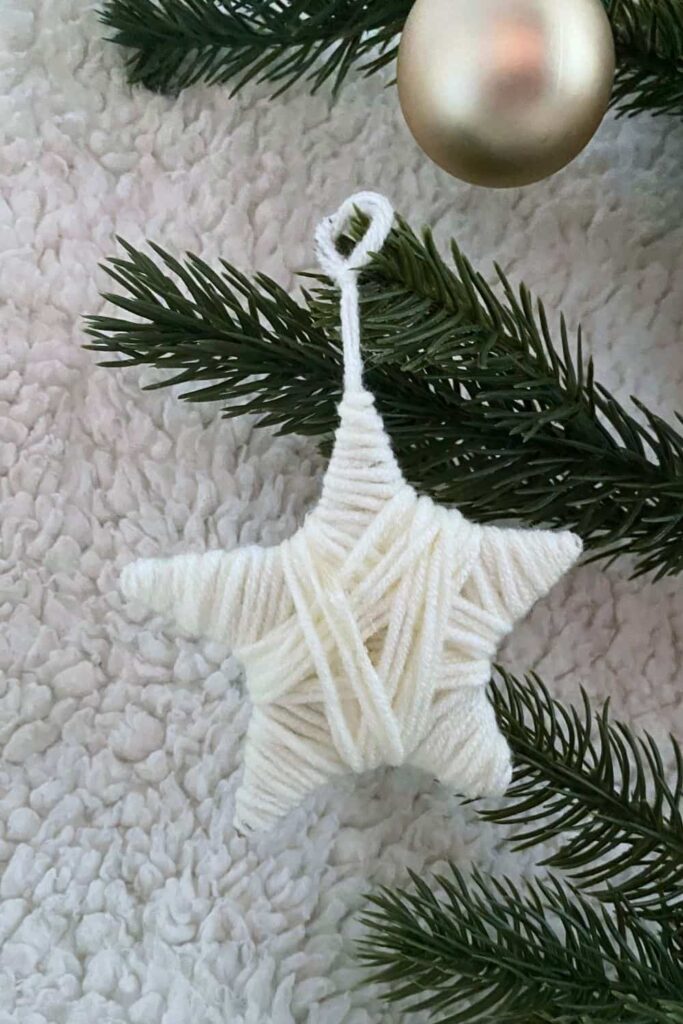
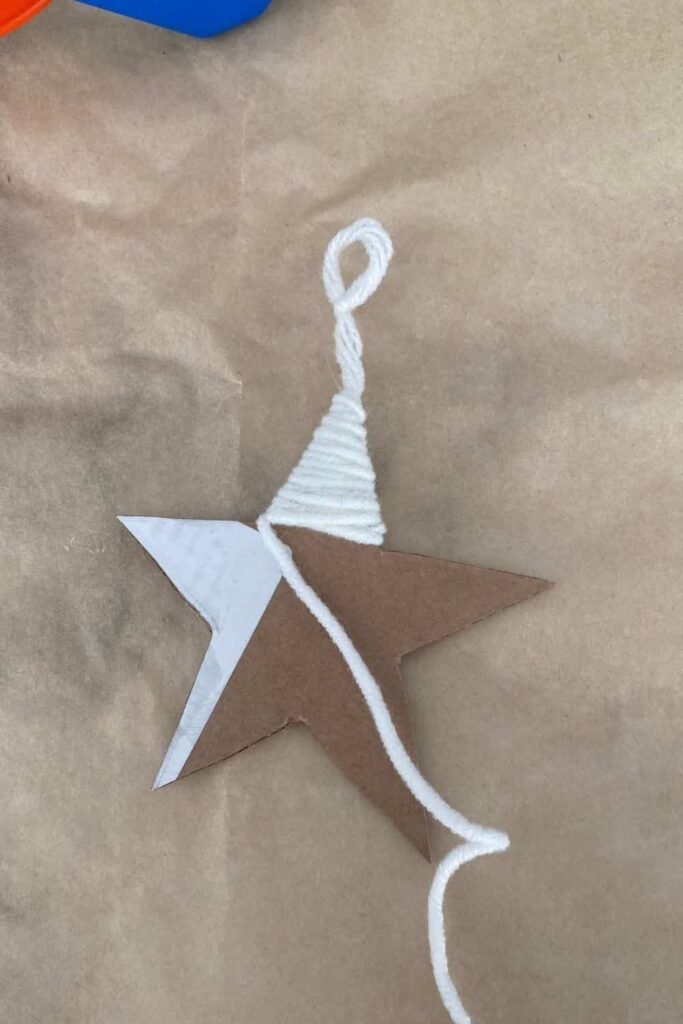
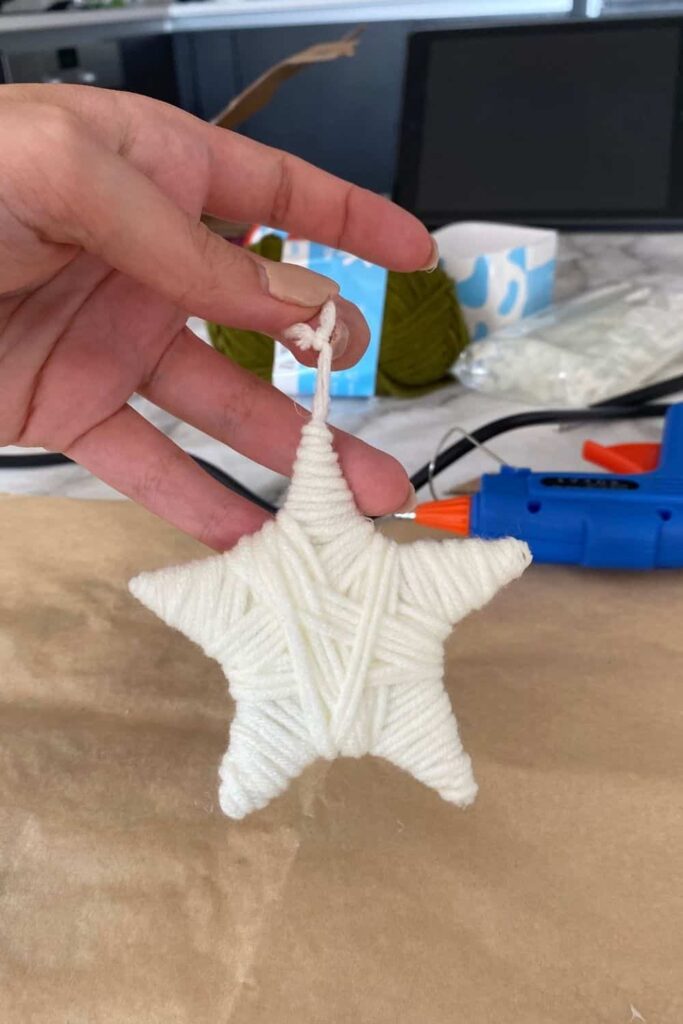
Take your yarn and tie a knot to form a loop. This loop will be used to hang your star on the Christmas tree. Make sure the knot is secure so it can hold the weight of the ornament.
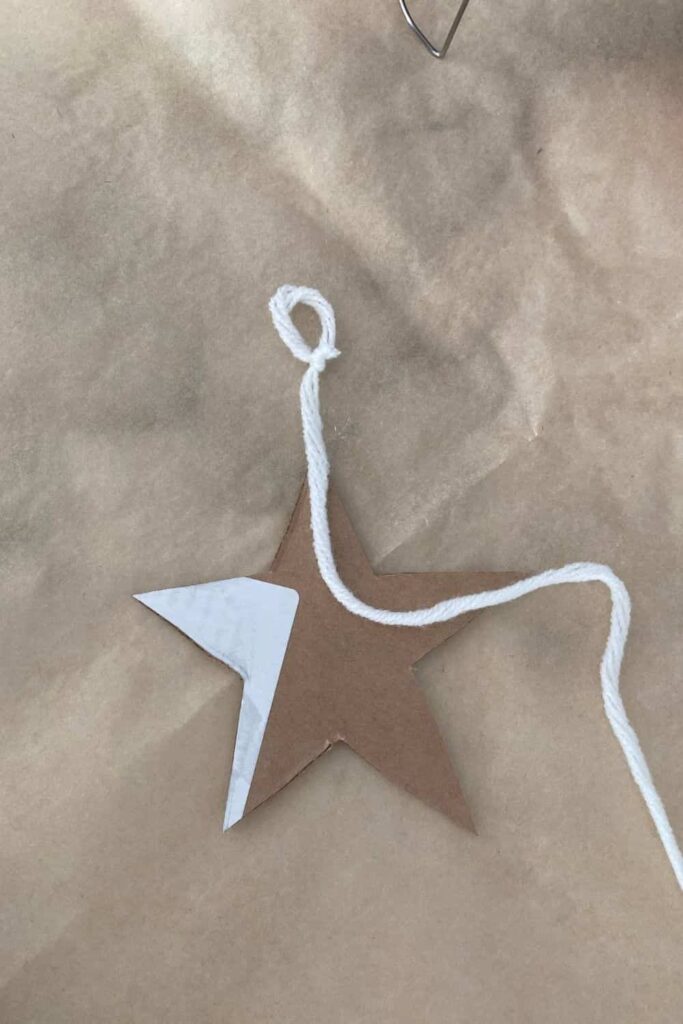
Step 5: Glue the Yarn
Leave about 2 cm of yarn between the knot and the top of your star. Apply a small dot of hot glue to this spot on the cardboard and press the yarn onto the glue. This will keep the yarn in place and make it easier to wrap around the star without it slipping.
Step 6: Wrap the First Arm
Start wrapping the yarn around the first arm of your star. Make sure to cover the cardboard completely. The wrapping should be tight enough to stay in place but not so tight that it bends the cardboard.
Step 7: Secure the Yarn
Once you’ve wrapped the first arm, secure the yarn in the middle with a small dot of hot glue. This will prevent the yarn from unraveling and keep it tight. Make sure the yarn is tight enough that it won’t come off.
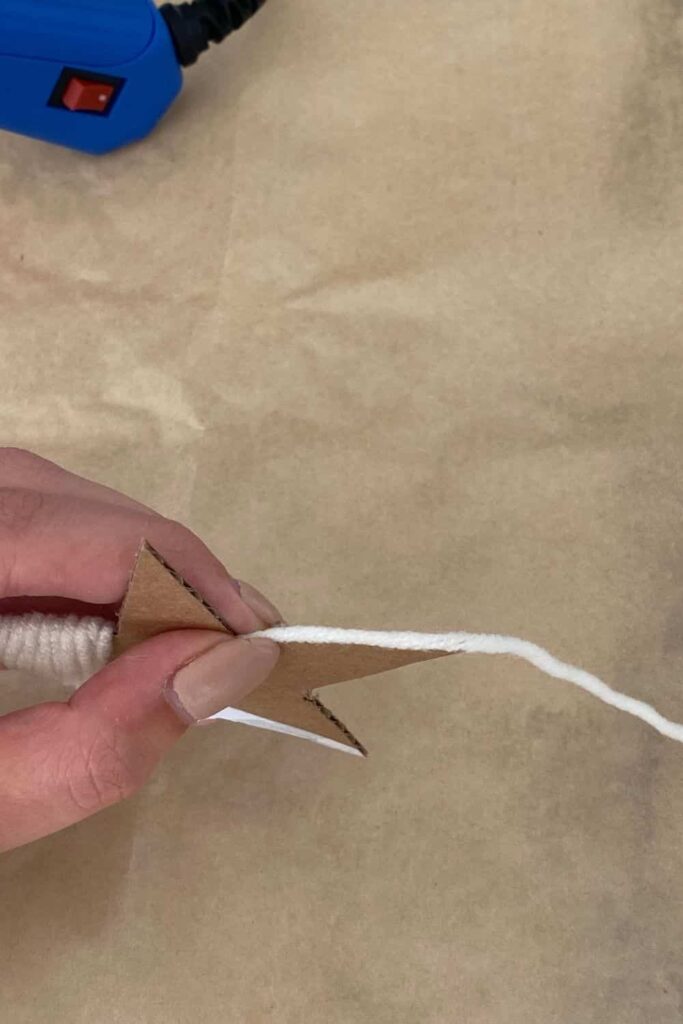
Step 8: Start the Second Arm
Begin wrapping the second arm by first gluing the yarn onto the edge of the cardboard. This step is optional but will help prevent the cardboard from showing through between the wraps. Apply a thin layer of glue along the edge and press the yarn into it.
Then, add a small amount of glue at the tip of the arm to secure the yarn. Continue wrapping the yarn around the arm, ensuring it covers the cardboard completely.
Step 9: Repeat for Each Arm
Repeat the wrapping process for each arm of the star. Each time, start by gluing the yarn to the edge and tip of the arm to keep it secure. Make sure each arm is wrapped tightly and evenly.
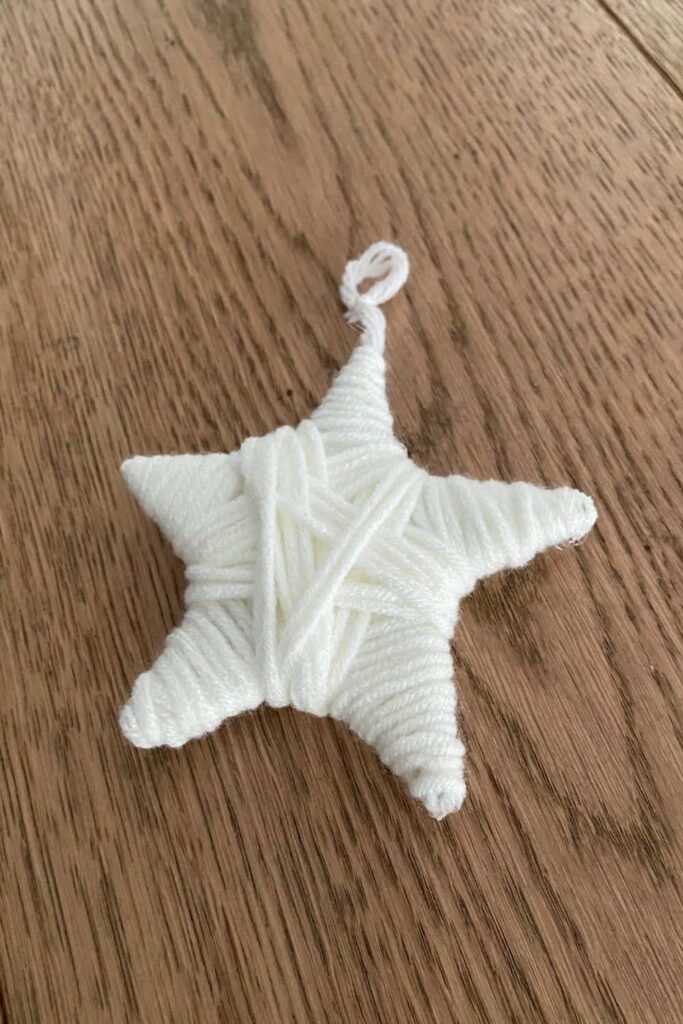
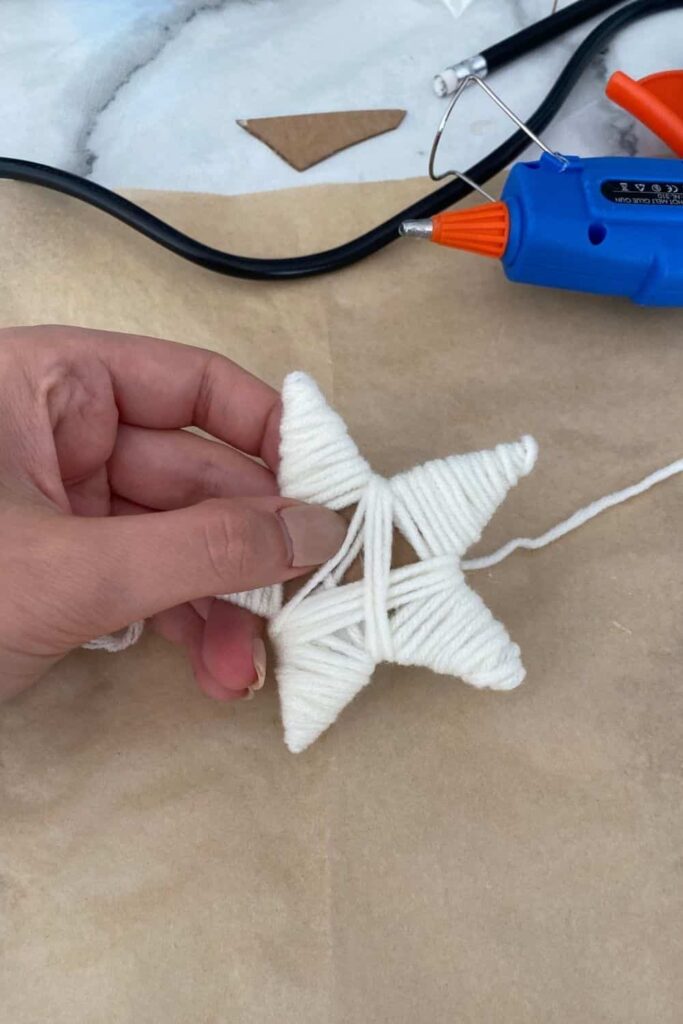
Step 10: Wrap the Middle
Once all the arms are wrapped, start wrapping the middle of the star. Alternate the direction of the wraps to ensure even coverage and a balanced look. Continue wrapping until the middle is completely covered with yarn.
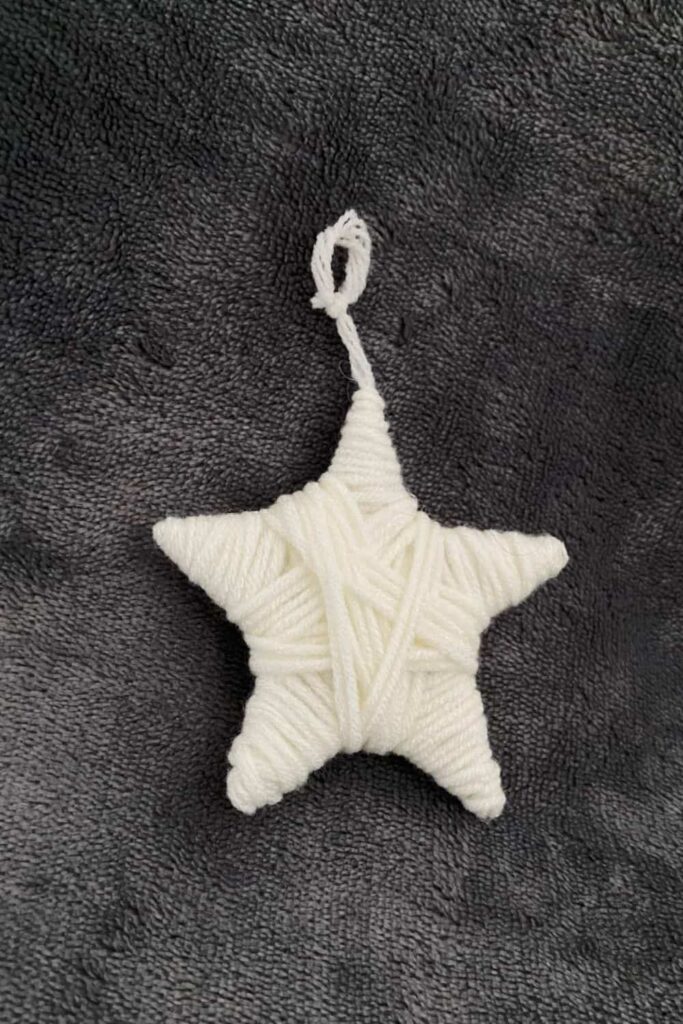
Step 11: Finish and Secure
When you’re happy with the appearance of your star, cut the yarn and secure the end with a small dot of hot glue on the back of the star. Make sure the end is firmly attached to prevent it from unraveling.
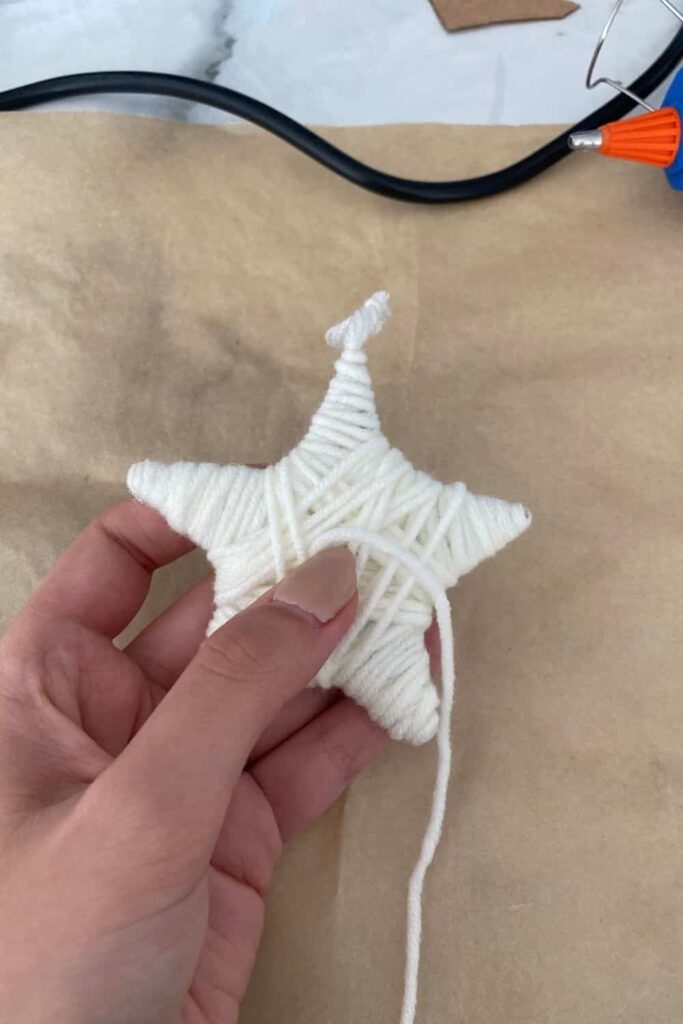
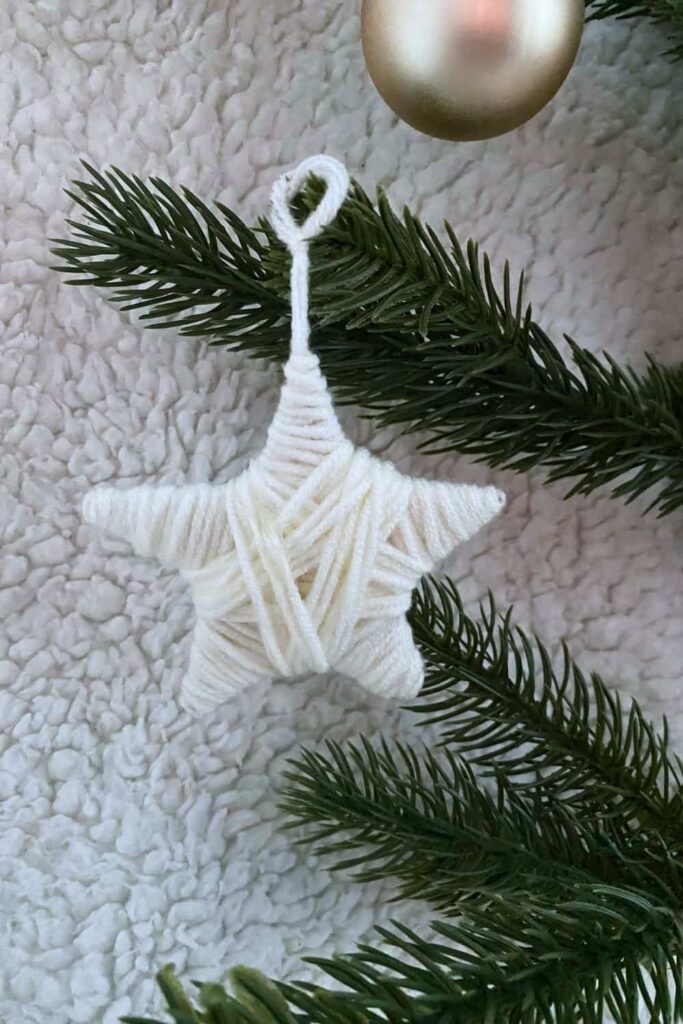
Step 12: Final Touches
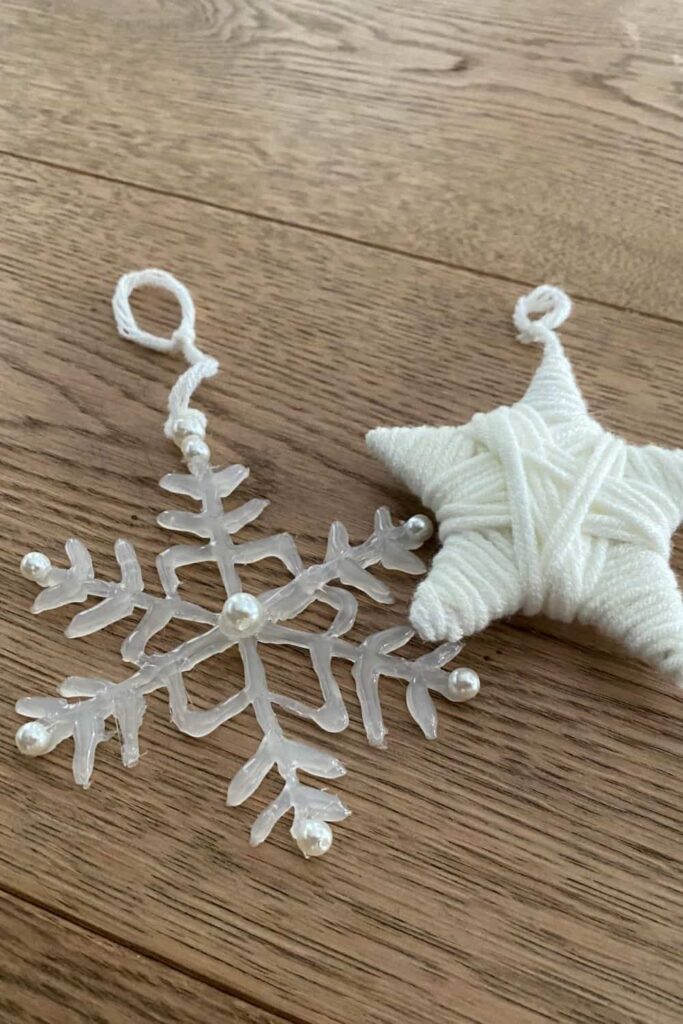
Check the tips of each arm to ensure the yarn hasn’t come loose. If it has, add a small amount of hot glue and press the yarn back into place. Be careful not to burn yourself; using a small piece of cardboard or tweezers can help. Once everything is secure, your star ornament is ready to hang on the tree. Enjoy your handmade decoration!

More Like This
- 25 Creative Living Room Graduation Party Ideas for a Memorable Celebration
- 25 Creative At-Home Graduation Party Ideas for a Memorable Celebration
- 25 Creative Garage Graduation Party Ideas You’ll Love
- 25 Creative Graduation Party Table Ideas You’ll Love
- 20 Stunning Floral Graduation Party Ideas for a Memorable Celebration
— SAVE THIS POST —
Did you like this post? If you liked this post, don’t hesitate to share it!
Want to save this post? You can pin the following images on pinterest to save this post.
We are Mary and Eric, the founders of Be Right Back, a blog dedicated to romance around the globe and at home.
We are Mary and Eric, the founders of Be Right Back, a blog dedicated to romance around the globe and at home. With over 10 years of experience in dating and traveling to romantic places, we share our favorite date ideas and romantic destinations to help couples level up their relationships. Having lived in and traveled through the USA, we also share our favourite things to do in the States.
With 70,000 monthly readers and 16,000 followers on social media, Be Right Back is your go-to resource for romantic trip ideas and couple activities at home and abroad.