Easy And Quick Felt Christmas Tree Ornament DIY For Your Home
I’m thrilled to share another festive DIY project with you. As someone who loves both Christmas and crafting, making felt Christmas ornaments is one of my favorite holiday activities.
These ornaments are easy to make, quick to assemble, and you can customize them to match your holiday decor. Most of the materials needed are probably already in your craft stash.
Whether you’re an experienced crafter or just looking for a fun activity to do with your family, these felt ornaments are a wonderful addition to your Christmas tree decor. Let’s get started!


Why These Felt Christmas Ornaments are Great for a DIY
Creating felt Christmas ornaments is a fantastic DIY project for several reasons:
- They are easy to make and really quick to assemble.
- You can personalize them with various decorations such as sparkles, pearls, and more.
- They require minimal materials, many of which you probably already have at home.
These ornaments are a fun and creative way to add a handmade touch to your holiday decorations, making your Christmas tree unique and special.
What You Need
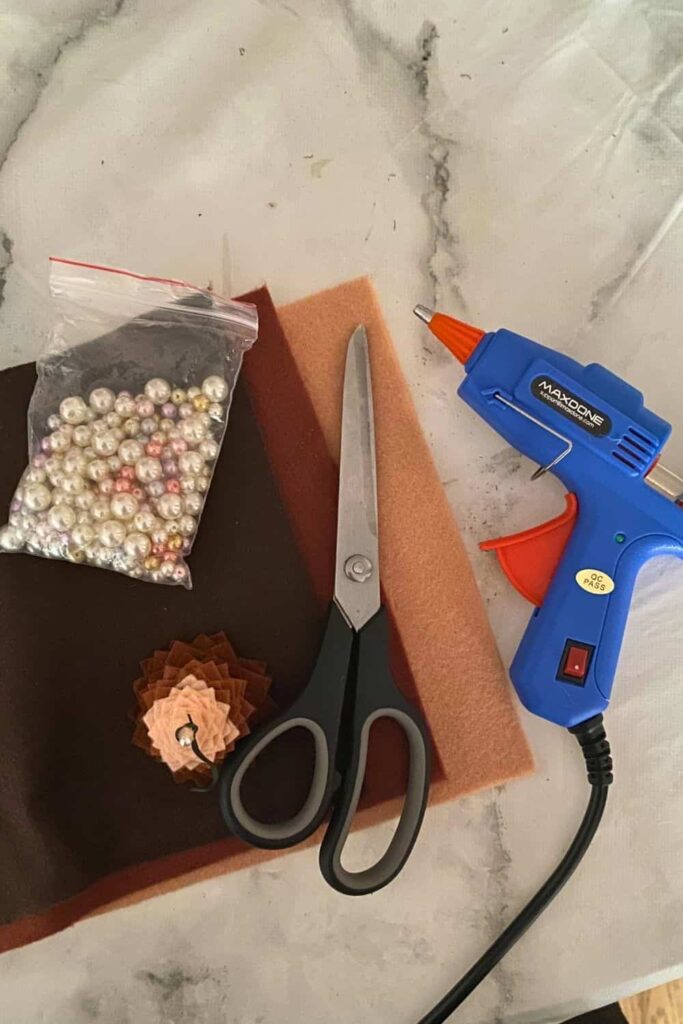
To create your felt Christmas ornaments, gather the following materials:
- Felt paper in one color or several colors
- Hot glue gun
- Some thread or yarn
- One pearl
These simple materials are all you need to create beautiful, personalized ornaments for your Christmas tree.

Step-by-Step Instructions
Step 1: Cut the Felt Squares
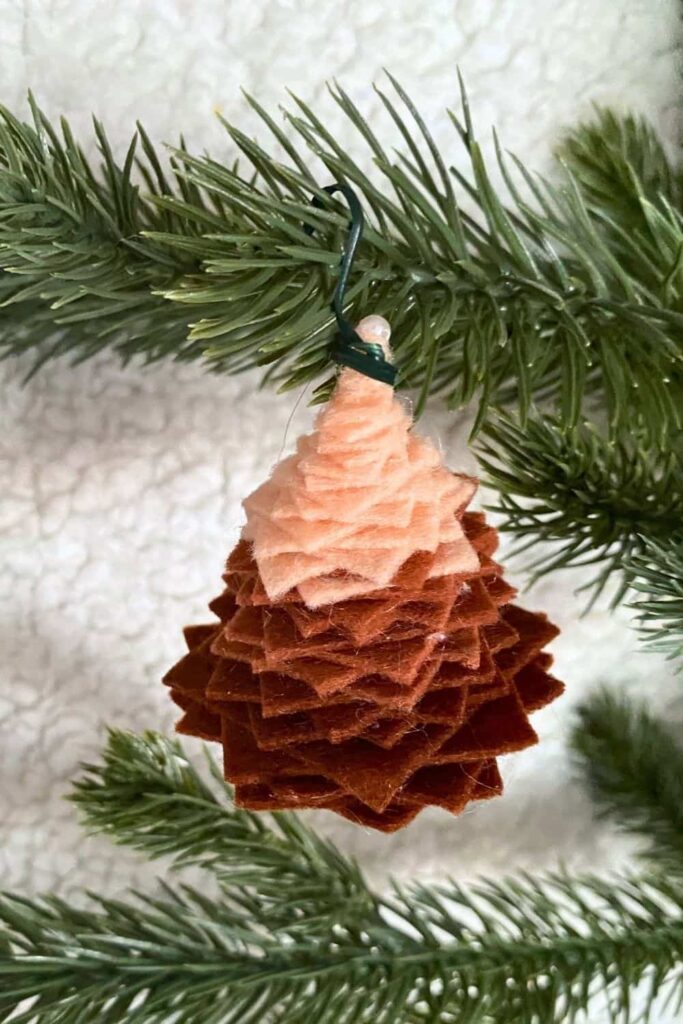
Begin by cutting 34 felt squares. The base squares should be about 5 to 6 cm on each side. Each time, cut two squares of the same size.
With every two squares, make them a few millimeters smaller. The top square should be about 2 mm on each side. This variation in size will help create the layered look of the ornament.
Step 2: Assemble the Ornament
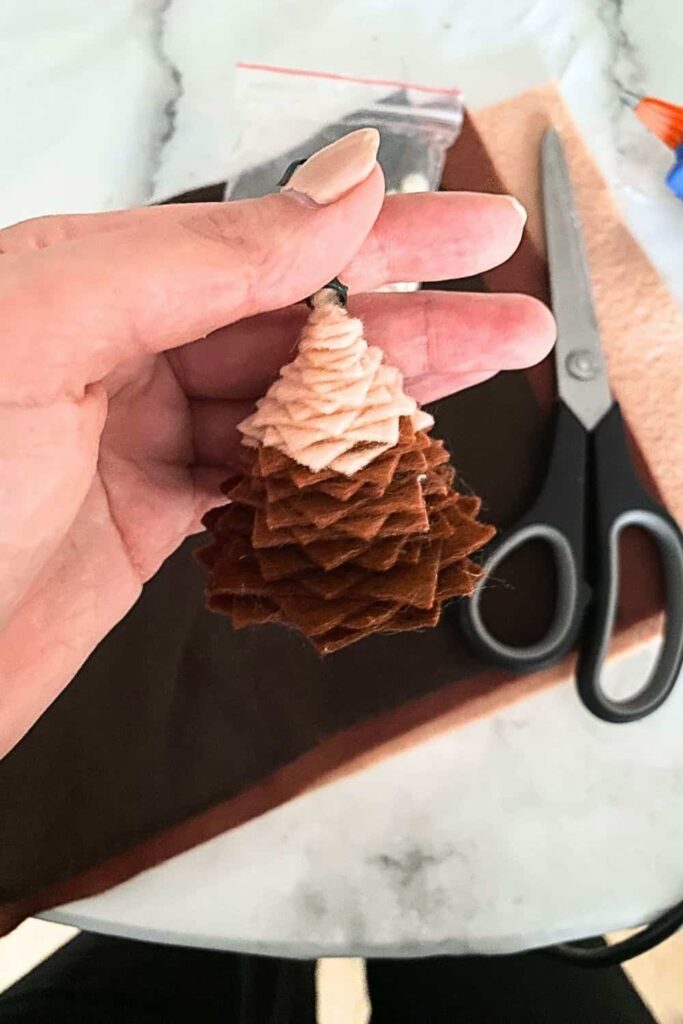
Starting with the largest squares, glue each one together from largest to smallest. Rotate each square slightly so that the corners do not align perfectly.
This will give your ornament its tree-like shape. You only need to apply glue down the middle of each square to secure them in place.
Step 3: Secure the Top
Once you reach the top, make sure all the layers are secure. Add a pearl at the very top, making sure it has a hole on each side for threading. This pearl will add a decorative touch and serve as the point from which you hang the ornament.
Step 4: Add the Hanging Loop
Pass your thread or yarn through the pearl at the top and tie a knot to create a loop. This loop will allow you to hang your ornament on your Christmas tree. Make sure the knot is secure so your ornament hangs properly.
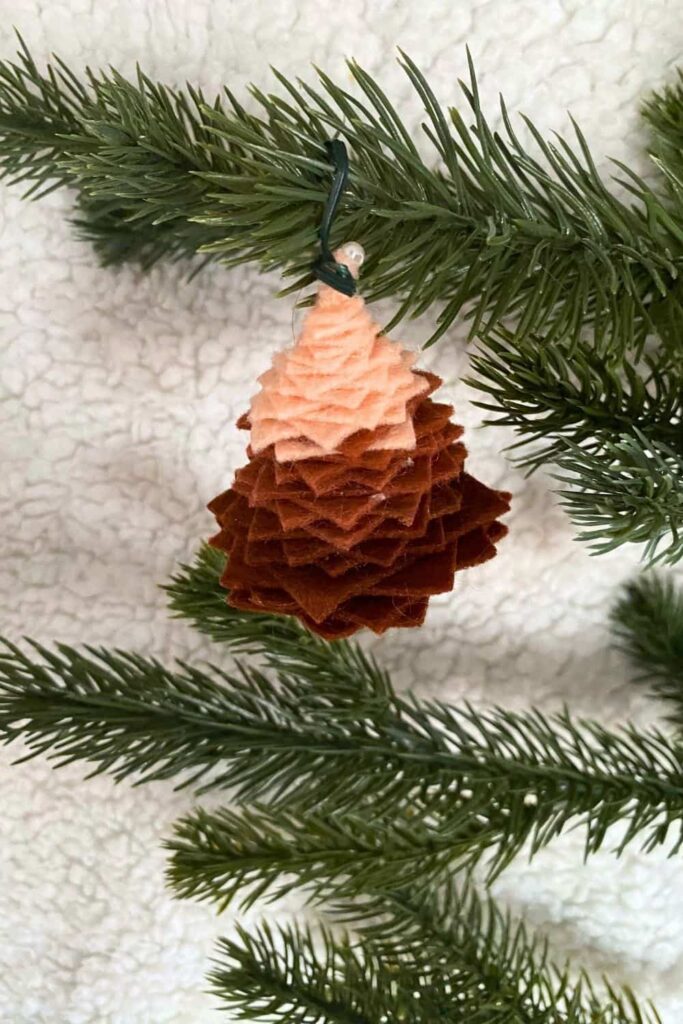
And there you have it—your very own felt Christmas ornament! These ornaments are quick to make and add a lovely handmade touch to your holiday decorations.
Optional Enhancements
- Additional Pearls: You can add more pearls along the way on each “branch” of the tree for an extra decorative touch.
- Sparkles: If you like a bit of shimmer, sprinkle some sparkles onto the felt before the glue dries for a festive glittery effect.
Related
— SAVE THIS POST —
Did you like this post? If you liked this post, don’t hesitate to share it!
Want to save this post? You can pin the following images on pinterest to save this post.
We are Mary and Eric, the founders of Be Right Back, a blog dedicated to romance around the globe and at home.
We are Mary and Eric, the founders of Be Right Back, a blog dedicated to romance around the globe and at home. With over 10 years of experience in dating and traveling to romantic places, we share our favorite date ideas and romantic destinations to help couples level up their relationships. Having lived in and traveled through the USA, we also share our favourite things to do in the States.
With 70,000 monthly readers and 16,000 followers on social media, Be Right Back is your go-to resource for romantic trip ideas and couple activities at home and abroad.

