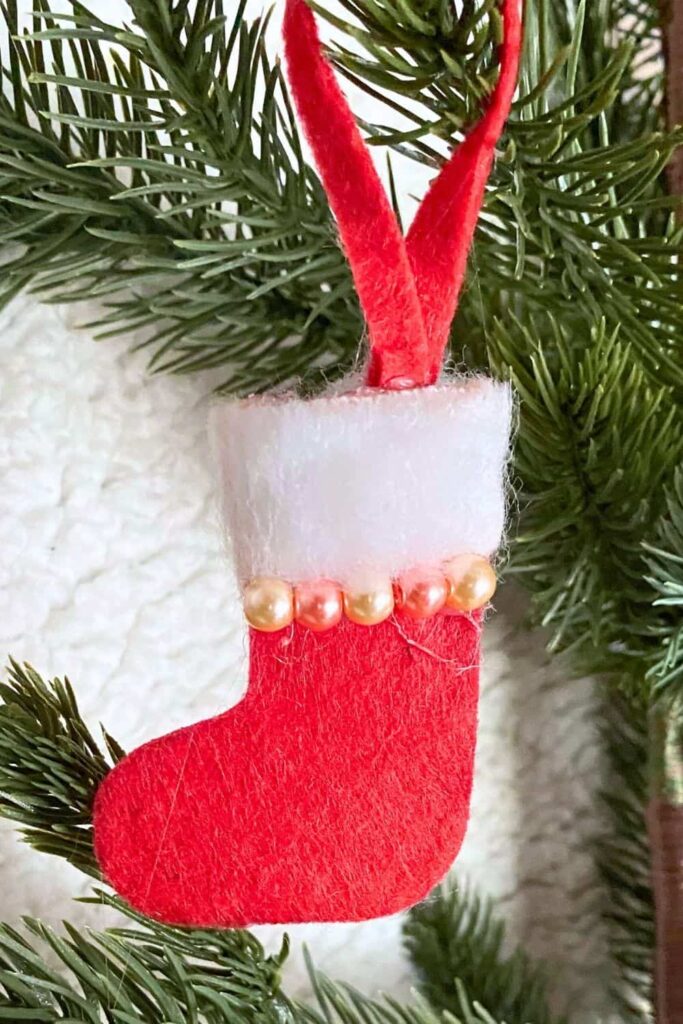
Easy DIY Felt Stocking Ornament For Your Christmas Tree
If you’re looking for an easy but cute DIY Christmas ornament, this one will be perfect for you! As someone who loves both Christmas and crafting, making my own decorations is a fun way to get into the holiday spirit.
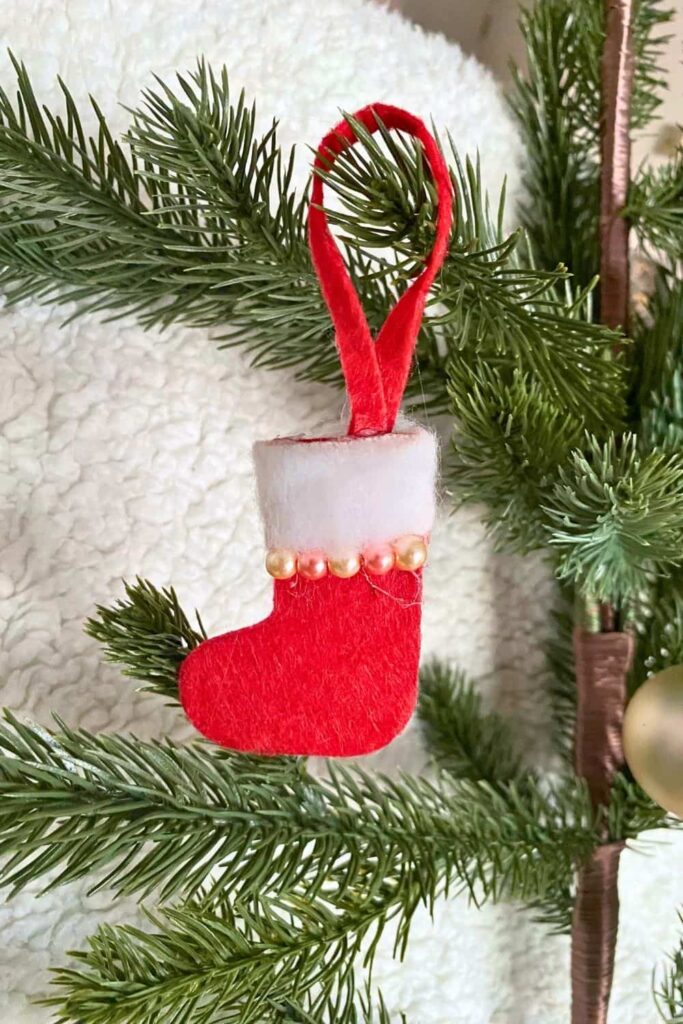
Today, I’ll show you how to create adorable DIY felt stocking ornaments for your Christmas tree. These ornaments are simple to make, require only a few materials, and add a cute, handmade touch to your holiday decor.
Whether you’re making them for yourself or as a gift, these felt stockings are a delightful addition to any tree. Let’s get started!
What You Need
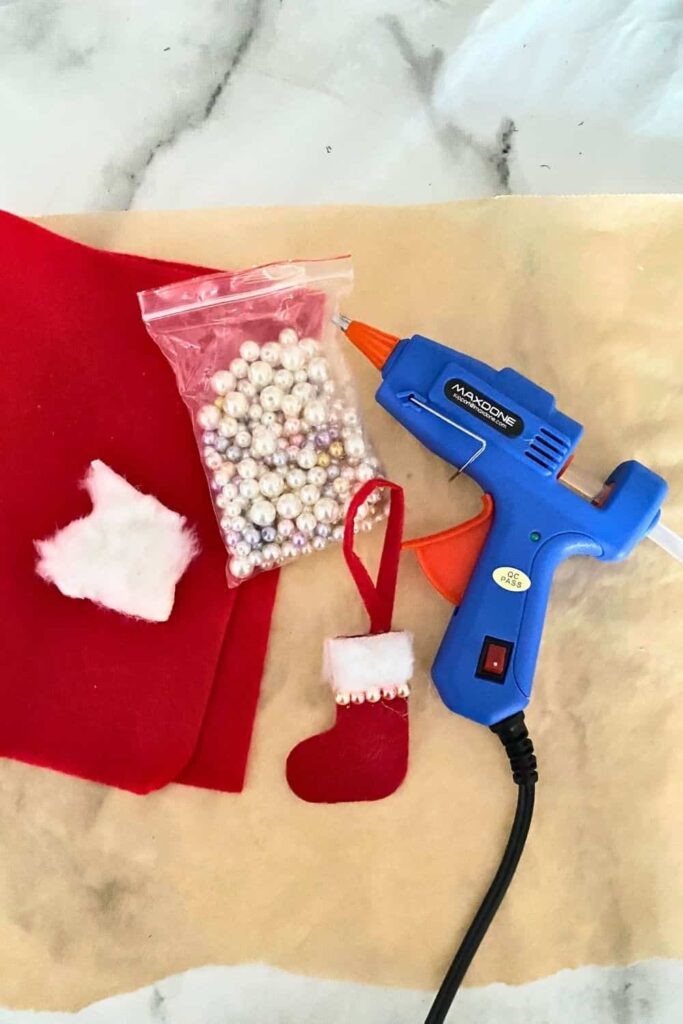
To create your DIY felt stocking ornaments, gather the following materials:
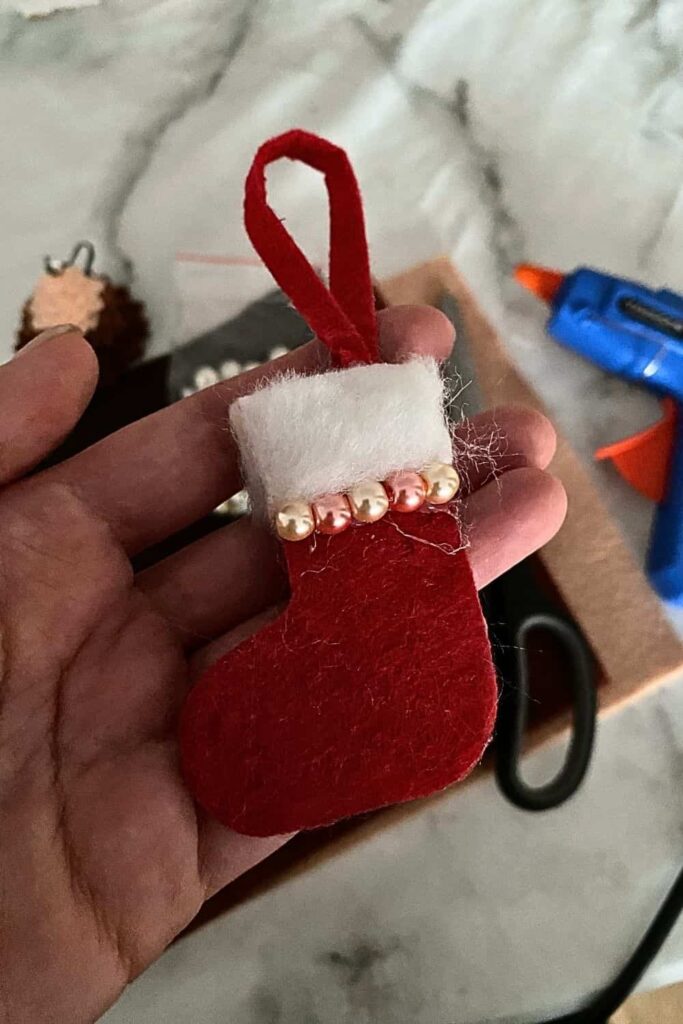
- Hot glue gun and glue sticks
- Small pearls
- Red felt (or any colors you’d like)
- White felt (or any other fluffy white material, I used a piece of a Christmas tree skirt!)
These basic supplies will help you craft beautiful, custom ornaments for your tree.
Step-by-Step Instructions
Step 1: Draw Your Stocking Shape
Begin by drawing the shape of a stocking onto the red felt. If you’re not confident in your drawing skills, imagine drawing a big, double-sided J letter. This shape will serve as the template for your ornament.
Step 2: Cut Out the Shapes
Cut out the stocking shape twice from the red felt. You’ll need one piece for the front and one for the back of the ornament. Make sure both shapes are the same size so they line up perfectly when assembled.
Step 3: Cut the White Felt
Next, cut two rectangles from the white felt. These rectangles should be the length of the top edge of your stocking. The height can vary based on your preference for how much white trim you want on your stocking.
Step 4: Assemble the Stocking
Start assembling the stocking by lining up one of the red stocking shapes with hot glue. Apply the glue around the edges, but leave the top open so the stocking functions like a real one. Be careful not to get glue in the middle of the stocking.
Step 5: Press Together
Press the other red stocking shape onto the glued piece to create the stocking. Make sure the edges are aligned and pressed together firmly to ensure they stick well.
Step 6: Attach the White Trim
Glue the white rectangles to the top edge of each side of the stocking. This will create the fluffy trim that adds a festive touch to your ornament.
Step 7: Trim Excess Fabric
If there is any excess fabric sticking out from the edges, trim it off to make the stocking look neat and clean. This step helps give your ornament a polished finish.
Step 8: Add Decorative Pearls
For an extra touch of elegance, add small pearls below the white felt trim. This step is optional but adds a sophisticated look to your ornament, making it look more polished.
Step 9: Create the Hanger
Cut a thin strip of red felt to create the hanger for your ornament. Form a loop and glue it to the inside of the stocking. This loop will allow you to hang the stocking on your Christmas tree.
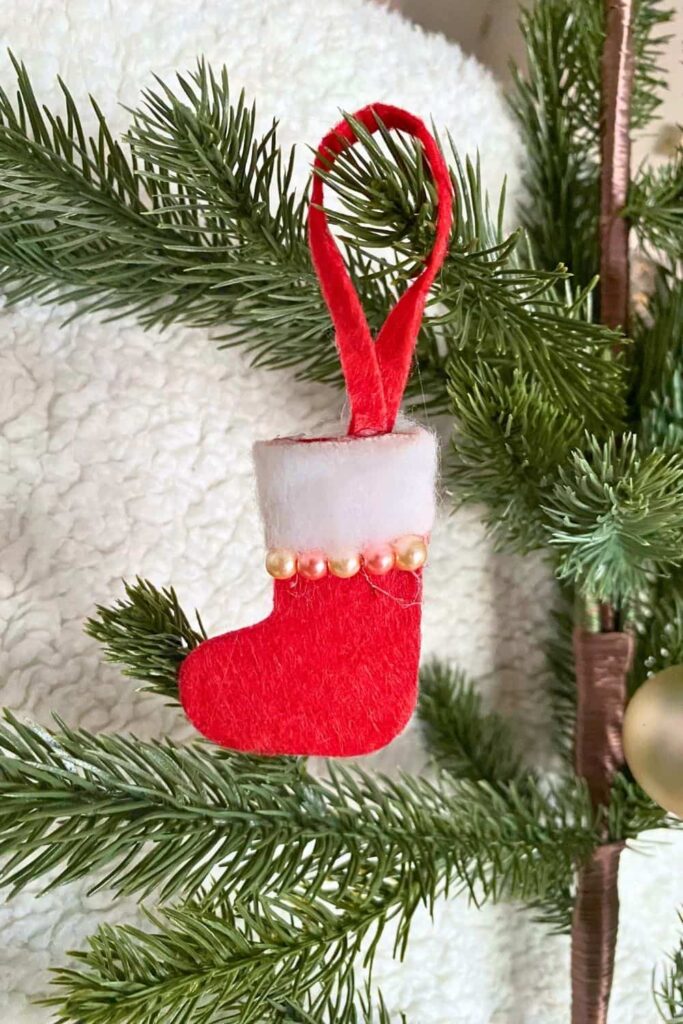
And there you have it! Your very own DIY felt stocking ornament. These little stockings can even hold small treats like candy canes, adding an extra layer of fun to your holiday decorations. Enjoy crafting and happy holidays!
Related
— SAVE THIS POST —
Did you like this post? If you liked this post, don’t hesitate to share it!
Want to save this post? You can pin the following images on pinterest to save this post.
We are Mary and Eric, the founders of Be Right Back, a blog dedicated to romance around the globe and at home.
We are Mary and Eric, the founders of Be Right Back, a blog dedicated to romance around the globe and at home. With over 10 years of experience in dating and traveling to romantic places, we share our favorite date ideas and romantic destinations to help couples level up their relationships. Having lived in and traveled through the USA, we also share our favourite things to do in the States.
With 70,000 monthly readers and 16,000 followers on social media, Be Right Back is your go-to resource for romantic trip ideas and couple activities at home and abroad.

