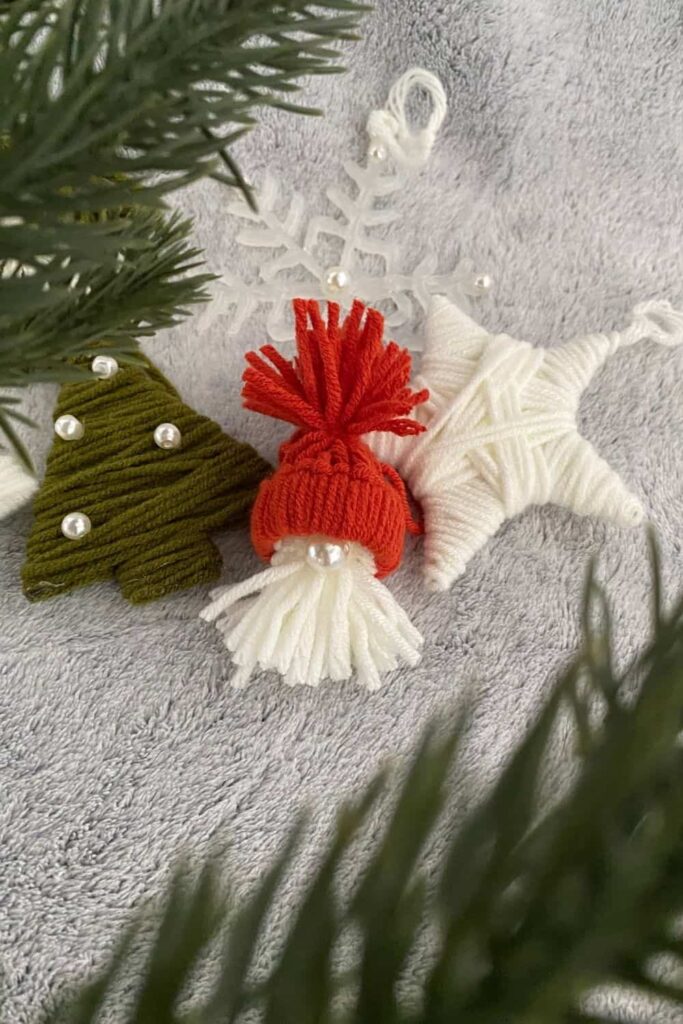
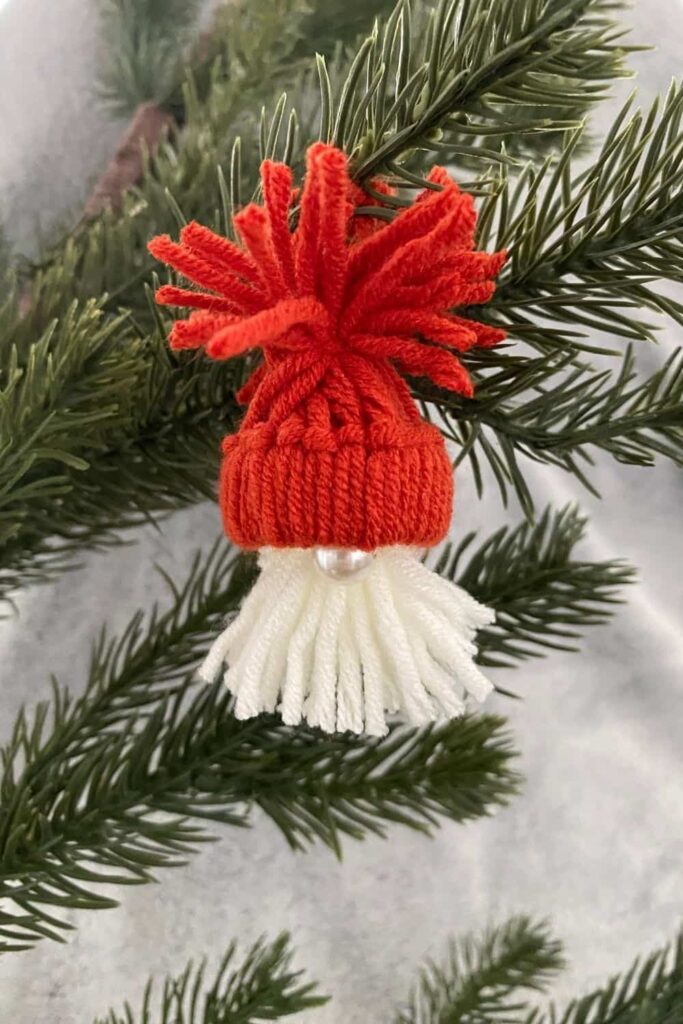
Easy DIY Santa Ornaments For Your Christmas Tree
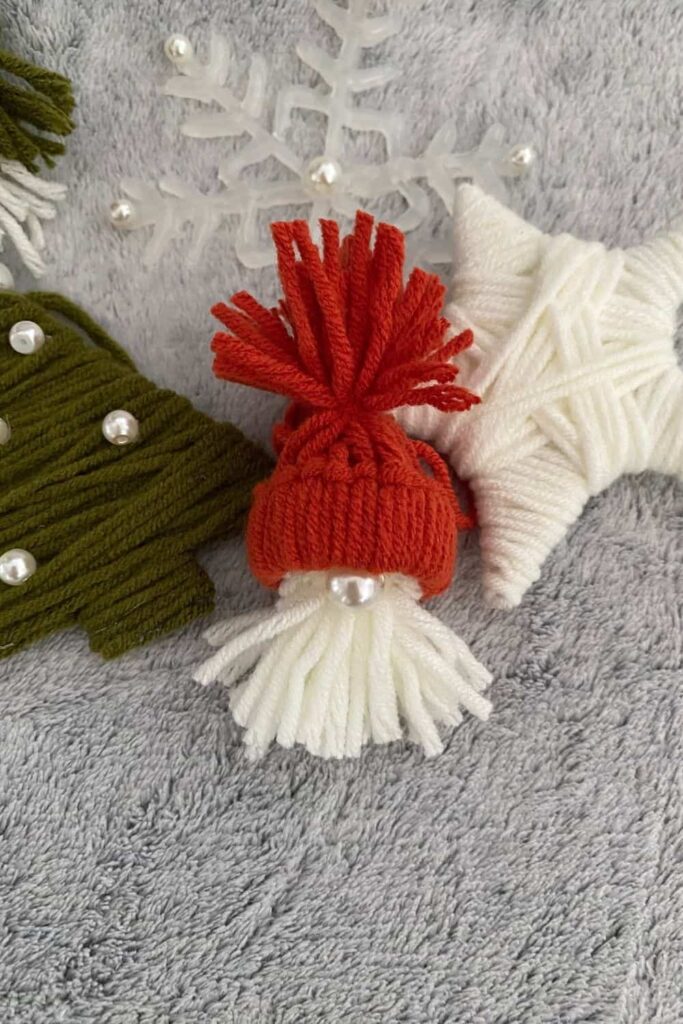
Every Christmas, I love finding new ways to add a personal touch to my holiday decorations. There’s something incredibly special about creating ornaments by hand, especially when they can be made with materials I already have at home. This year, I decided to make DIY yarn Santa ornaments, and they turned out to be the perfect addition to my festive decor. These little Santas are not only adorable but also very easy and quick to make. Plus, they offer a great way to upcycle those plastic bottle caps that often end up in the recycling bin.
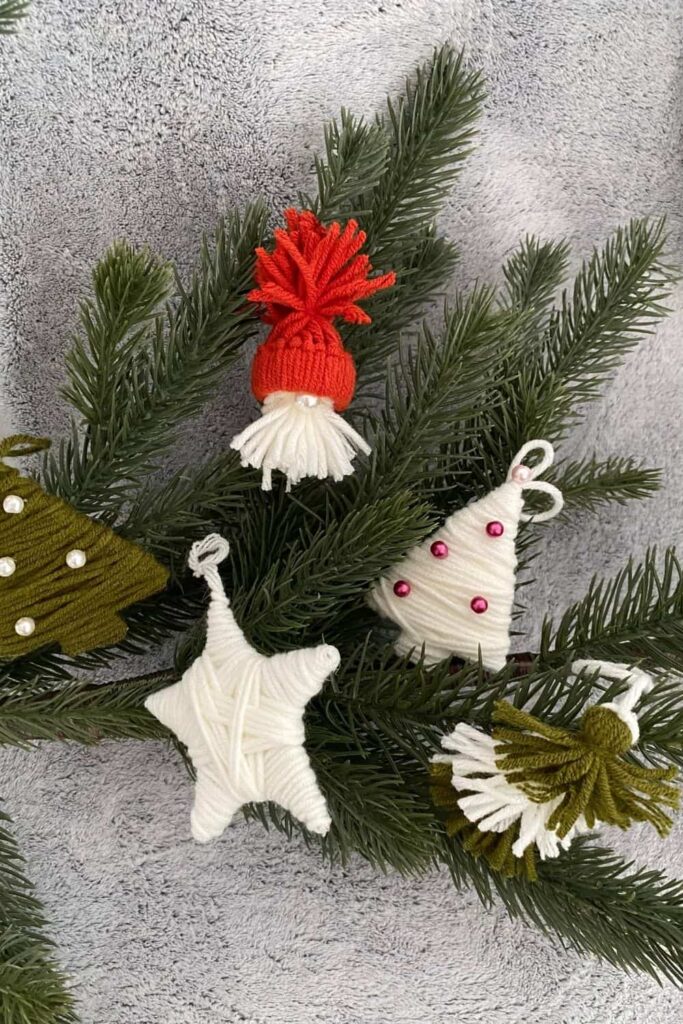
I was inspired to start this project because I wanted something that I could customize easily, matching the colors to my overall holiday theme. Whether you prefer the traditional red and white or want to experiment with other color combinations, these yarn Santas are highly versatile. The best part? They make for a fun crafting activity that you can do alone or with family and friends. In no time, you can whip up several of these cute ornaments, each with its unique charm.
In this guide, I’ll walk you through each step of the process, from gathering your materials to assembling the final product. Don’t worry if you’re not an experienced crafter; the steps are straightforward, and the results are delightful. So, grab your yarn, scissors, and glue gun, and let’s get started on creating these festive, handmade ornaments that will add a warm, personal touch to your Christmas tree this year.
Why These Are the Perfect Christmas DIY?
Creating DIY yarn Santa ornaments is a fantastic way to add a personal touch to your holiday decorations. These ornaments are incredibly easy to make, requiring only basic materials that most of us already have at home.
One of the best aspects of this project is that it helps you upcycle plastic bottle caps, giving them a new life as part of your festive decor. Plus, these Santas are quick to make, so you can easily craft several in one sitting.
They’re also highly customizable; you can choose different yarn colors to match your Christmas theme or to create a unique look for each ornament.
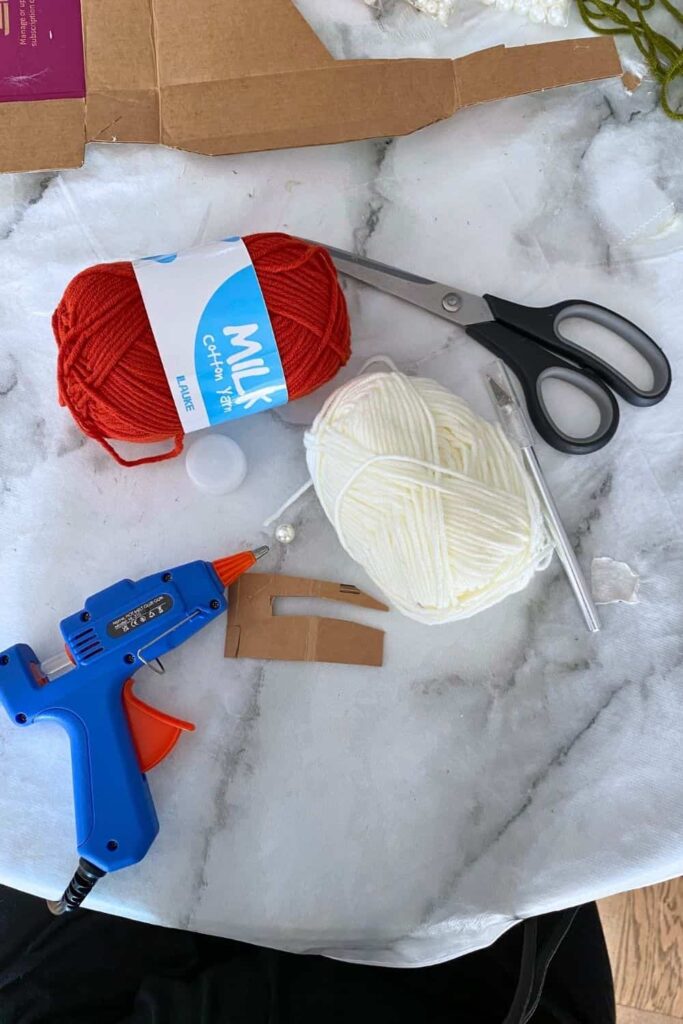
What You Need
To get started on your DIY yarn Santa ornaments, gather the following materials:
- Hot glue gun and glue sticks
- Scissors
- Two colors of yarn (e.g., white and red)
- A plastic bottle cap
- A cutter
- A piece of cardboard
- One large pearl
What to Do
Part 1: Create the Beard and Head
Step 1
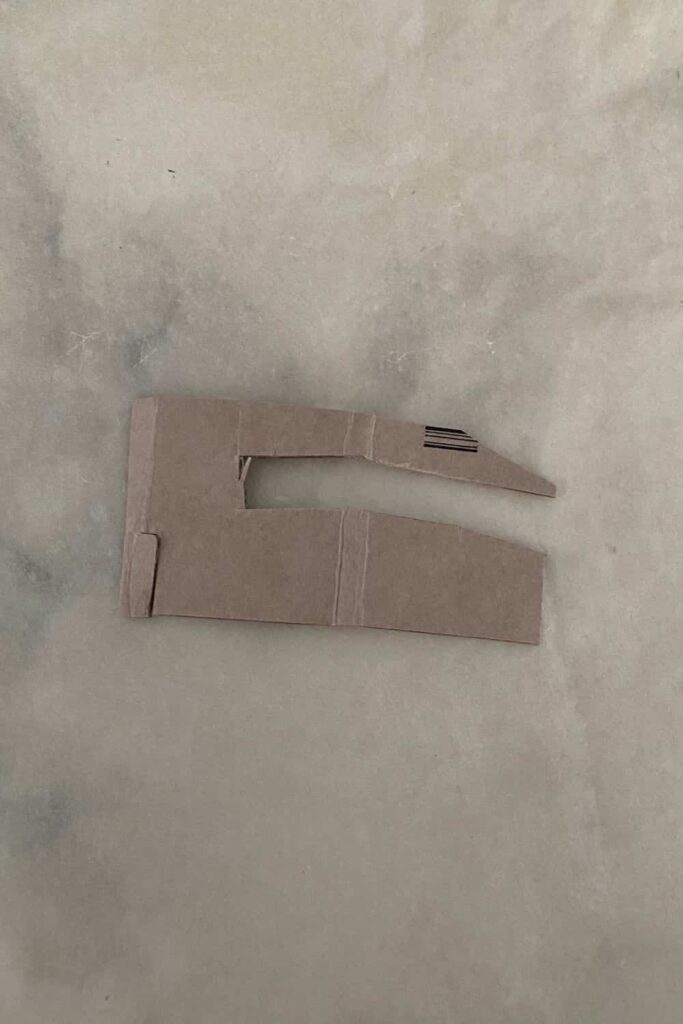
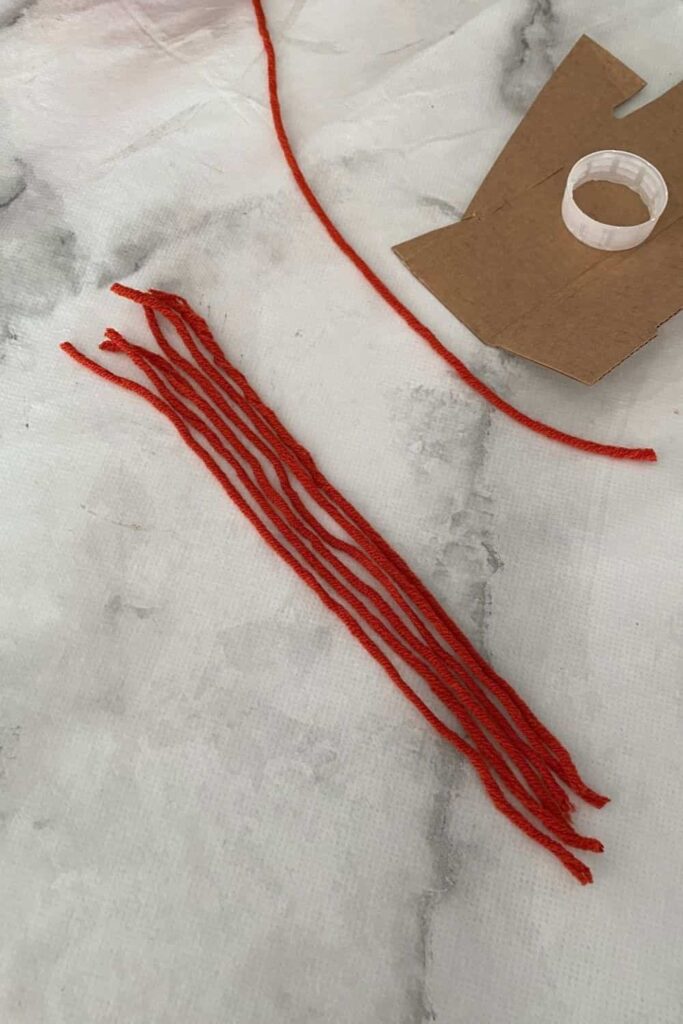
Cut a piece of cardboard into a rectangular shape. The height of this rectangle will determine the length of your Santa’s beard; I recommend about 5 to 6 cm. Towards the middle of the cardboard, cut out a smaller rectangle as shown in the photo.
Step 2
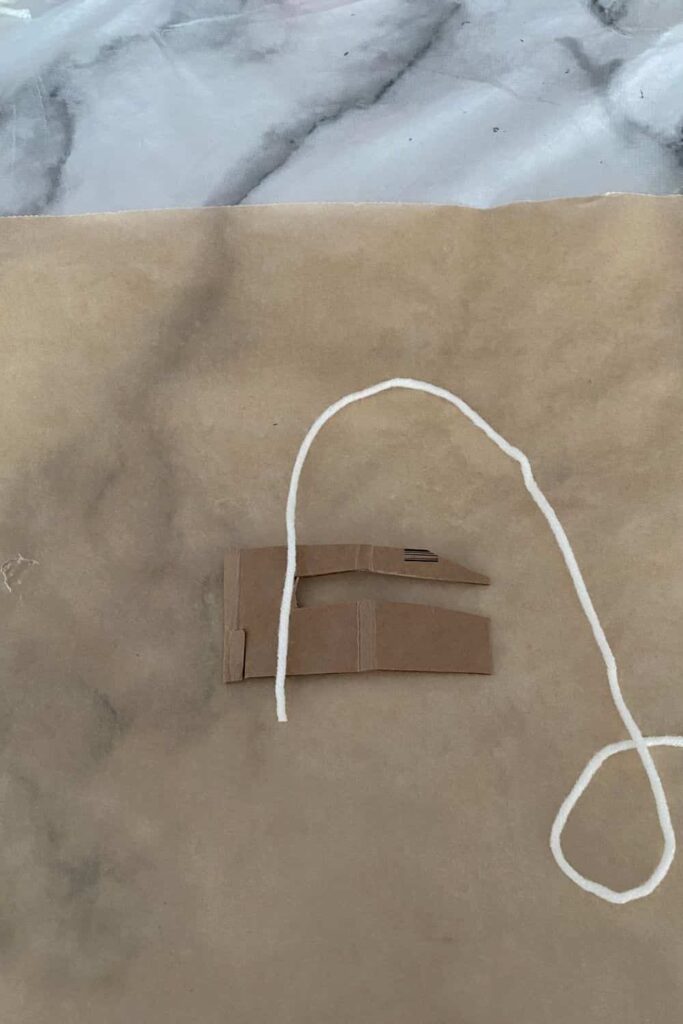
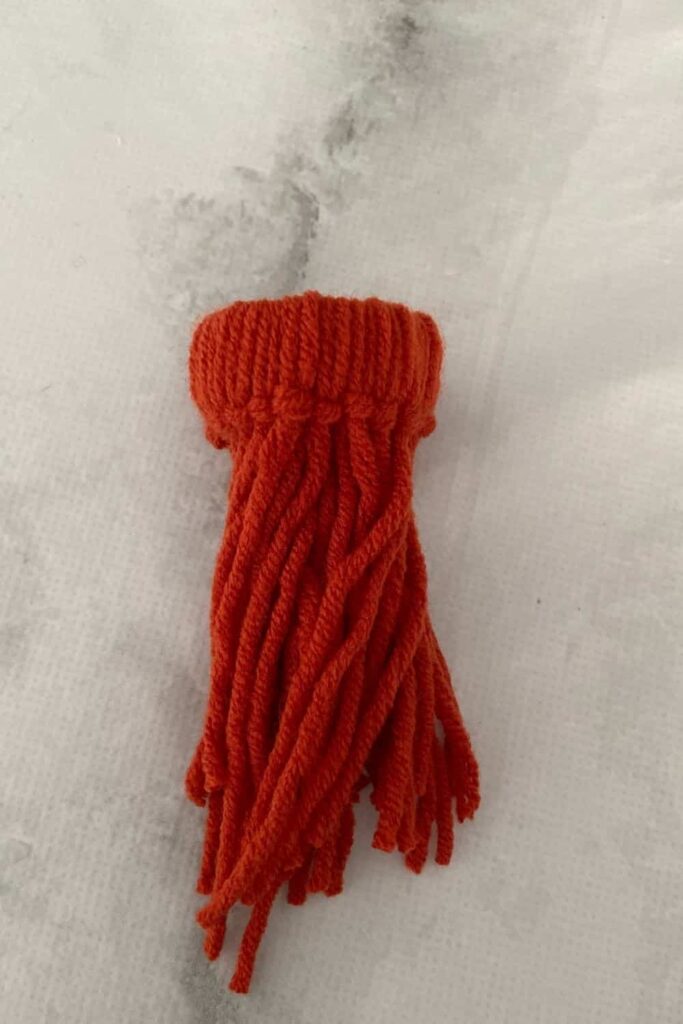
Start wrapping your first color of yarn around the cardboard. Wrap it about 25 times to make sure you get a nice, fluffy beard.
Step 3
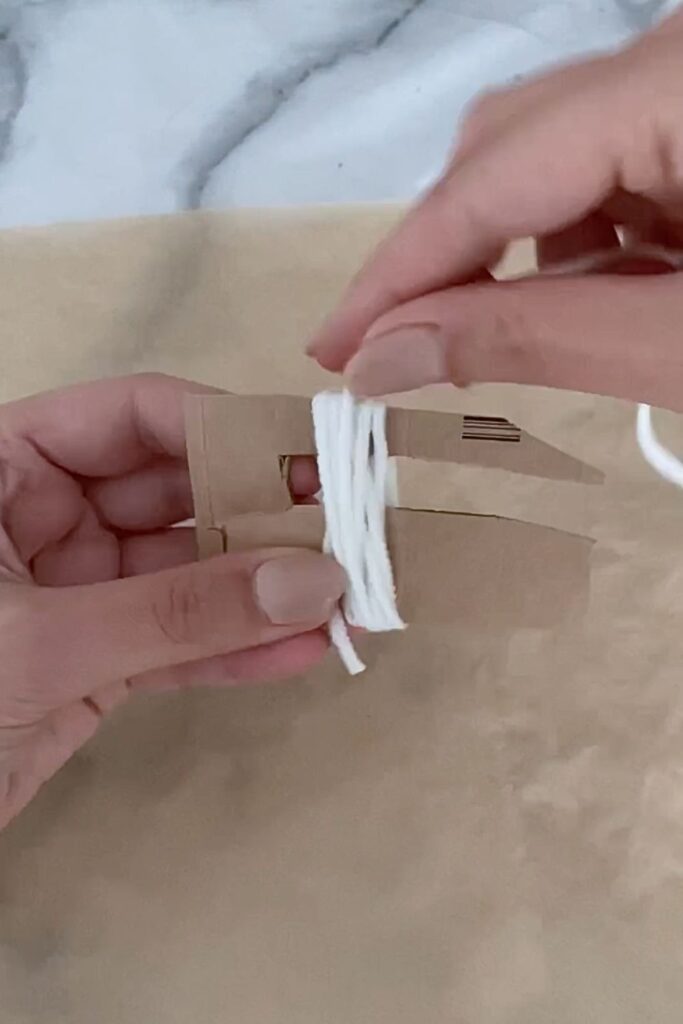
Once you’ve finished wrapping, cut the end of the yarn. Then, cut another piece of yarn about 10 cm long. Wrap this piece of yarn around the wrapped yarn through the hole you cut out earlier. Make sure you wrap it around the entire bundle, not between the strands.
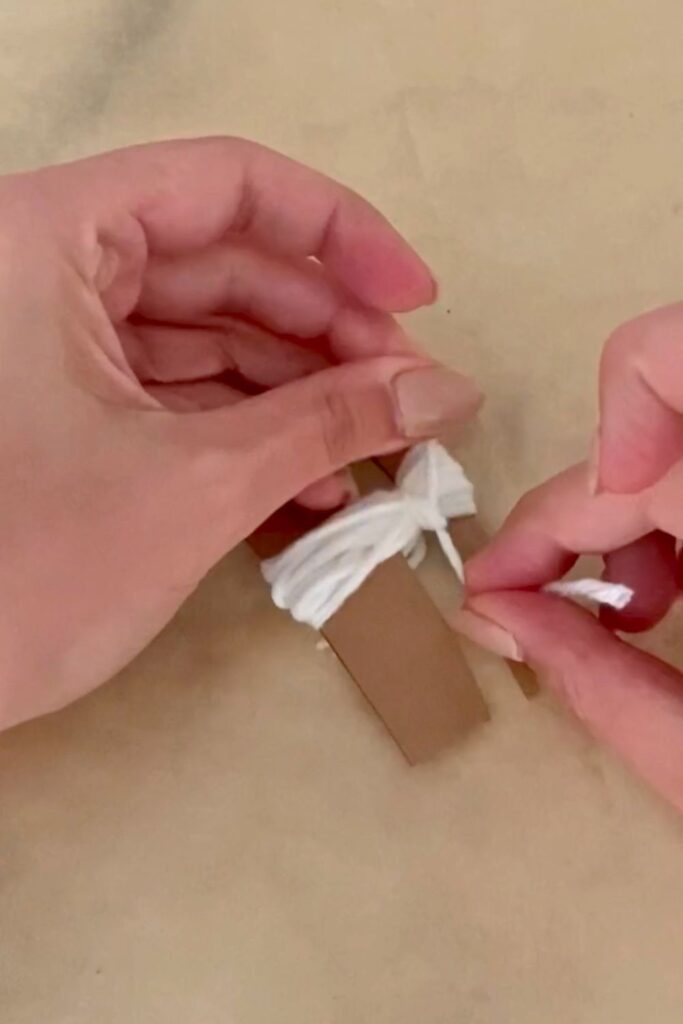
Step 4
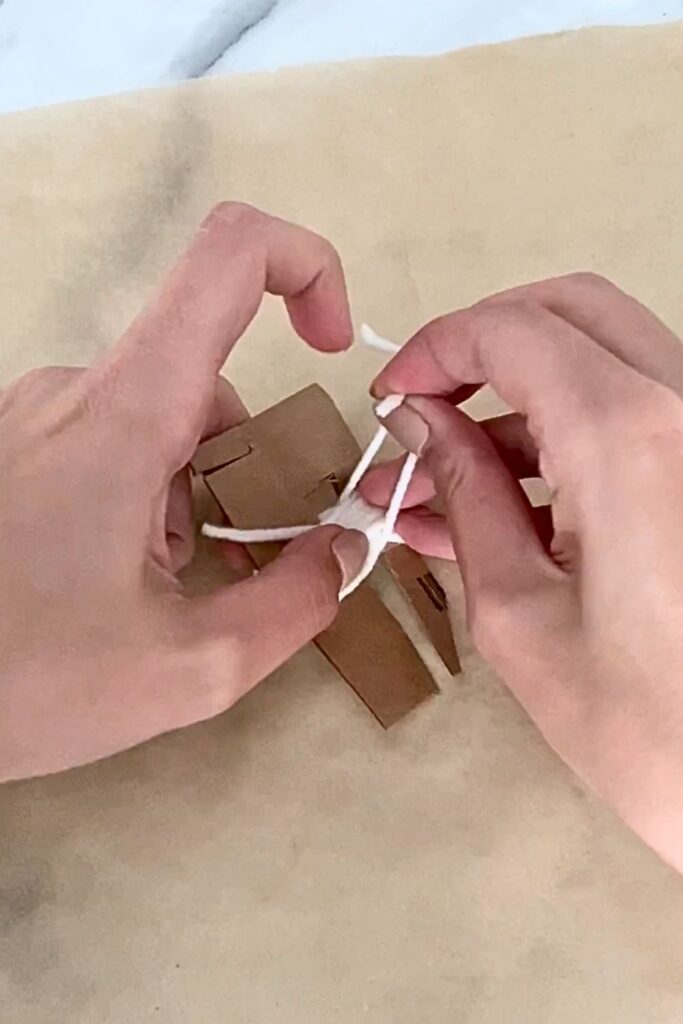
Tie this piece of yarn with a double knot to secure the bundle. This will create a tassel.
Step 5
Carefully slide the tassel off the cardboard.
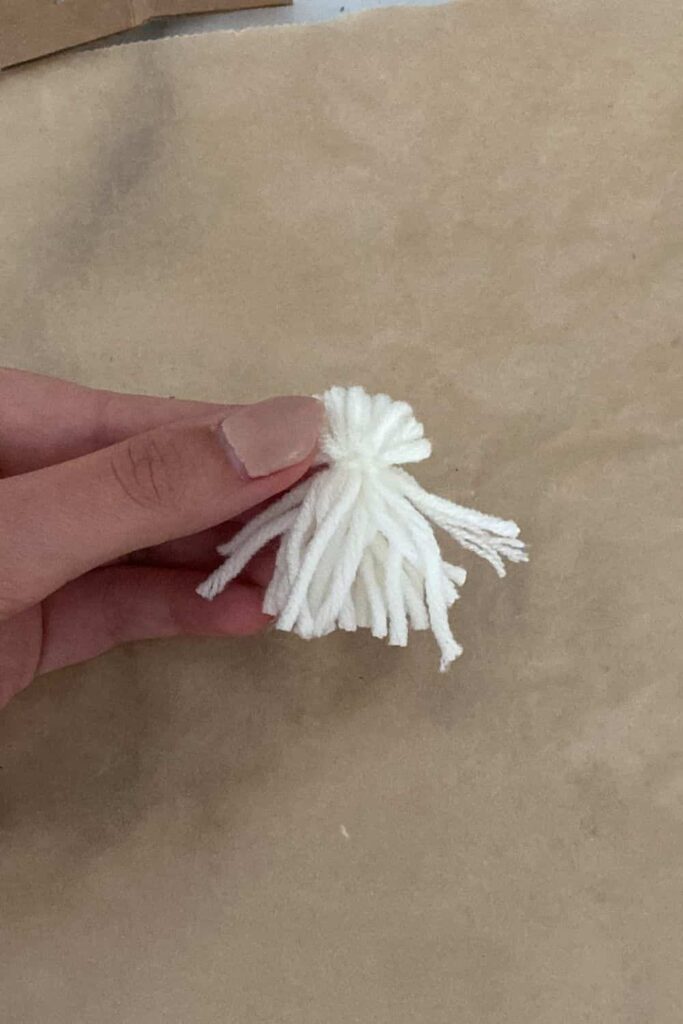
Step 6
Use scissors to cut through the loops on the longer side, creating the ends of the beard.
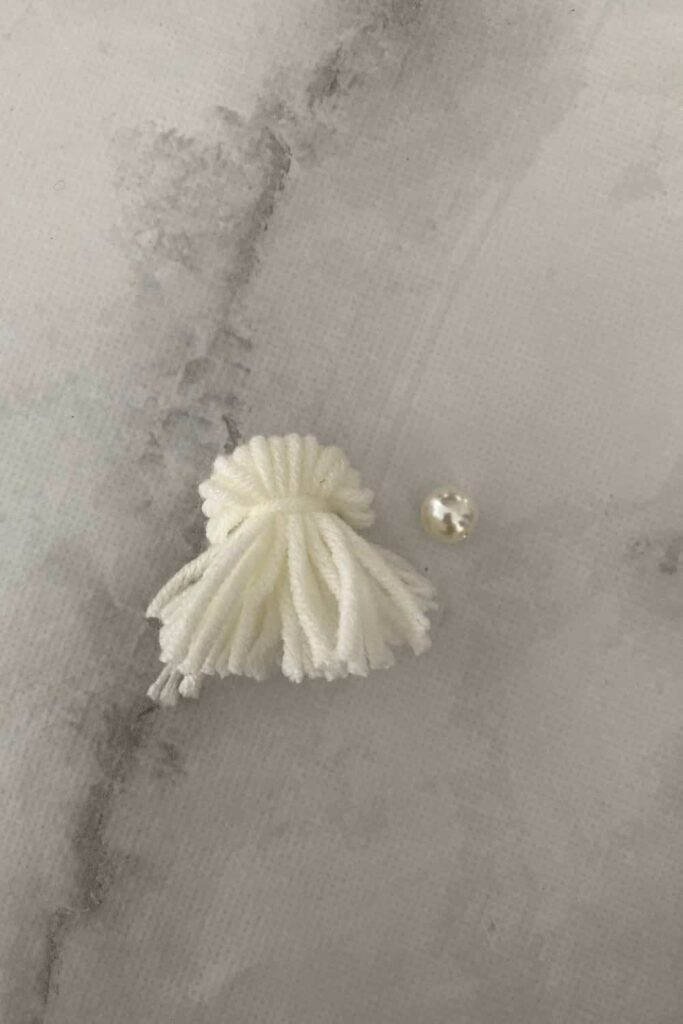
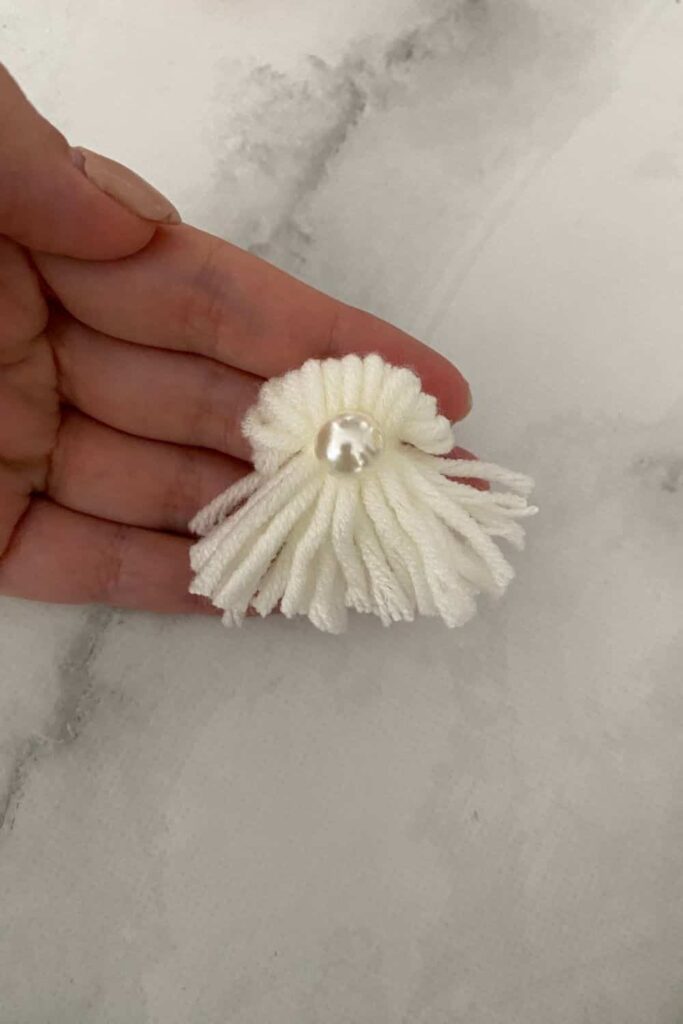
Step 7
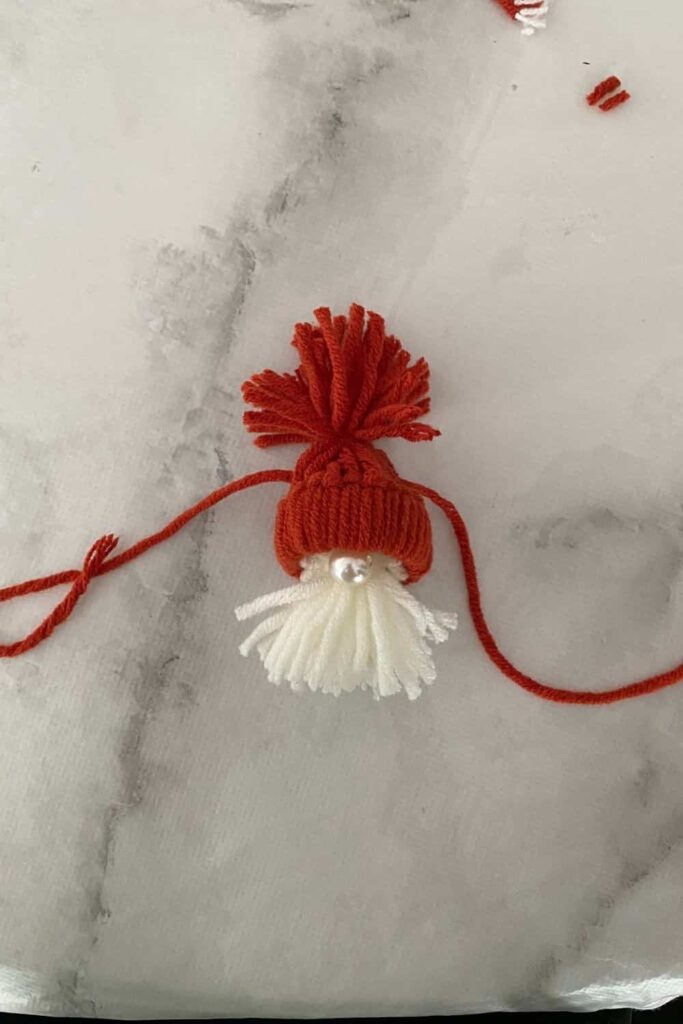
Glue the large pearl in the middle of the tassel to create Santa’s nose.
Part 2: Create the Hat
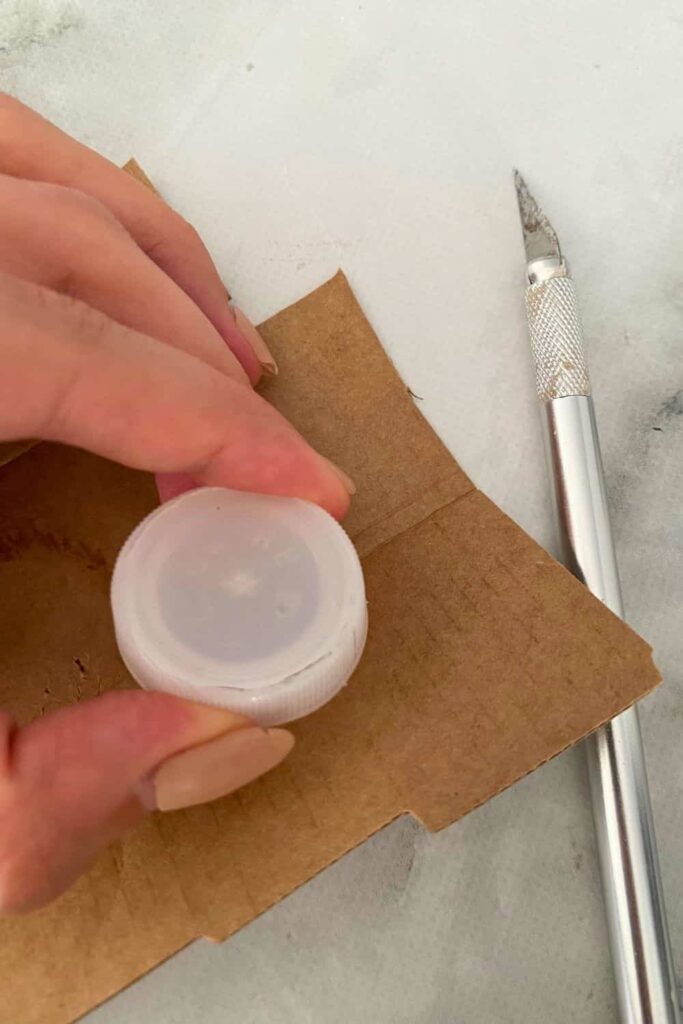
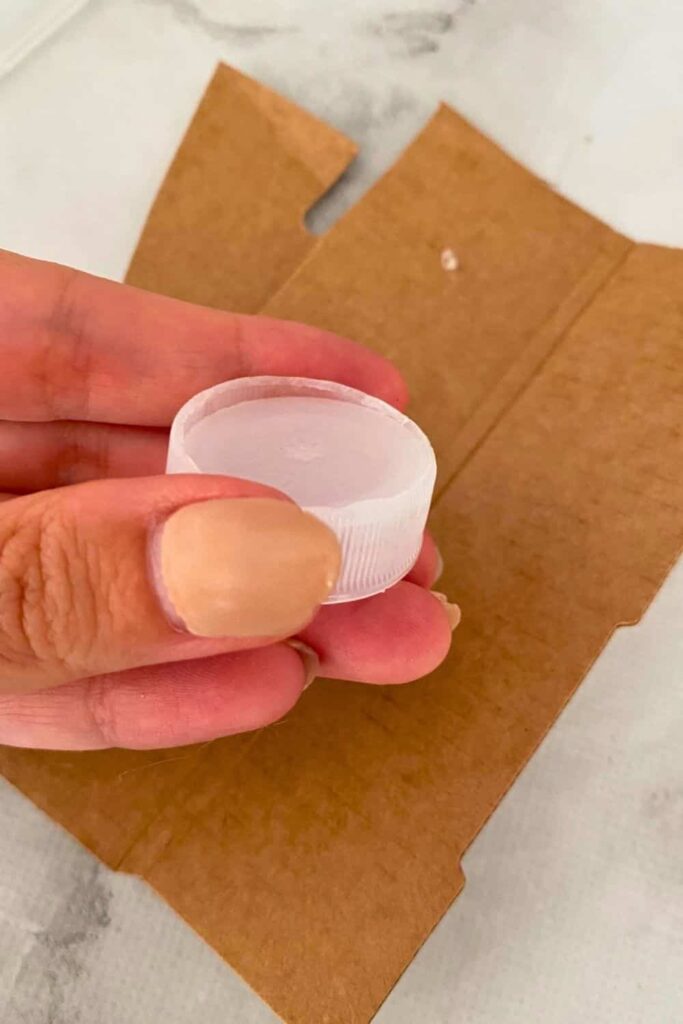
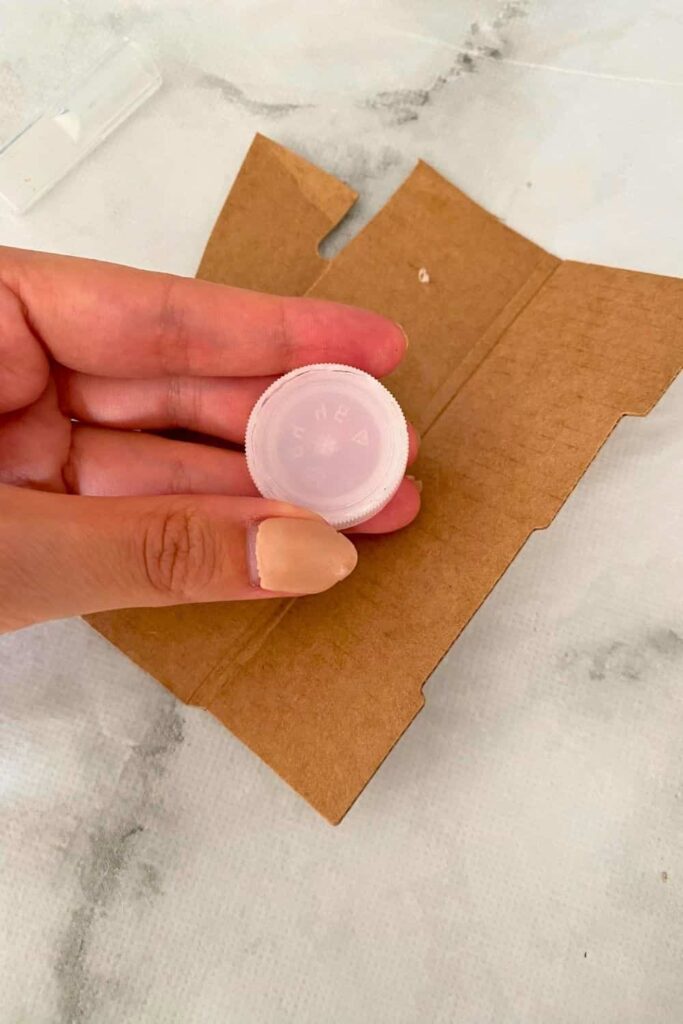
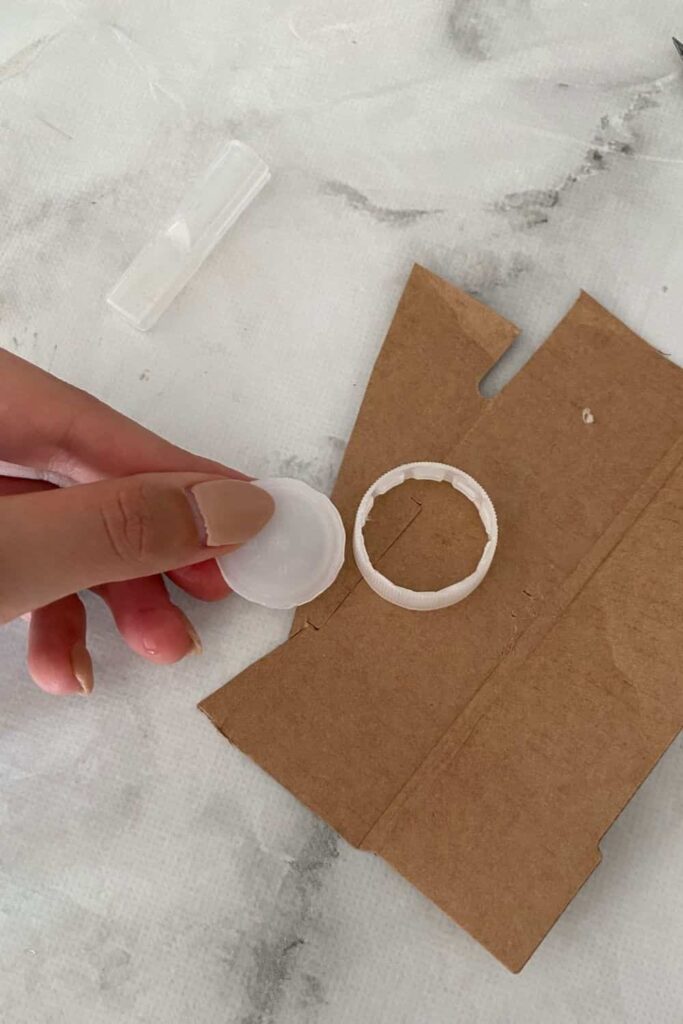
Step 8
Take your plastic bottle cap and use a cutter to cut out the ring. Be careful during this step to avoid cutting yourself; always cut away from your body.
Step 9
Cut 24 pieces of your second color of yarn, each about 20 cm long.
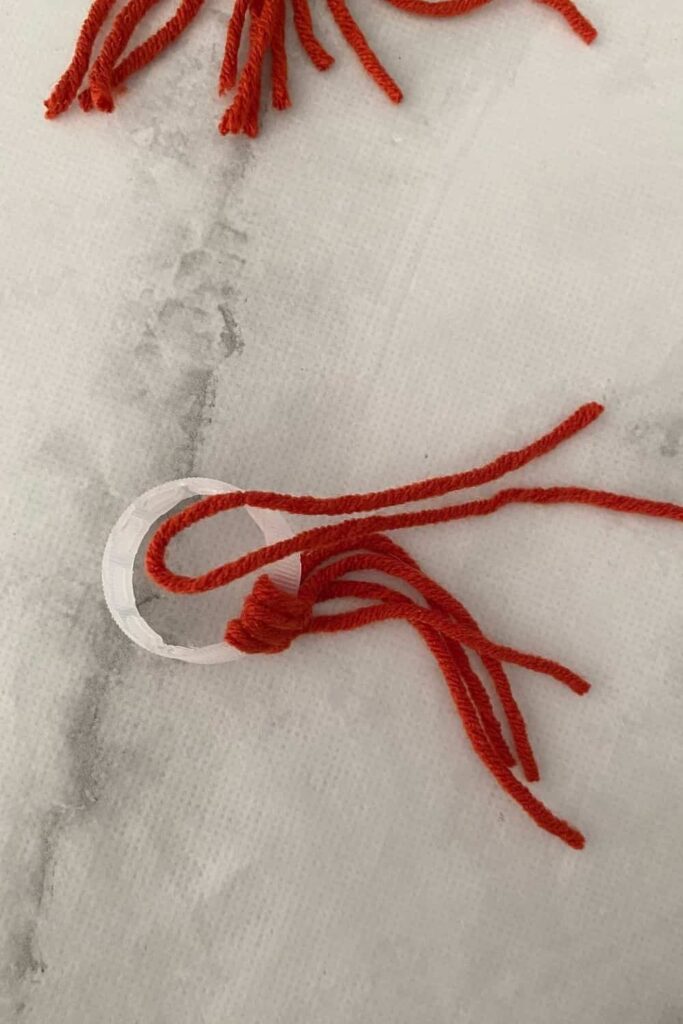
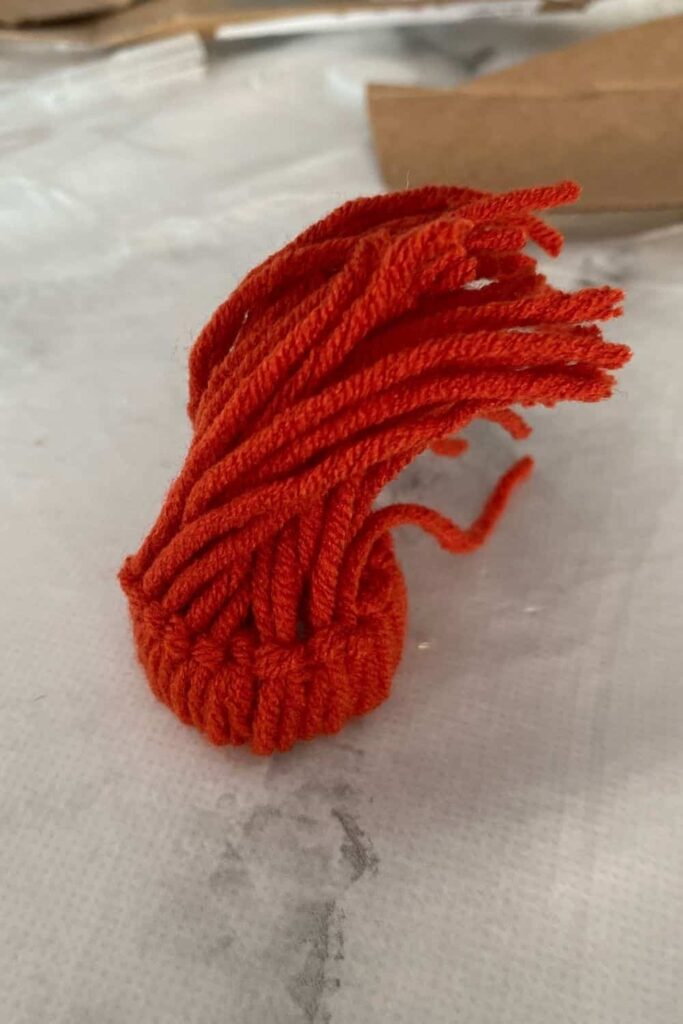
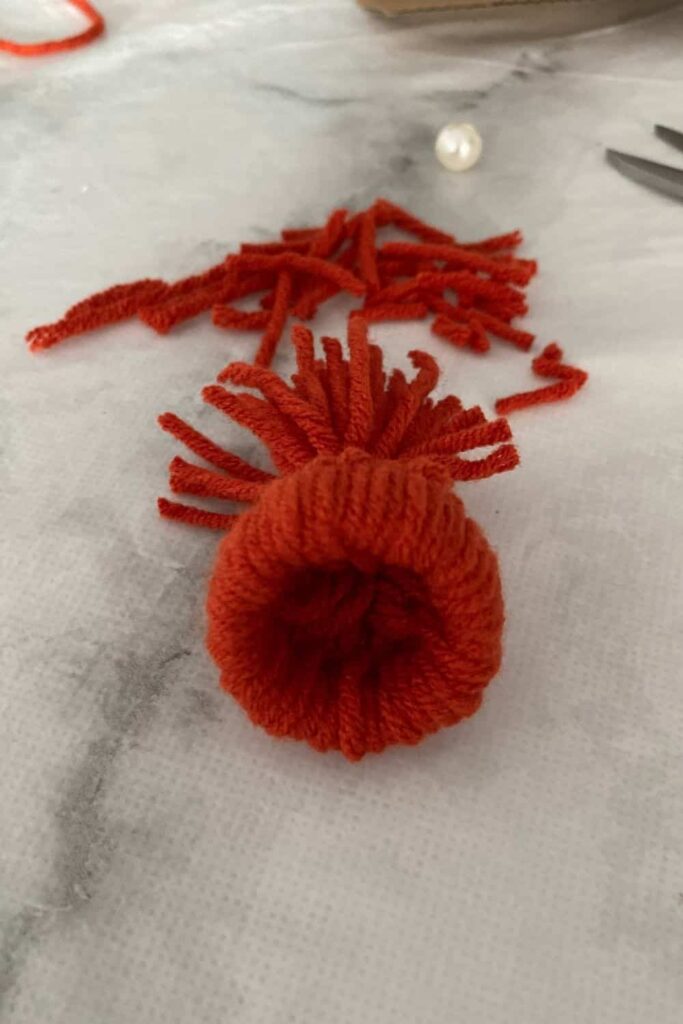
Step 10
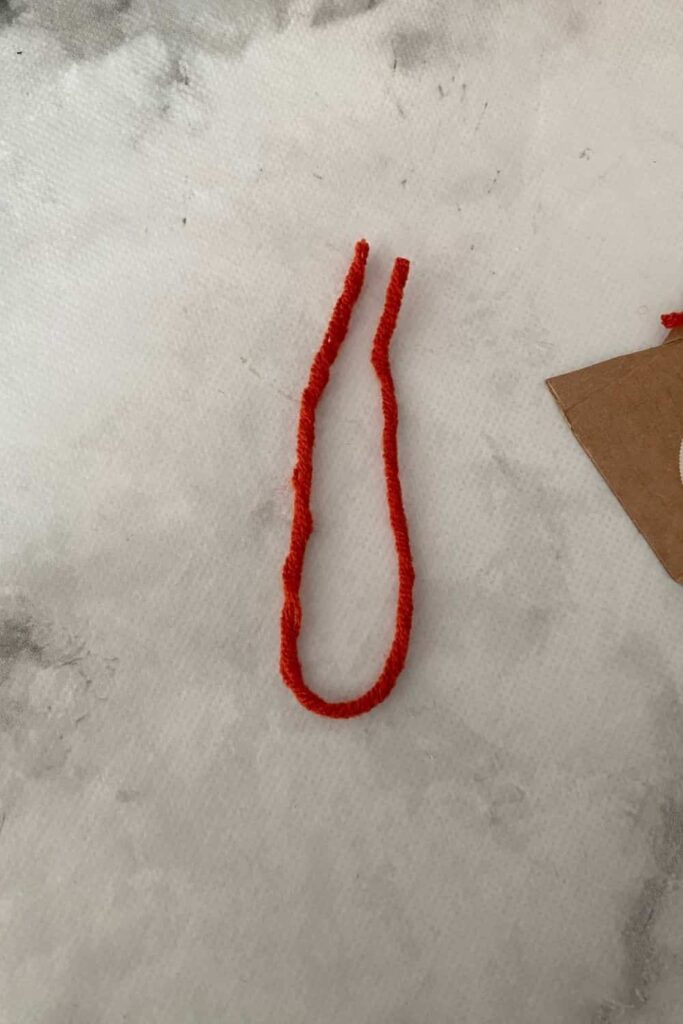
Wrap each piece of yarn around the ring. To do this, place the middle of the yarn above the ring, then pass the two ends under the ring and through the loop, pulling tight.
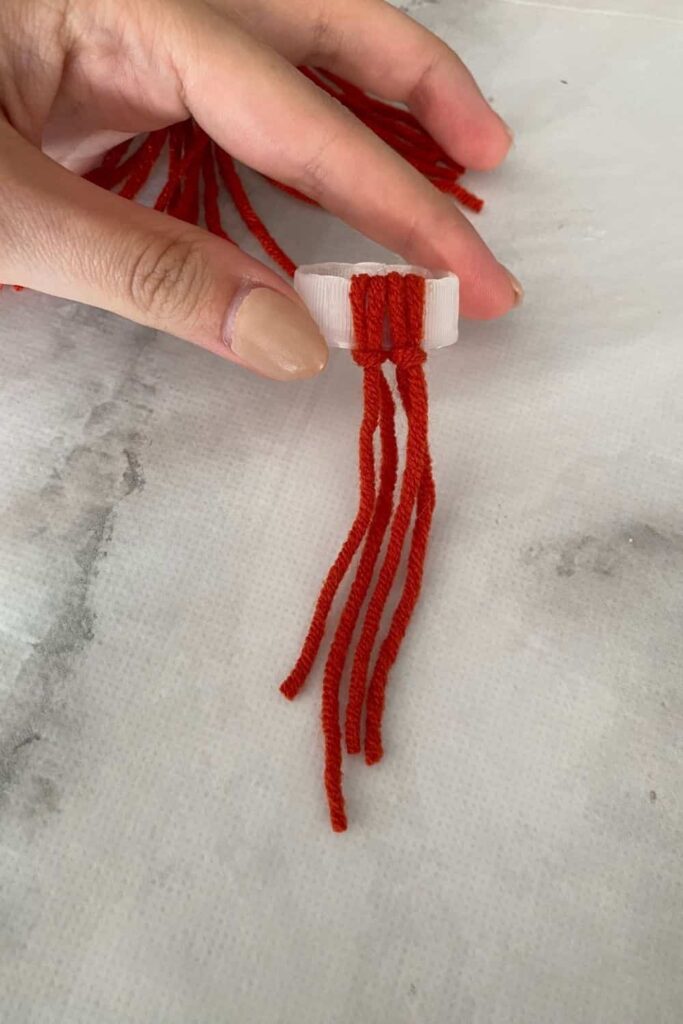
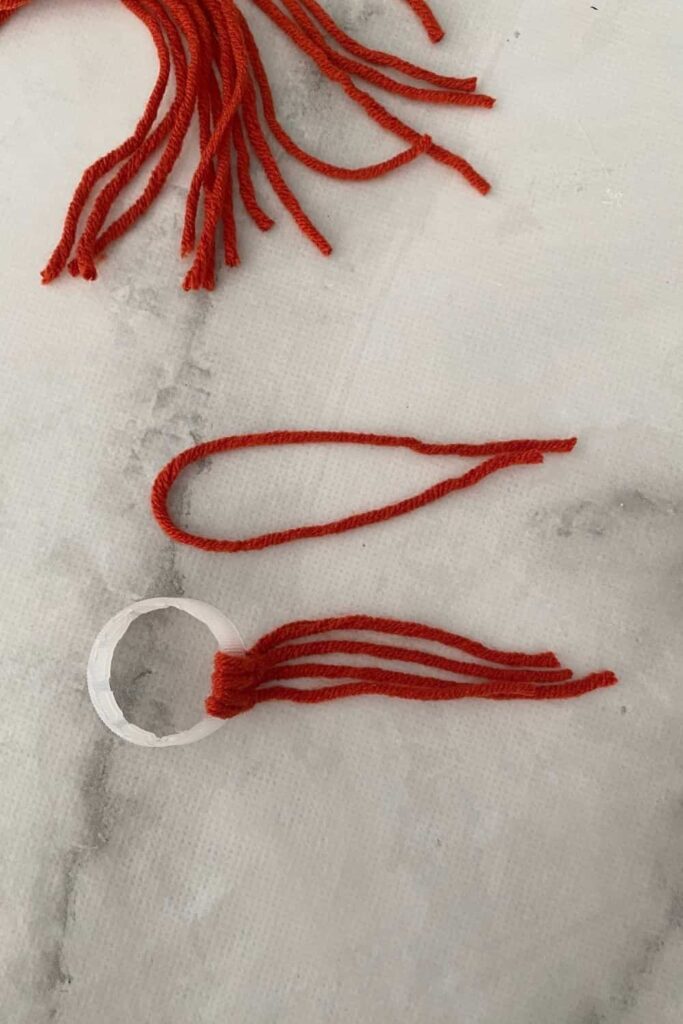
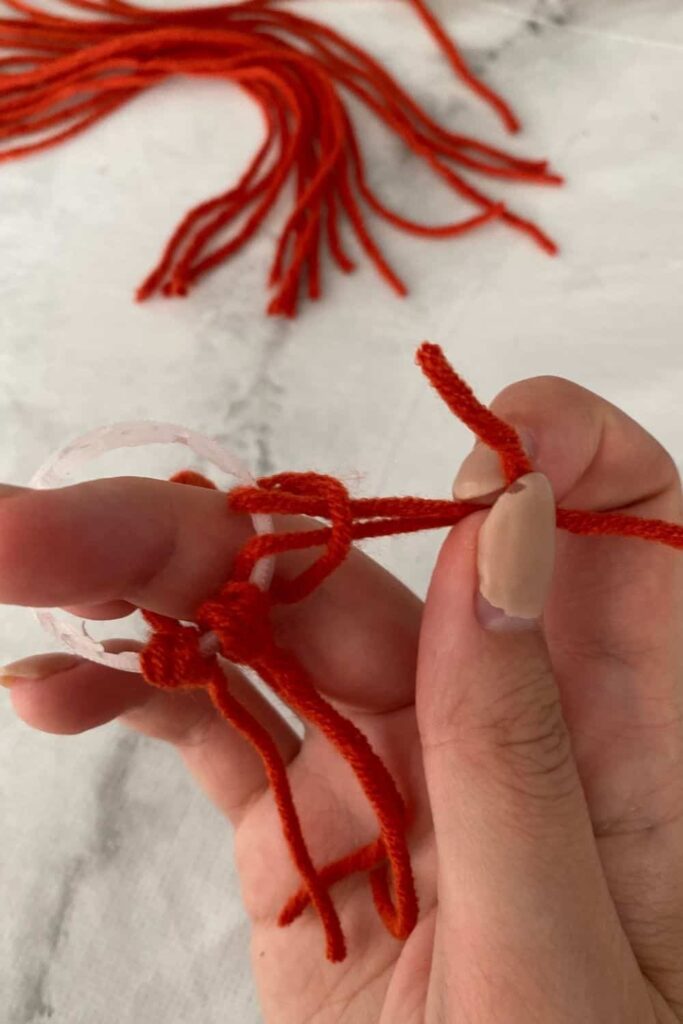
Step 11
Repeat this process until the ring is completely covered in yarn.
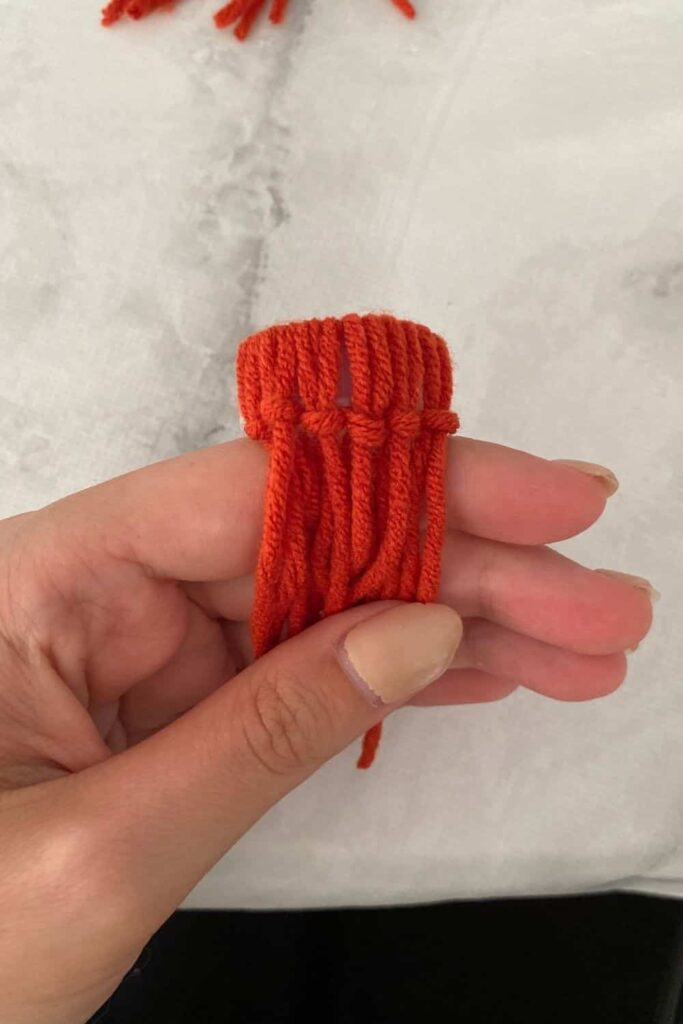
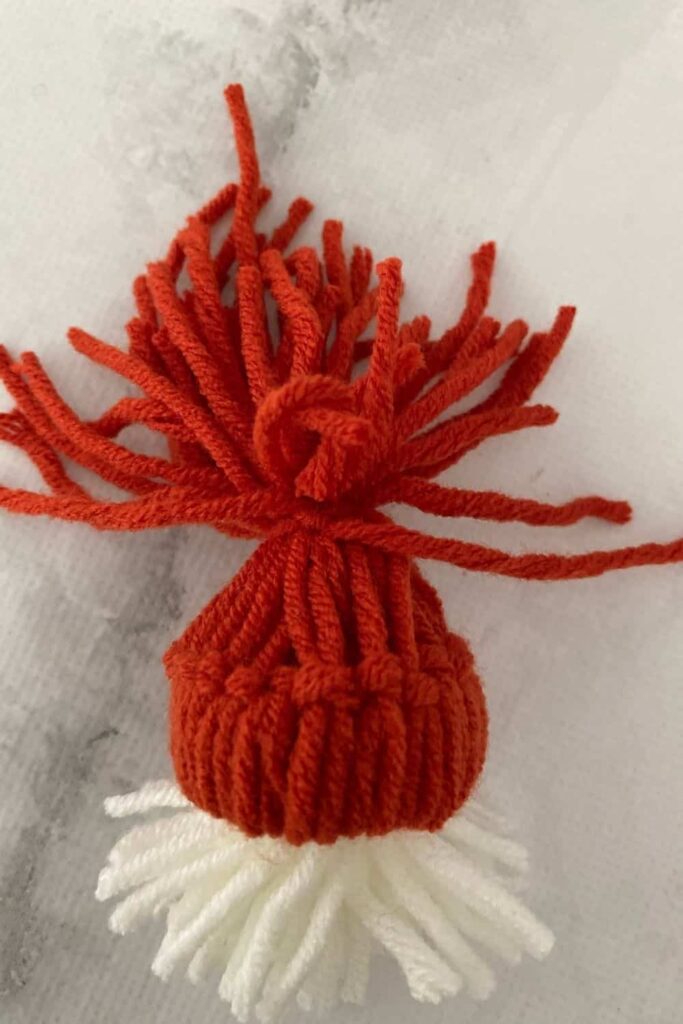
Step 12
Cut another piece of yarn and wrap it around the hanging lengths to form the top of the hat. Tie it with a double knot and trim the ends.

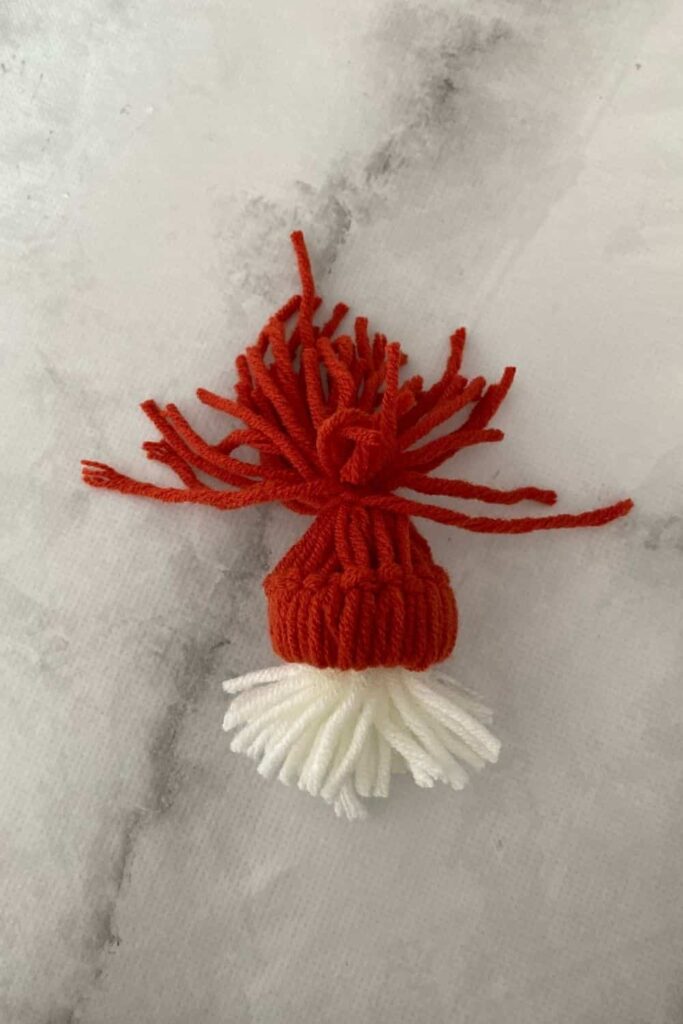
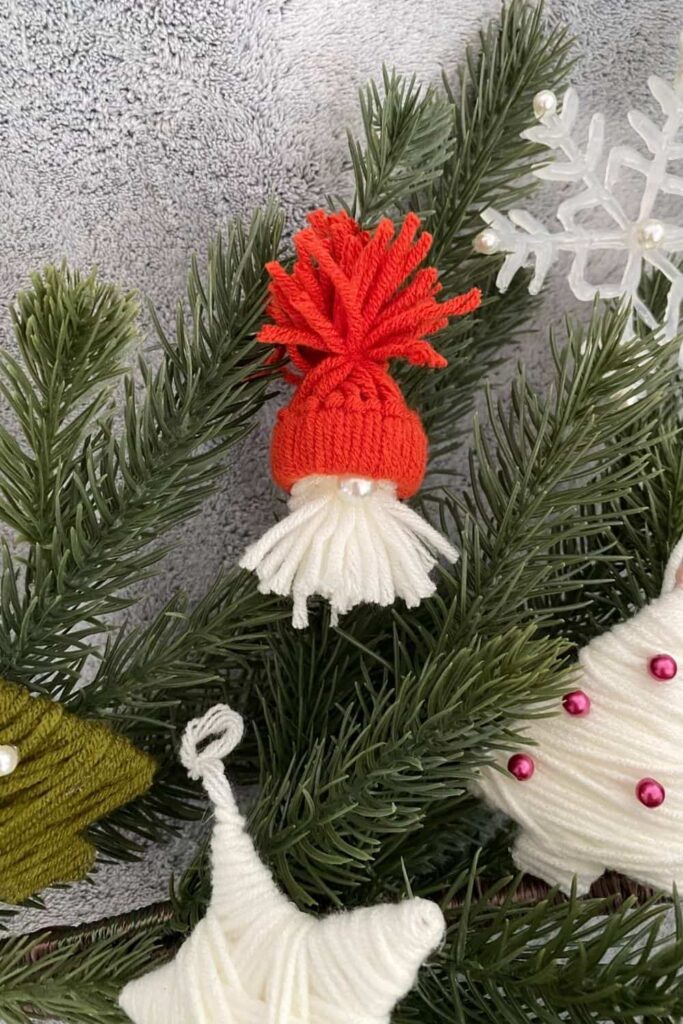
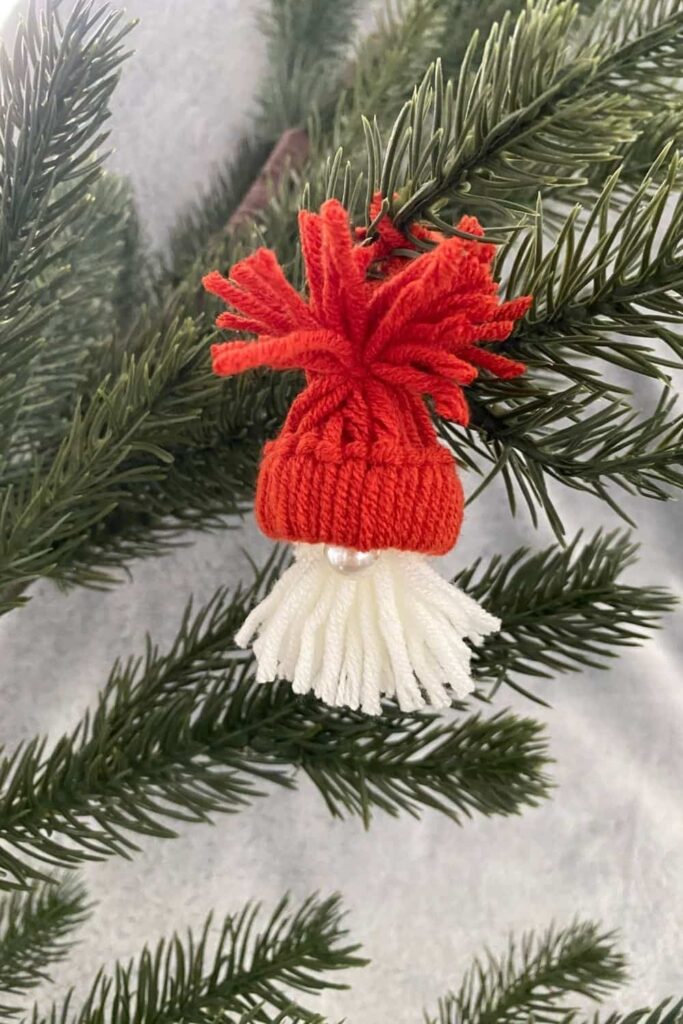
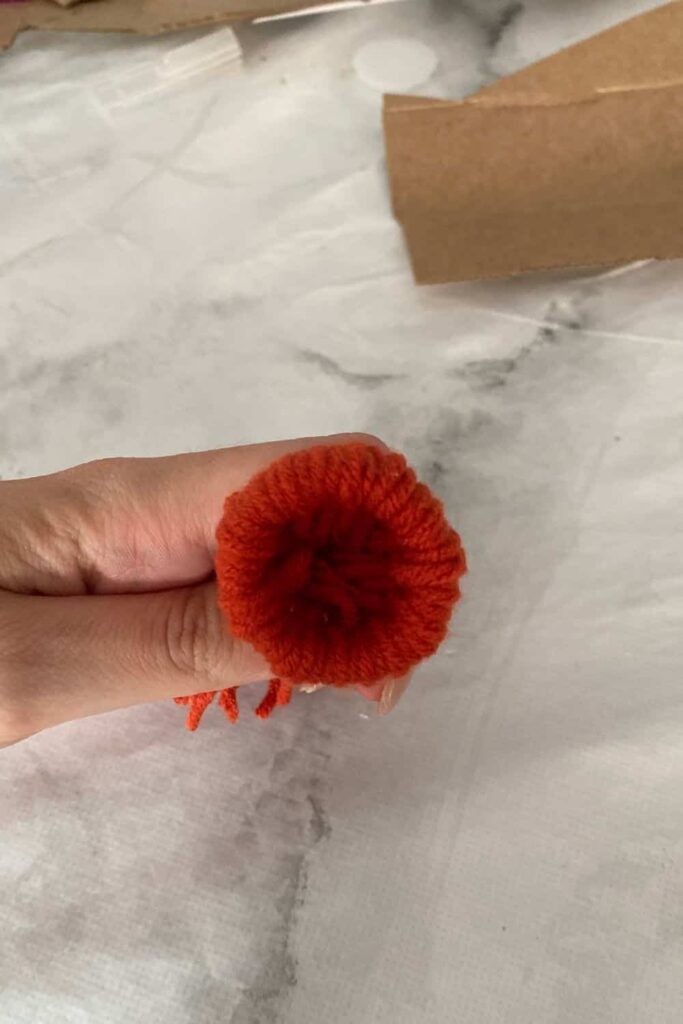
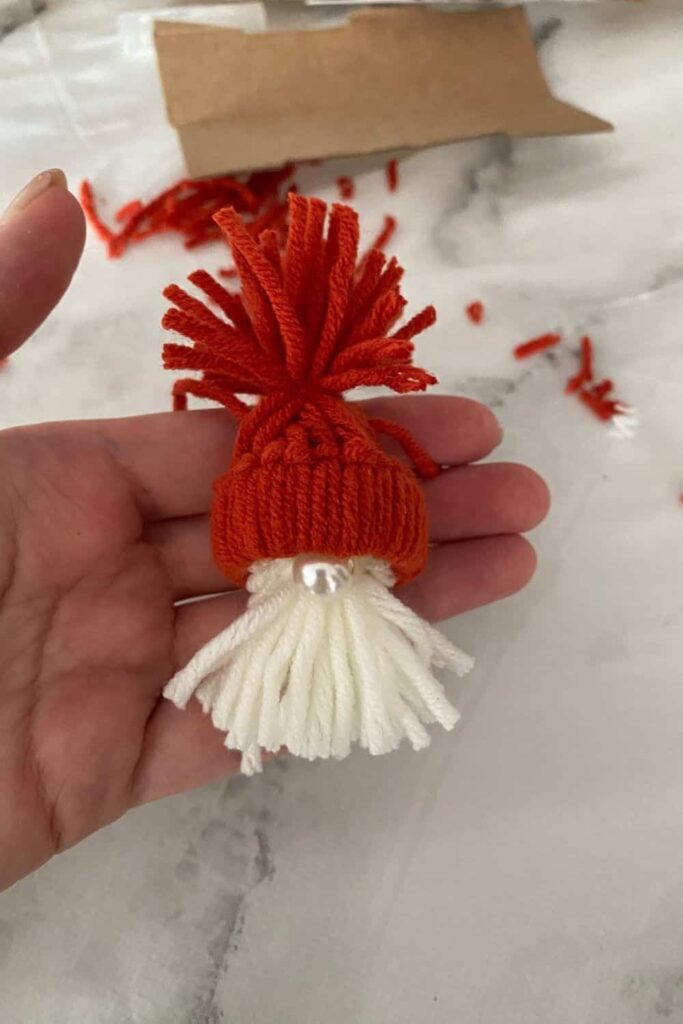
Step 13
Shape your hat as desired. I shaped mine into a pompom.

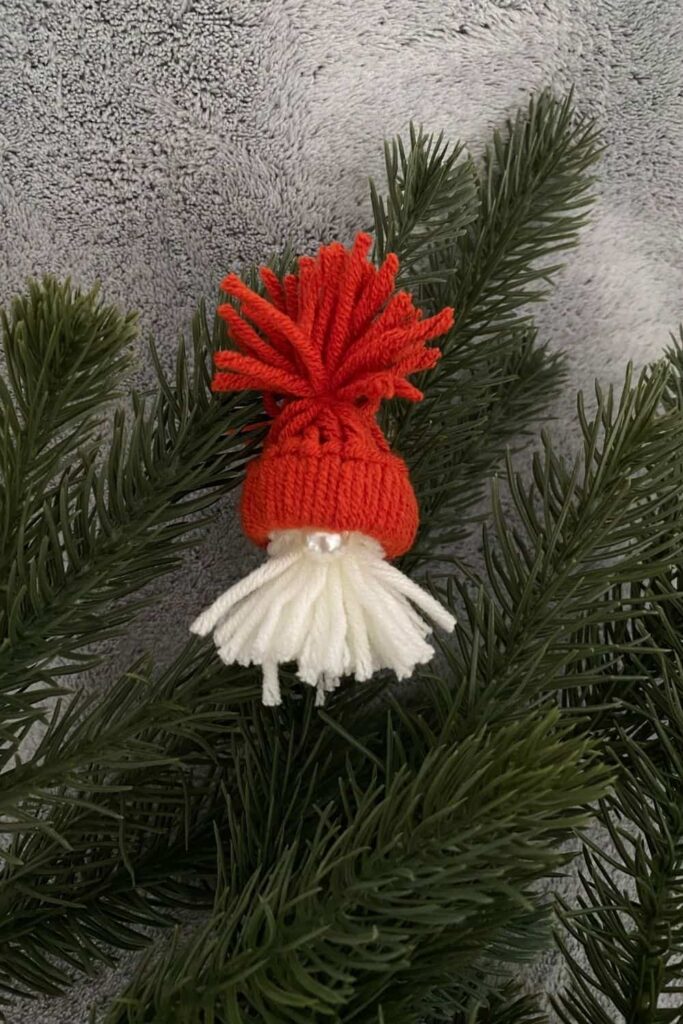
Part 3: Glue the Two Parts Together
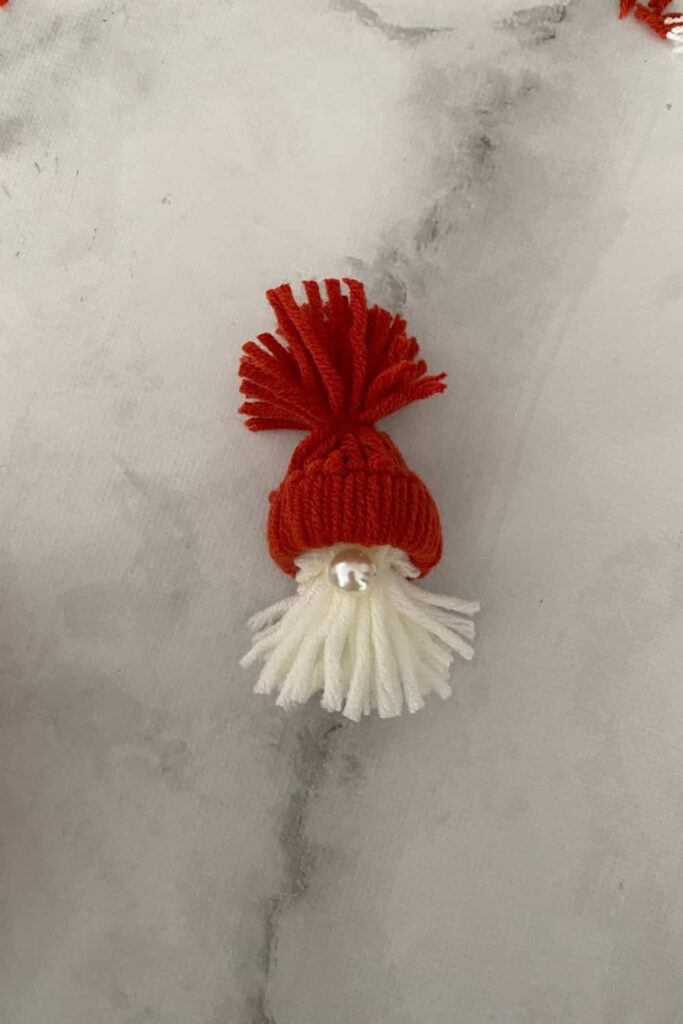
Step 14
Add hot glue inside the hat and poke the beard into it, ensuring the pearl nose stays visible outside the hat.
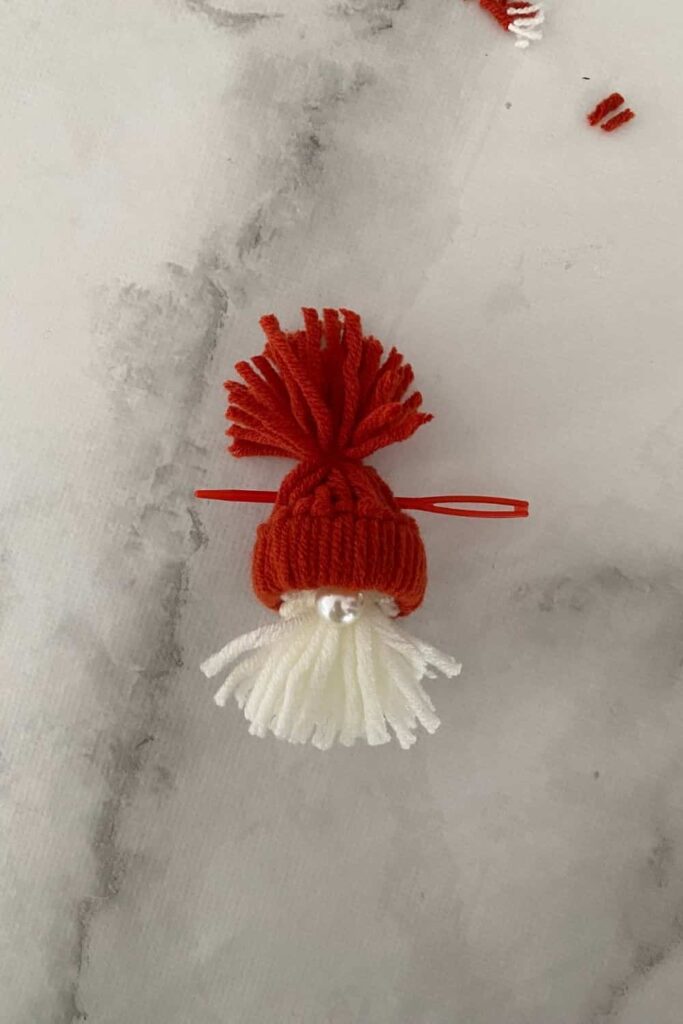
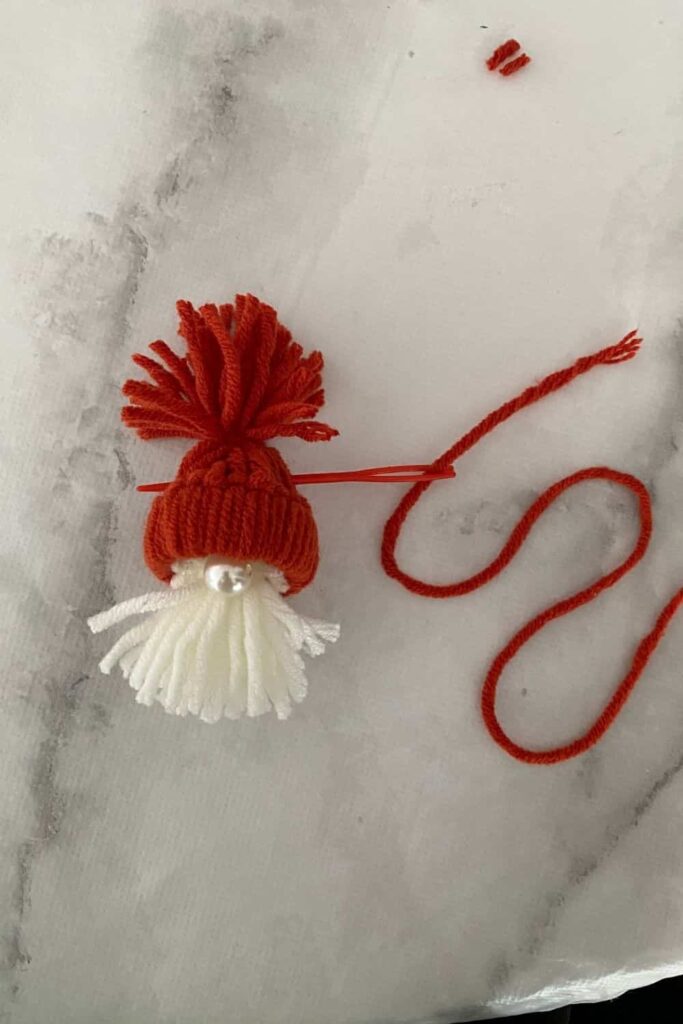
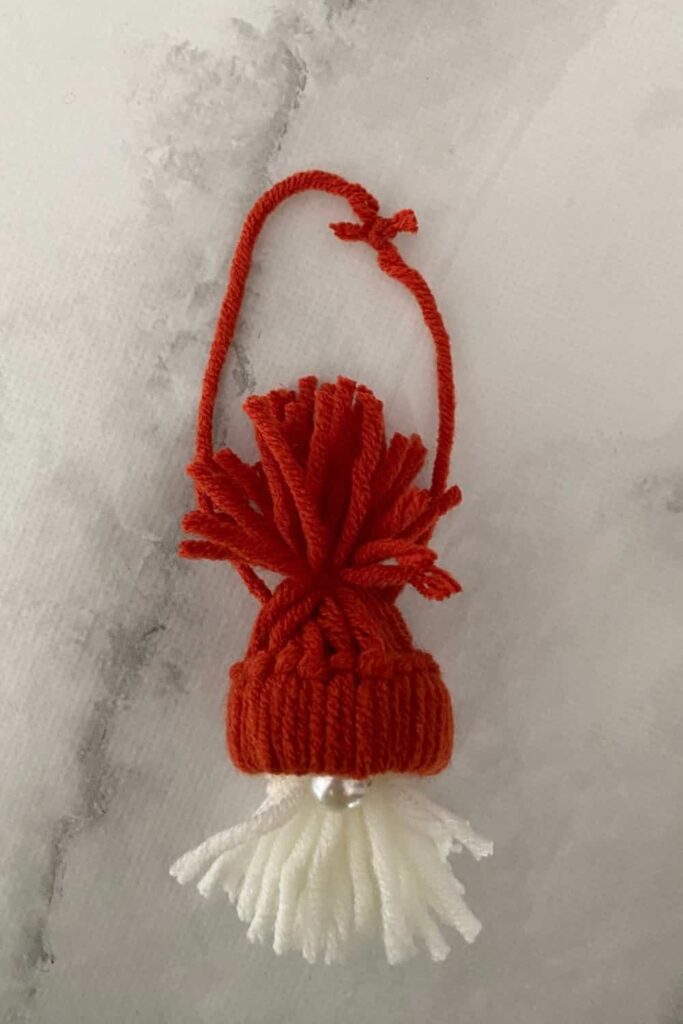
Step 15
To add a hook for hanging, cut a piece of red yarn and pass it through the top of the hat. Tie a double knot, and your Santa ornament is ready to hang on your tree!
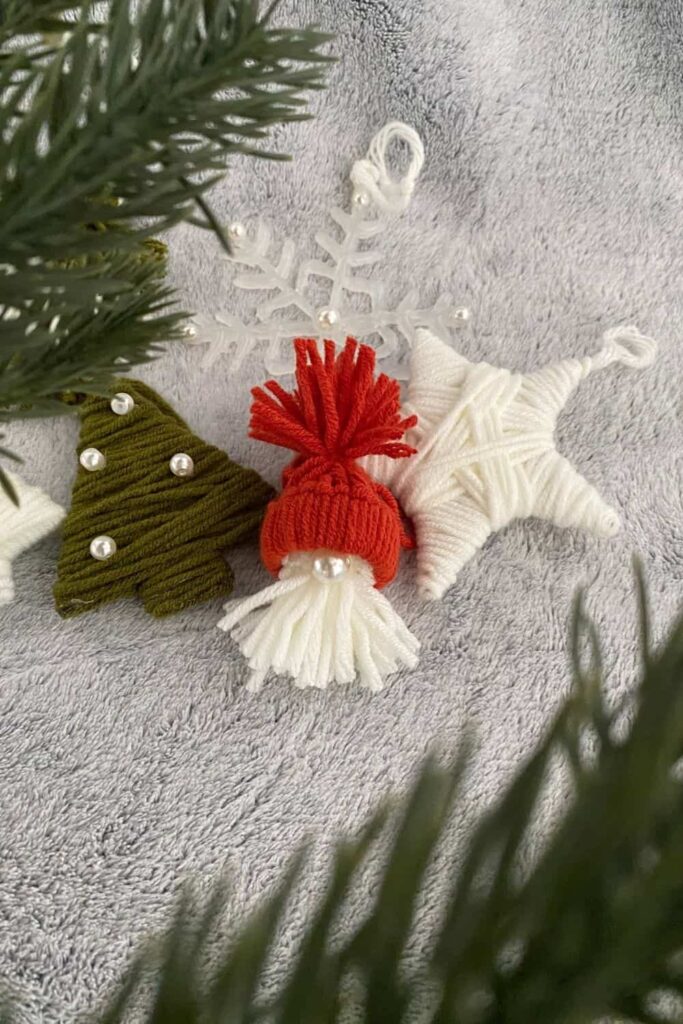
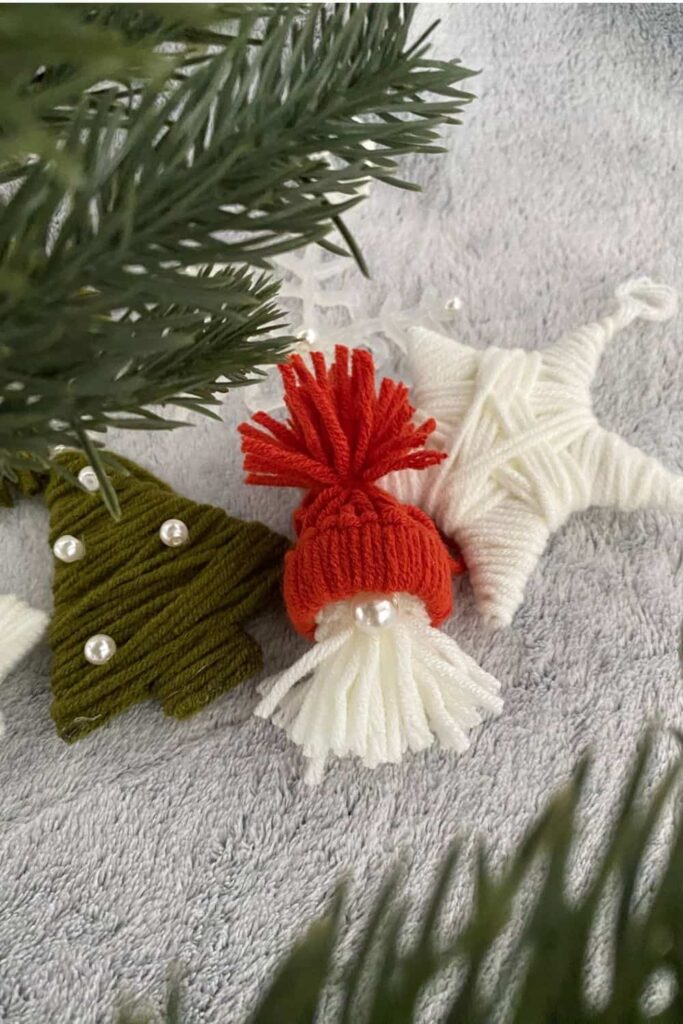
Make More DIY Christmas Ornaments
Related
More Like This
- 25 Creative Living Room Graduation Party Ideas for a Memorable Celebration
- 25 Creative At-Home Graduation Party Ideas for a Memorable Celebration
- 25 Creative Garage Graduation Party Ideas You’ll Love
- 25 Creative Graduation Party Table Ideas You’ll Love
- 20 Stunning Floral Graduation Party Ideas for a Memorable Celebration
— SAVE THIS POST —
Did you like this post? If you liked this post, don’t hesitate to share it!
Want to save this post? You can pin the following images on pinterest to save this post.
We are Mary and Eric, the founders of Be Right Back, a blog dedicated to romance around the globe and at home.
We are Mary and Eric, the founders of Be Right Back, a blog dedicated to romance around the globe and at home. With over 10 years of experience in dating and traveling to romantic places, we share our favorite date ideas and romantic destinations to help couples level up their relationships. Having lived in and traveled through the USA, we also share our favourite things to do in the States.
With 70,000 monthly readers and 16,000 followers on social media, Be Right Back is your go-to resource for romantic trip ideas and couple activities at home and abroad.