Easy rustic Burlap Tree DIY For Your Home Decor
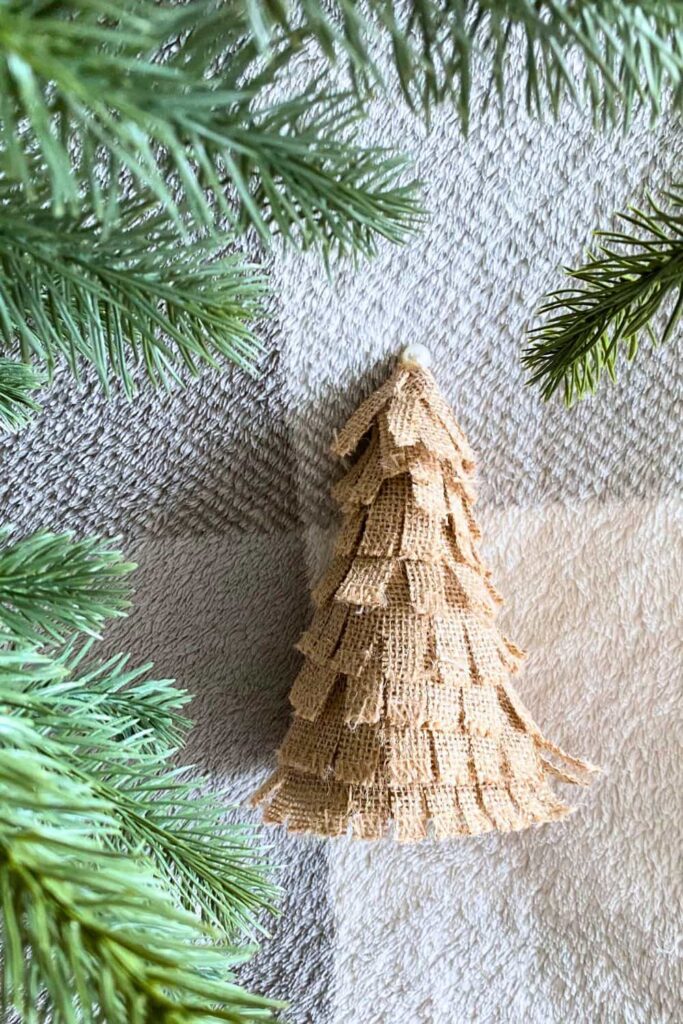
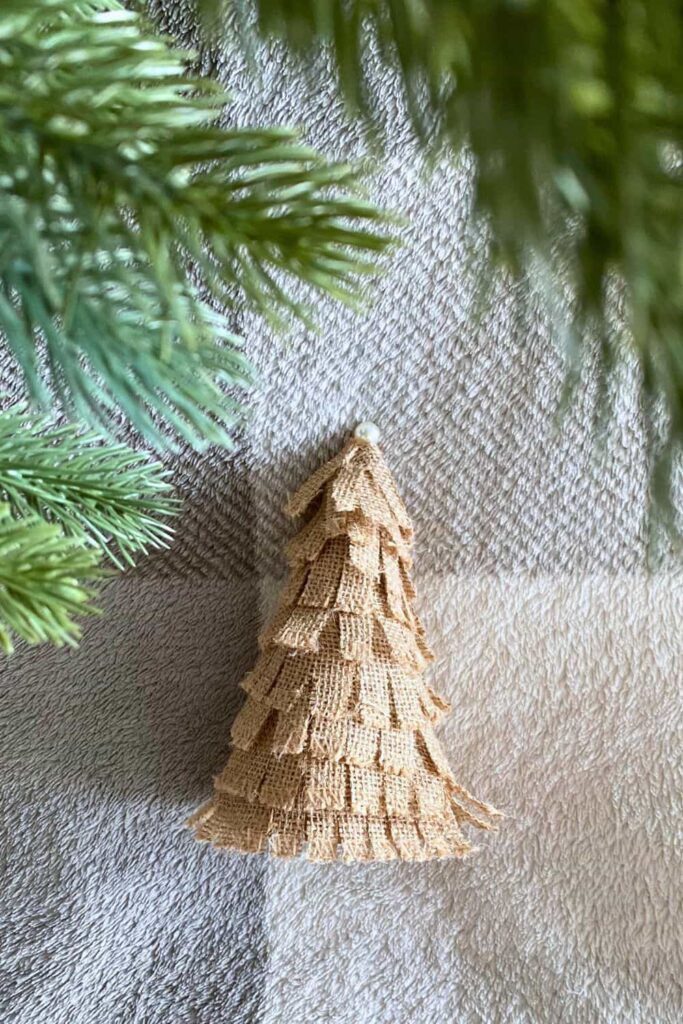
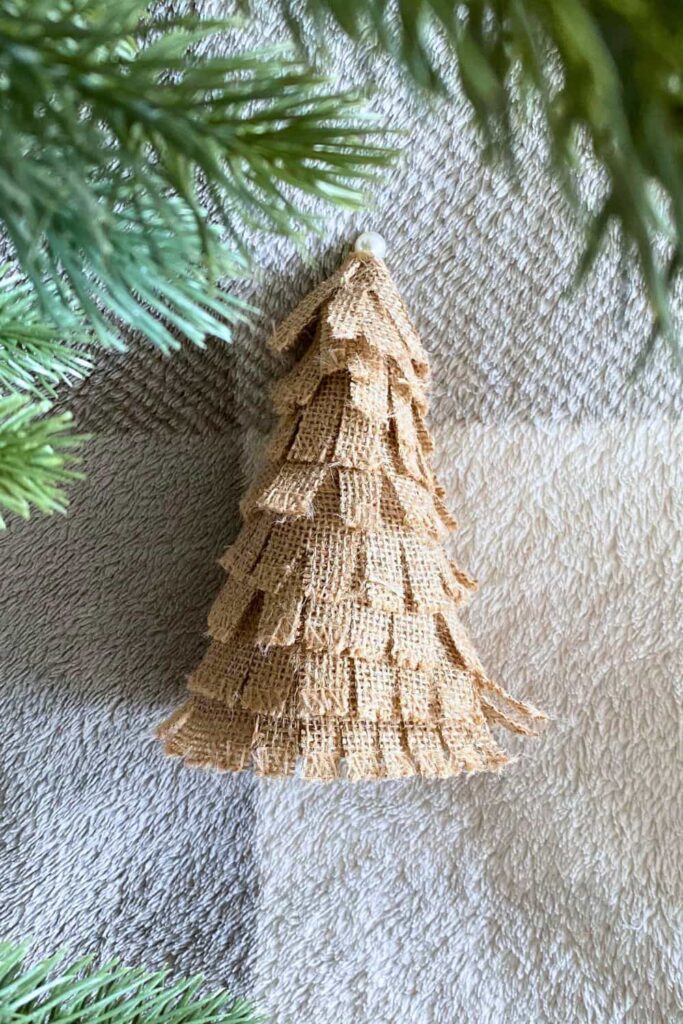
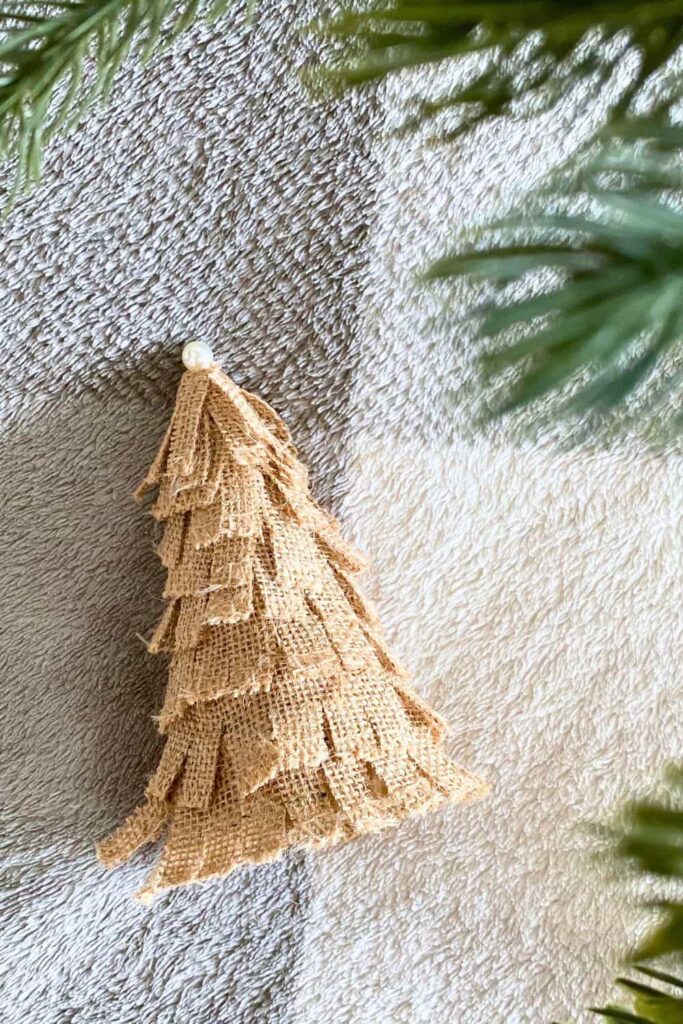
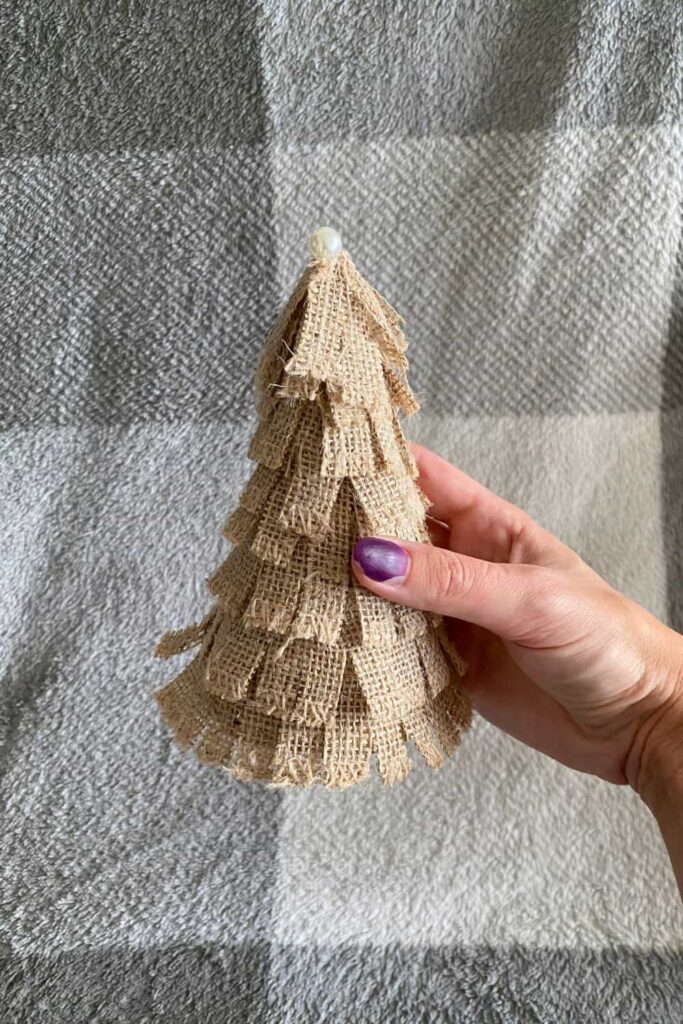
If you’re looking for a simple and charming way to add rustic holiday decor to your home, this burlap Christmas tree is a great project! I love how easy it is to make using just a few supplies you likely already have.
Plus, it’s a cute, understated decoration that adds a cozy vibe to any room. This tutorial is perfect for anyone who enjoys DIY but prefers something that isn’t too time-consuming or difficult. Even if you’re new to crafting, you’ll be able to follow along easily.
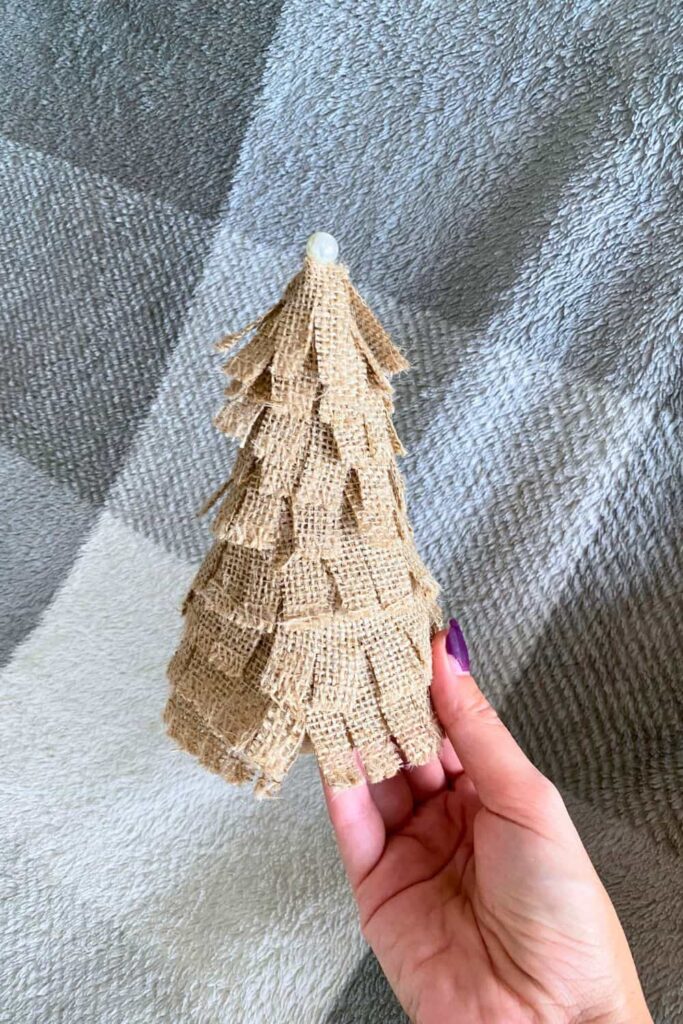
In this step-by-step guide, I’ll show you exactly how to make your own burlap Christmas tree. We’ll start by making the base with cardboard (mine was just an old Amazon box), then layer it with burlap to create that soft, rustic look. I’ve included photos and tips to help you along the way, and by the end of this project, you’ll have a beautiful little tree that’s perfect for your mantel, table, or shelf.
So, let’s get started. Grab your burlap, glue gun, and some cardboard, and you’ll have a charming little Christmas tree for your home decor in no time. You can even personalize it with a star or pearl topper to match your decor!
What You Need
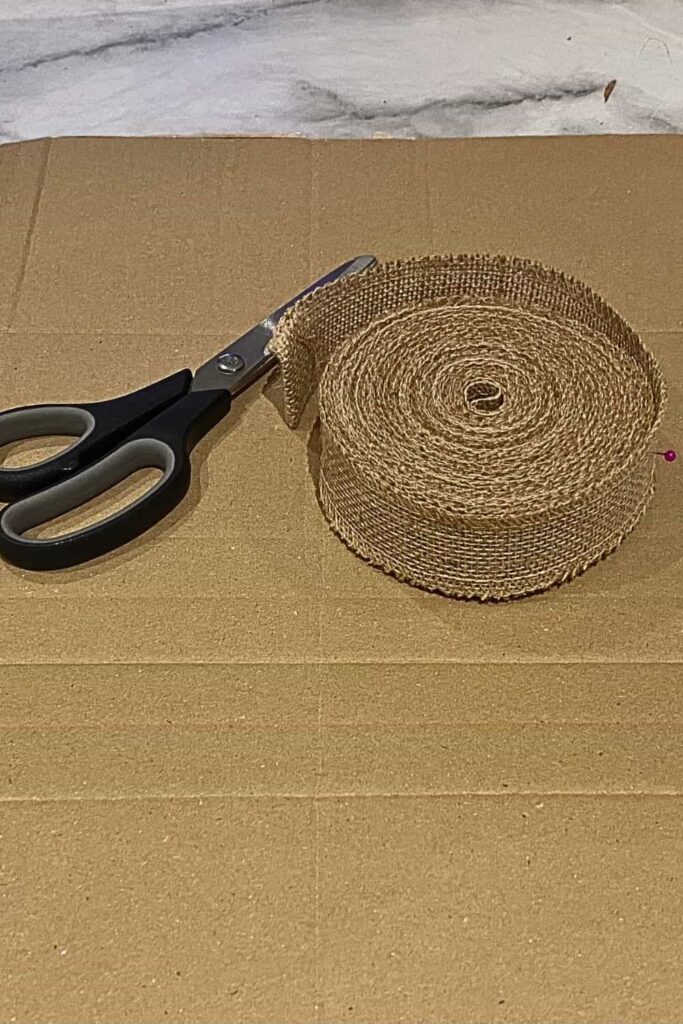
- Burlap (get a roll, about 4 cm wide)
- Cardboard (about 30×20 cm, thin cardboard is easier to work with; mine was an Amazon package)
- Pencil
- Hot glue gun (regular glue works too, but hot glue sets quicker and holds better)
- Scissors
1. Make the Cone
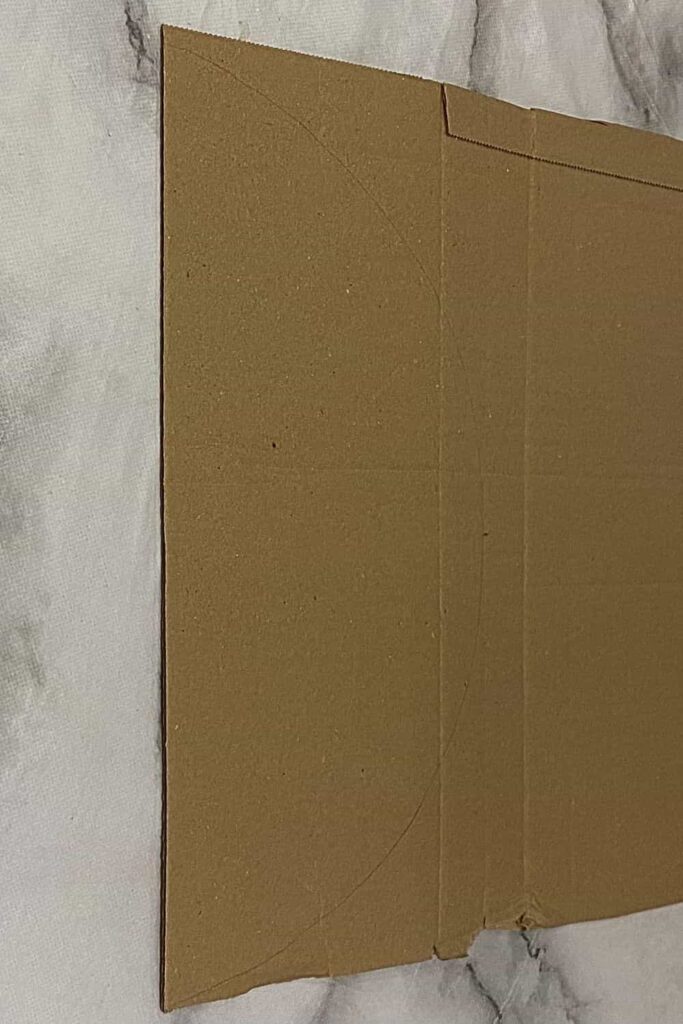
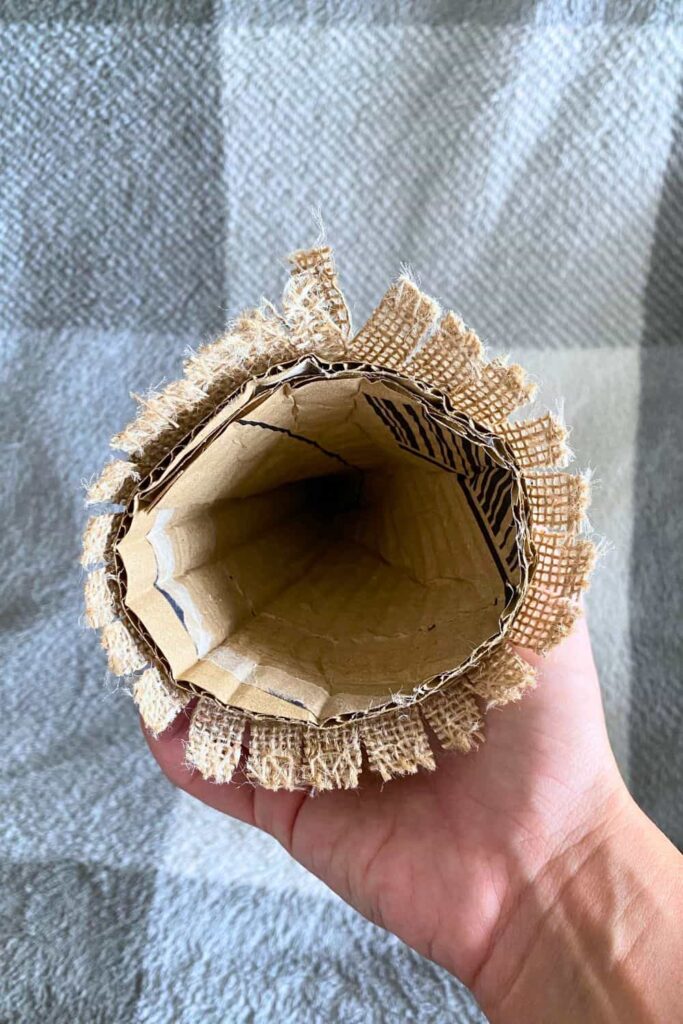
The first step is to make the base of your tree: a cone. Start by tracing a half circle onto your cardboard. You can use a large plate or bowl to help get a nice curve. Once you’ve got the half circle drawn, cut it out.
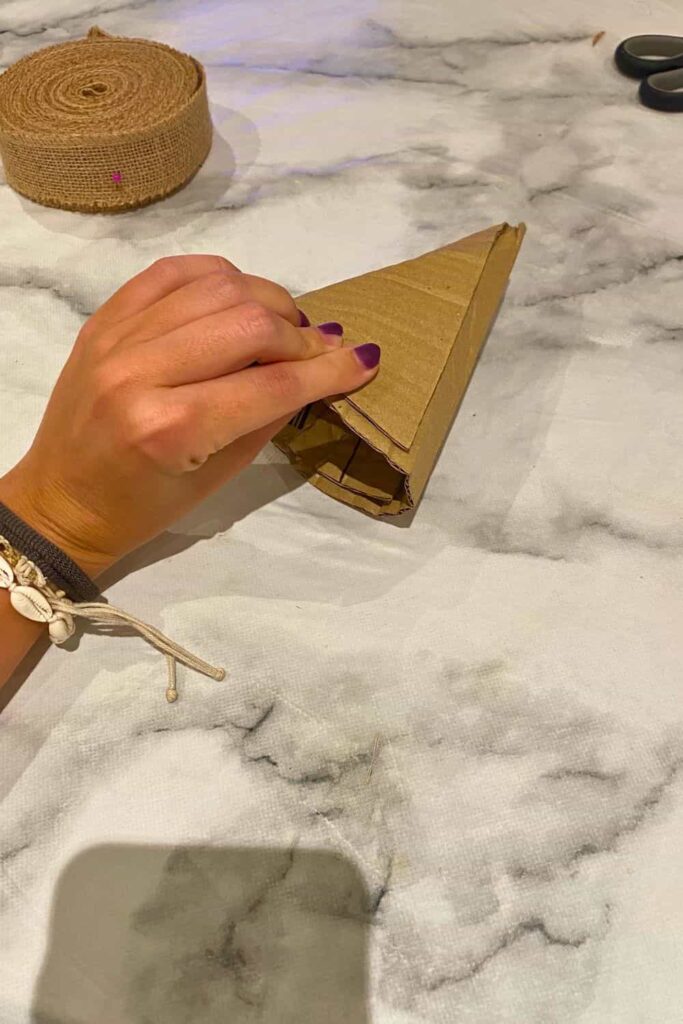
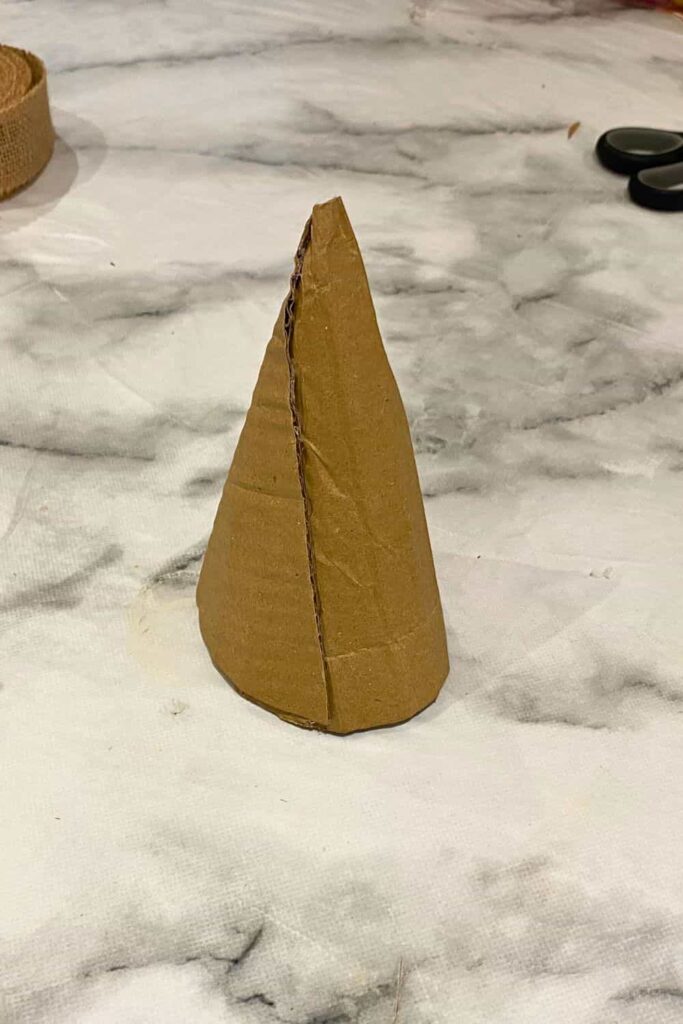
To form the cone, roll the cardboard into a cone shape, helping it along by slightly bending or cracking the cardboard where needed to get that perfect shape. Once you’ve got the cone, use your hot glue gun to glue the sides together, securing the shape. Hold it for a few seconds until the glue sets, and you should have a sturdy cone ready for your burlap tree.
2. Build the Tree with Burlap
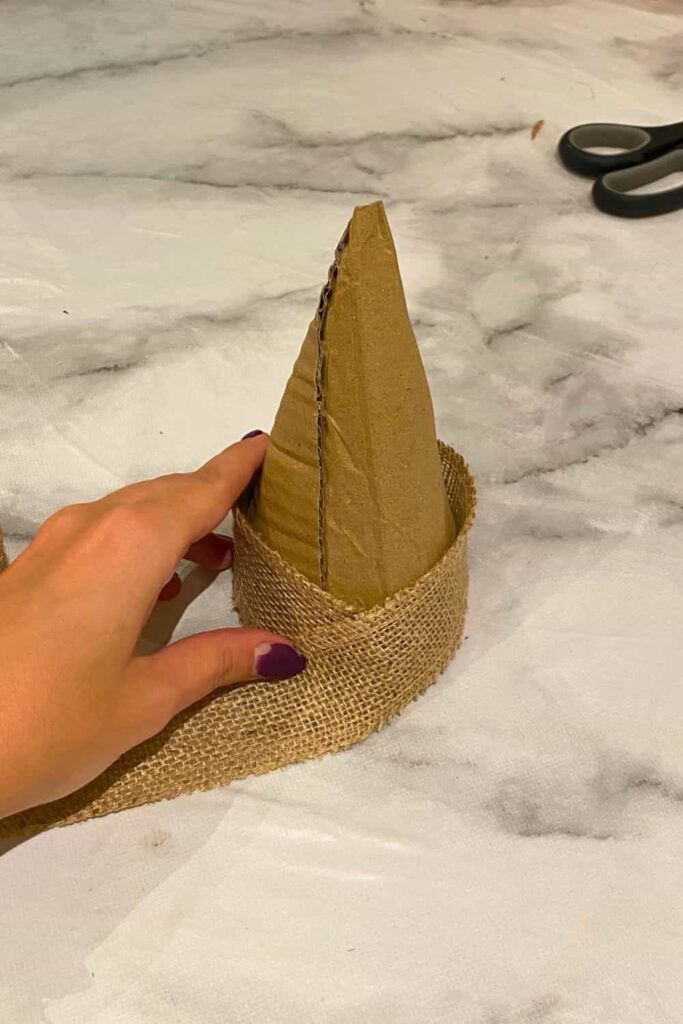
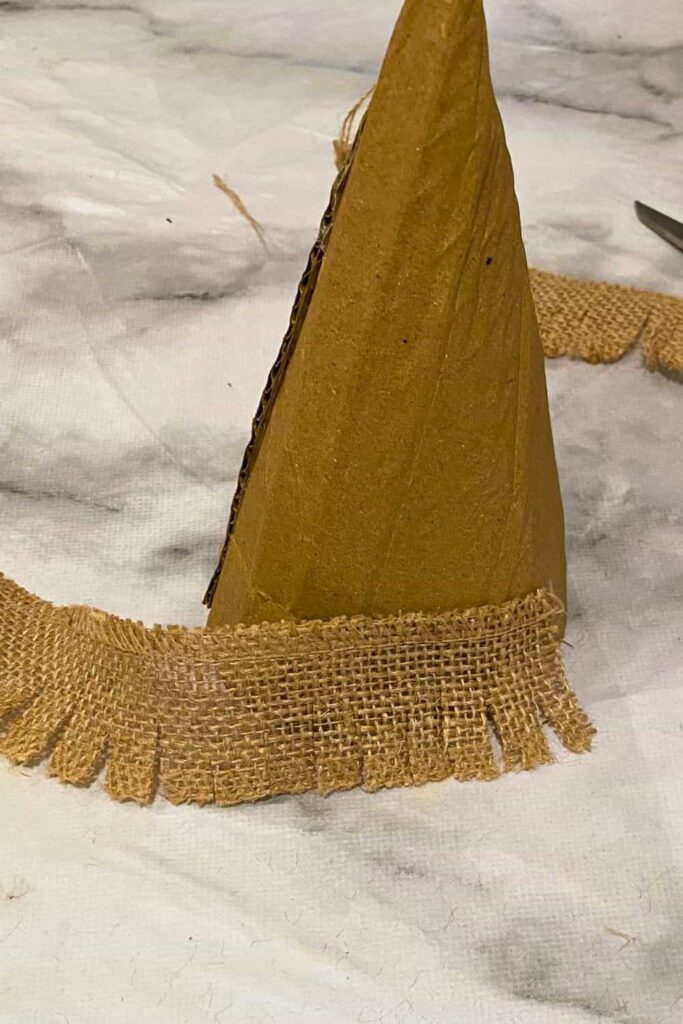
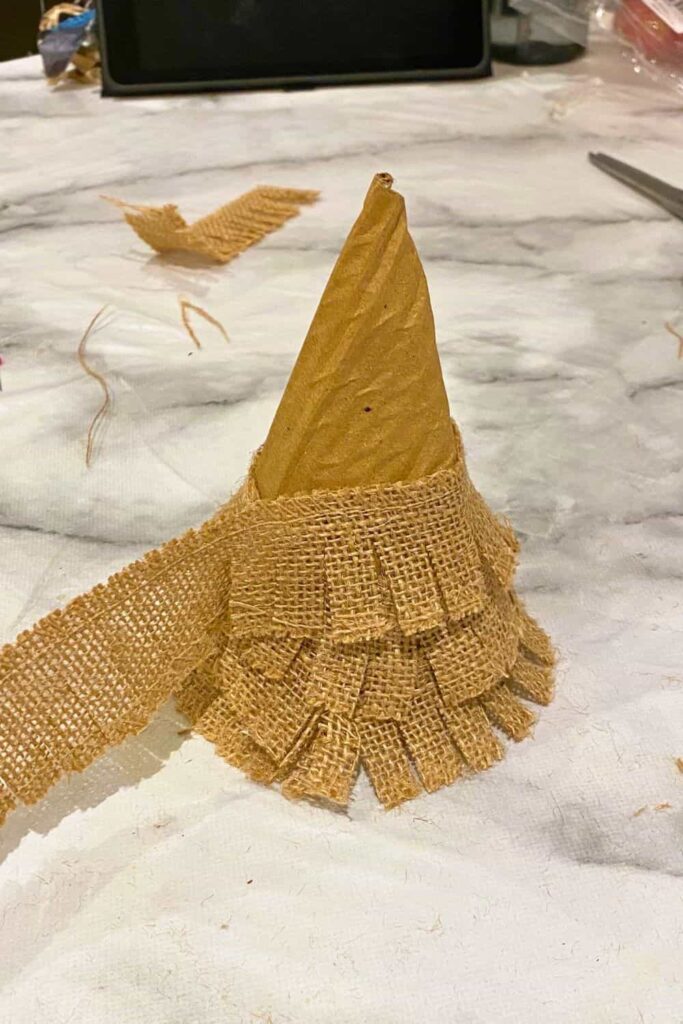
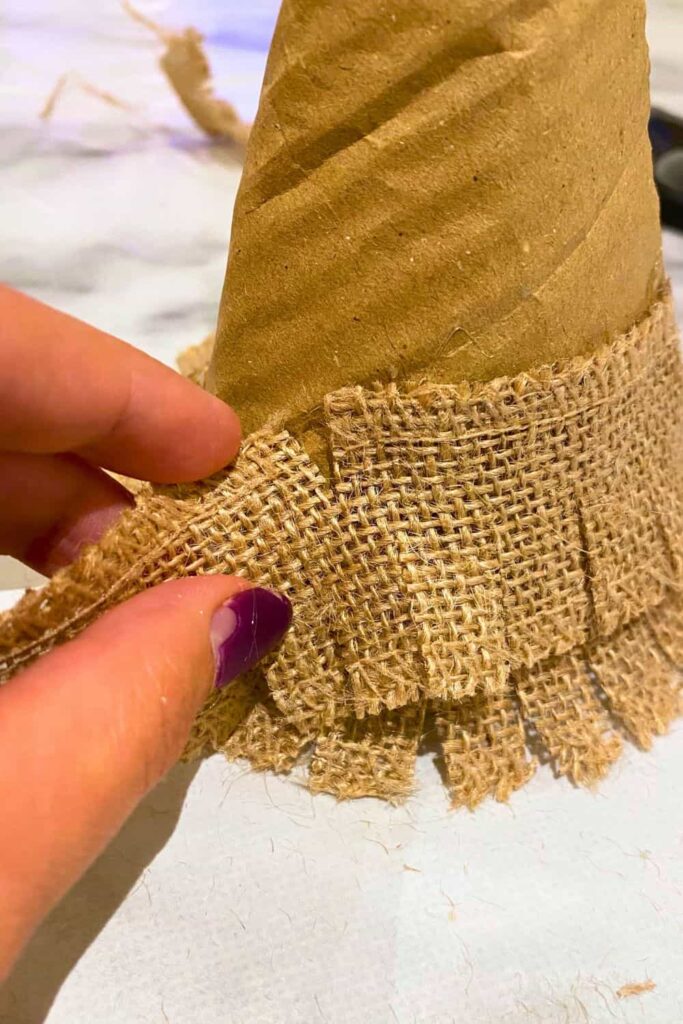
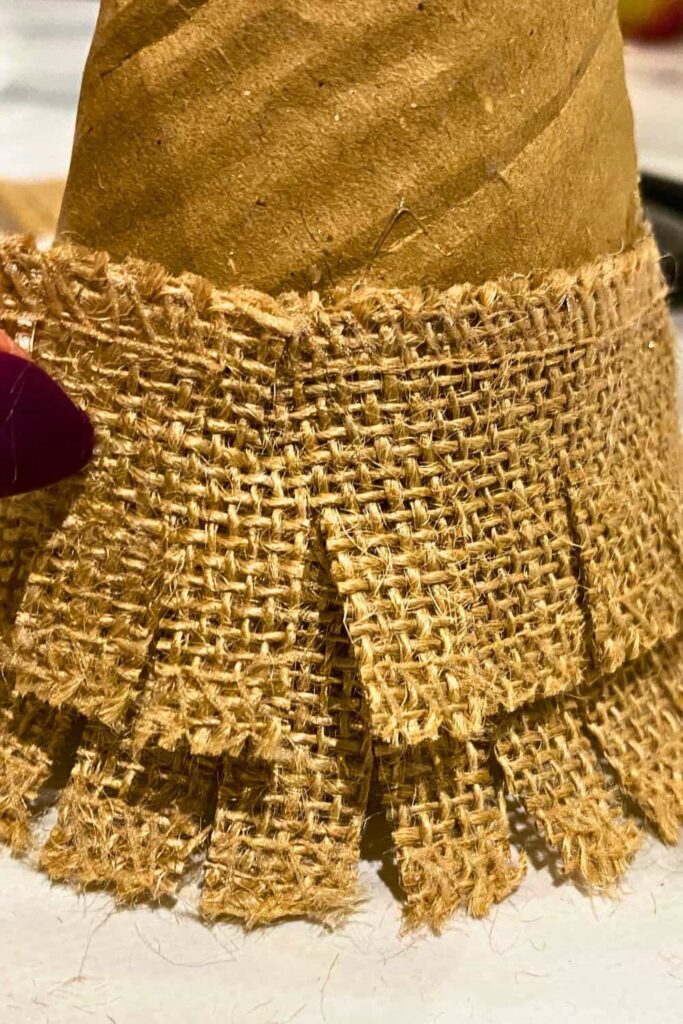
Next, we’ll start adding the burlap to build the tree. Begin by taking a piece (you don’t need to cut it yet) of burlap long enough to wrap around the base of your cone. Apply a line of hot glue around the bottom of the cone and attach the burlap, wrapping it carefully as you go.
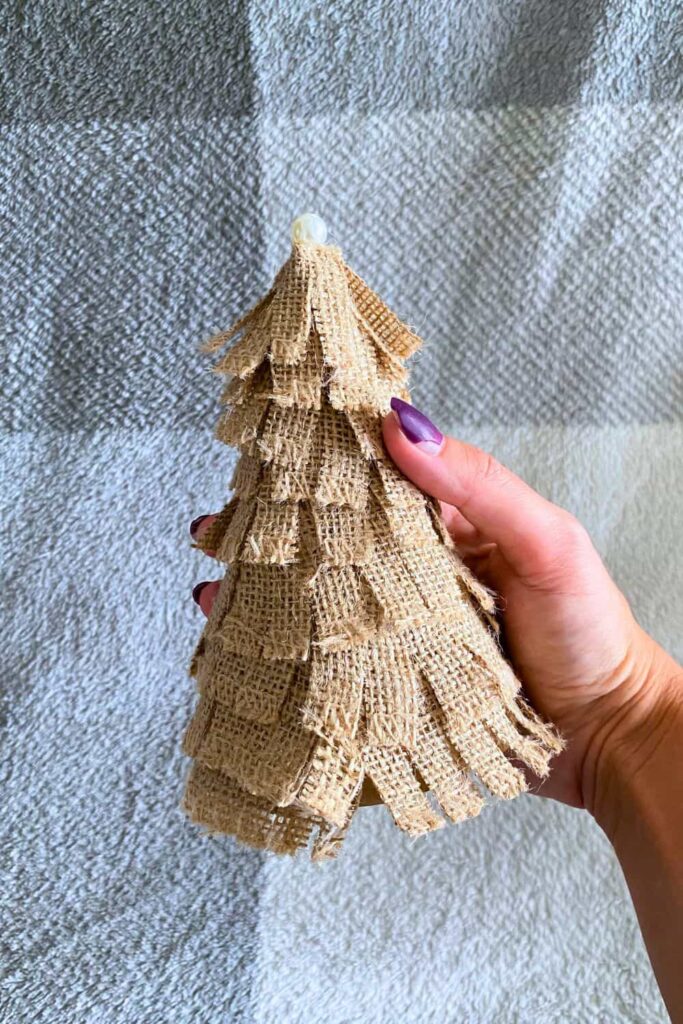
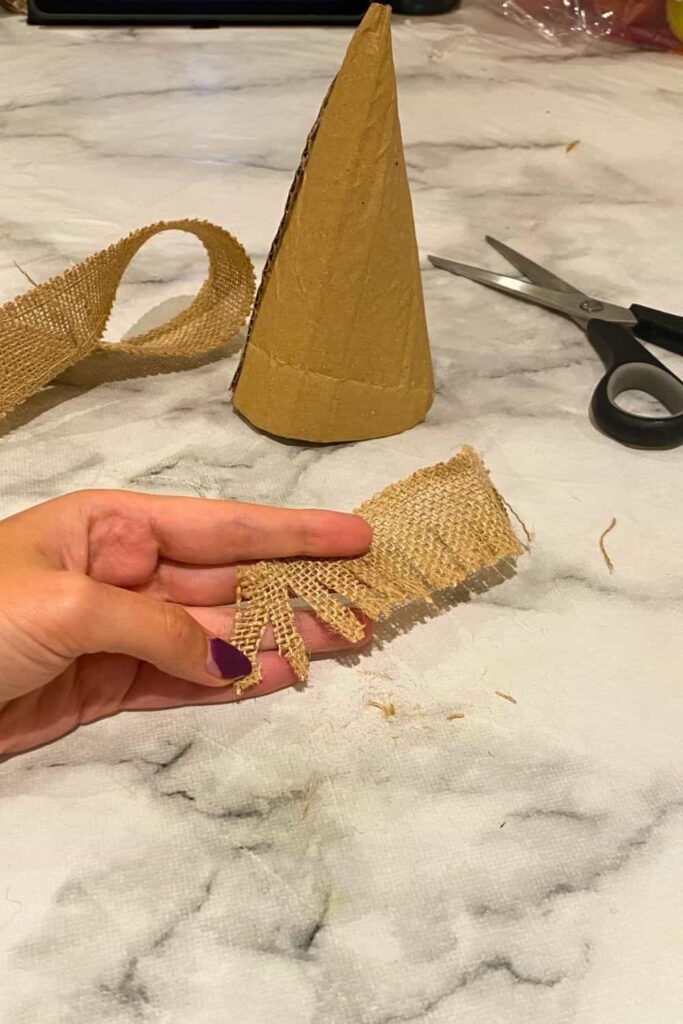
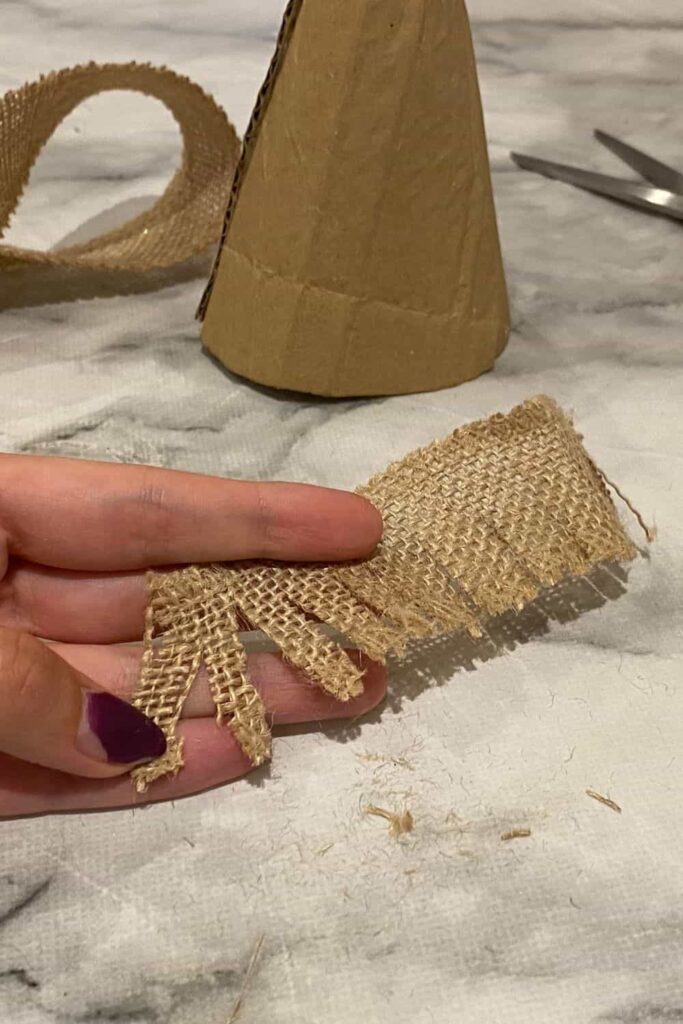
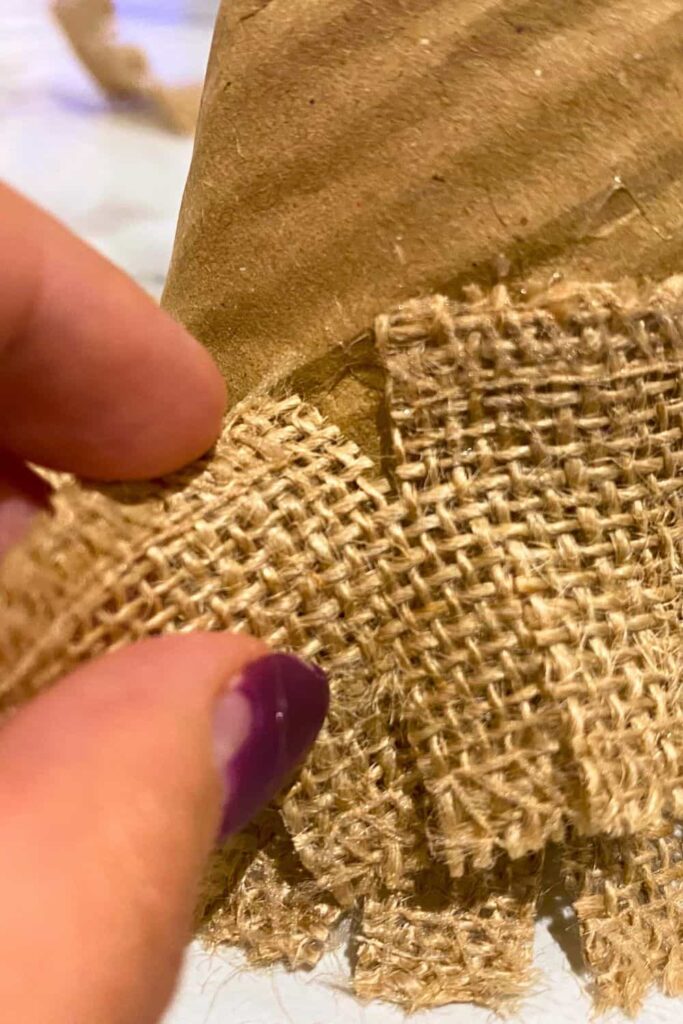
To create the “branches,” make small cuts about halfway up your burlap piece, going all the way around. These cuts will allow the burlap to fan out slightly and give it a layered look. Press each section down carefully, holding it in place until the glue dries.
3. Go Around the Tree
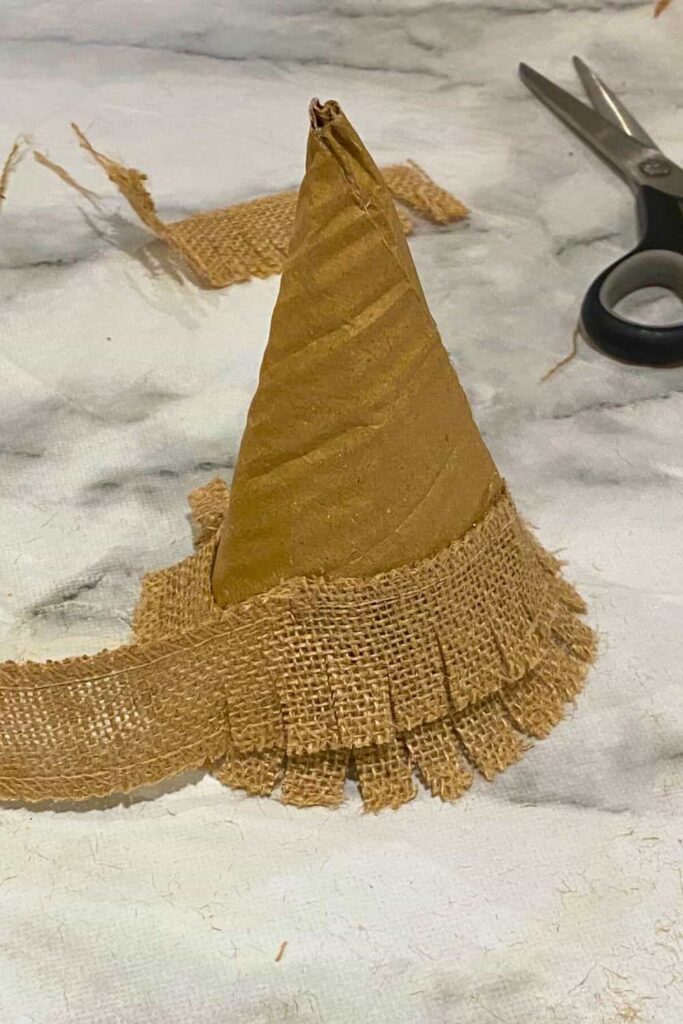
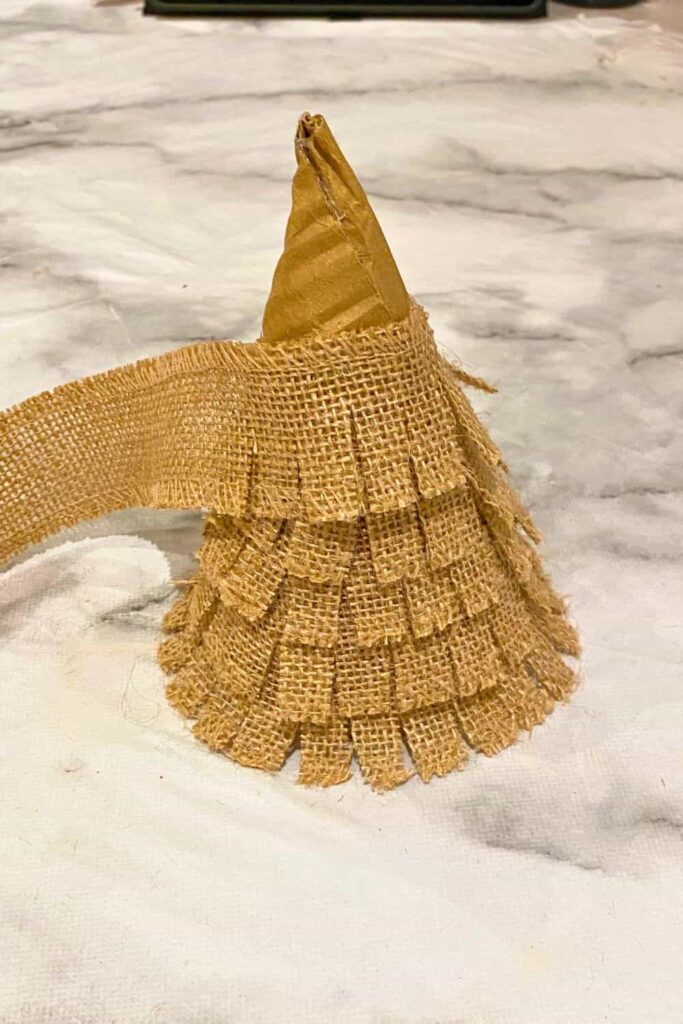
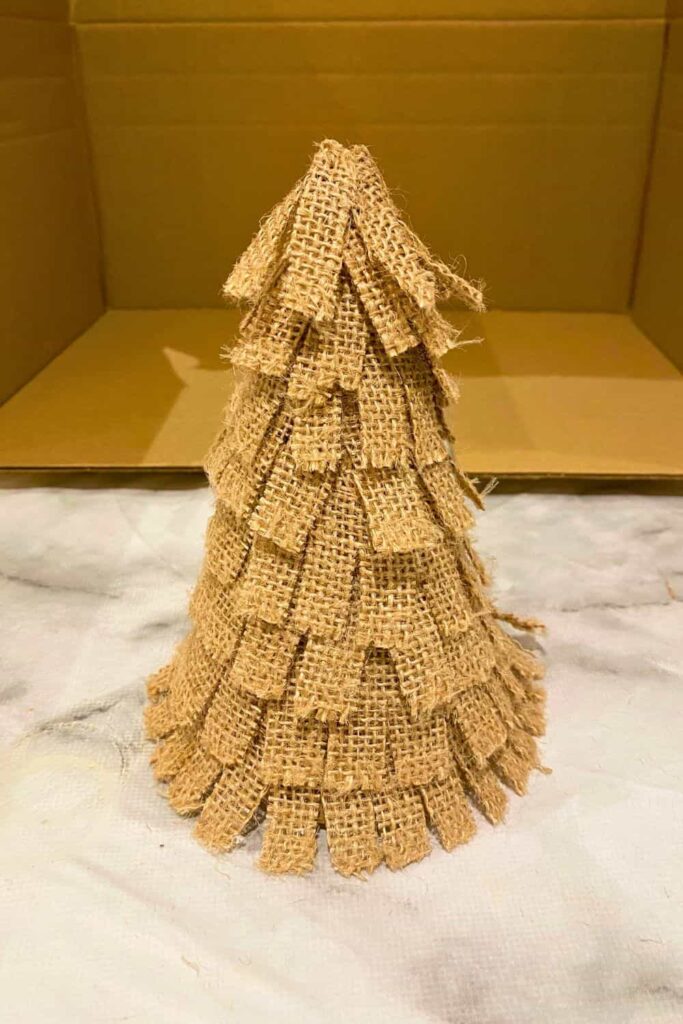
Repeat the process from Step 2, continuing to wrap burlap around the cone. Start each new round slightly above the previous one to build up the layers of your tree. Make sure to keep adding small cuts for the “branches” to maintain the texture and layered effect.
4. Don’t Forget to Make Slits
As you move higher up the tree, you’ll need to make slits in the burlap to accommodate the cone’s narrowing shape. Cut slits from the top of your burlap piece down, then glue the ends together to ensure the burlap stays snug against the cone while still allowing you to wrap it horizontally around the tree.
5. Continue to the Top
Each time you start a new round, gently lift the previous layer of burlap so you can place the next one underneath it. This helps keep everything in place and gives the tree a nice, full look. Continue wrapping and cutting the burlap until you’ve almost reached the top of the cone.
6. Finishing the Top
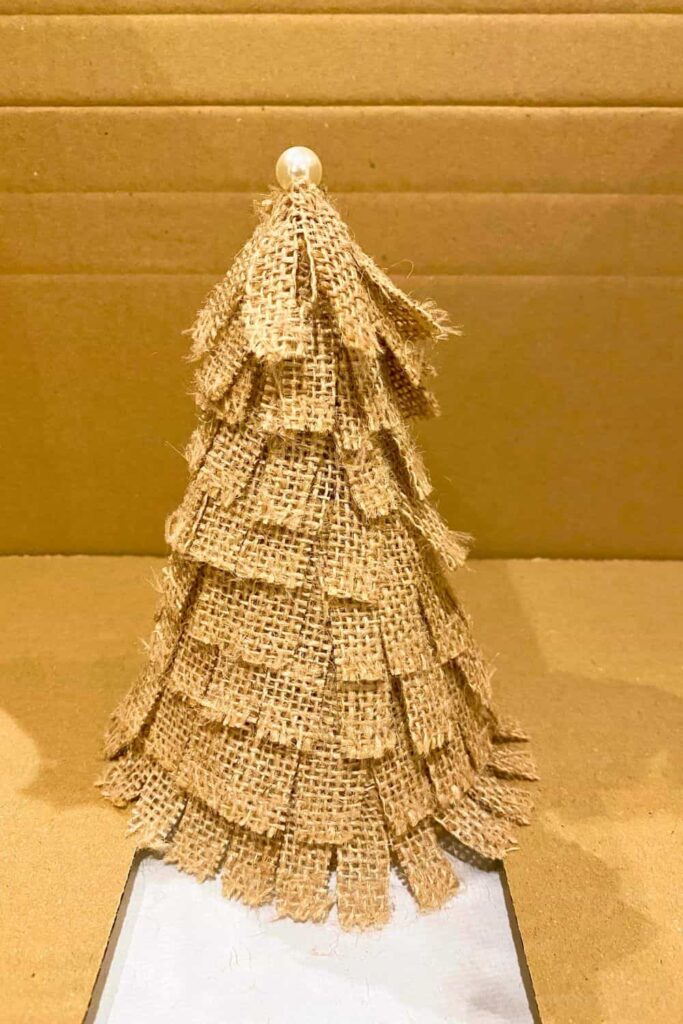
For the top of the tree, it’s easiest to use a separate piece of burlap. Cut it to size, then make the same branch-like cuts as before. Wrap this final piece around the top of the cone and glue it in place. This will give the top of your tree a clean, finished look without too much bulk.
7. Add a Star or a Pearl
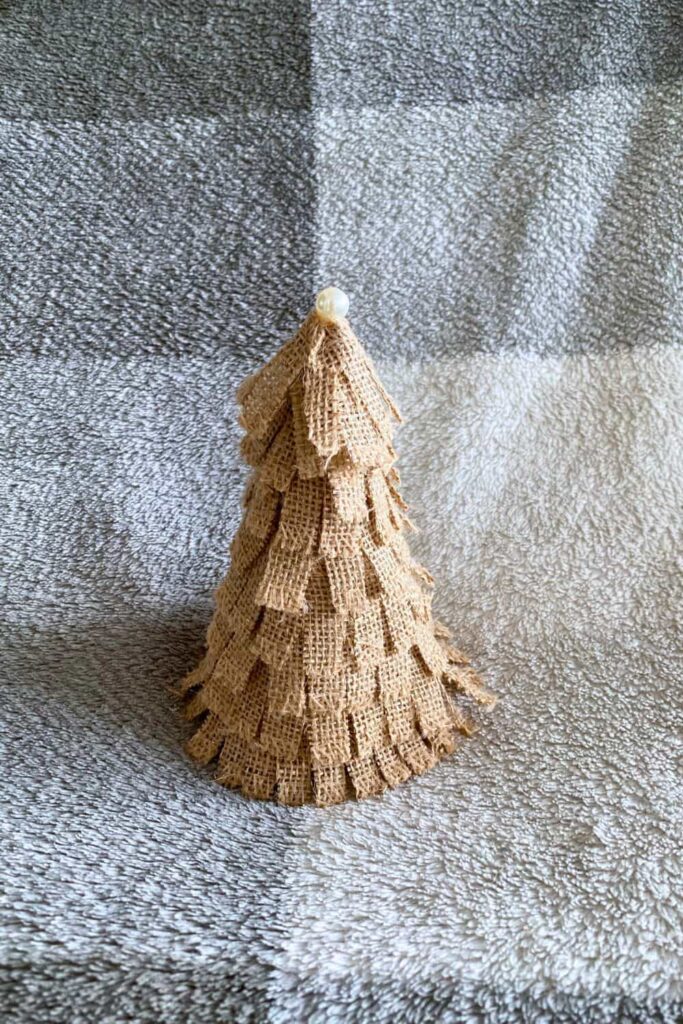
To finish off your tree, you can add a small decoration at the top. I used a pearl for mine, but you could also glue on a small star or another item you have around the house. This final touch adds a little personality and makes your tree feel complete!
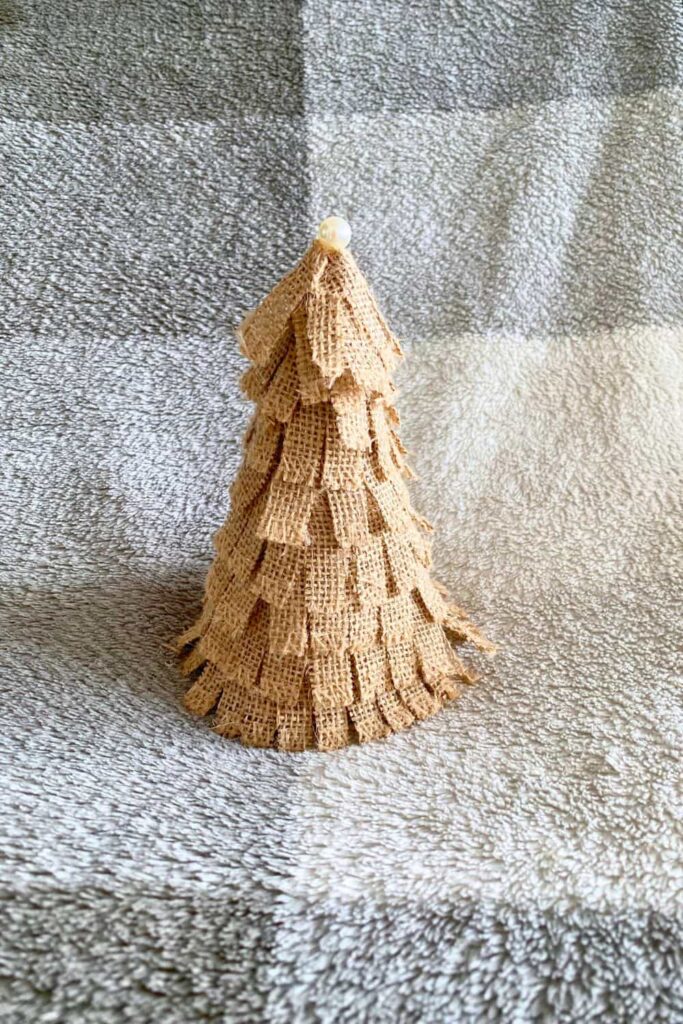
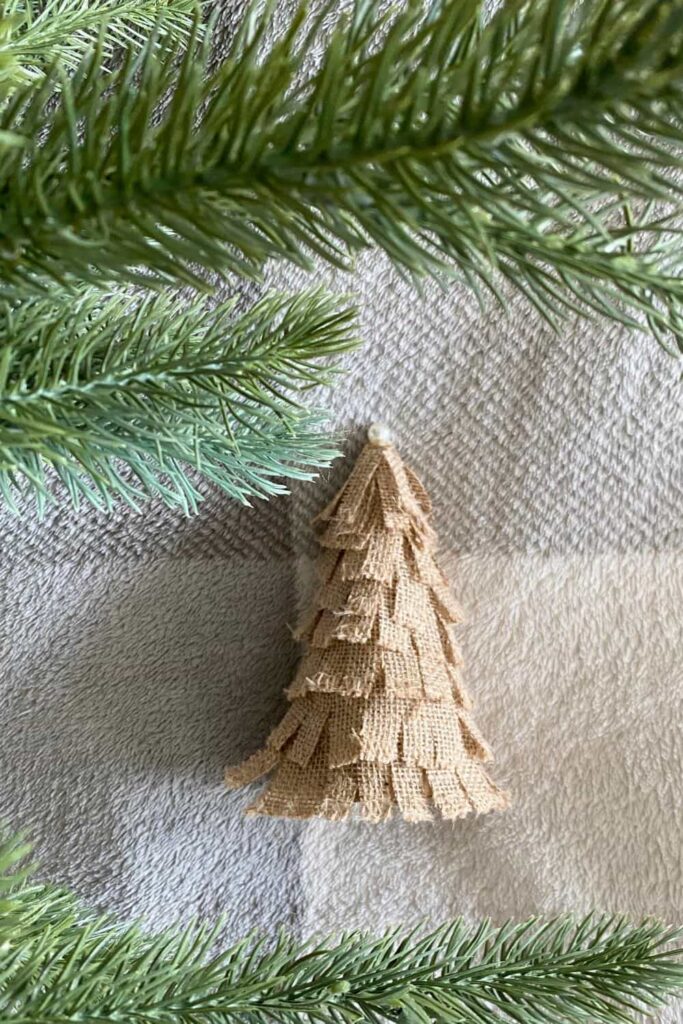
That’s it! You’ve now created a beautiful, rustic burlap Christmas tree that’s perfect for your holiday decor. I love how these turn out because each one has its own character, and they’re so easy to customize. Feel free to make a few in different sizes for a cute little tree display!
— SAVE THIS POST —
Did you like this post? If you liked this post, don’t hesitate to share it!
Want to save this post? You can pin the following images on pinterest to save this post.
We are Mary and Eric, the founders of Be Right Back, a blog dedicated to romance around the globe and at home.
We are Mary and Eric, the founders of Be Right Back, a blog dedicated to romance around the globe and at home. With over 10 years of experience in dating and traveling to romantic places, we share our favorite date ideas and romantic destinations to help couples level up their relationships. Having lived in and traveled through the USA, we also share our favourite things to do in the States.
With 70,000 monthly readers and 16,000 followers on social media, Be Right Back is your go-to resource for romantic trip ideas and couple activities at home and abroad.

