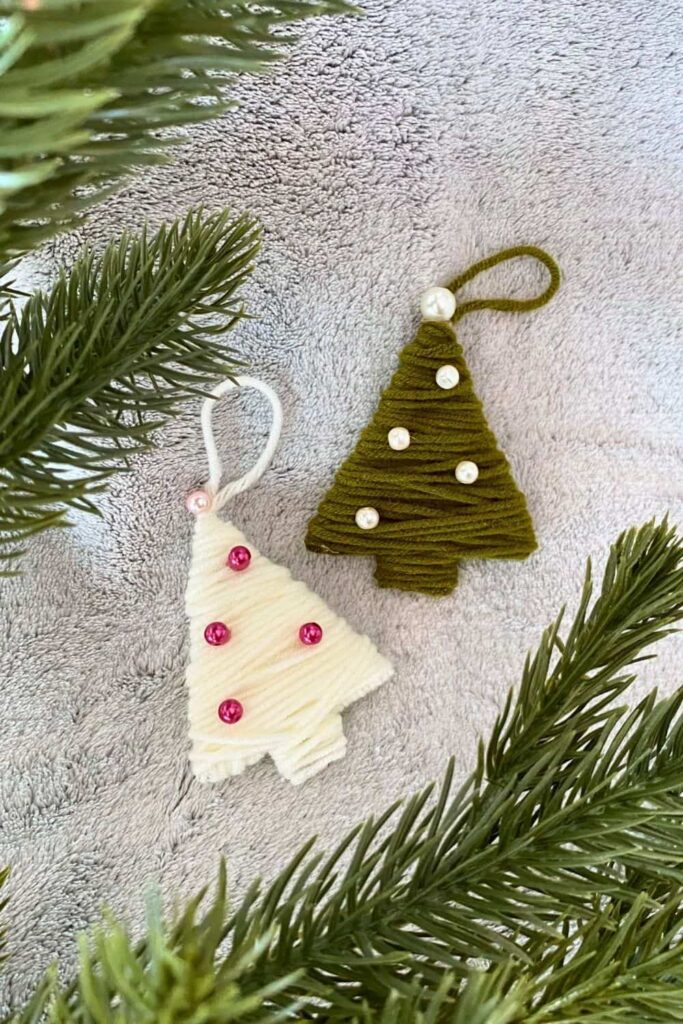
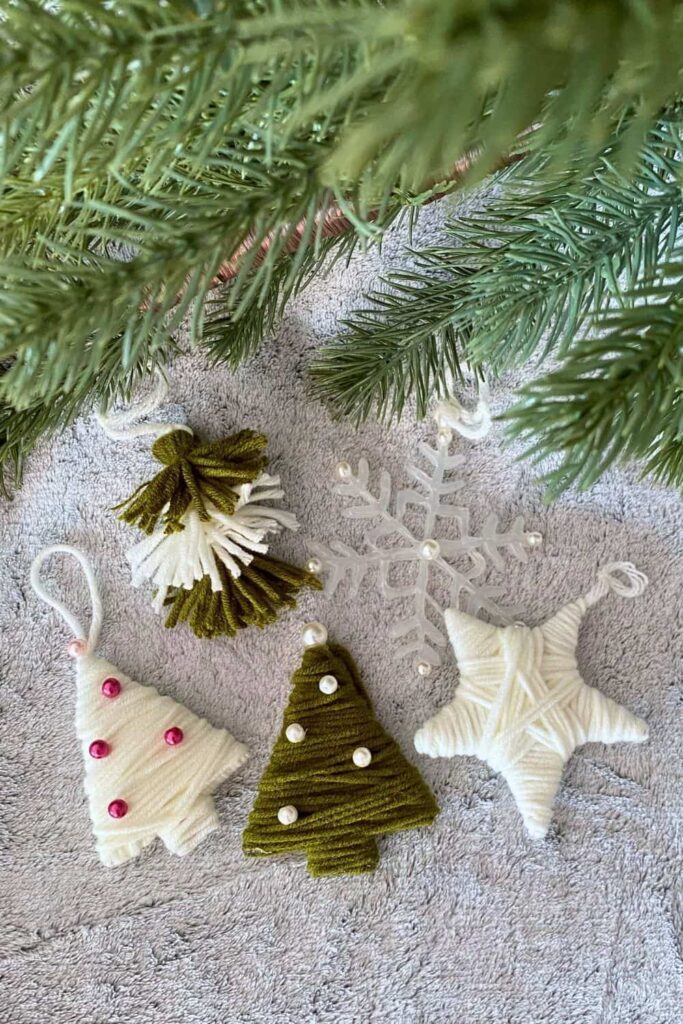
Easy Yarn-Wrapped Tree Ornament DIY For Your Christmas Tree
I’m excited to share with you a fun and simple DIY project that will add a personal touch to your holiday decorations: yarn-wrapped Christmas tree ornaments. I love making these because they’re incredibly easy to create, use materials you probably already have at home, and are quick enough that you can make several in just an hour. Whether you’re a seasoned crafter or just looking for a festive project to do with family or friends, these ornaments are perfect.
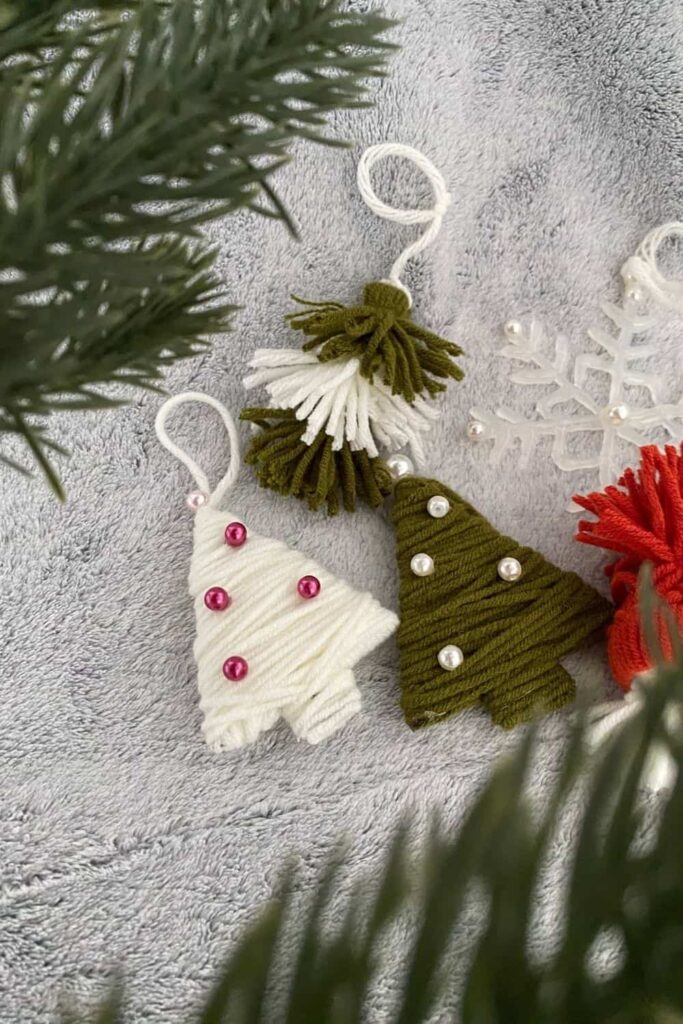
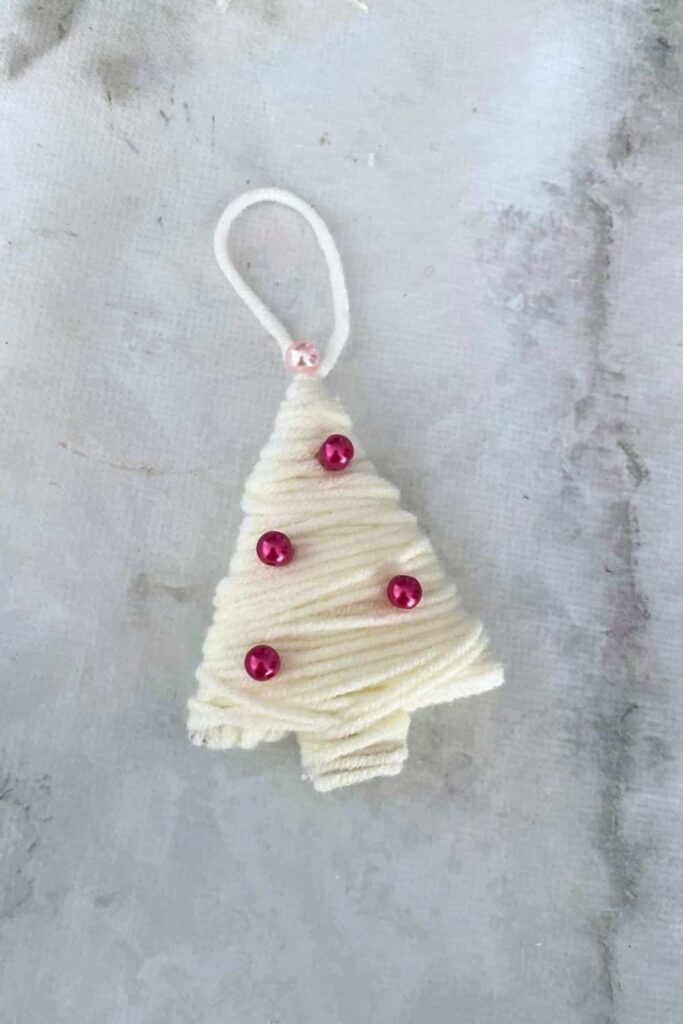
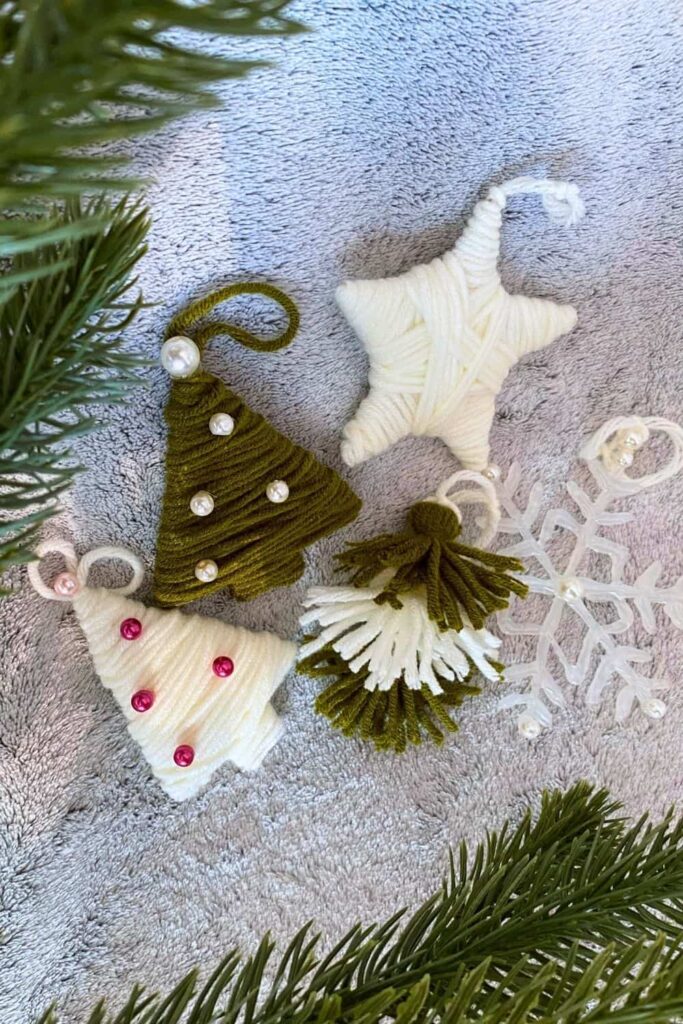
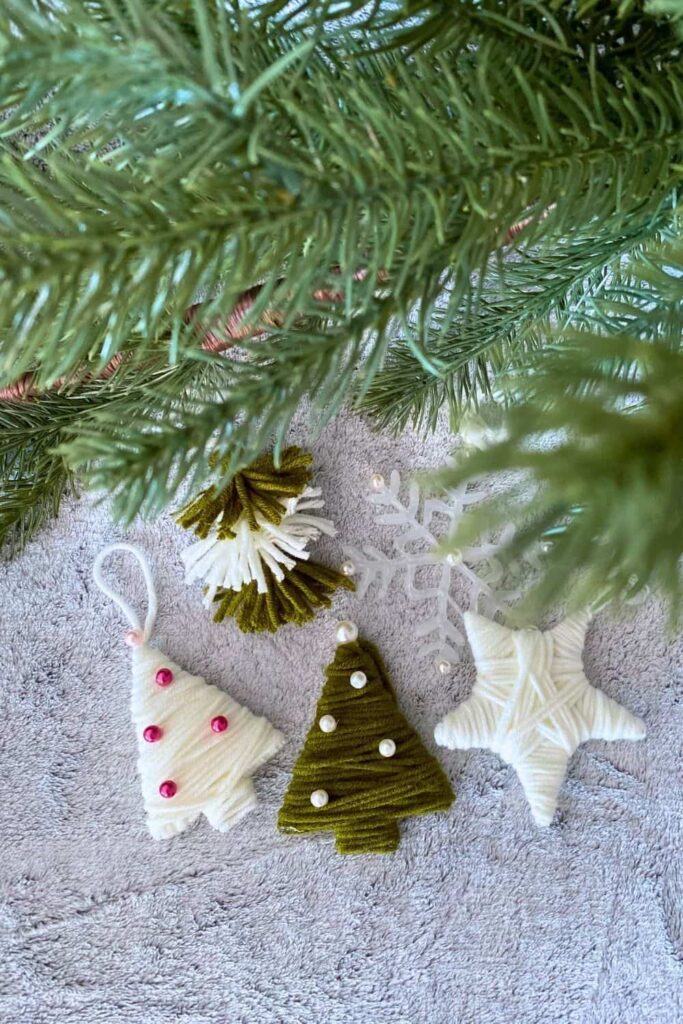
What I enjoy most about this project is how customizable it is. You can choose any color of yarn that fits your holiday theme and add little pearls or other decorations to make each ornament unique. Plus, it’s a great way to spend a cozy afternoon indoors, especially when the weather outside is chilly.
So, grab your supplies and let’s get started on making some beautiful yarn-wrapped Christmas tree ornaments. I promise you’ll have a great time and end up with some lovely decorations for your home or to give as thoughtful, handmade gifts.
Why These Are the Perfect Christmas DIY Ornaments
Creating yarn-wrapped Christmas tree ornaments is an enjoyable and easy project that can add a personal touch to your holiday decorations. These ornaments are perfect because they are simple to make, use basic materials most people already have at home, and can be completed quickly. In just an hour, you can create several charming ornaments, making this a great activity for a cozy afternoon or a craft night with friends and family.
What You Need
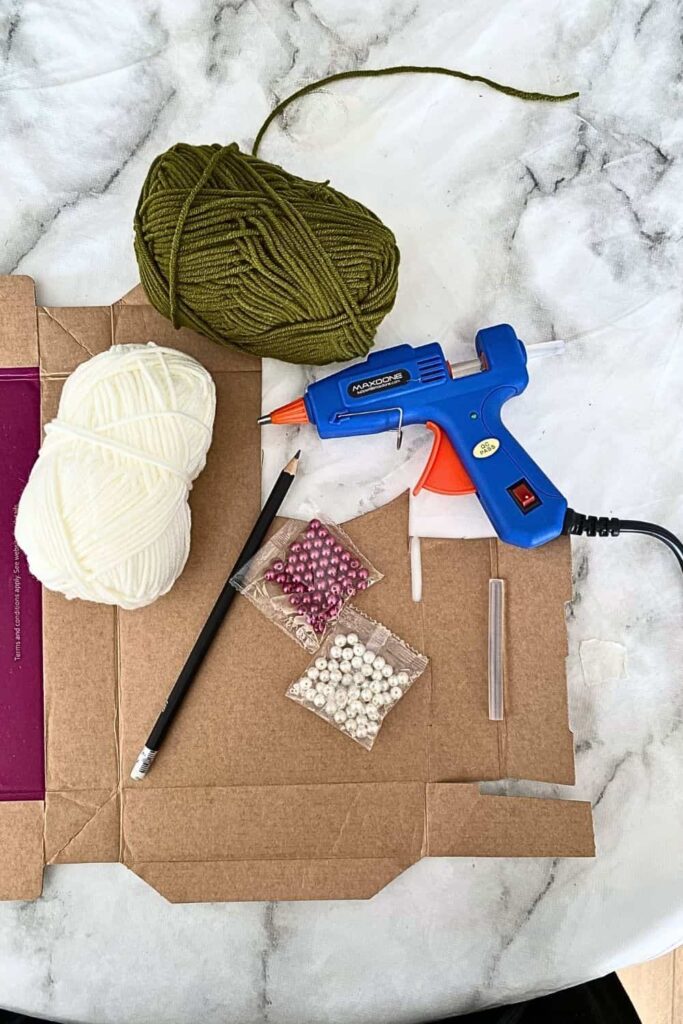
To make these DIY yarn-wrapped Christmas tree ornaments, gather the following materials:
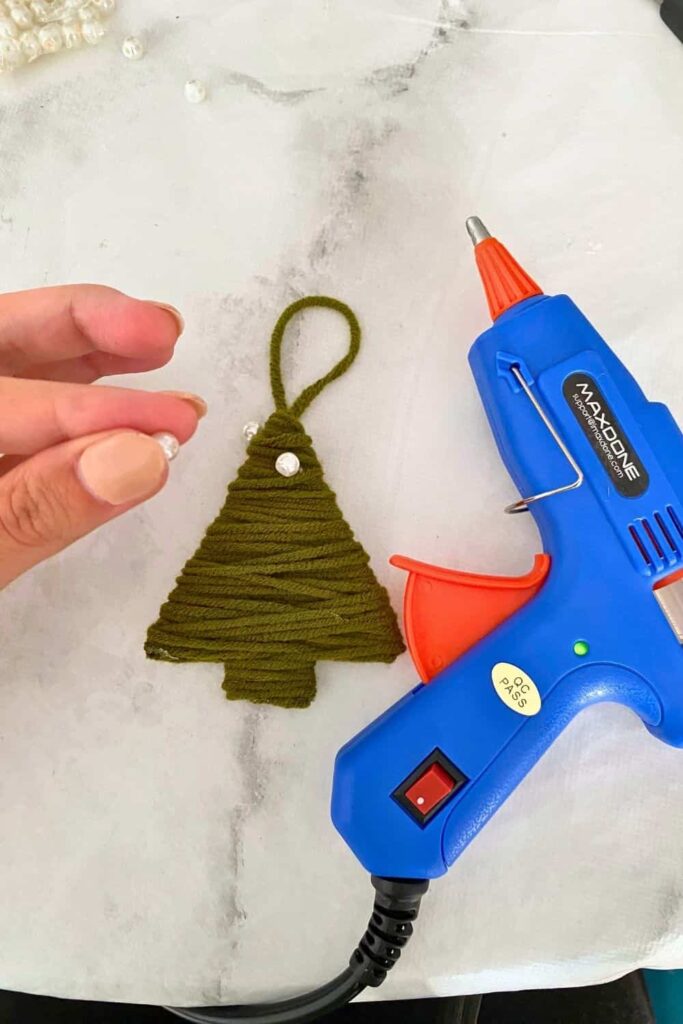
- Hot glue gun and glue sticks
- Pencil
- Your favorite color of yarn
- Small pearls that complement your yarn
- A piece of cardboard
- One larger pearl for the top
These supplies are easily accessible and budget-friendly, making this project perfect for crafters of all ages and skill levels.
What to Do
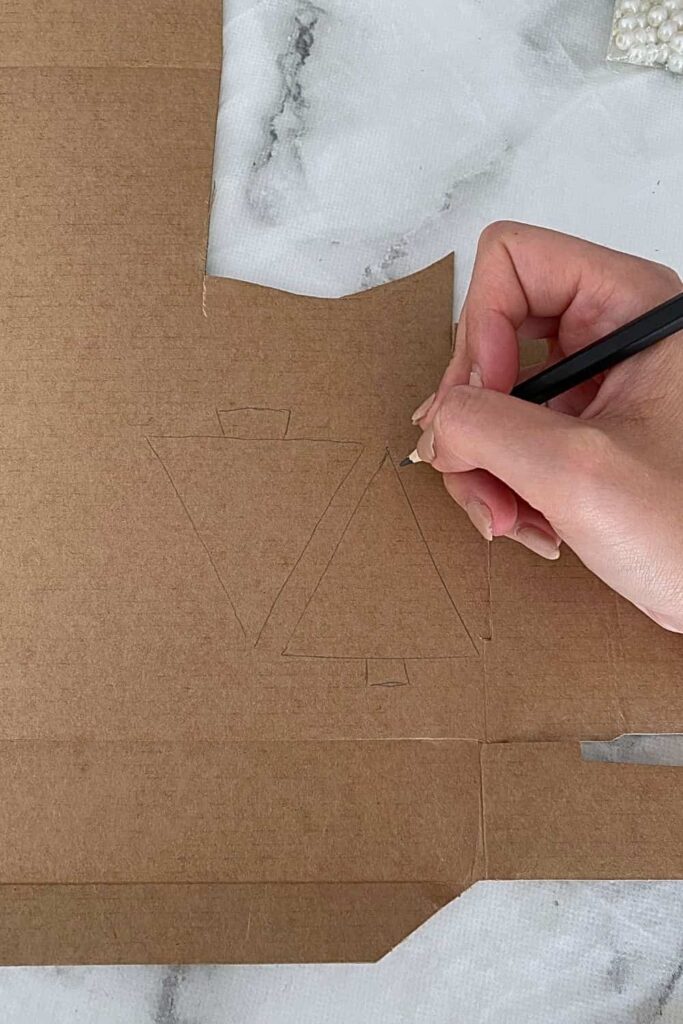
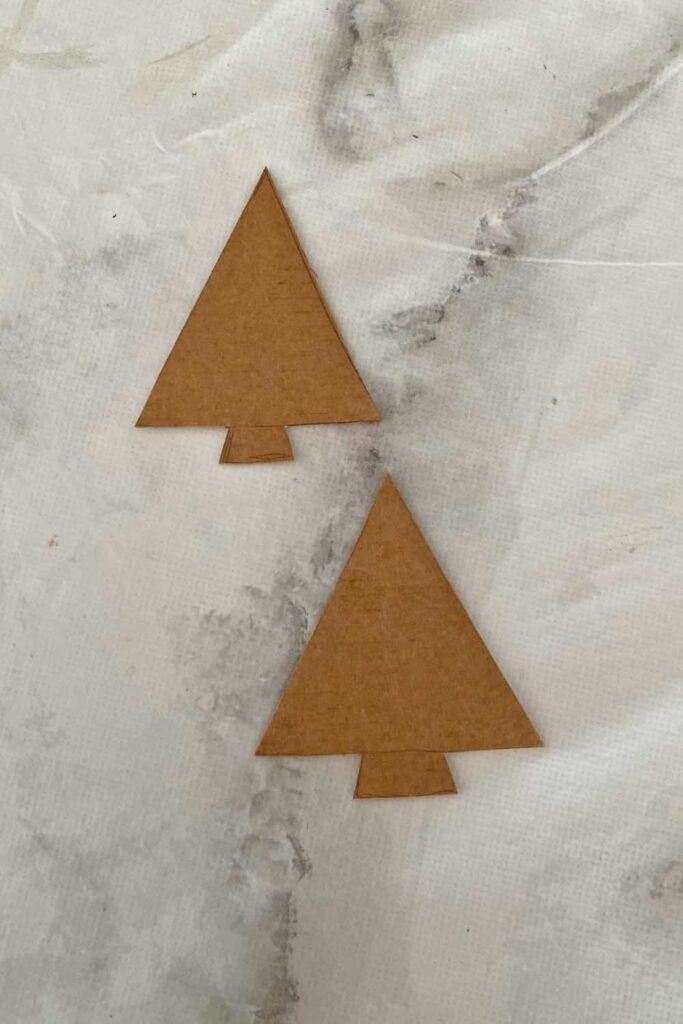
Step 1: Draw Your Tree Shape
Start by drawing the shape of your tree onto the piece of cardboard. I kept it simple with a triangle for the tree and a rectangle for the trunk. This basic design is easy to cut out and wrap with yarn.
Step 2: Cut Out the Shapes
Once your tree shape is drawn, use scissors to carefully cut out the triangle and rectangle shapes from the cardboard. These will form the base of your ornament.
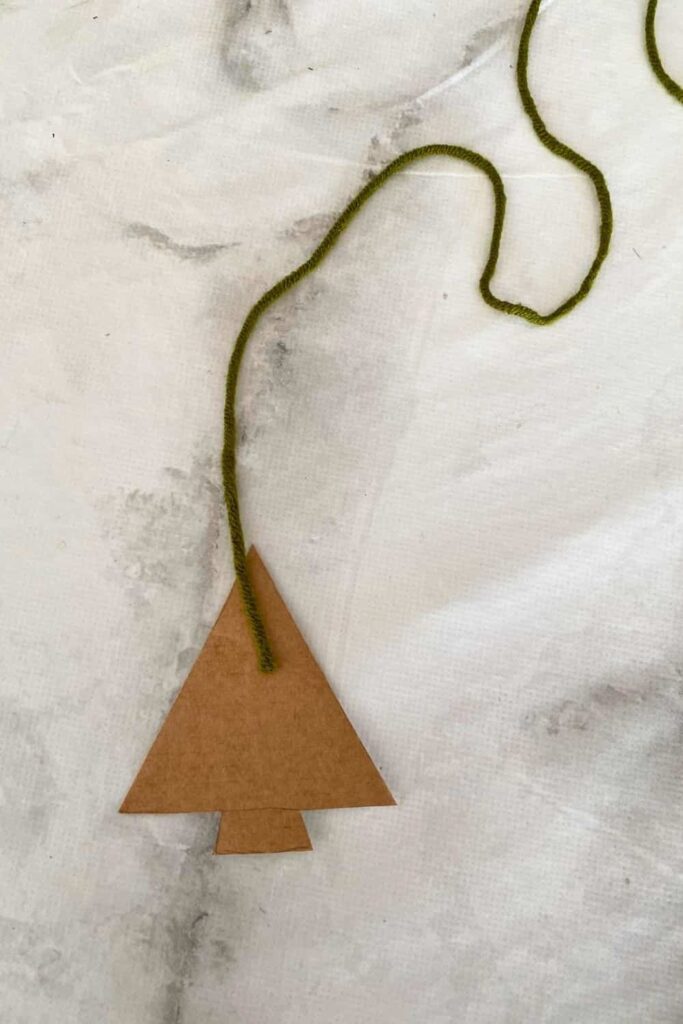
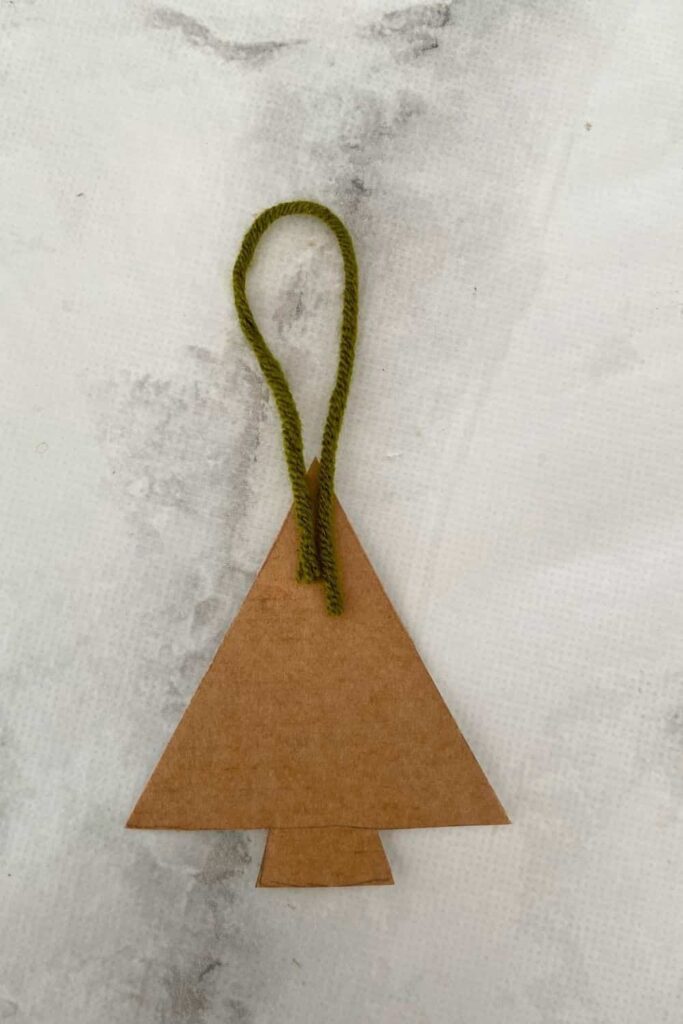
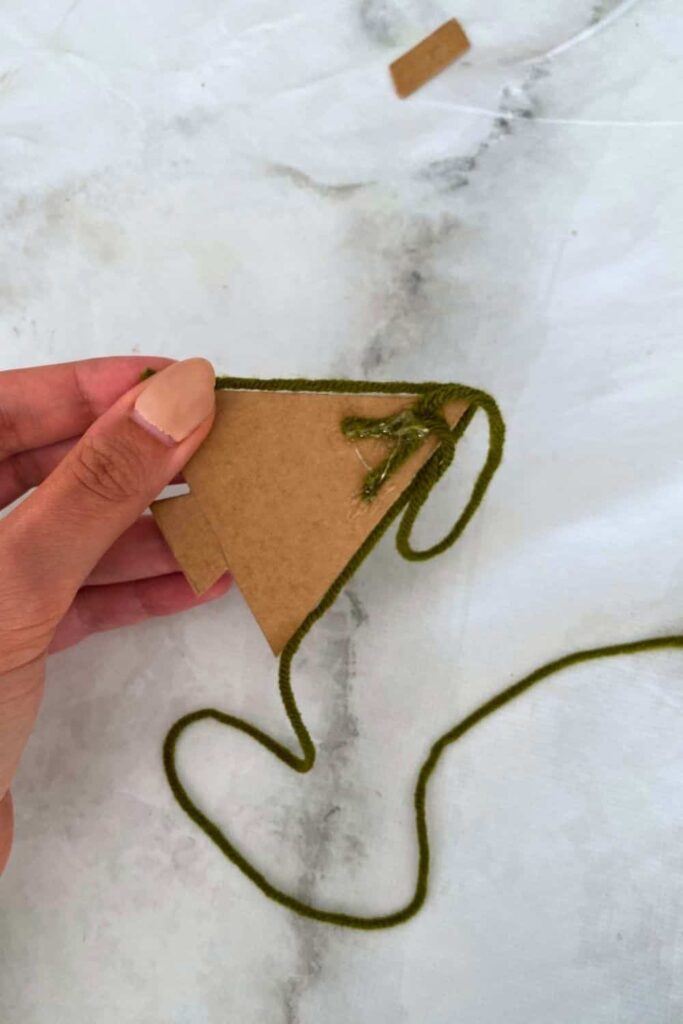
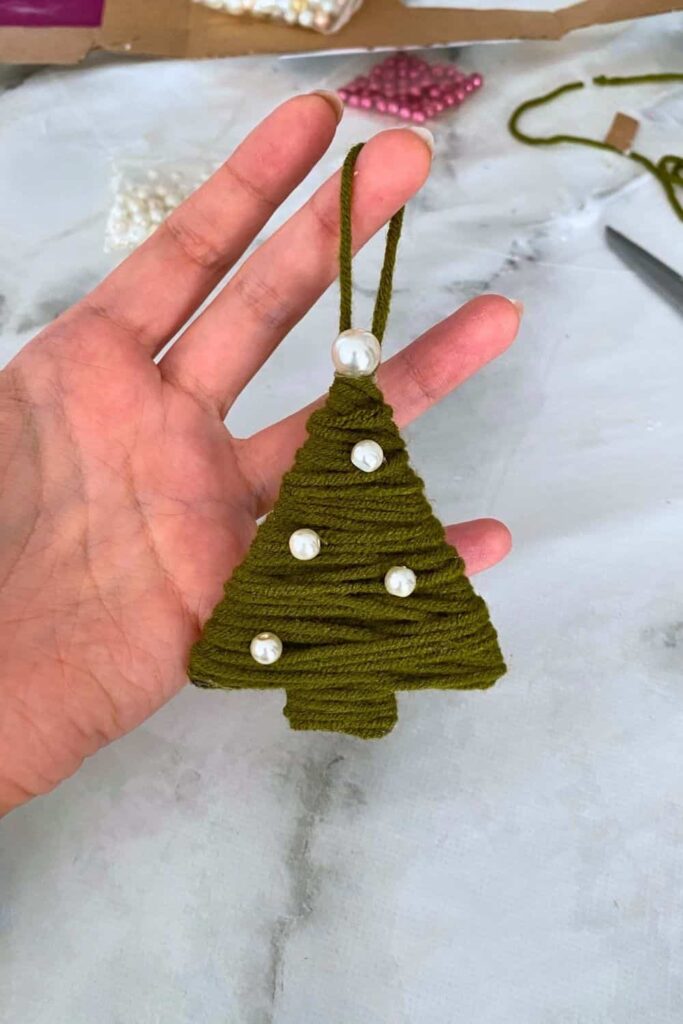
Step 3: Create the Hook
Cut a small piece of yarn, about 10 cm long. Glue this piece to the top of your cardboard tree to create a loop for hanging your ornament. This step is crucial to ensure your ornament can easily be displayed on your tree.

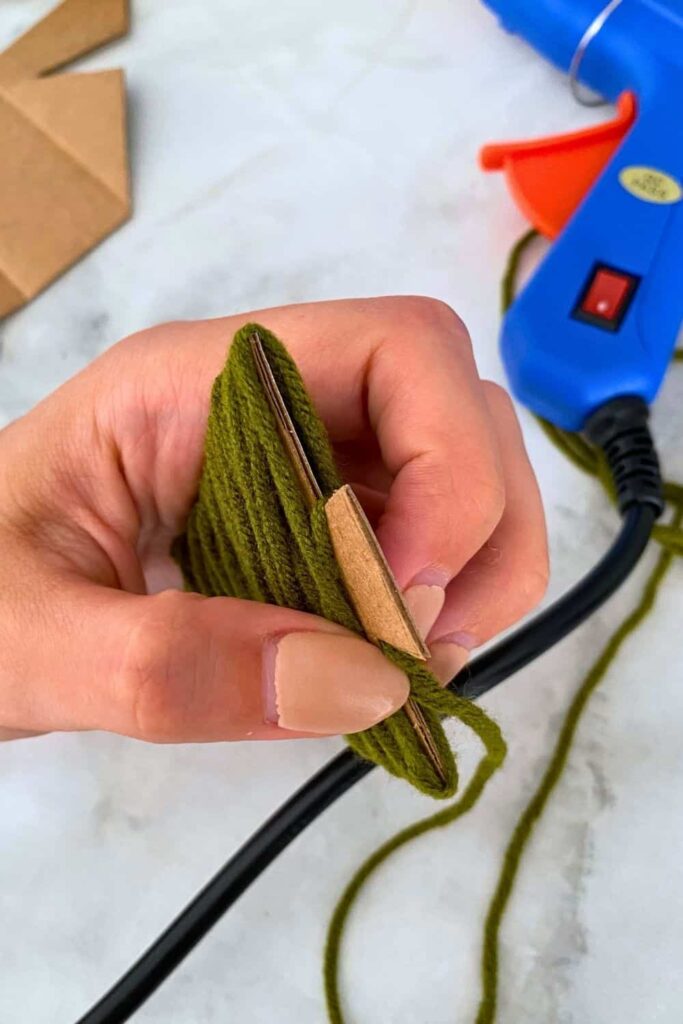
Step 4: Glue the Edges
Take your yarn and start gluing it around the edges of the tree shape. This initial gluing helps secure the yarn and makes it easier to wrap around the cardboard.
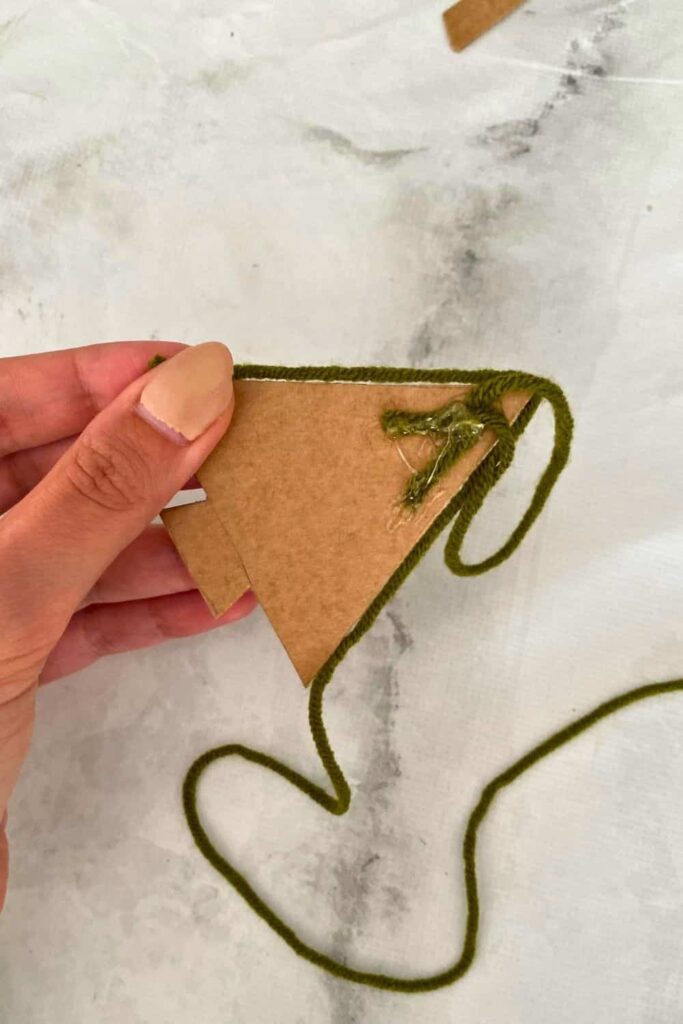
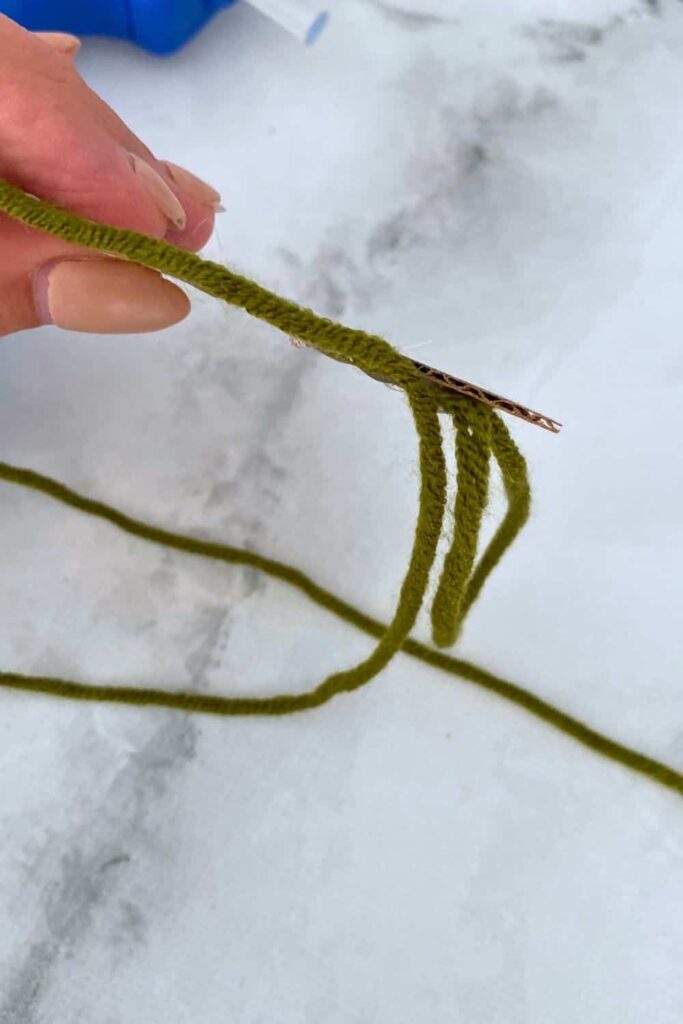
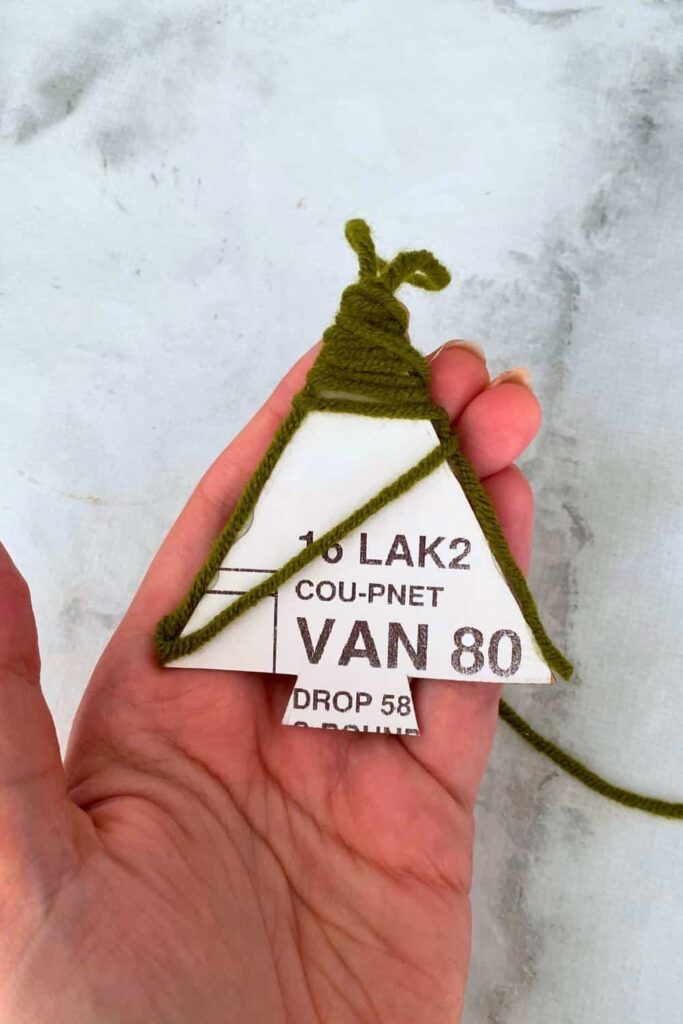
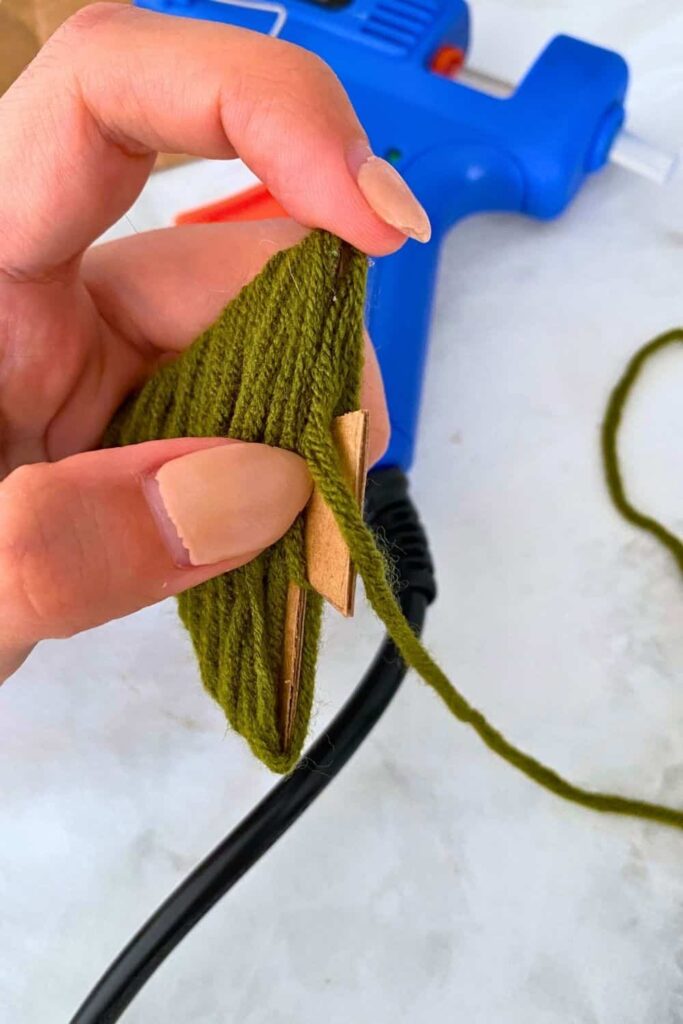
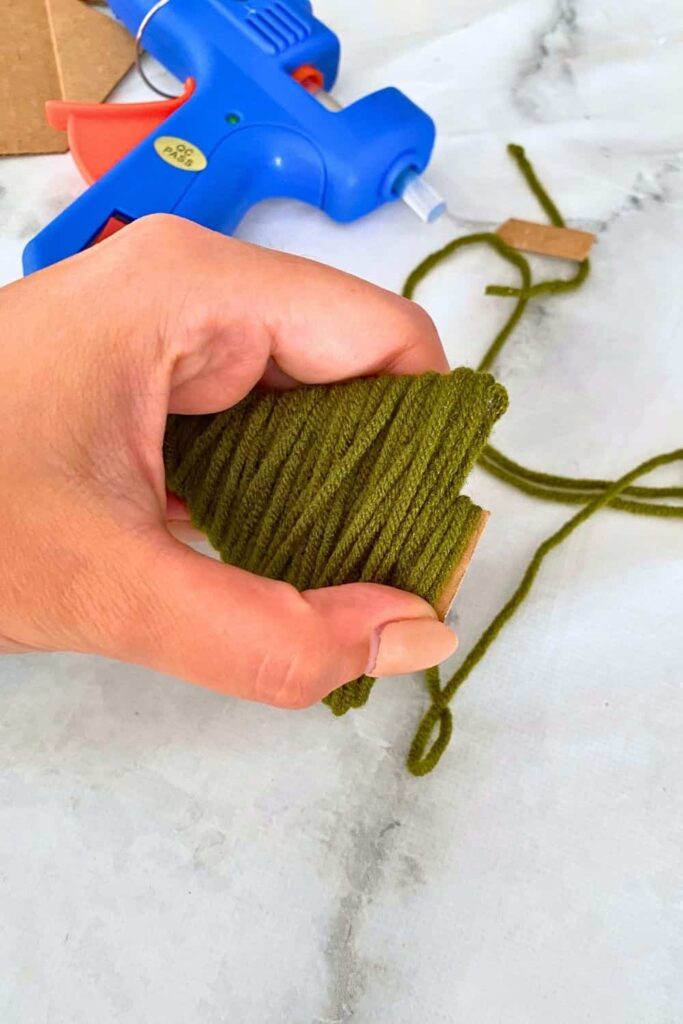
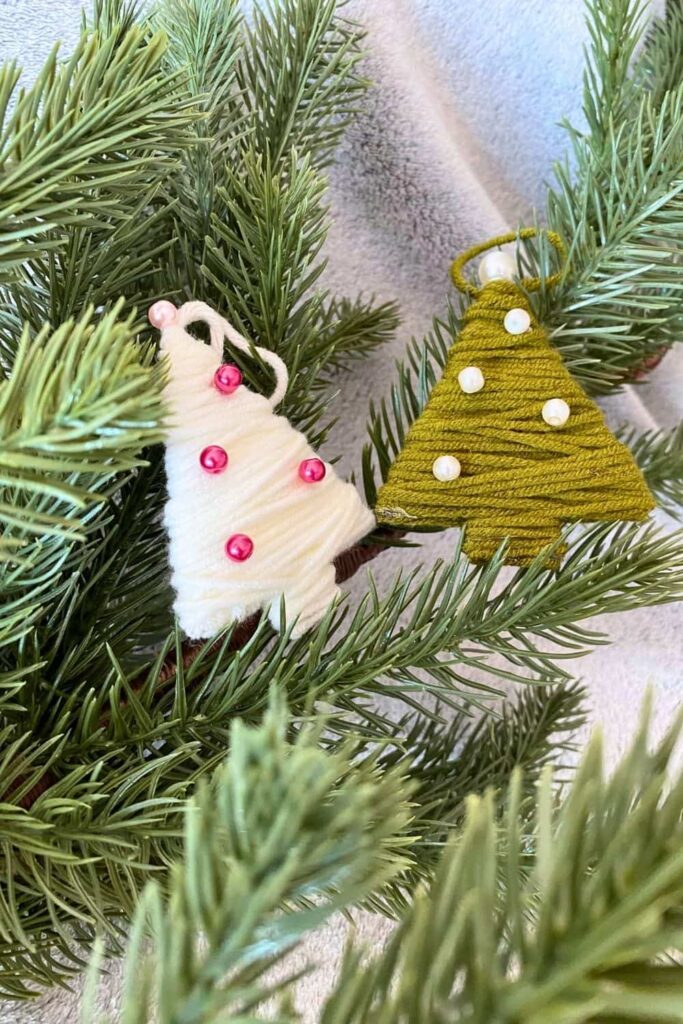
Step 5: Start Wrapping
Begin wrapping the yarn around the cardboard tree. I found it easiest to start at the base and wrap vertically, but feel free to experiment with different wrapping styles. Use glue to help secure the yarn, especially around the edges which can be trickier to cover completely.
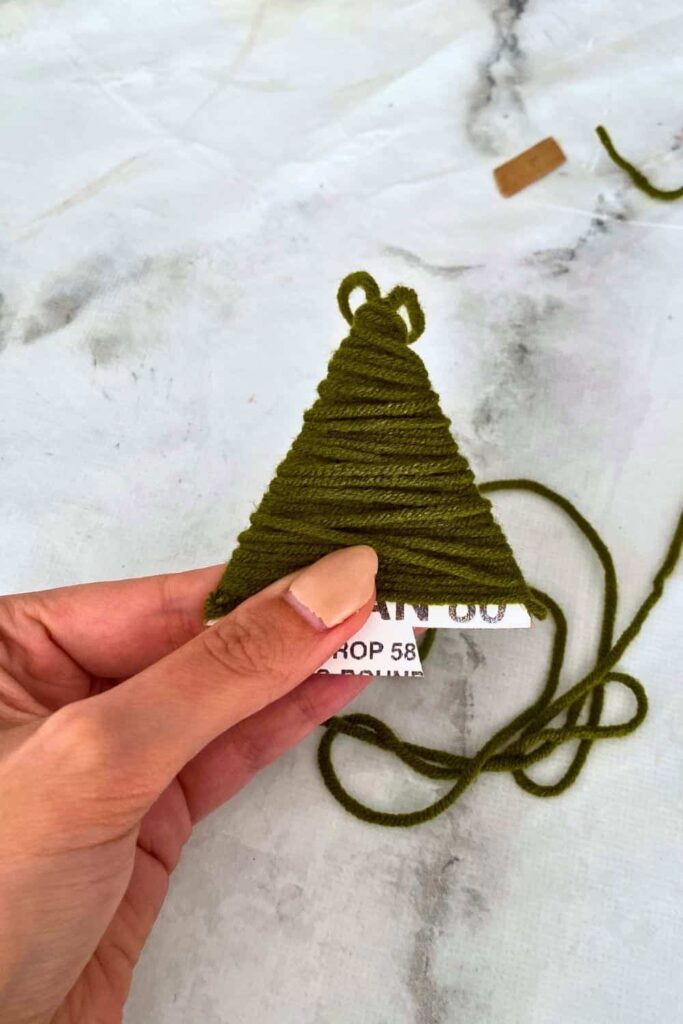
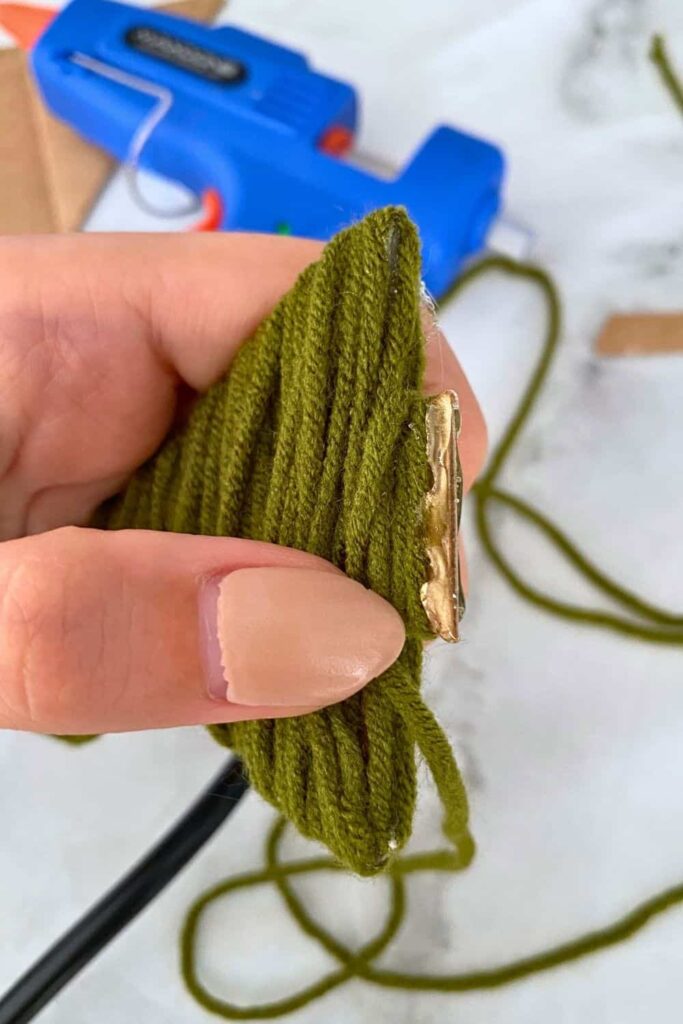
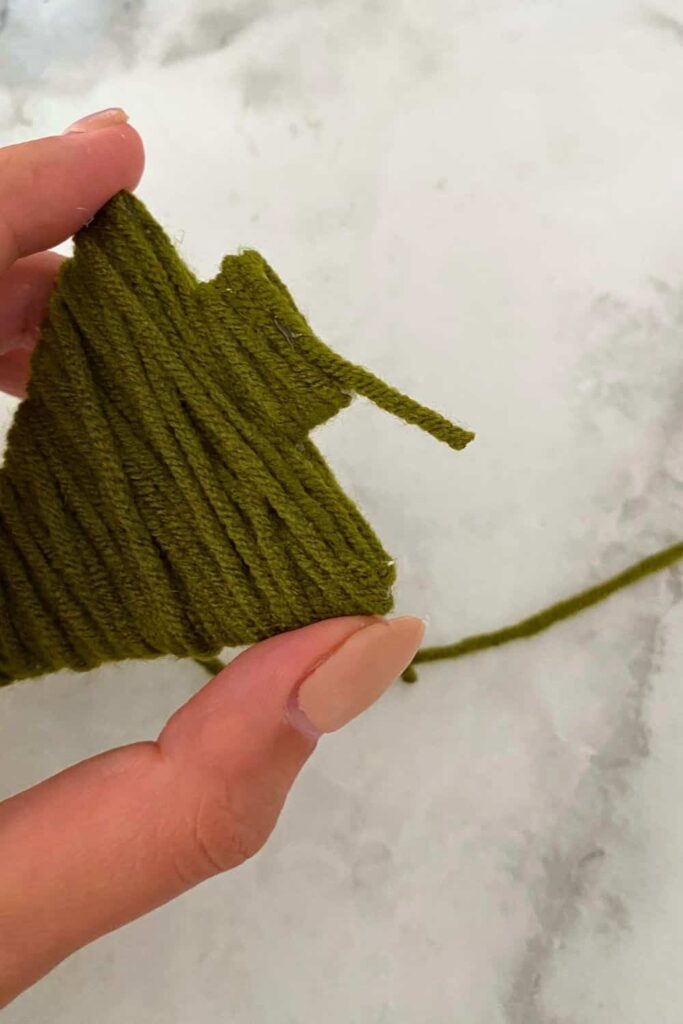
Step 6: Secure the End
Once you have wrapped the entire tree, cut the end of the yarn and glue it to the back of your tree. This keeps the yarn from unraveling and gives your ornament a neat finish.

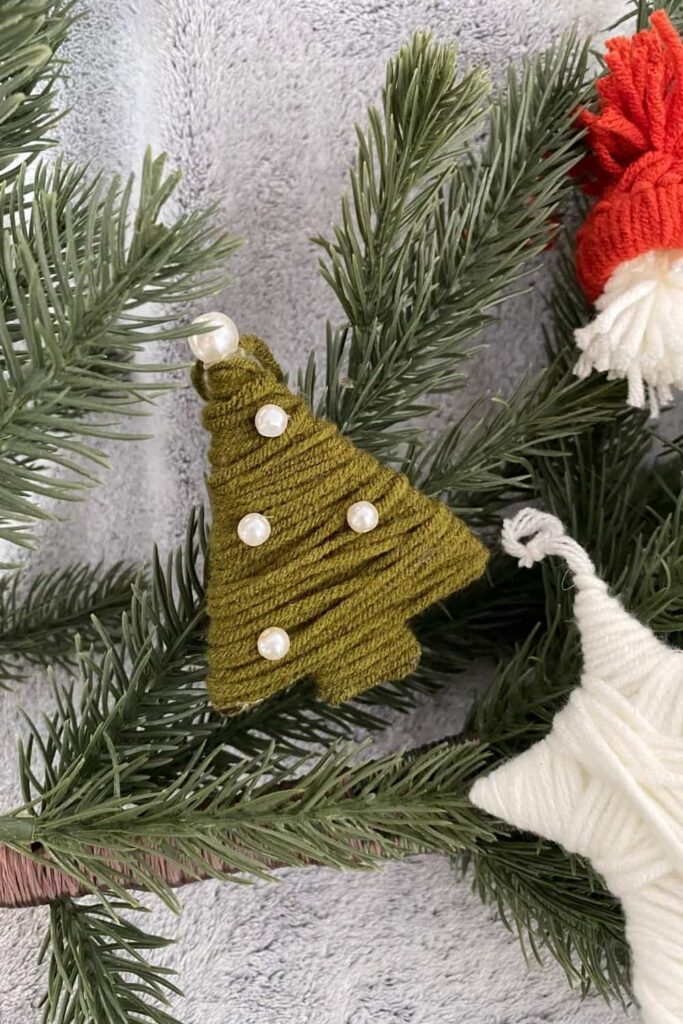
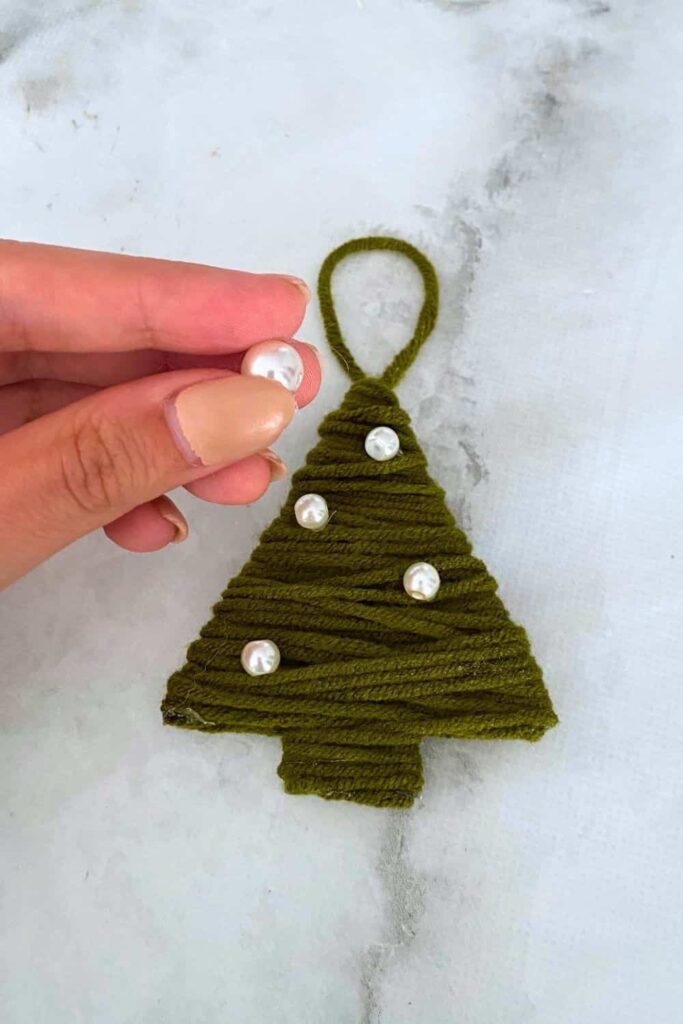
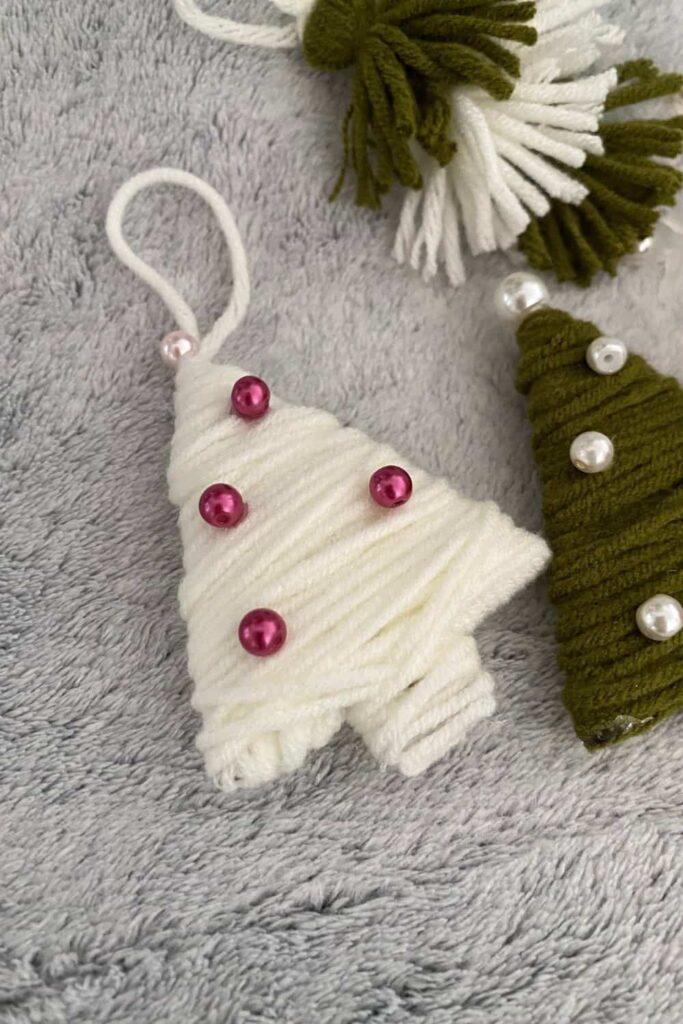
Step 7: Add Pearls
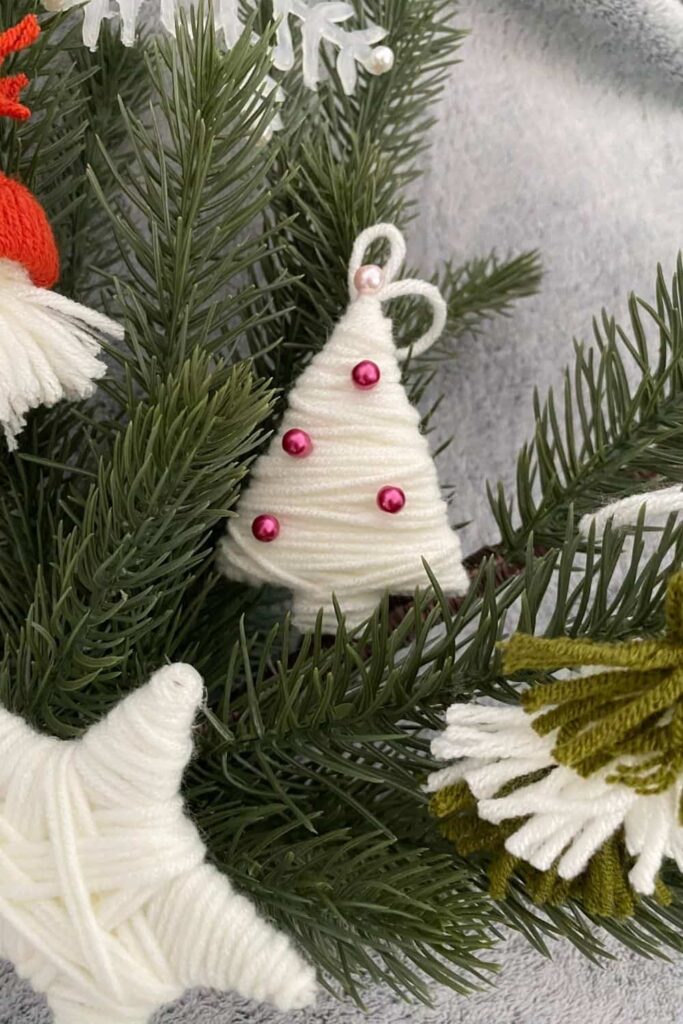
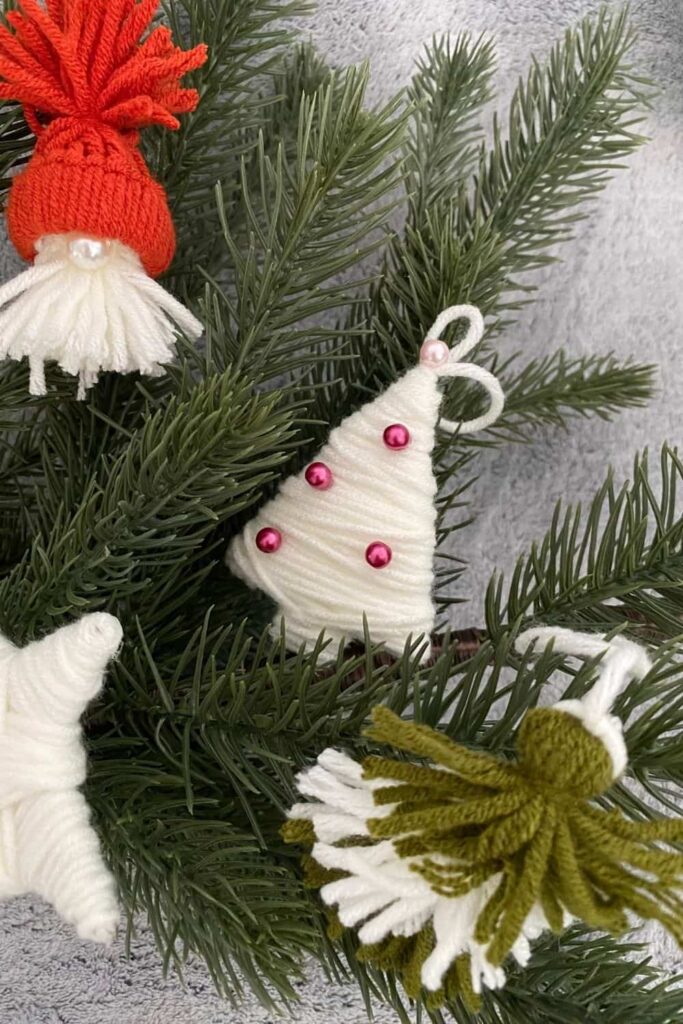
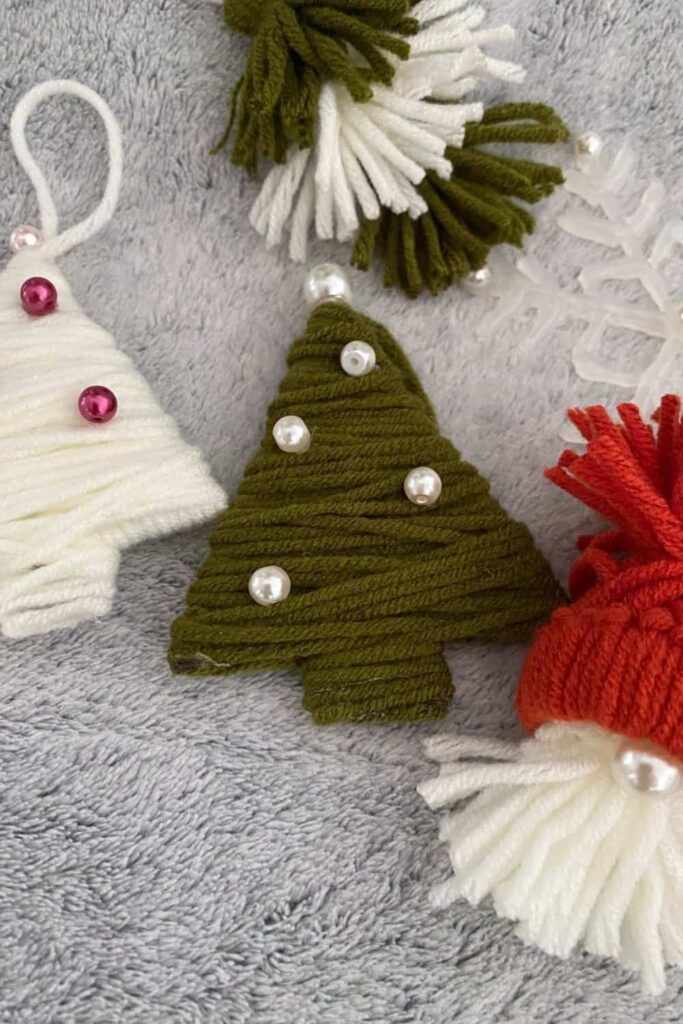
You can leave your tree as is, but adding small pearls can give it a festive touch. Glue the small pearls onto the tree in a pattern you like. I opted for a minimalist look, but there are no rules – get creative and add as many or as few as you like!
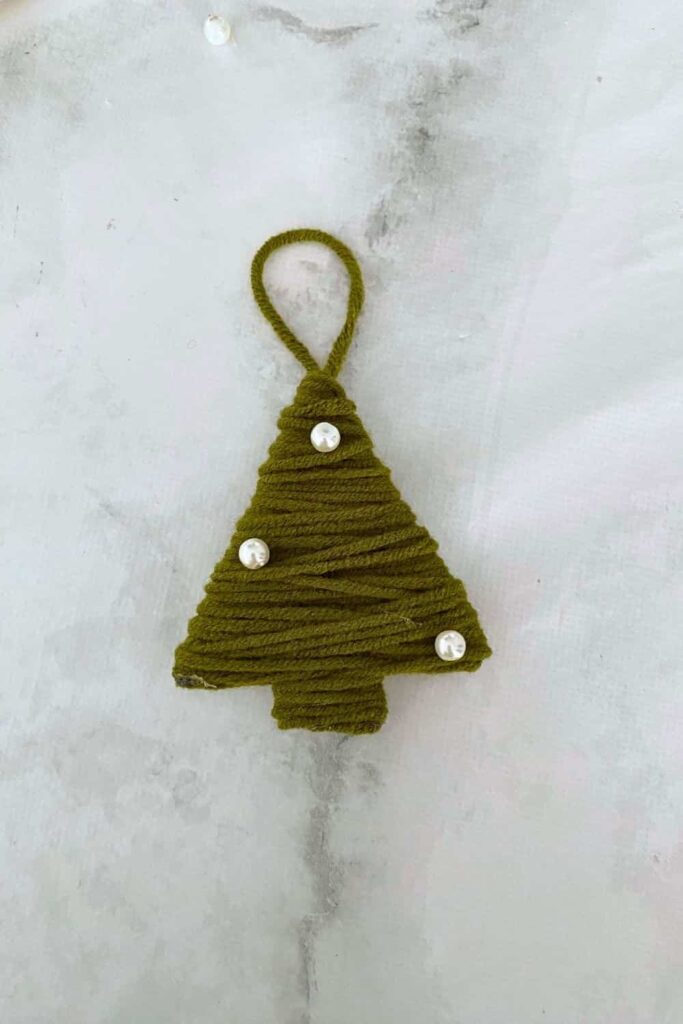
Step 8: Final Touch
To finish, glue the larger pearl at the top of the tree. This adds a nice finishing touch and makes your ornament look even more special.
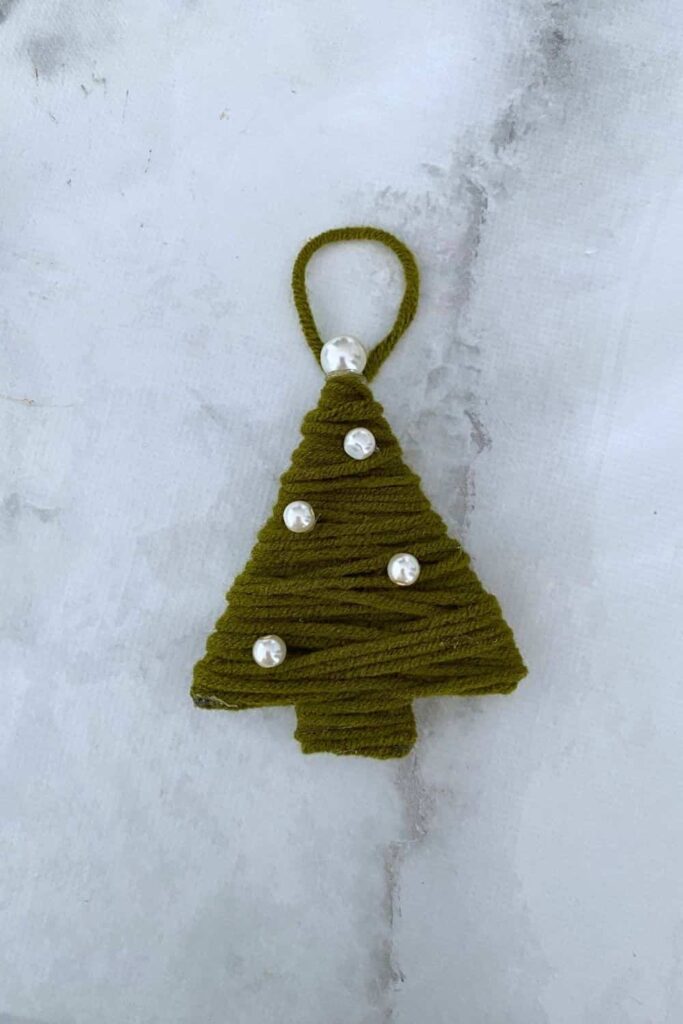
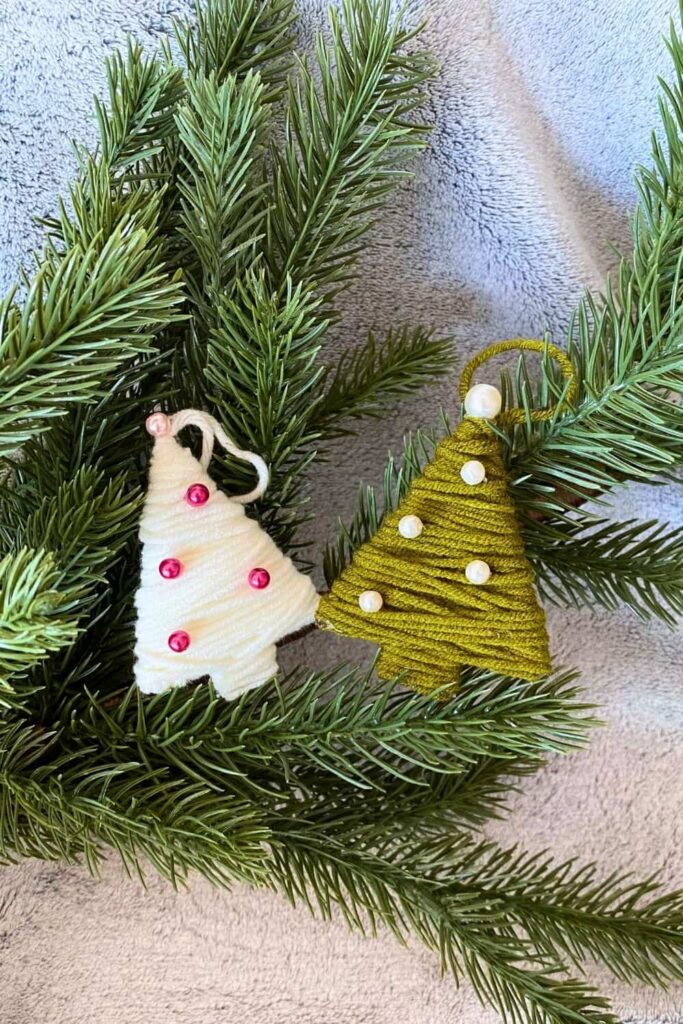
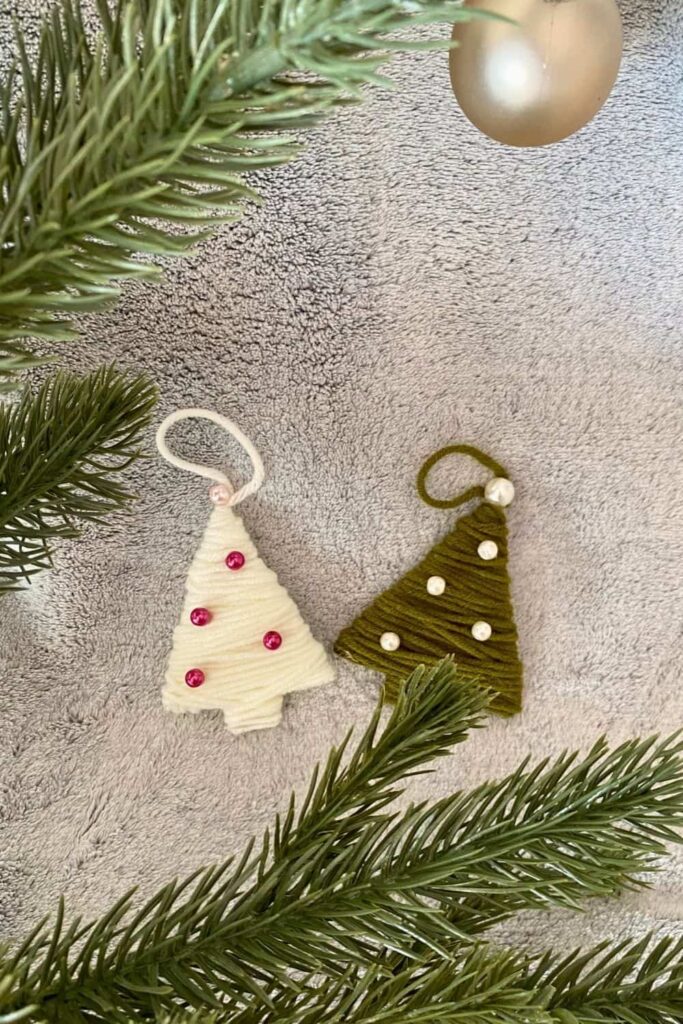
And there you have it! Your very own yarn-wrapped Christmas tree ornament. Enjoy hanging these handmade decorations on your tree or giving them as gifts to loved ones.

Related
More Like This
- 25 Creative Living Room Graduation Party Ideas for a Memorable Celebration
- 25 Creative At-Home Graduation Party Ideas for a Memorable Celebration
- 25 Creative Garage Graduation Party Ideas You’ll Love
- 25 Creative Graduation Party Table Ideas You’ll Love
- 20 Stunning Floral Graduation Party Ideas for a Memorable Celebration
— SAVE THIS POST —
Did you like this post? If you liked this post, don’t hesitate to share it!
Want to save this post? You can pin the following images on pinterest to save this post.
We are Mary and Eric, the founders of Be Right Back, a blog dedicated to romance around the globe and at home.
We are Mary and Eric, the founders of Be Right Back, a blog dedicated to romance around the globe and at home. With over 10 years of experience in dating and traveling to romantic places, we share our favorite date ideas and romantic destinations to help couples level up their relationships. Having lived in and traveled through the USA, we also share our favourite things to do in the States.
With 70,000 monthly readers and 16,000 followers on social media, Be Right Back is your go-to resource for romantic trip ideas and couple activities at home and abroad.