Hot Glue Snowflakes DIYs For Your Christmas Decor
I’m so excited to share this fun and easy DIY project with you; I’ve been making it for years! As someone who loves both Christmas and crafting, I’m always looking for unique ways to add a personal touch to my holiday decorations.
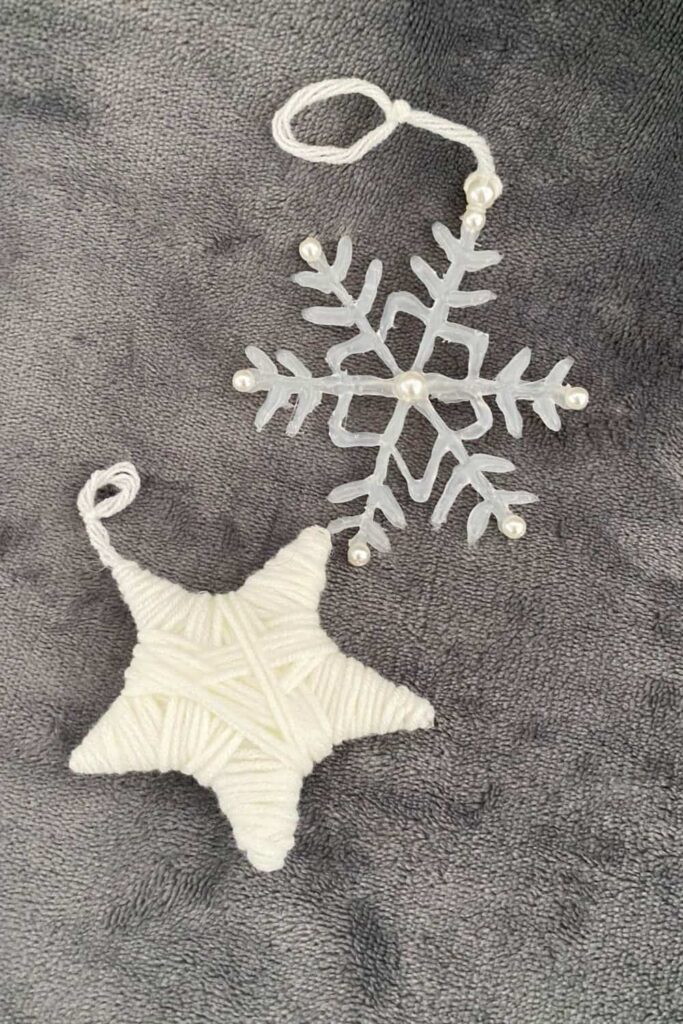
One of my favorite projects is making hot glue snowflake ornaments. They’re simple to create, customizable, and don’t require a lot of materials.
Plus, most of the supplies are things you probably already have at home. Whether you’re a seasoned crafter or just looking for a fun holiday activity, these snowflakes are a great way to add a bit of handmade charm to your Christmas tree decorations. Let’s get started!

Why Hot Glue Snowflake Ornaments are Perfect for a DIY Christmas Tree
Hot glue snowflake ornaments are an ideal choice for a DIY Christmas project because they are simple to create, highly customizable, and require minimal materials. You can easily personalize these ornaments with sparkles, pearls, and other decorative items to match your holiday theme.
Most of the supplies are likely already available at home, making this an affordable and convenient craft. These ornaments add a unique and homemade touch to your Christmas tree, showcasing your creativity and festive spirit.
What You Need
To create your hot glue snowflake ornaments, gather the following materials:
- 6 mid-size pearls
- 1 larger pearl
- Scissors or tweezers
- Hot glue gun and glue sticks (super glue can be used as an alternative)
- Baking paper
- Pencil
Having all your materials ready before you start ensures a smooth crafting process. This list includes everything you need to make your snowflakes sturdy and beautiful, with a few optional items for added flair.

Step-by-Step Instructions
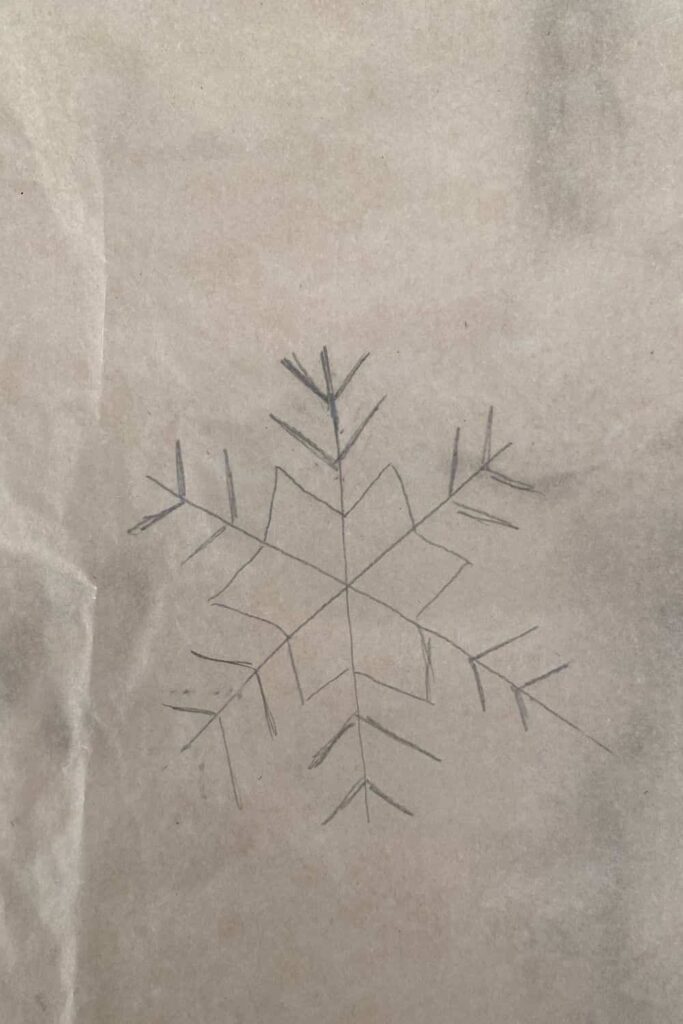
Step 1: Prepare the Baking Paper
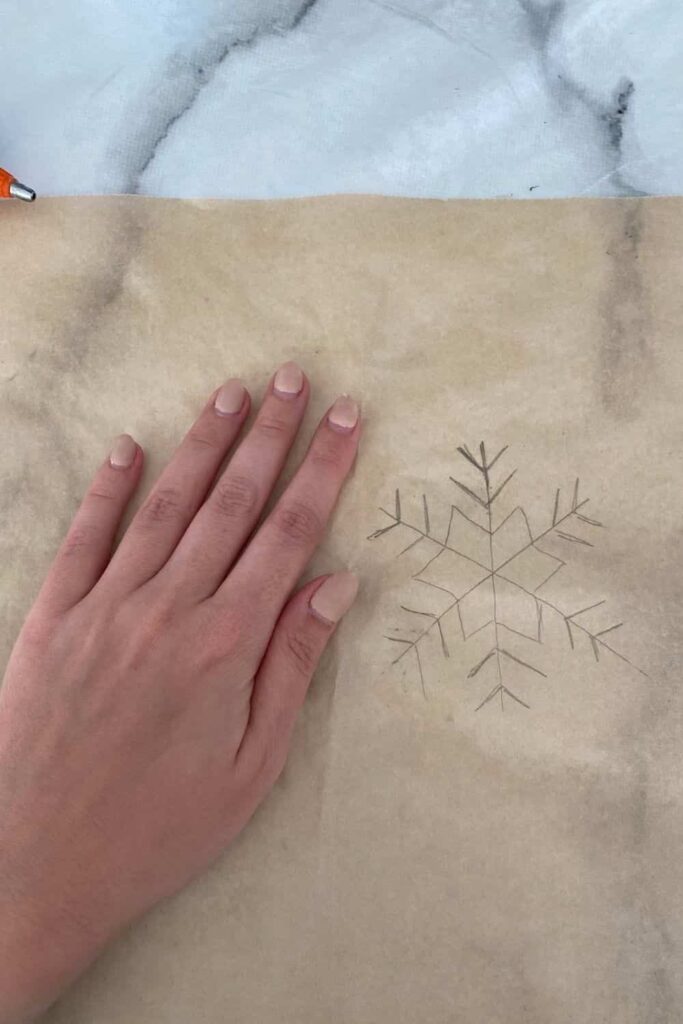
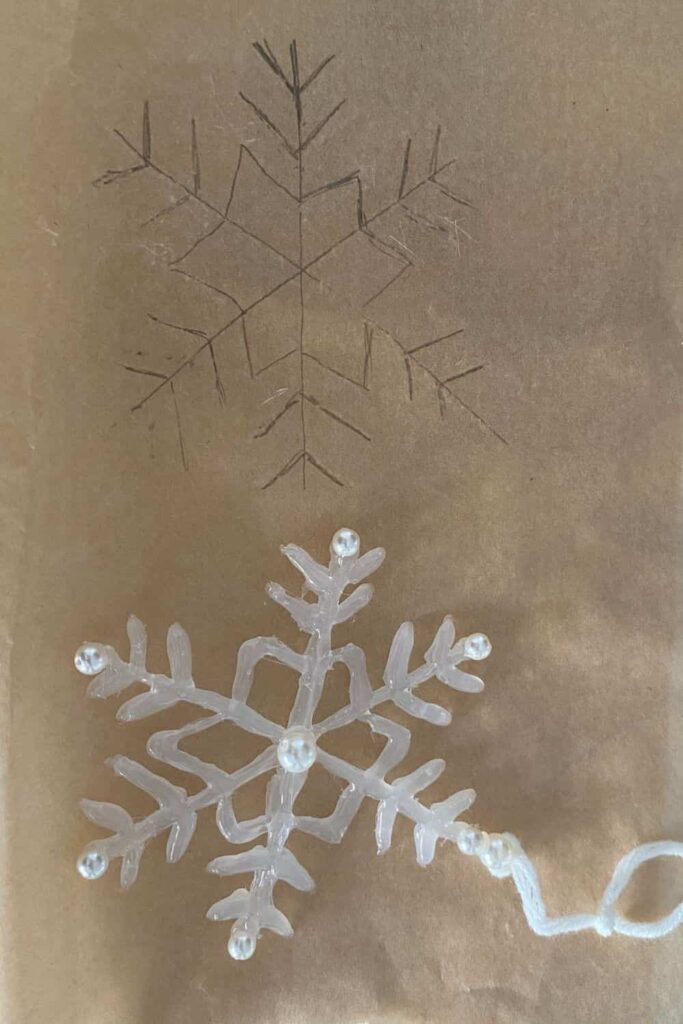
Begin by cutting a sheet of baking paper. Draw a simple snowflake design on the paper. A basic design is easier to follow with the hot glue, especially if it’s your first attempt. I chose a design slightly smaller than my hand, but you can adjust the size to your liking.
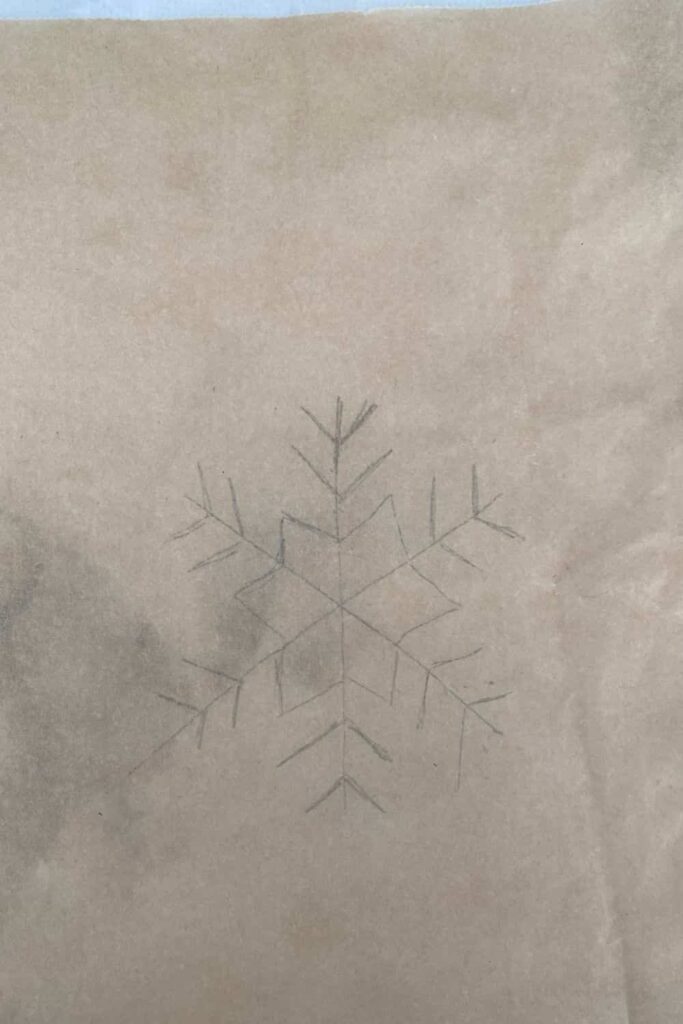
Step 2: Flip the Baking Paper
After drawing your snowflake, flip the baking paper over. This prevents the pencil marks from transferring to the glue, which can leave unwanted grey smudges on your finished ornament.
Step 3: Trace the Snowflake with Hot Glue
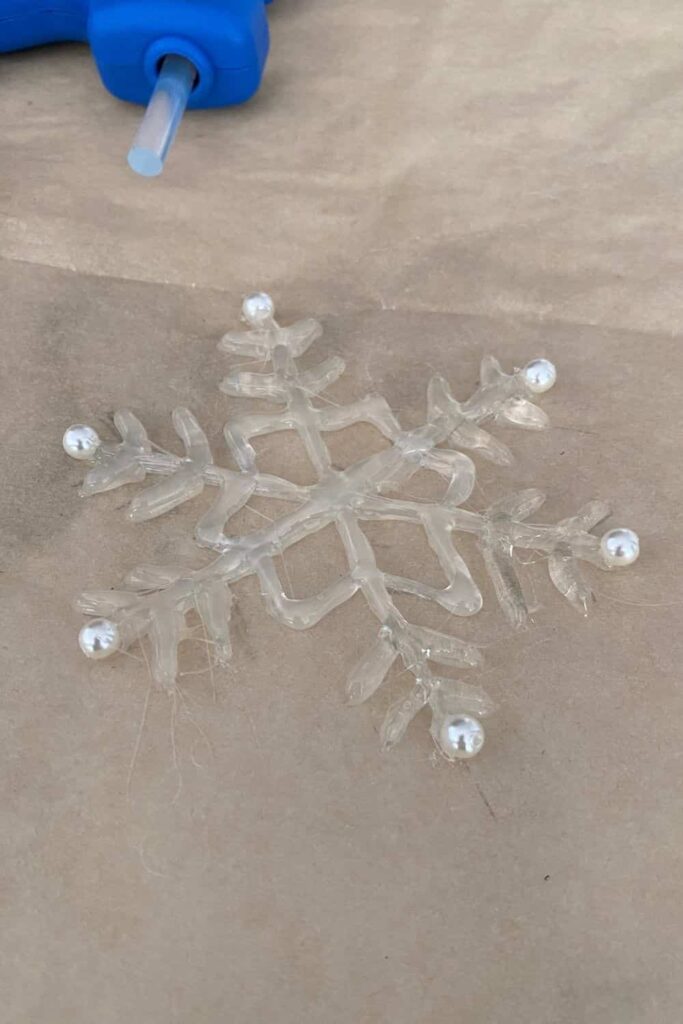
Plug in your hot glue gun and let it heat up. Once ready, start tracing your snowflake design with the hot glue. It’s best to begin from the center and work your way out to the edges. This method helps maintain the structure and shape of your snowflake.

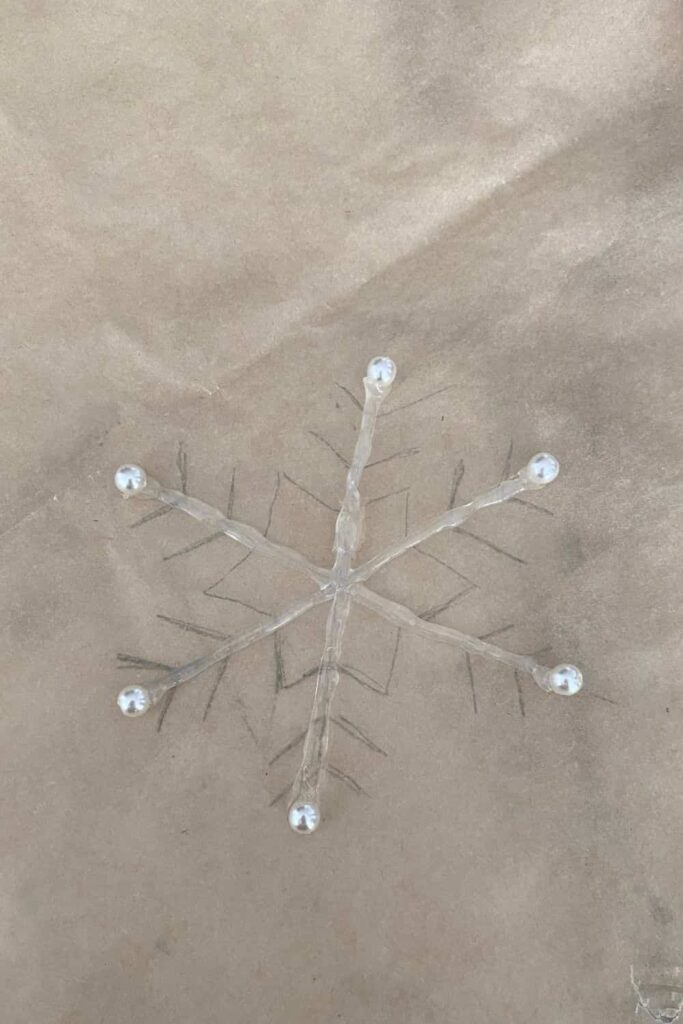
Step 4: Add Pearls
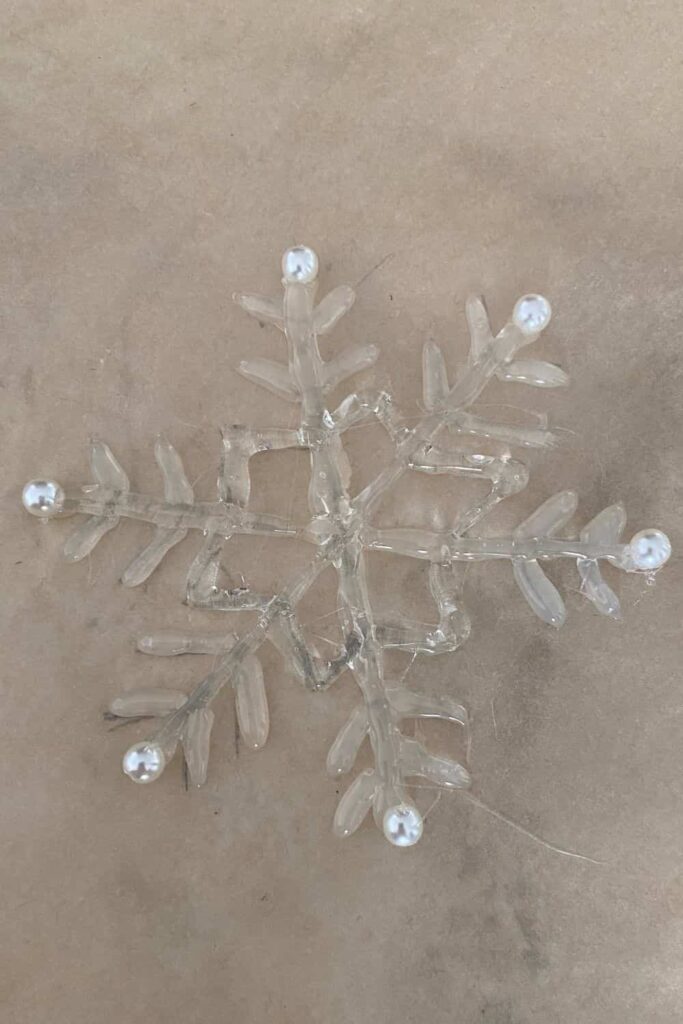
As you trace the glue towards the ends of your snowflake, add a mid-size pearl to the wet glue before it dries. This step adds a touch of elegance and detail to your ornament.
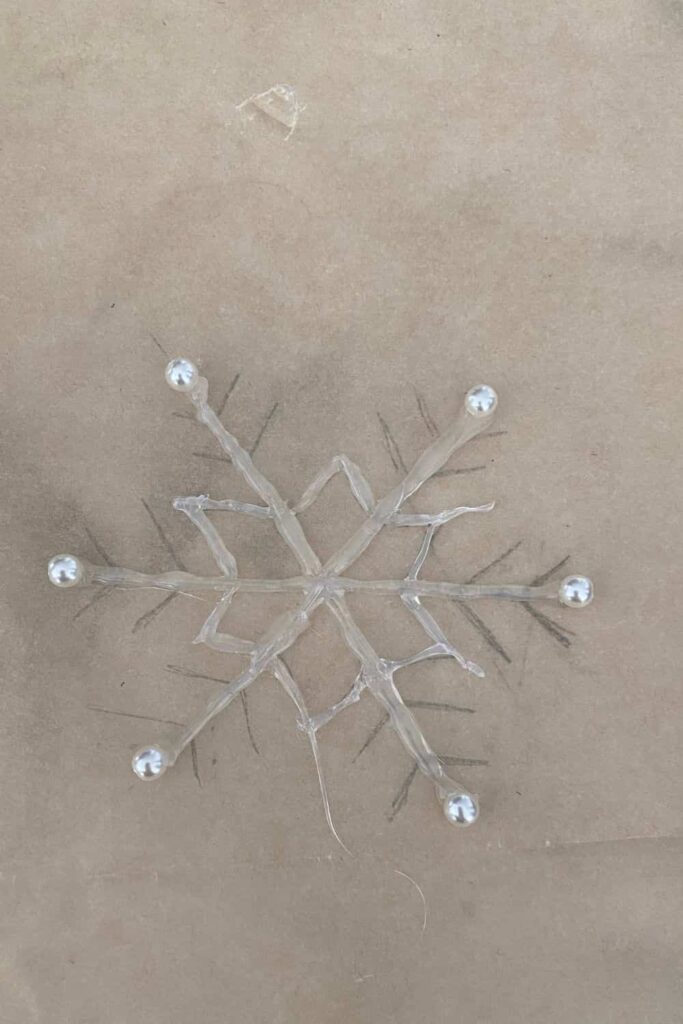
Step 5: Reinforce the Design
Wait for the first layer of glue to dry completely. Then, trace over the snowflake again with another layer of glue. This reinforcement makes your snowflake more sturdy and gives it a fuller appearance.
Step 6: Attach the Center Pearl
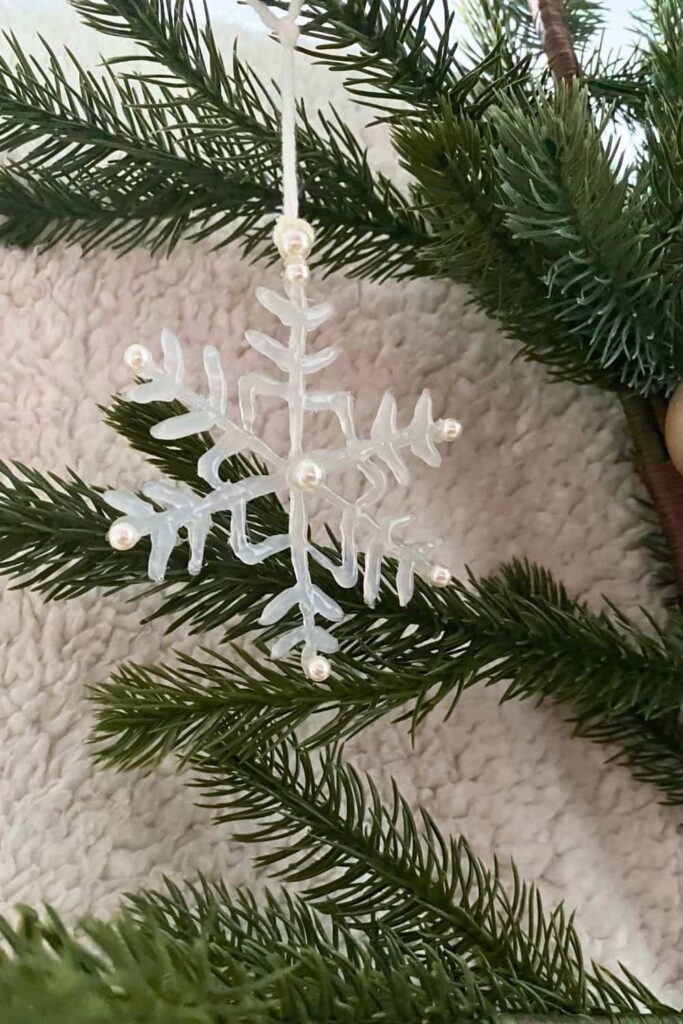
Once your second layer of glue is dry, add a dab of glue to the center of the snowflake and attach the larger pearl. This creates a focal point and enhances the overall look of your ornament.
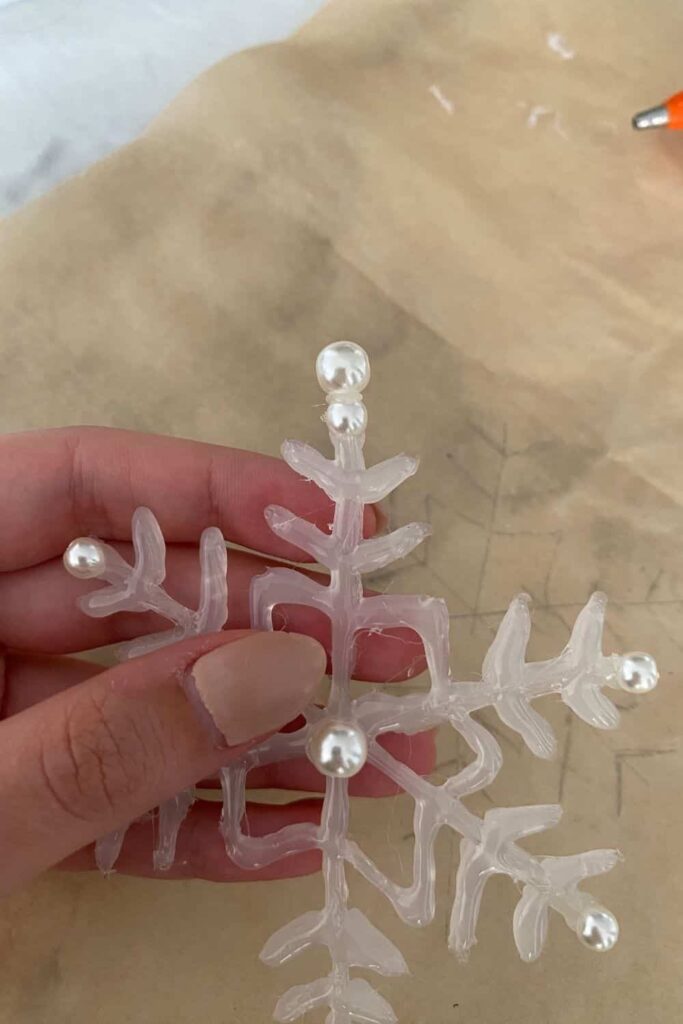
Step 7: Remove the Snowflake from the Baking Paper
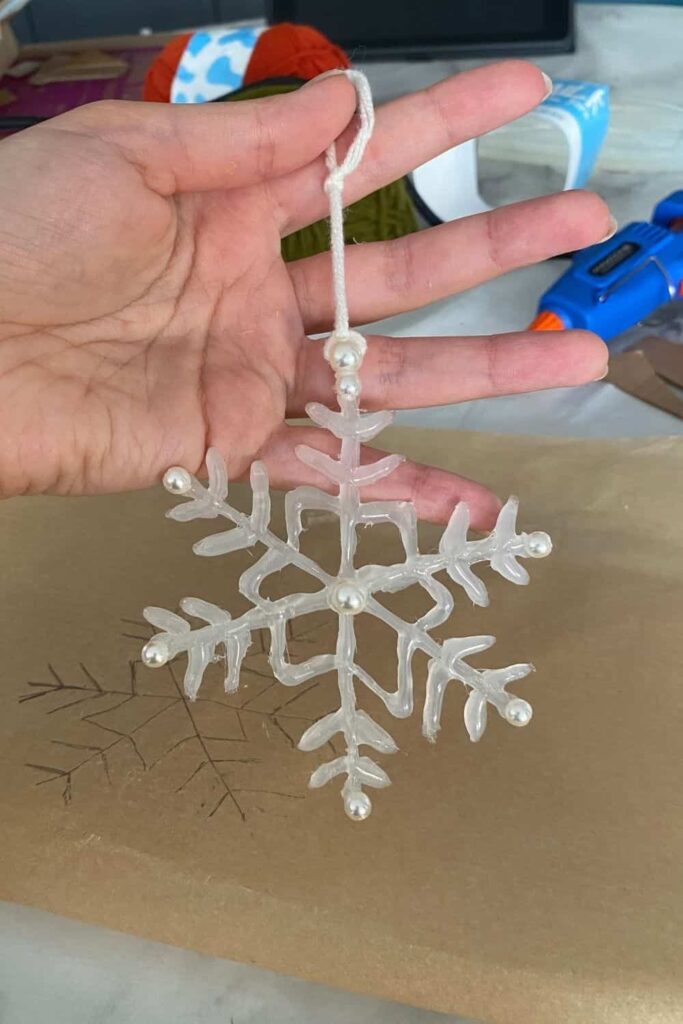
After everything has dried, gently peel the snowflake off the baking paper. It should come off easily, but handle with care to avoid breaking any parts.
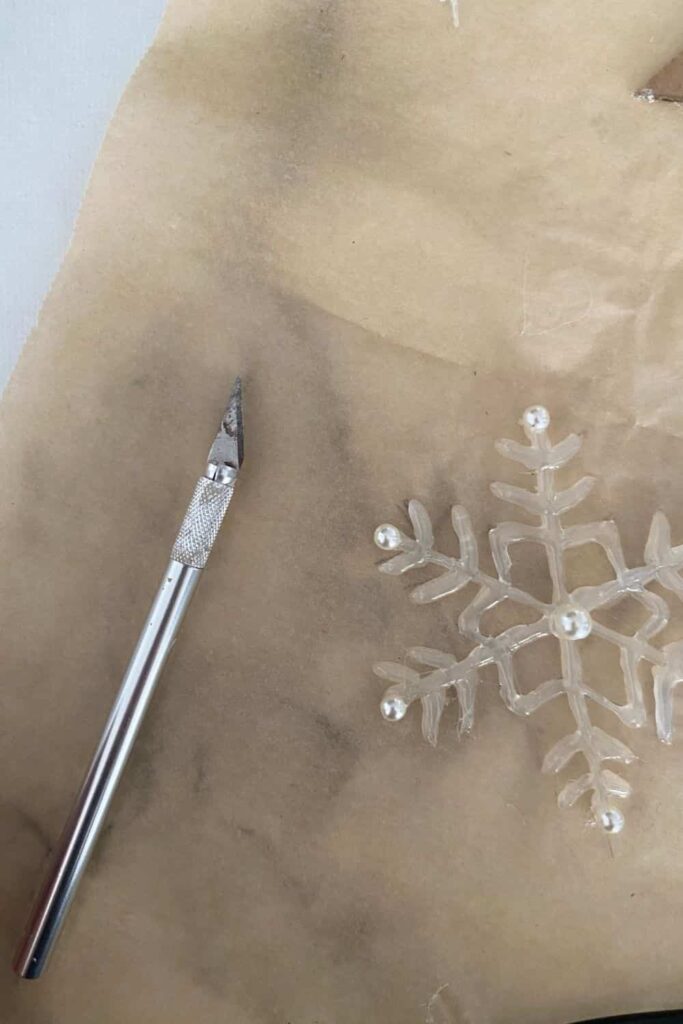
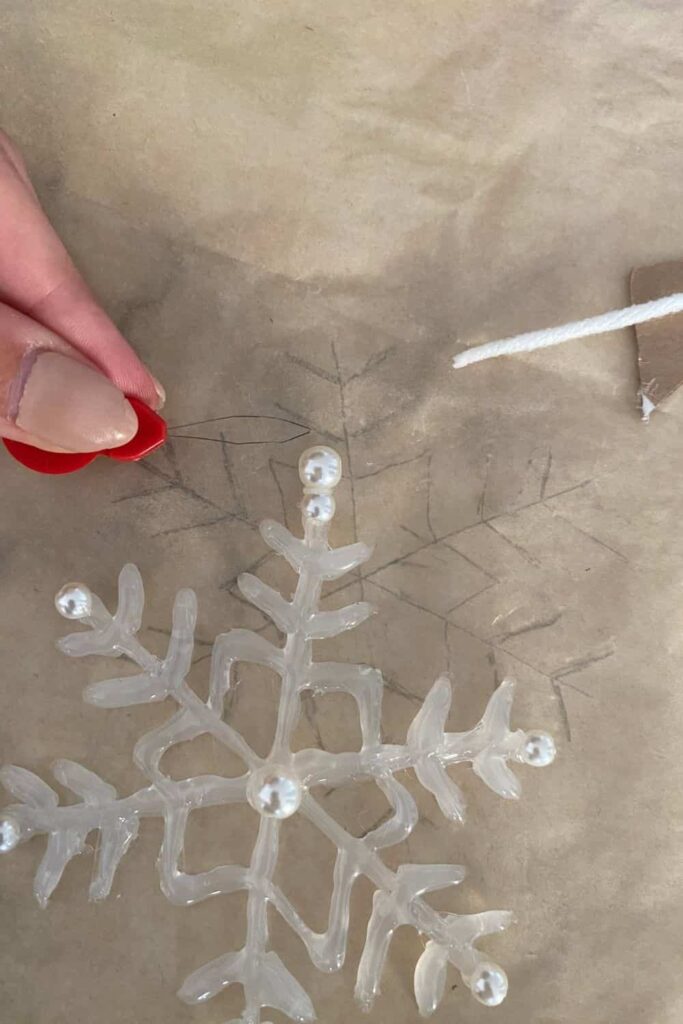
Step 8: Remove threads
As the glue dries, you will notice small threads of glue forming from when you pulled the glue gun away from the snowflake. You will need to clean up the snowflake by cutting or pulling these thin threads. You can use twizzers or a cutter to get rid of them.
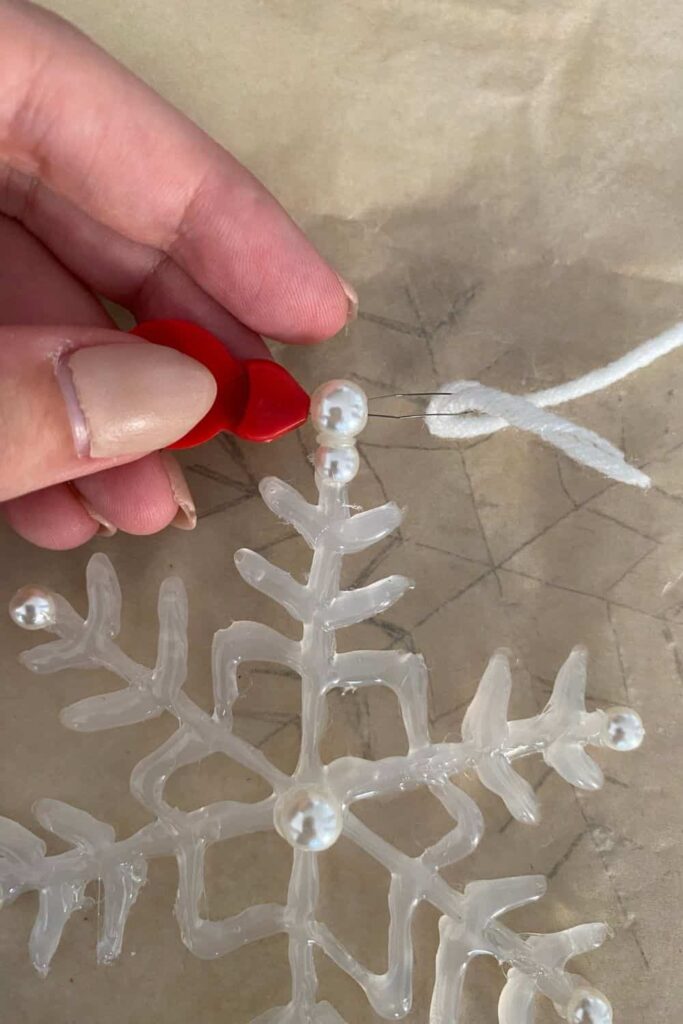
Step 9: Add a Hanging Loop
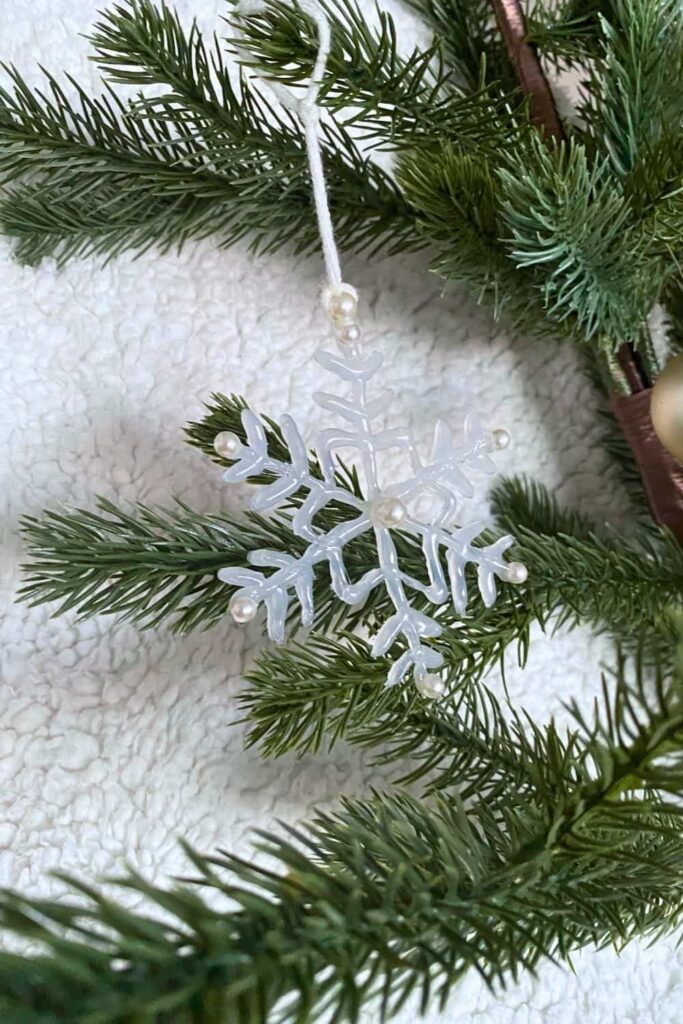
At the top of your snowflake, add another pearl with a hole on each side. Thread some string or ribbon through the pearl and tie a knot, creating a loop for hanging your ornament on the tree.
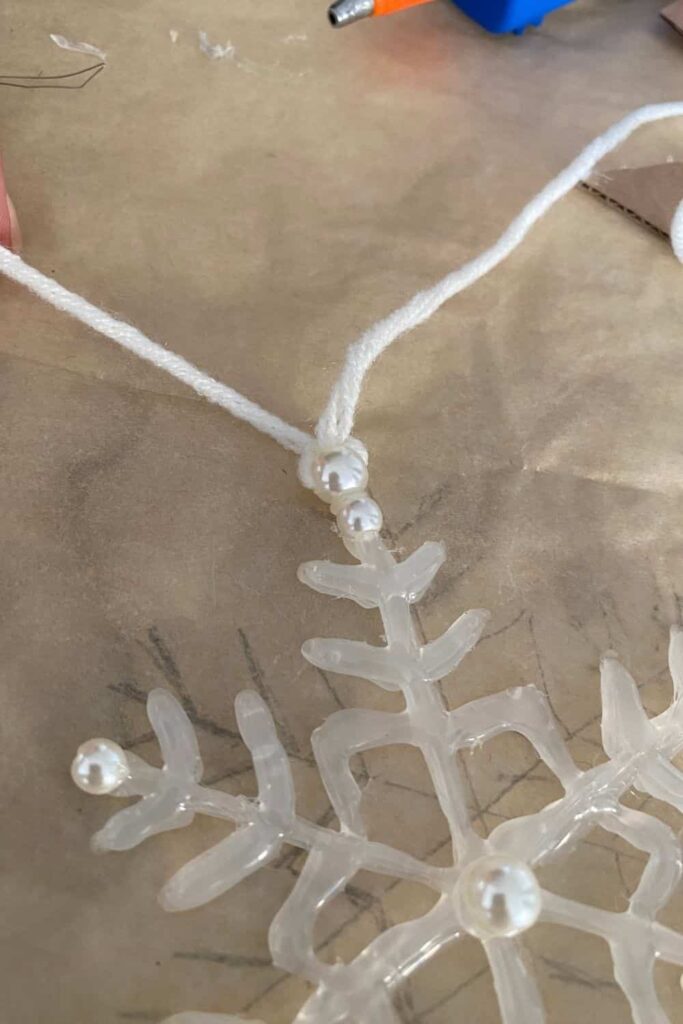
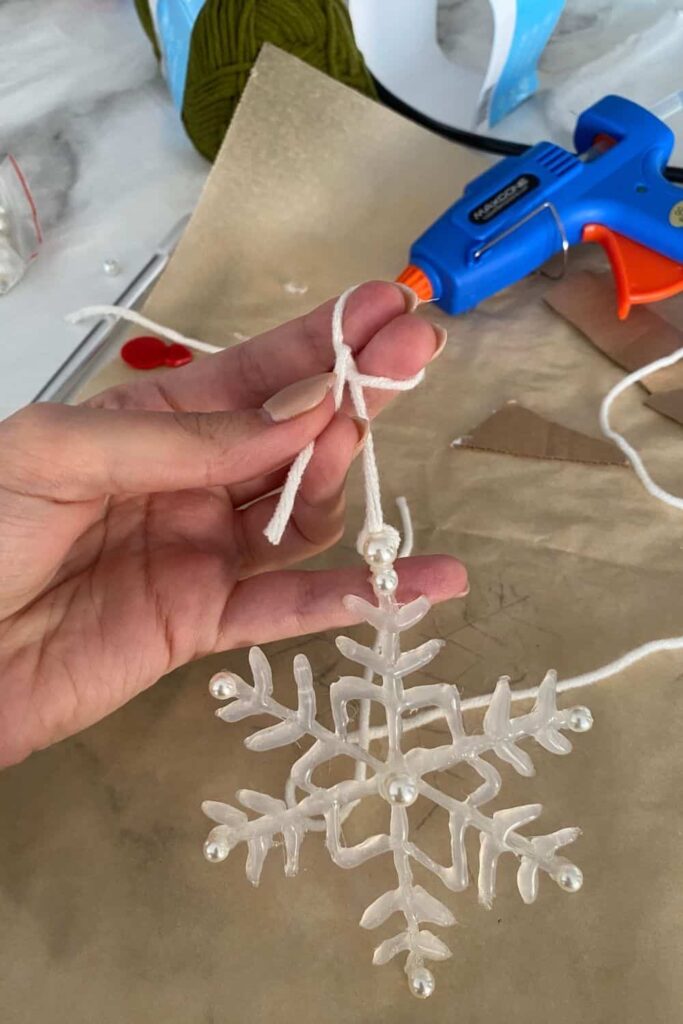
And there you have it, a beautiful hot glue snowflake ornament ready to decorate your Christmas tree!
Optional Enhancements
- Sparkles: Sprinkle glitter over the wet glue before it dries to add a festive sparkle to your snowflakes. You can choose different colors to match your holiday decor.
- Additional Pearls: Incorporate more pearls into your design for an extra touch of elegance. This can make your snowflakes look fancier and more intricate.
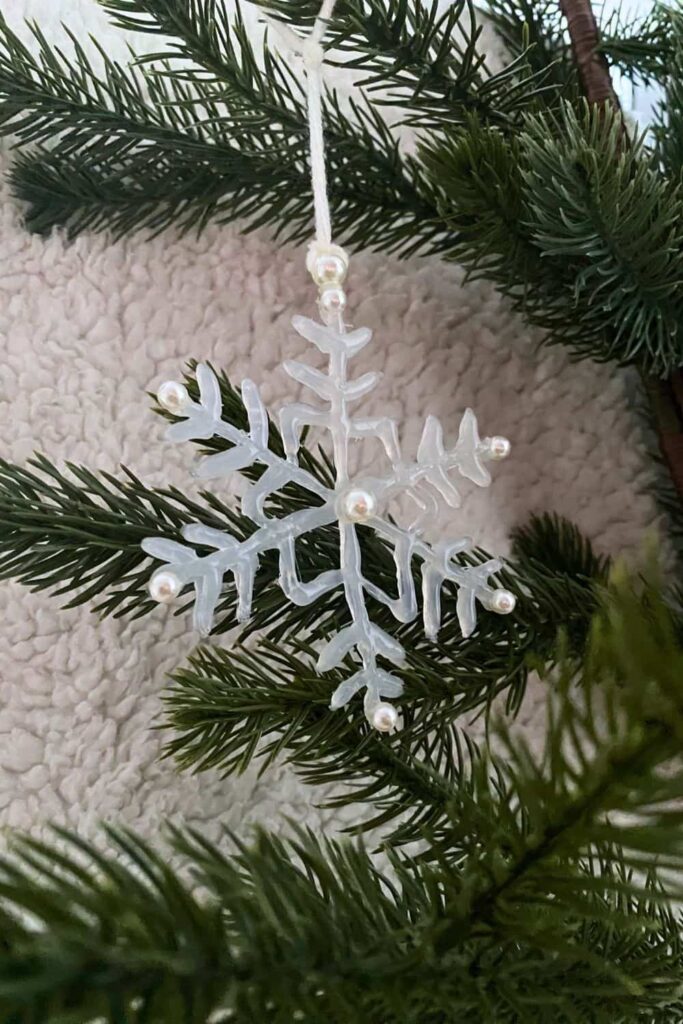
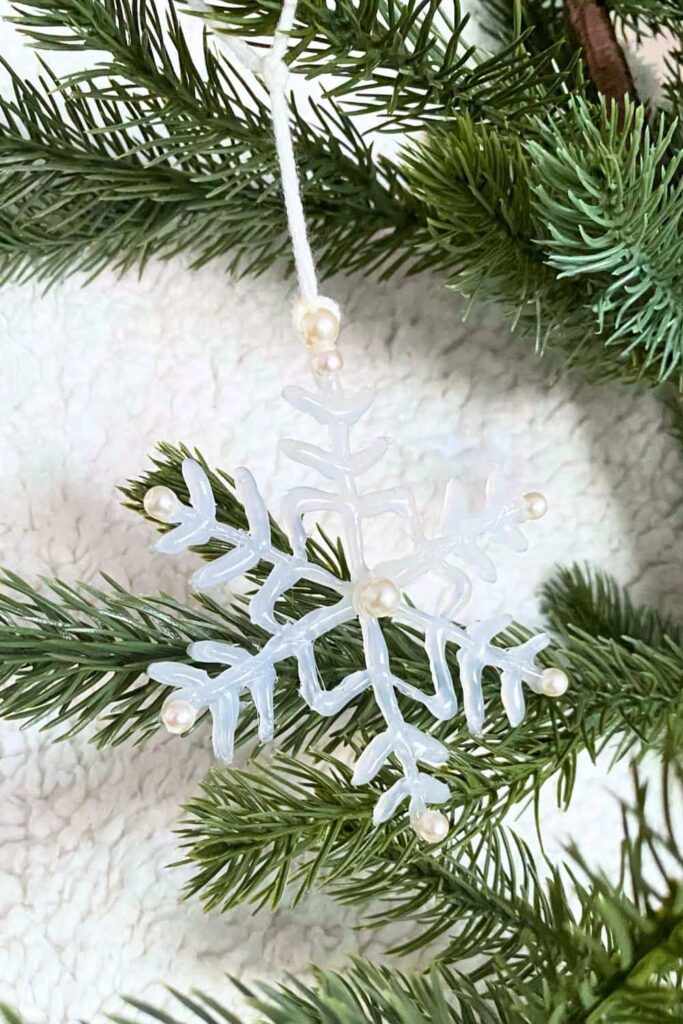
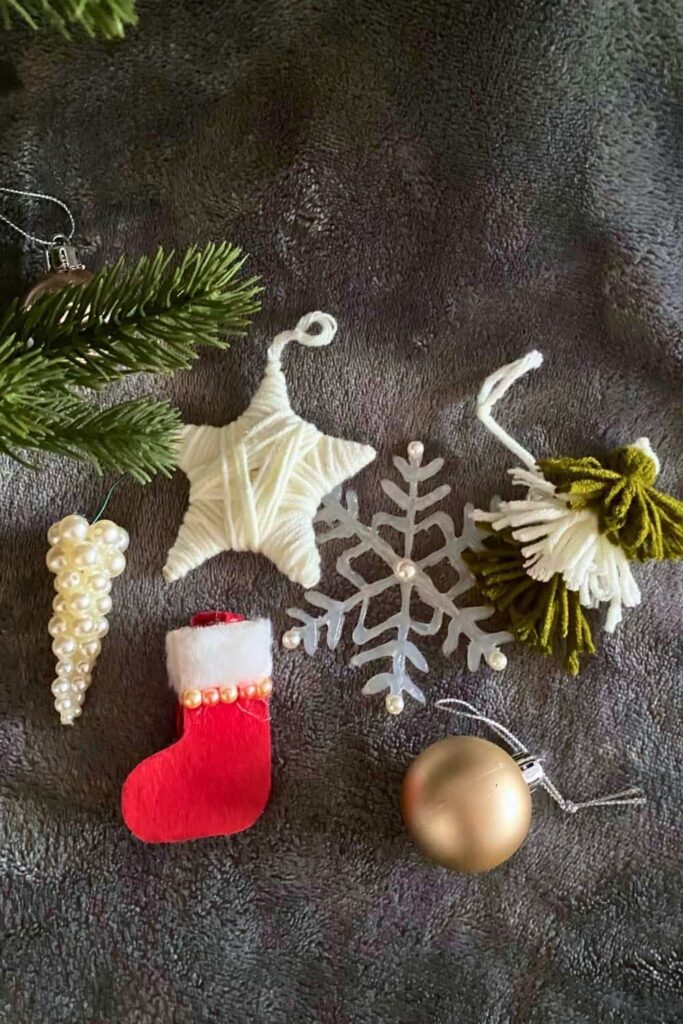
Creating hot glue snowflake ornaments is a fun and easy way to personalize your Christmas decorations. With a few materials and a bit of creativity, you can make unique ornaments that add a homemade charm to your holiday tree.
Related
More Like This
- 25 Creative Living Room Graduation Party Ideas for a Memorable Celebration
- 25 Creative At-Home Graduation Party Ideas for a Memorable Celebration
- 25 Creative Garage Graduation Party Ideas You’ll Love
- 25 Creative Graduation Party Table Ideas You’ll Love
- 20 Stunning Floral Graduation Party Ideas for a Memorable Celebration
— SAVE THIS POST —
Did you like this post? If you liked this post, don’t hesitate to share it!
Want to save this post? You can pin the following images on pinterest to save this post.
We are Mary and Eric, the founders of Be Right Back, a blog dedicated to romance around the globe and at home.
We are Mary and Eric, the founders of Be Right Back, a blog dedicated to romance around the globe and at home. With over 10 years of experience in dating and traveling to romantic places, we share our favorite date ideas and romantic destinations to help couples level up their relationships. Having lived in and traveled through the USA, we also share our favourite things to do in the States.
With 70,000 monthly readers and 16,000 followers on social media, Be Right Back is your go-to resource for romantic trip ideas and couple activities at home and abroad.