How To Make DIY Sock Pumpkins Tutorial (And Video)
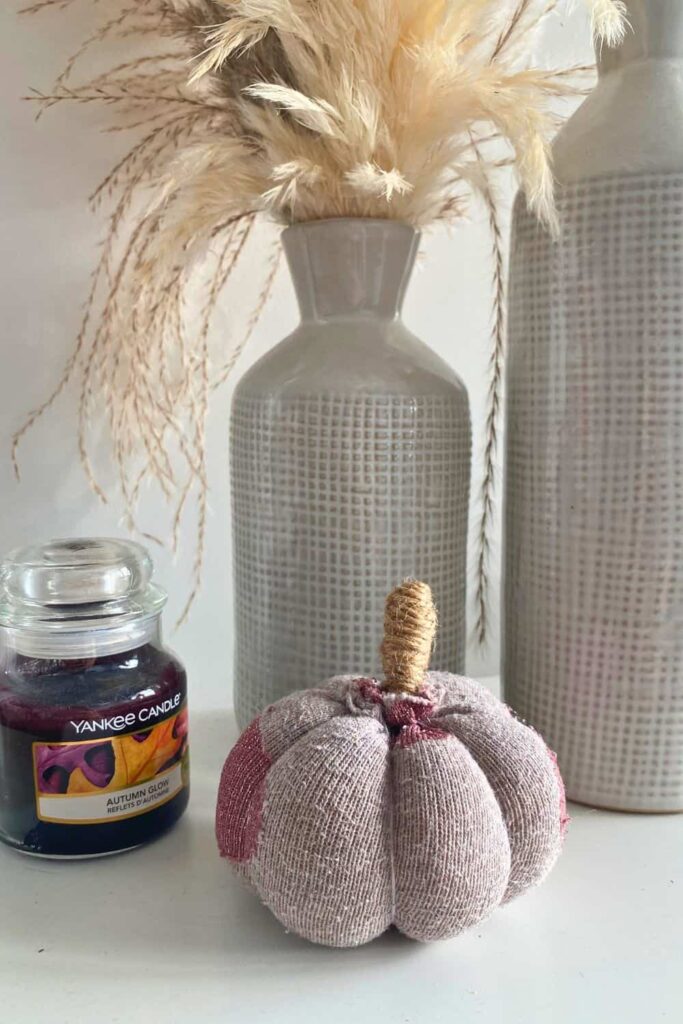
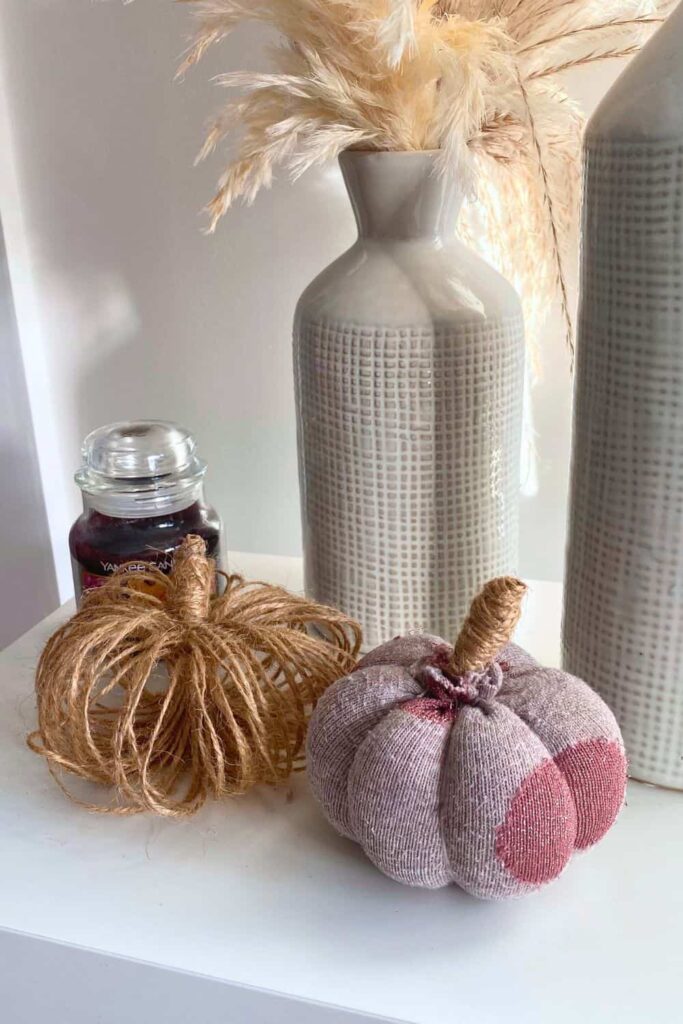
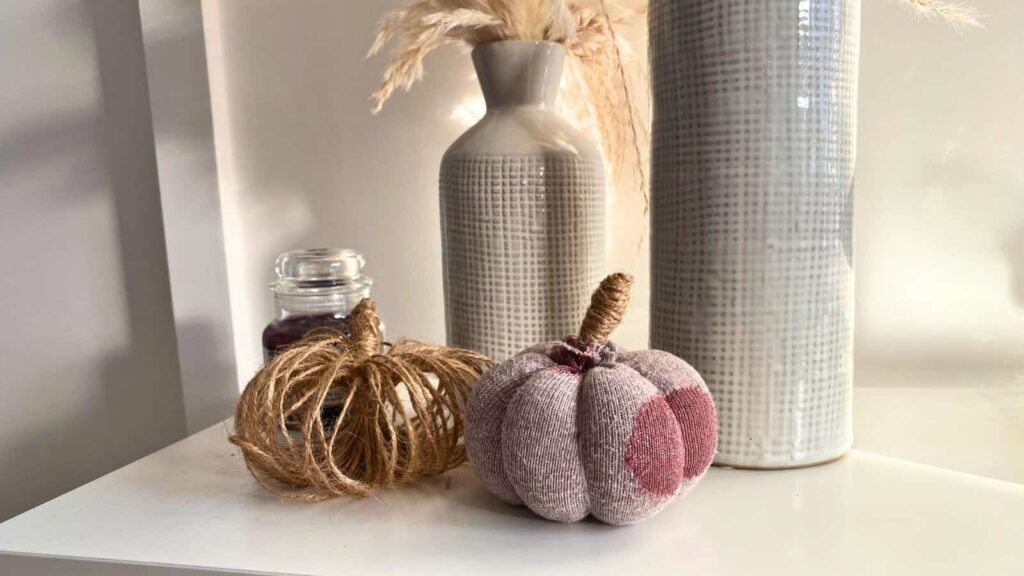
I absolutely love pumpkins, especially during the fall season. There’s something so cozy and inviting about having pumpkins around the house. But sometimes, it’s even more fun to make them at home. These DIY sock pumpkins are super easy to make and only take about 15 minutes. Plus, they’re a great way to add a personal touch to your decor.
One of the best things about making these sock pumpkins is how customizable they are. You can choose socks in any color or pattern to match your home decor. Whether you want a pop of color or something more cozy and neutral, you can make it work perfectly. The possibilities are endless, so you can get creative and make something truly unique.
Fall is one of my favorite times of the year. I love getting crafty and decorating the house to reflect the season. Making these sock pumpkins not only adds a touch of fall to your home but also makes it feel more homey and inviting. It’s a serene experience that allows you to connect with your surroundings and even with your partner.
These pumpkins are fun to make with your boyfriend or spouse, making it a great date idea. You can spend time together, get creative, and enjoy the process of making something beautiful for your home. It’s a wonderful way to bond and create memories while also crafting cute decor.
So, if you’re looking for a fun, easy, and quick fall craft, give these DIY sock pumpkins a try. They’ll add a special touch to your home, make it feel cozier, and provide a fun activity to enjoy with your loved ones.
What to Do with Your Sock Pumpkins
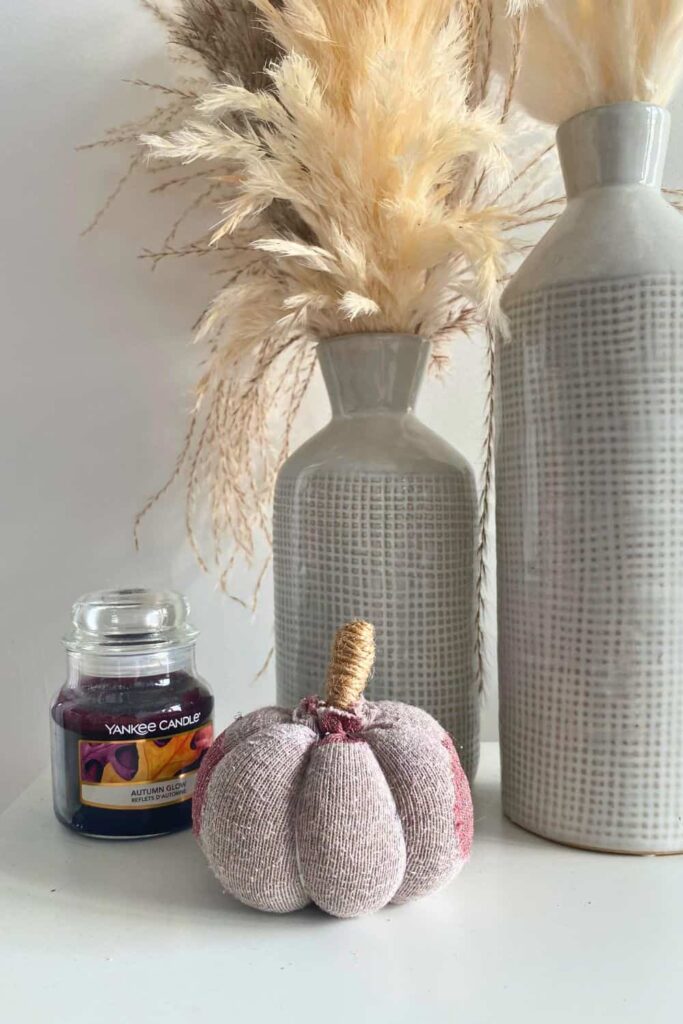
- Entryway Baskets: Place them in baskets in your entryway to greet guests with a touch of autumn charm.
- Bedroom Decor: Use them as neutral fall decor in your bedroom for a subtle seasonal update.
- Gifts: Gift them to neighbors and family as a thoughtful handmade present.
- Baby Showers: These could also be cute for a baby shower gift, as babies are sometimes referred to as little pumpkins.
What You Need
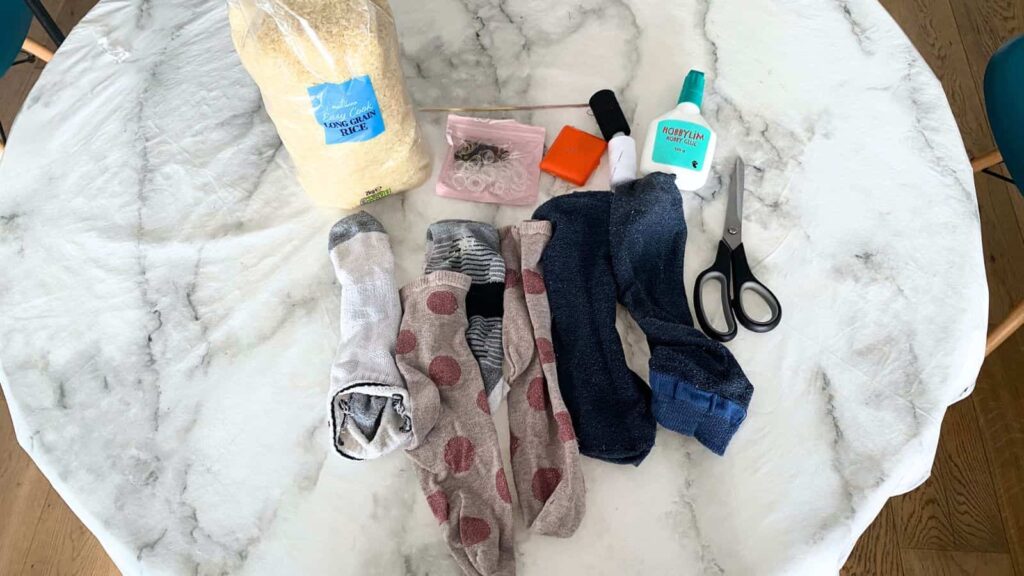
- Socks (without holes) in your choice of color
- Scissors
- Glue
- Superglue
- Thread
- A needle
- One small elastic
- Rice
- Twine or raffia
- A stick (I used the stem of dried pampas grasses)
Don’t Have Time To Read? Watch The Video Tutorial!
Tutorial
Step 1: Prepare Your Sock
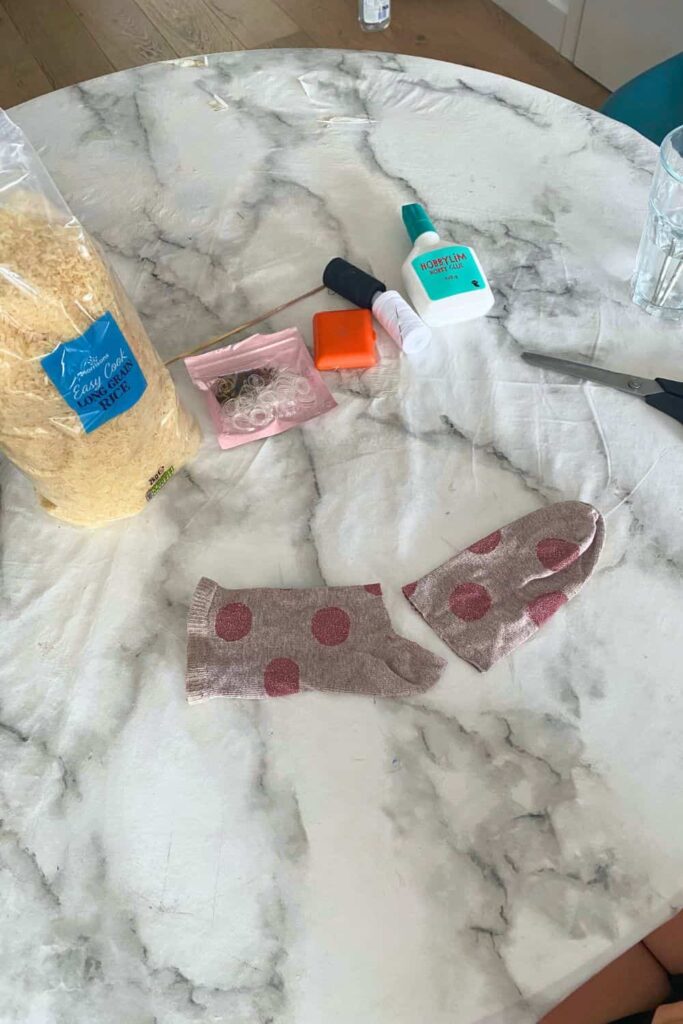
Take one sock. You can make two pumpkins per sock. Use the foot part of the sock for one pumpkin without needing to sew. If you use the top part of the sock, you’ll need to sew the bottom closed.
Step 2: Cut the Sock
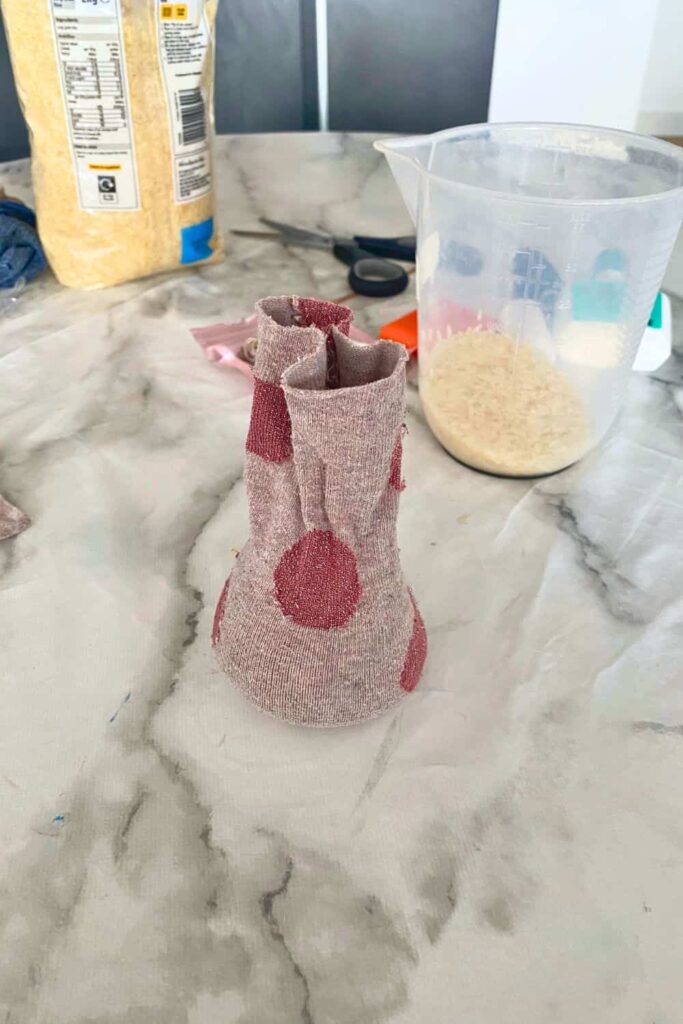
Cut your sock right under the heel to avoid having a bump on your pumpkin. This will give you a nice, smooth shape to work with.
Step 3: Fill the Sock
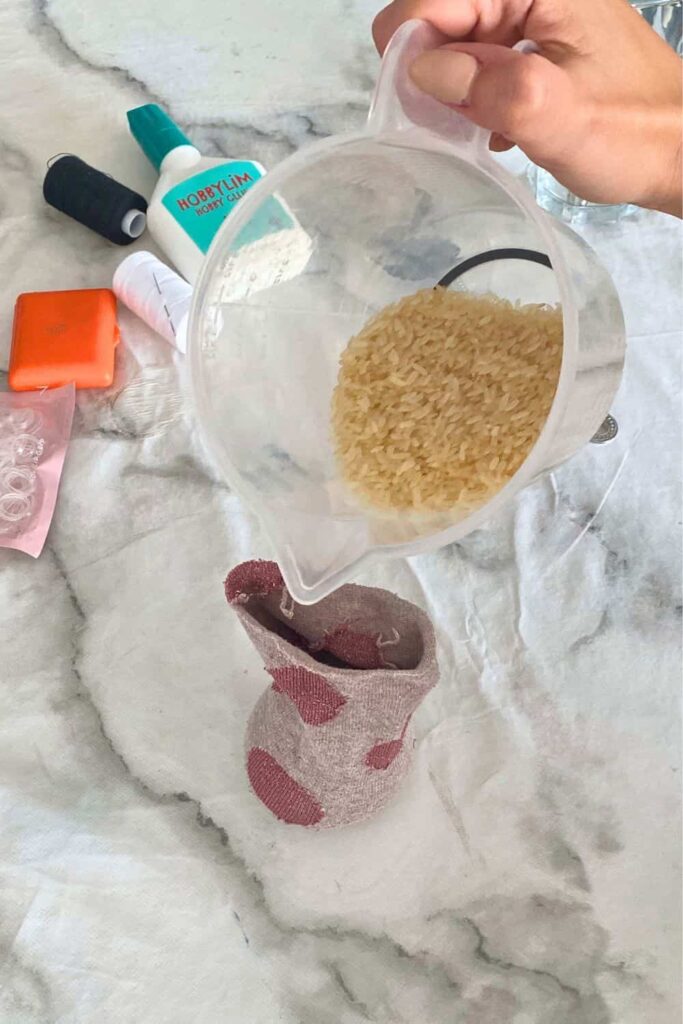
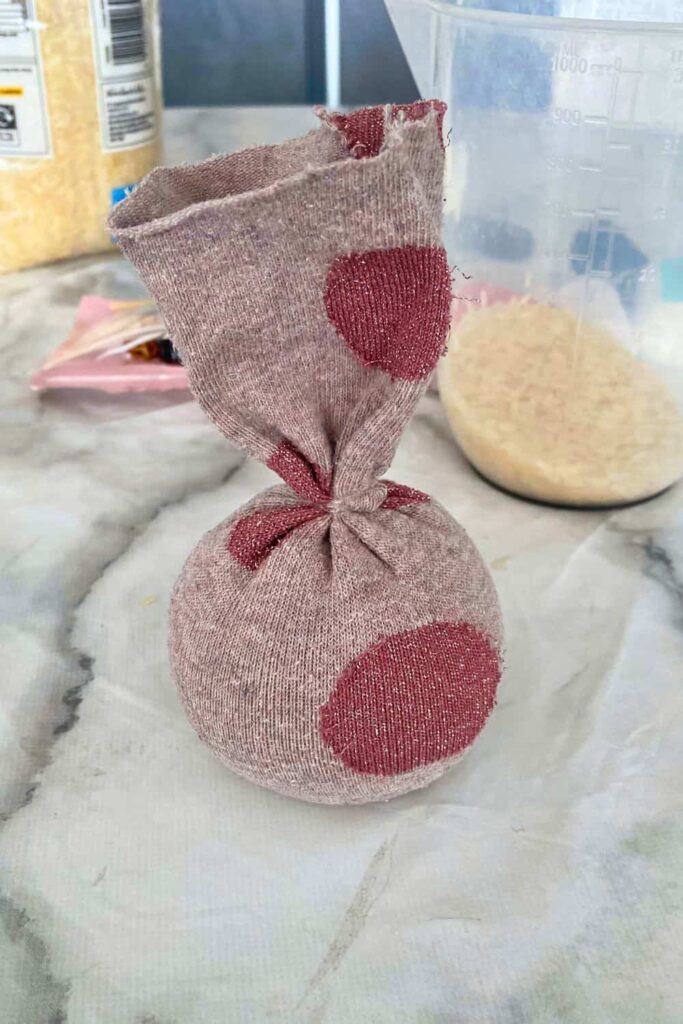
Fill the sock with rice until you reach your desired pumpkin size. The rice will give the pumpkin weight and a realistic feel.
Step 4: Secure the Top
Wrap the top of the sock with an elastic to close it. Cut off any excess sock that pops out from the top to keep it tidy.
Step 5: Thread the Needle
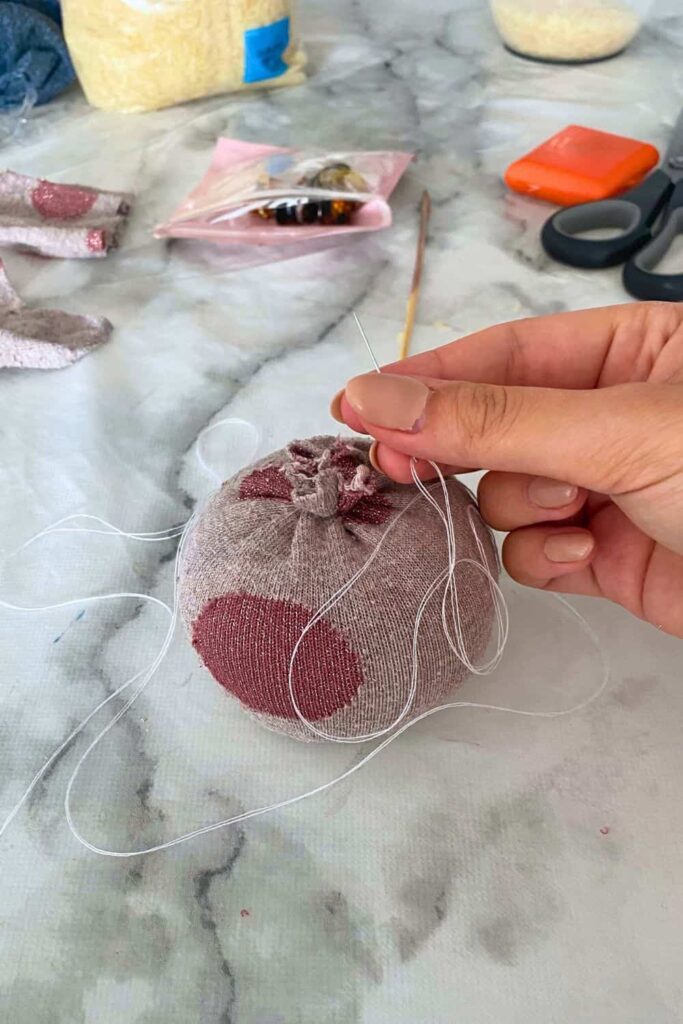
Thread your needle and poke it through the top of your pumpkin. This will help in creating the pumpkin’s shape.
Step 6: Shape the Pumpkin
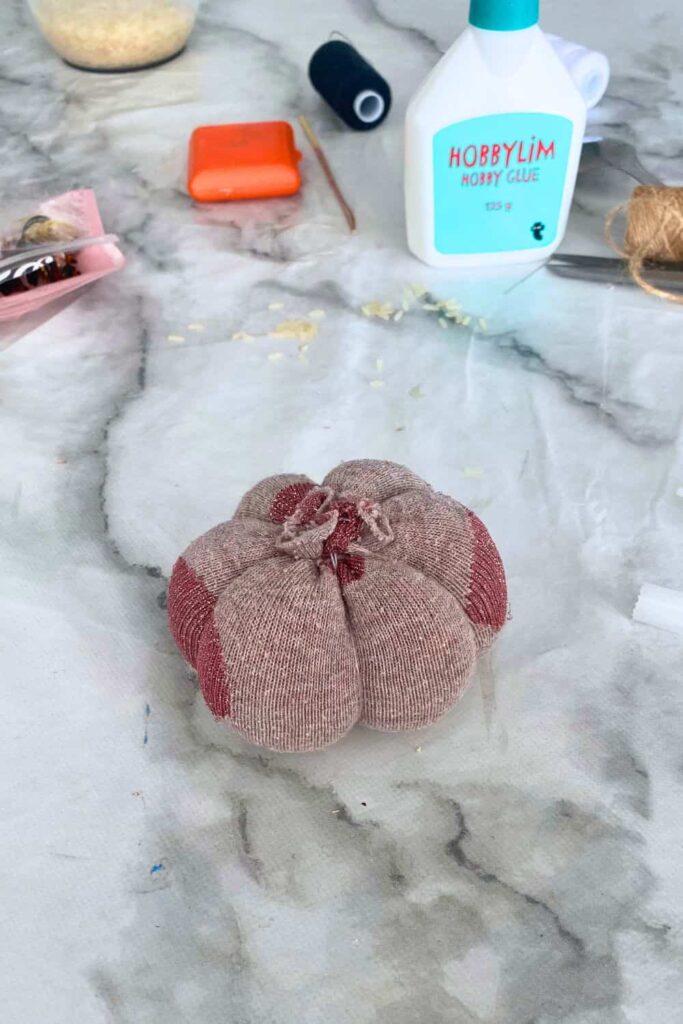
With the thread, wrap it around the pumpkin three times to create six bumps, giving the pumpkin its classic shape. Each time you return to the top, poke the needle through to keep everything in place, as shown in the video.
Step 7: Prepare the Stem
Take the wooden stem and cut two pieces of about 3 cm each. These will be used to create the pumpkin’s stem.
Step 8: Wrap the Stem
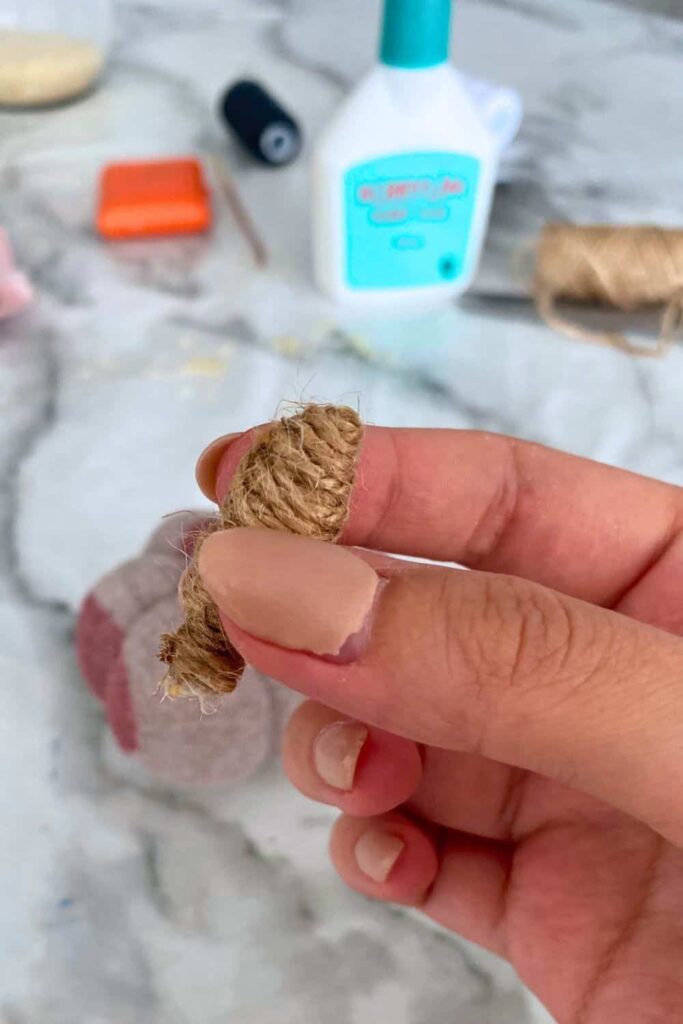
Wrap the raffia or twine around the two sticks to create the pumpkin stem. Use glue at the end to secure everything in place.
Step 9: Attach the Stem
Glue the stem onto your pumpkin. Use superglue for a strong hold to ensure the stem stays in place.
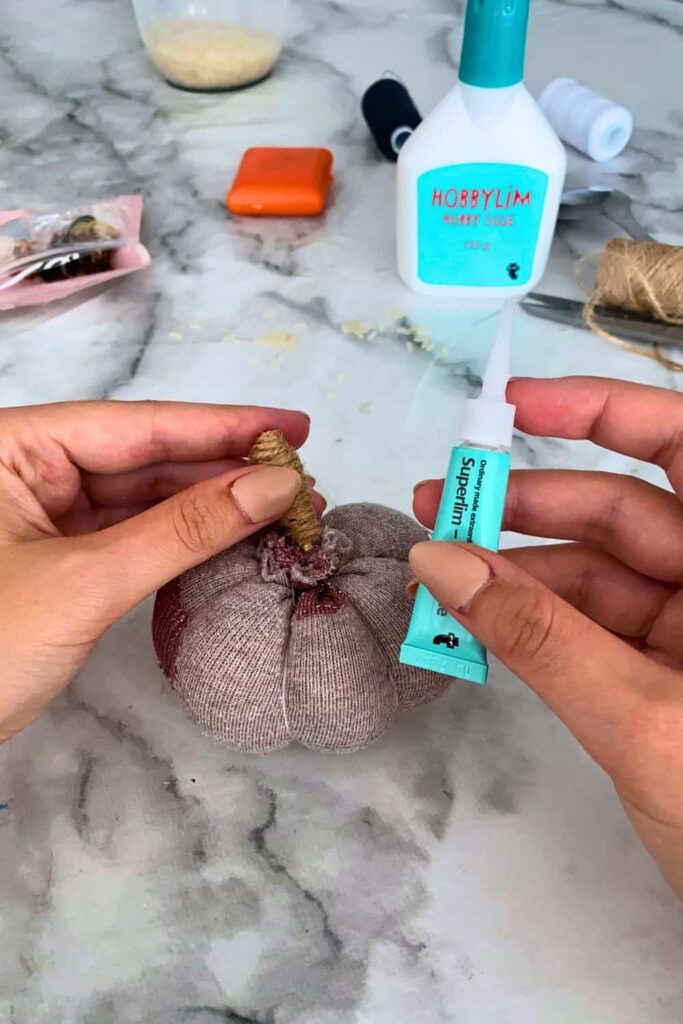
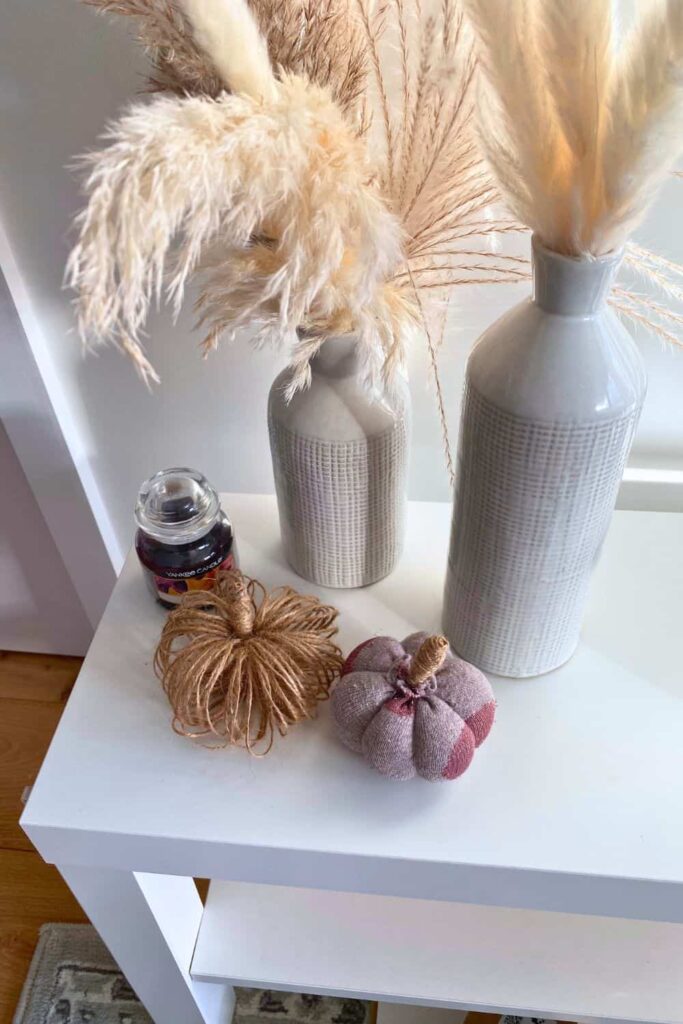
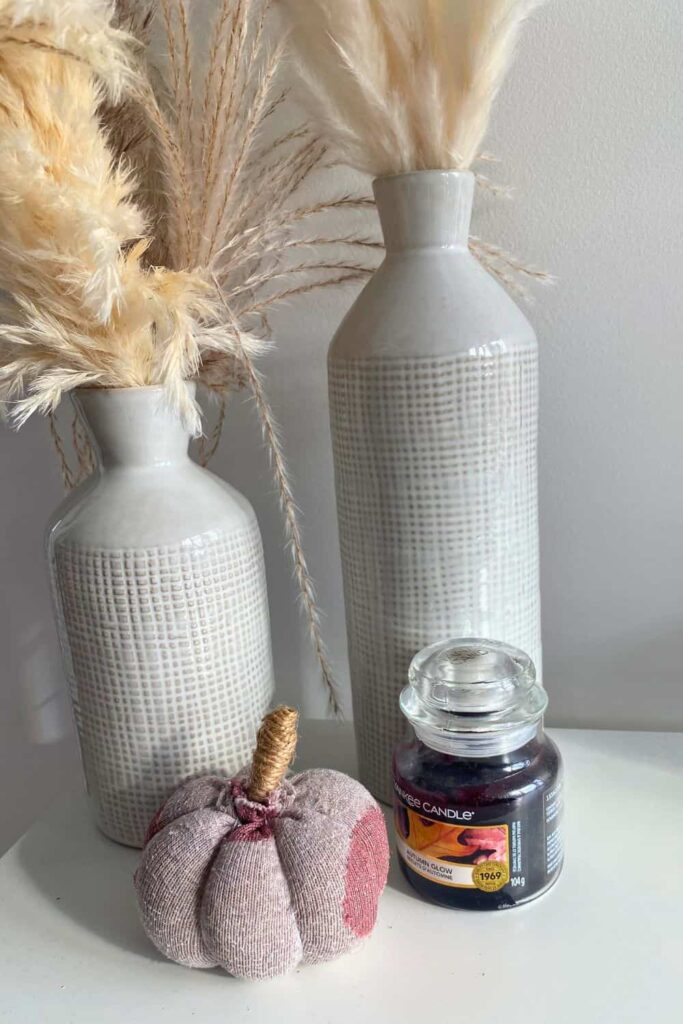
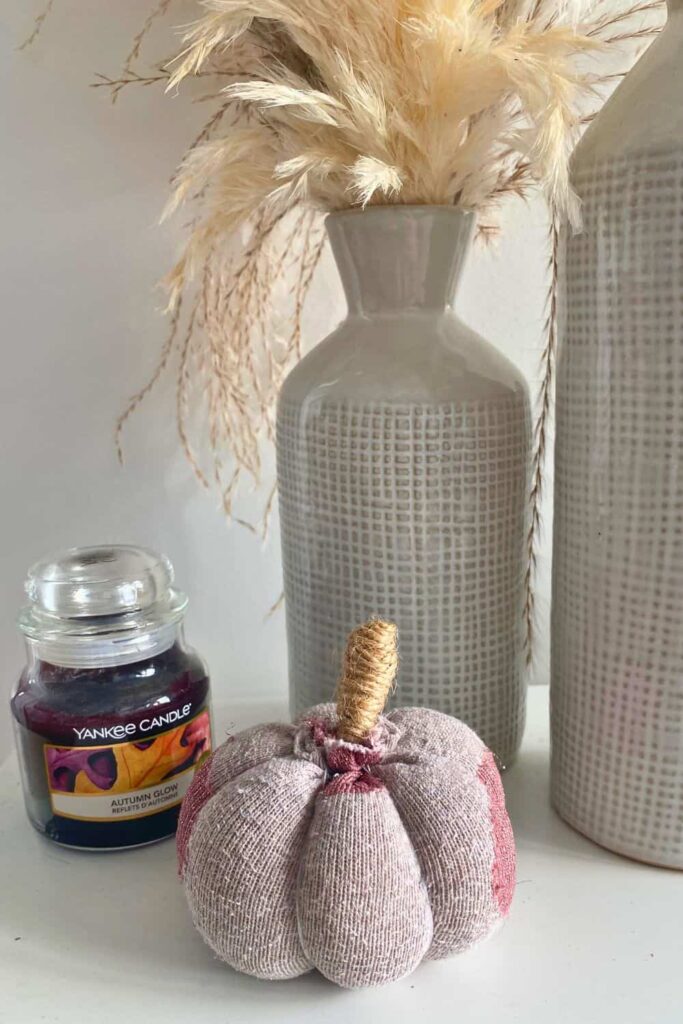
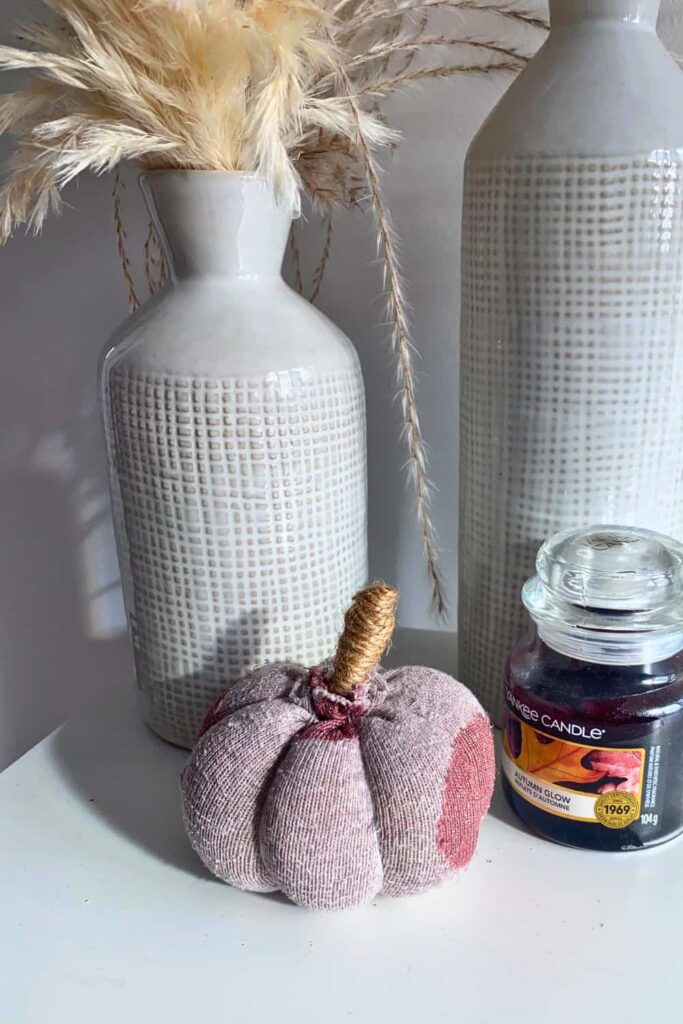
And tadaa! Your DIY sock pumpkin is ready to be displayed.
Alternatives
- Fake Stems: You can buy fake stems if that’s easier or more convenient for you.
- Stuffing: Instead of rice, you can fill your pumpkin with stuffing for a lighter, fluffier look.
You tried my tutorial? Send me a photo so I can share it here!
More Like This
- 34 Eclectic Apartment Living Room Decor Ideas And Features
- 30 Cherry Bedroom Decor Ideas That Work For Adults
- 30 Stunning Light Blue Kitchen Ideas To Inspire You
- 42 Green and Pink Bedroom Ideas for Couples
- 33 Super cute Front Door Easter Decor Ideas You Can also DIY
— SAVE THIS POST —
Did you like this post? If you liked this post, don’t hesitate to share it!
Want to save this post? You can pin the following images on pinterest to save this post.
We are Mary and Eric, the founders of Be Right Back, a blog dedicated to romance around the globe and at home.
We are Mary and Eric, the founders of Be Right Back, a blog dedicated to romance around the globe and at home. With over 10 years of experience in dating and traveling to romantic places, we share our favorite date ideas and romantic destinations to help couples level up their relationships. Having lived in and traveled through the USA, we also share our favourite things to do in the States.
With 70,000 monthly readers and 16,000 followers on social media, Be Right Back is your go-to resource for romantic trip ideas and couple activities at home and abroad.

