Light And Delicious Broccoli Quiche Recipe
If you love quiche but want something a little different, this broccoli quiche is a must-try. Instead of using a traditional pastry crust, the base is made from mashed broccoli, which means it’s naturally gluten-free and packed with veggies. The result? A quiche that’s creamy, cheesy, and full of flavor while still being incredibly easy to make.
I love this recipe because it skips the hassle of making pastry, which is always a win in my book. Plus, the broccoli crust gives the quiche a fresh, slightly earthy taste that pairs perfectly with the creamy filling and crispy lardons. It’s also super versatile—you can swap ingredients depending on what you have in your fridge, making it the perfect meal for those “I need to use up what’s left” days.
The best part? It comes together with minimal effort. Mash some broccoli, mix a few ingredients, throw everything in the oven, and you’re done. Whether you serve it for lunch, dinner, or even meal prep it for the week, this quiche is a guaranteed hit.

Tips for Making the Best Broccoli Quiche
- Use frozen broccoli for convenience – Fresh broccoli works too, but frozen saves time since it softens faster when boiled. Just make sure to drain it well before mashing.
- Smash the broccoli properly – The broccoli forms the crust, so you need to press it down firmly. Use a glass or a flat-bottomed object to really compact it—this helps it hold together.
- Pre-cook the lardons – While they’ll cook in the oven, frying them for a few minutes beforehand makes them extra crispy and removes excess fat, so your quiche won’t turn out greasy.
- Watch the liquid balance – Since the quiche doesn’t have a traditional crust, too much liquid can make it soggy. Stick to the measurements, and if using mushrooms, cook them first so they don’t release water into the dish.
- Let it rest before serving – The quiche will firm up as it cools slightly. Let it sit for 5–10 minutes before slicing for the best texture.
Ingredients
- 1 kg (2.2 lbs) frozen broccoli or 1 large fresh broccoli
- 100g (3.5 oz) lardons
- 100g (3.5 oz) single cream
- 50ml (¼ cup) oat milk
- 2 eggs
- 100g (1 cup) grated cheese
- A handful of sun-dried tomatoes
- Salt and pepper to taste
Alternative Ingredients
- Cauliflower instead of broccoli – It has a milder taste but works just as well for the crust. Boil and mash it just like the broccoli.
- Ham or mushrooms instead of lardons – Ham adds a slightly sweeter flavor, while mushrooms make it more savory. If using mushrooms, cook them first to prevent excess water from making the quiche soggy.
- Regular milk instead of oat milk – If you don’t have oat milk or prefer dairy, regular milk works just fine.
Step 1: Prepare the Broccoli Base
If using frozen broccoli, boil it for a few minutes until soft, then drain well. If using fresh broccoli, cut it into florets and boil until easily mashable. Let it cool slightly before moving to the next step.
Step 2: Create the Quiche Crust
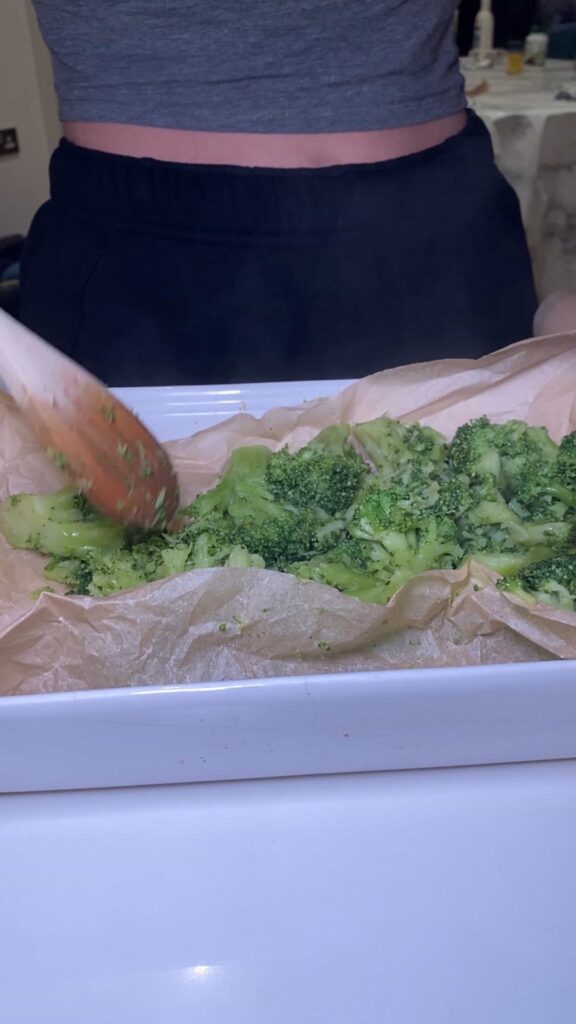
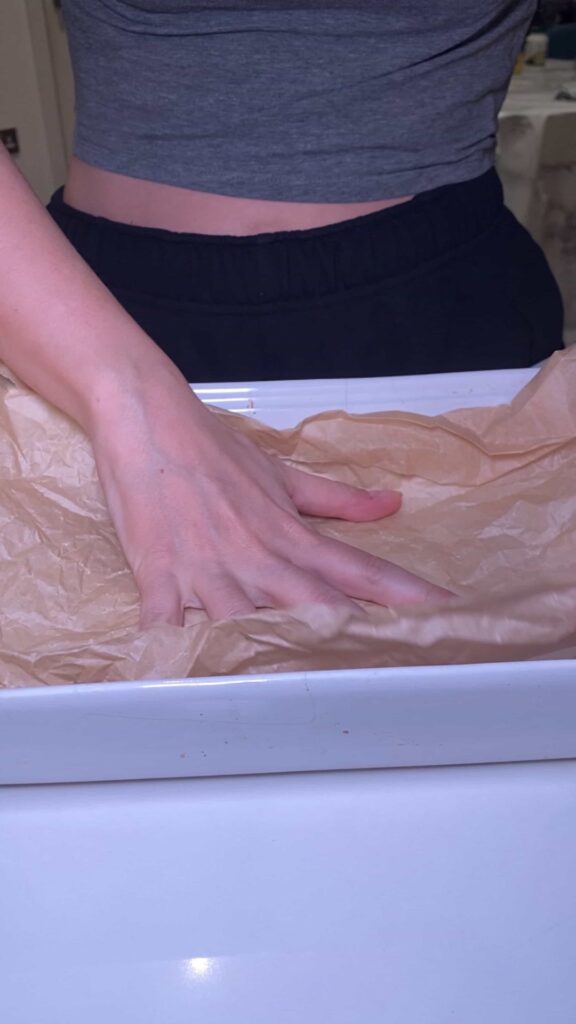
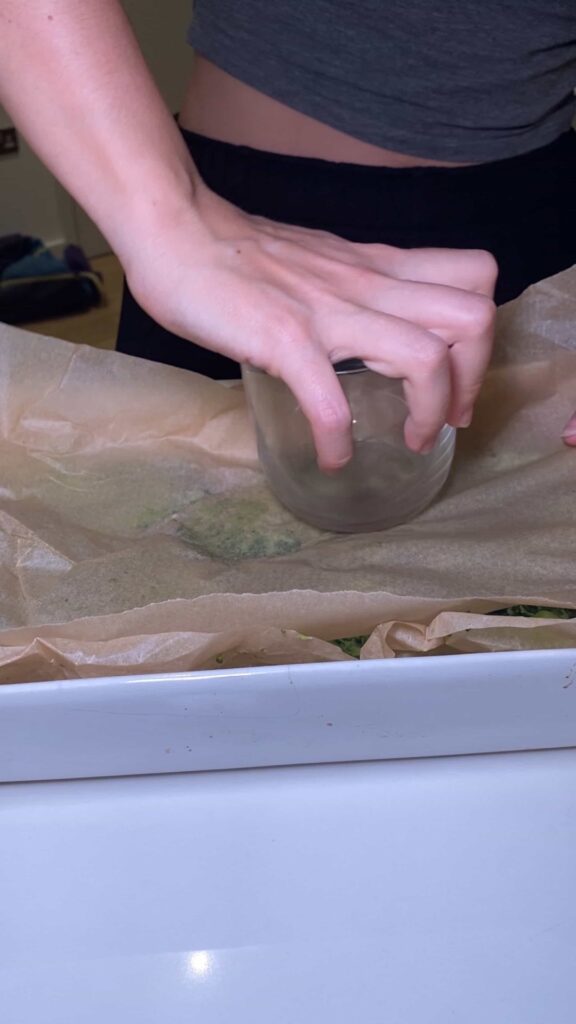

Line a baking dish with parchment paper and spread the cooked broccoli evenly across the bottom. Place another sheet of parchment on top, then use a glass or another flat object to firmly press the broccoli down, mashing it into an even layer. The goal is to create a sturdy base that holds together.
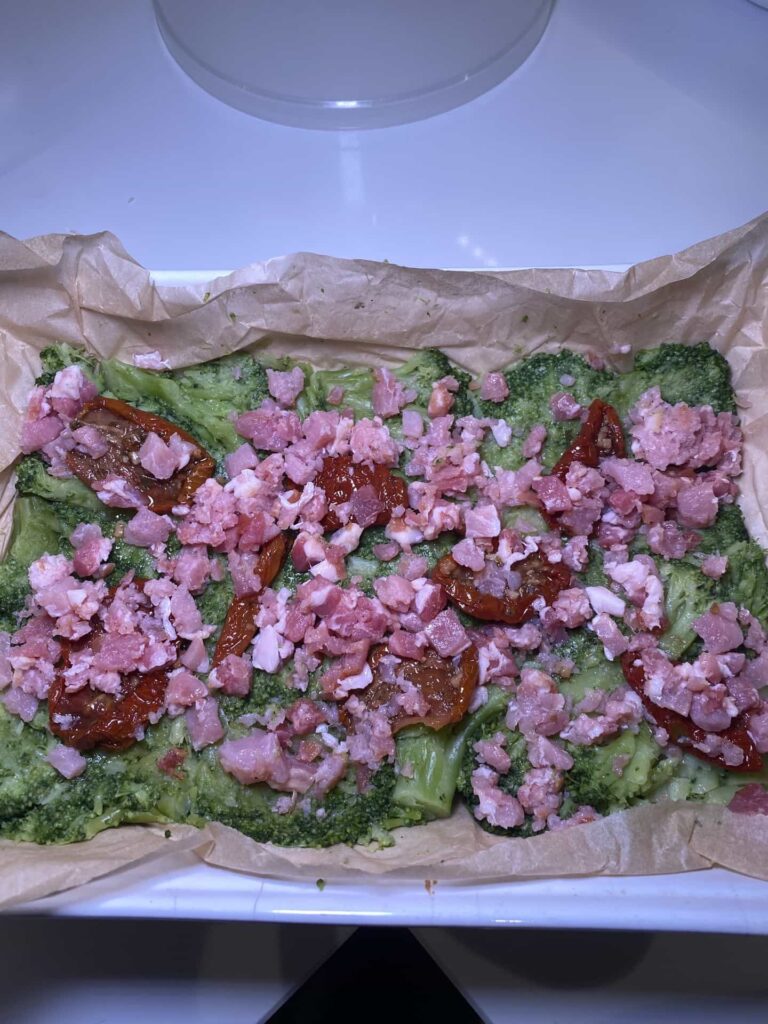
Step 3: Add the Fillings
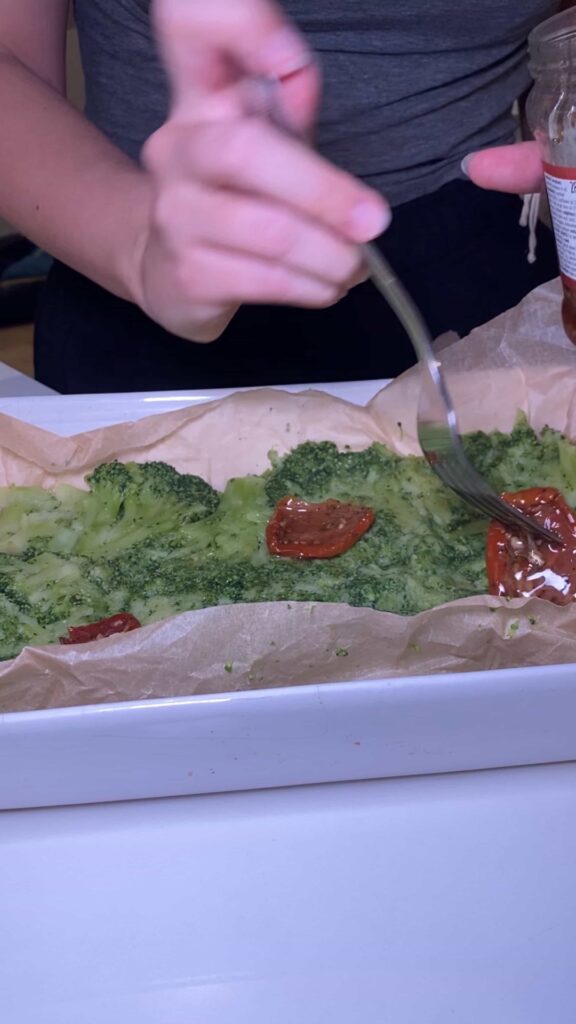

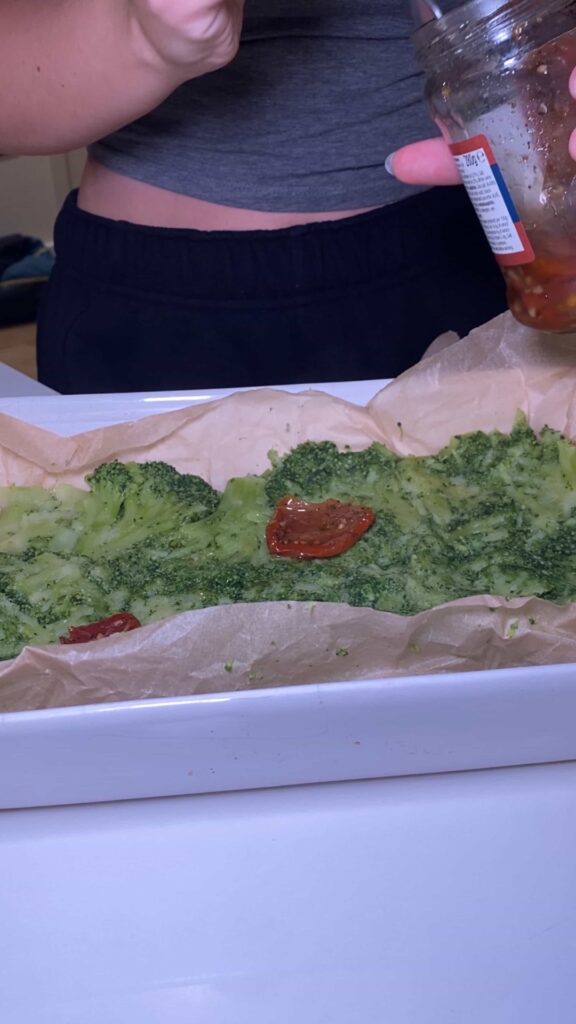
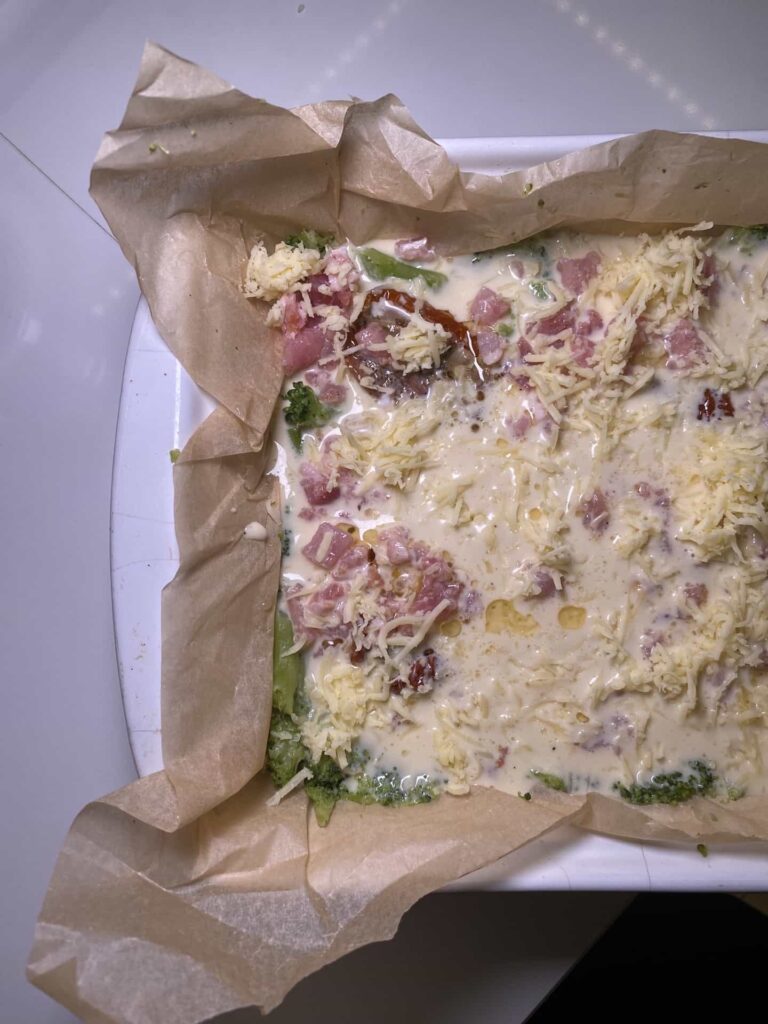
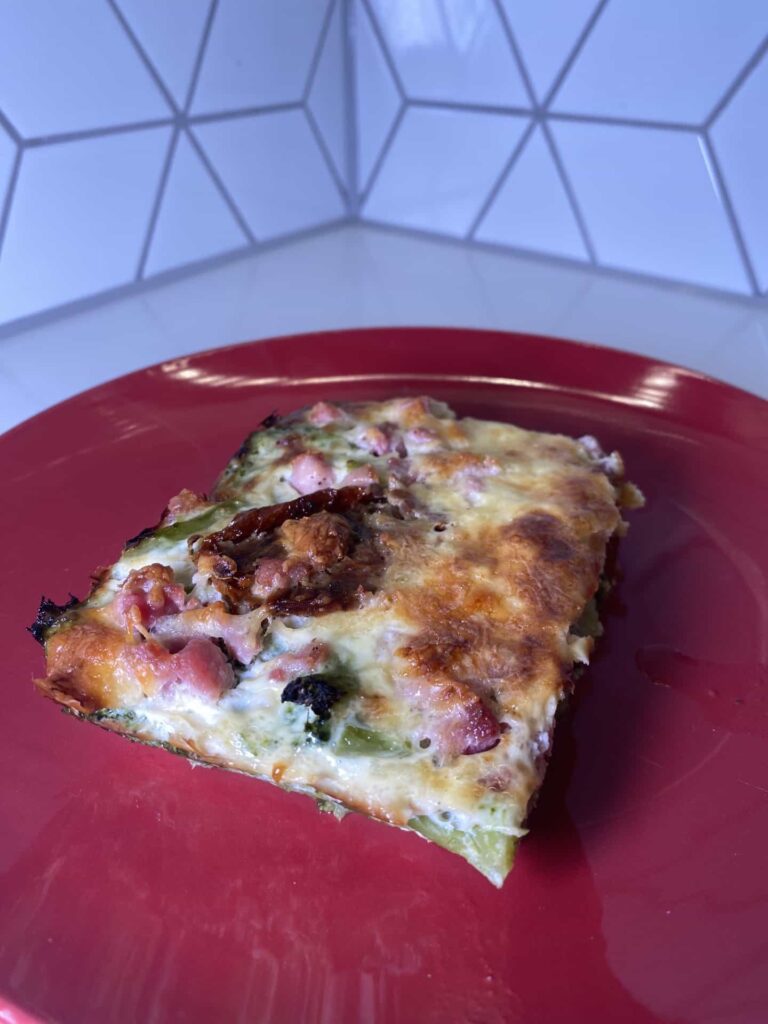
Scatter the lardons and sun-dried tomatoes evenly over the broccoli base. If you’re using mushrooms or ham, make sure they’re pre-cooked before adding them.
Step 4: Make the Egg Mixture

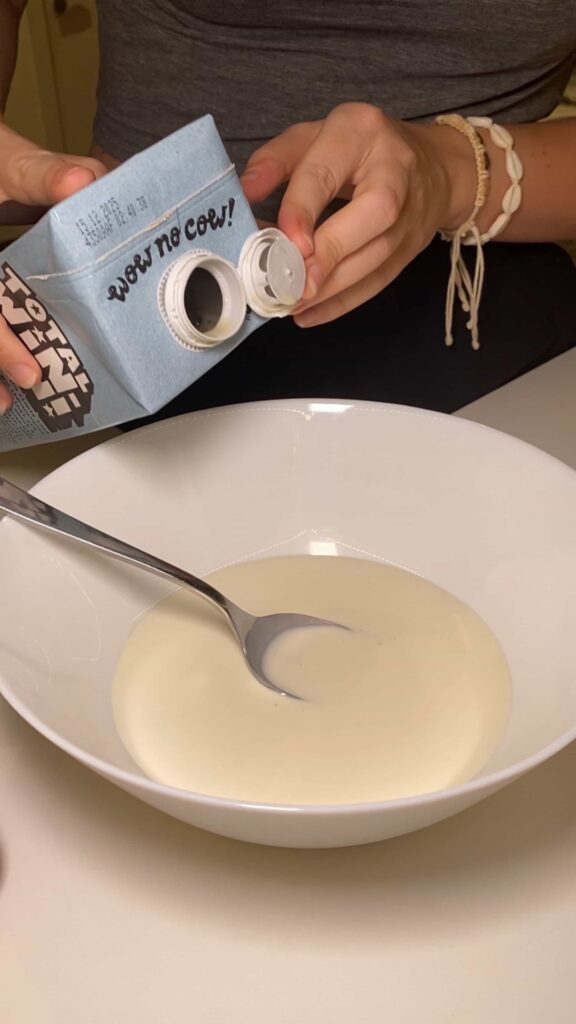
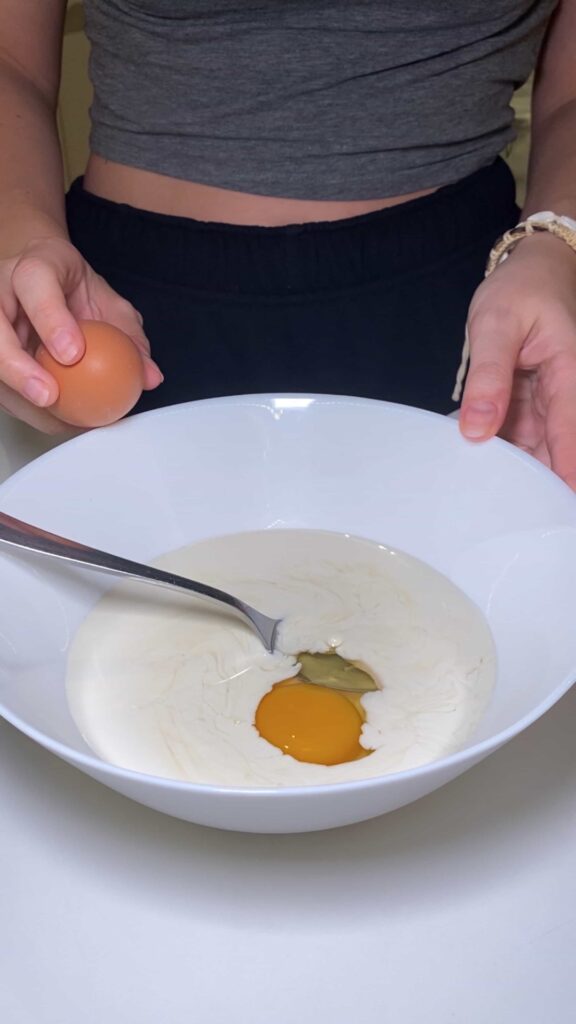
In a bowl, whisk together the cream, oat milk, eggs, salt, and pepper until smooth. Pour this mixture evenly over the quiche filling, making sure everything is lightly coated.
Step 5: Top with Cheese and Bake

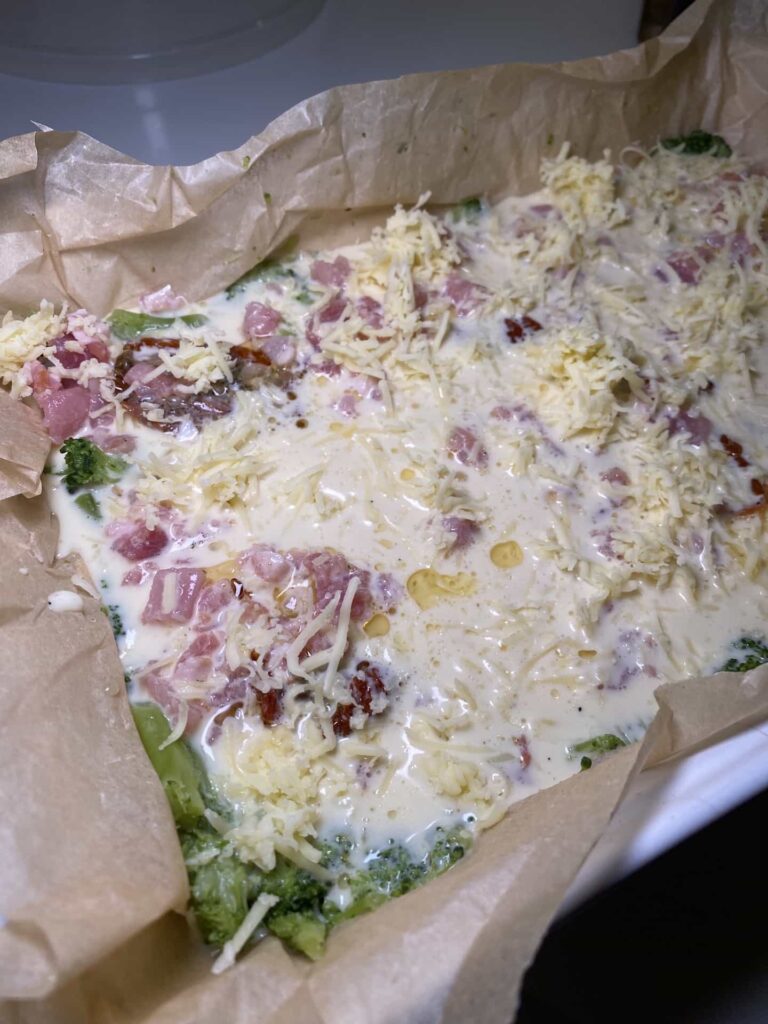
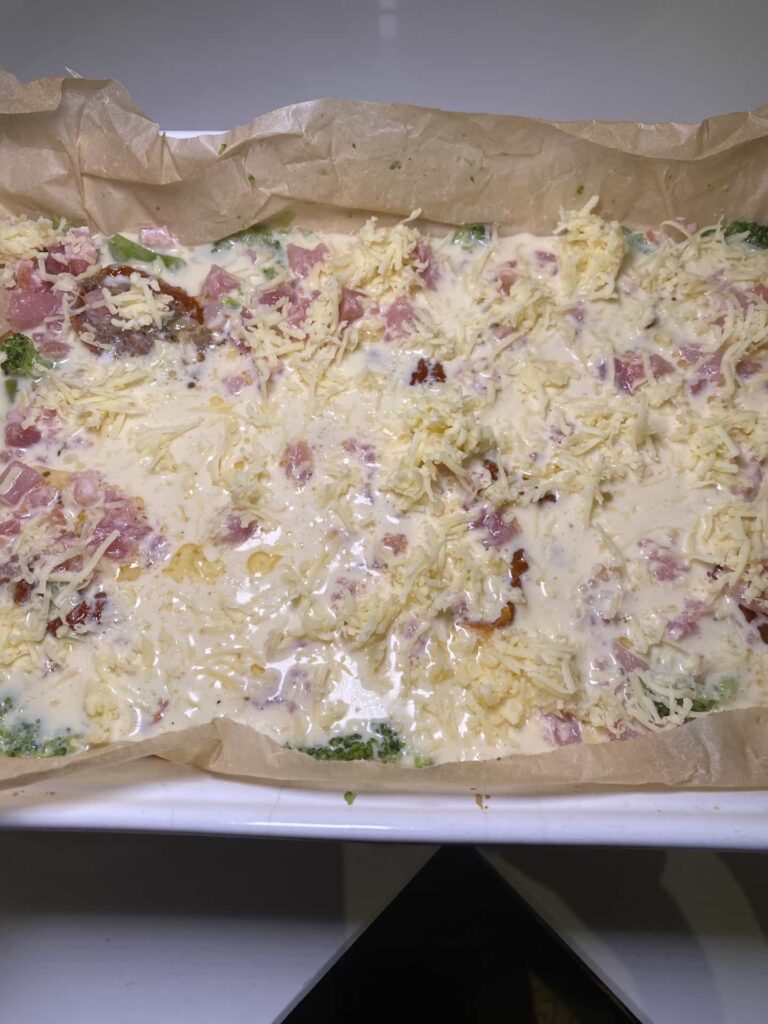
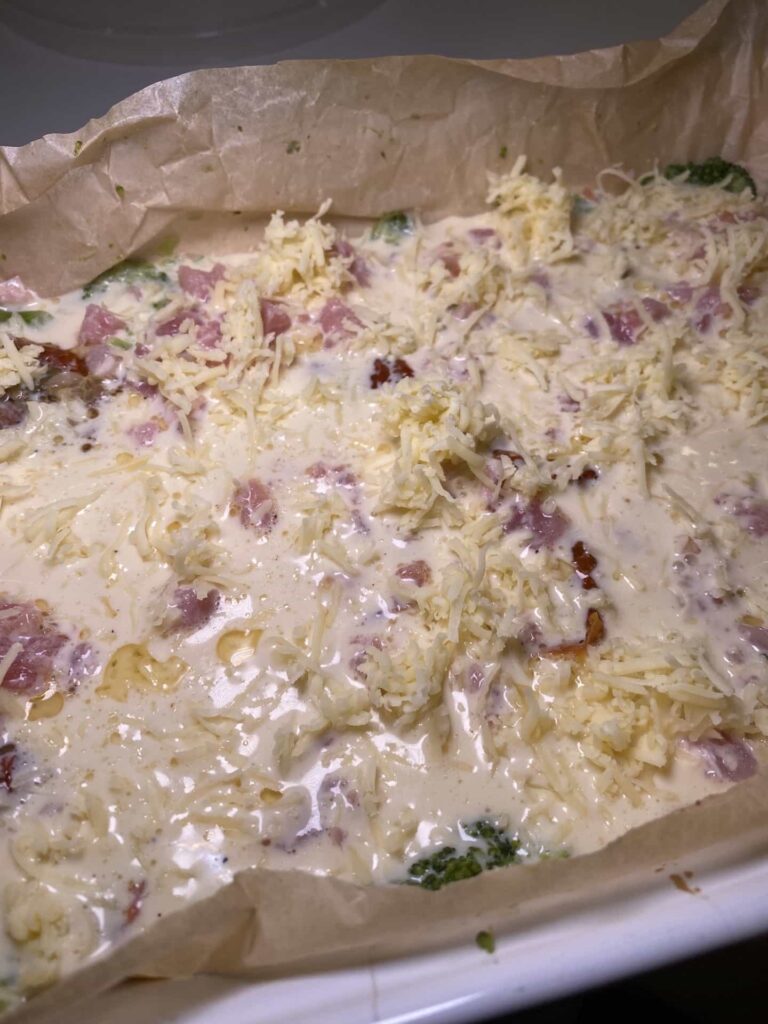
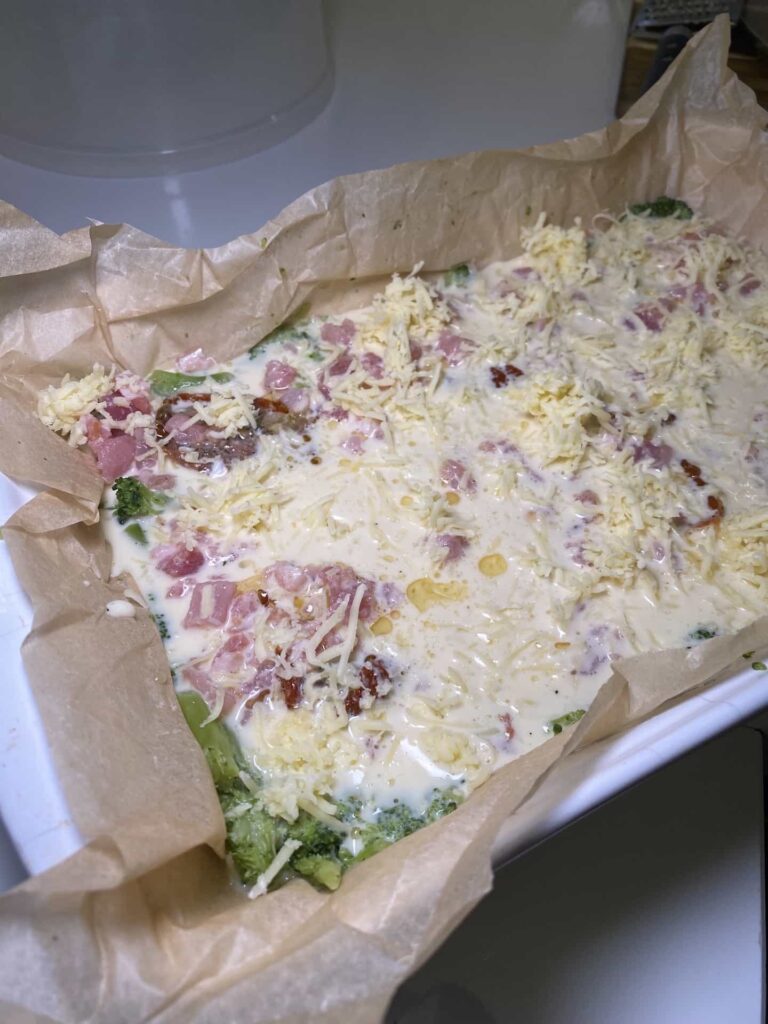
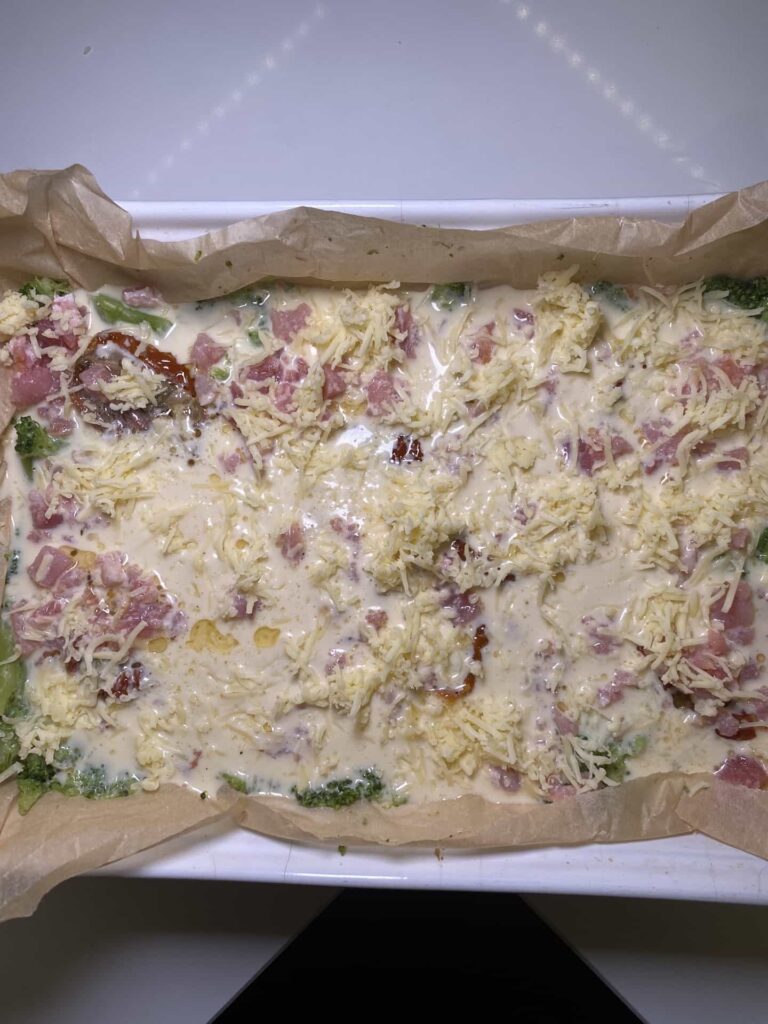
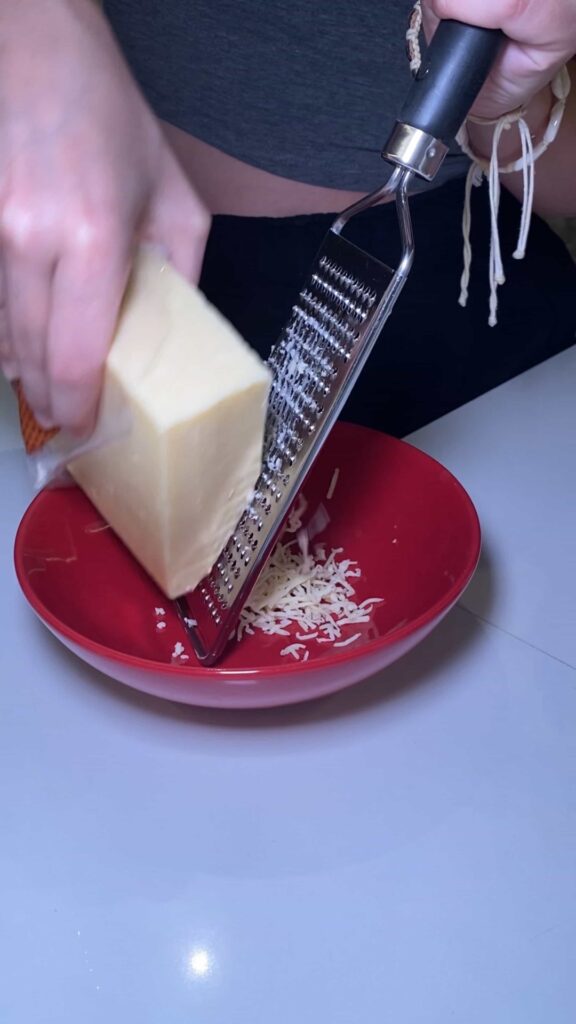
Sprinkle a generous amount of grated cheese over the top. Bake the quiche in a preheated oven at 200°C (400°F) for 20 minutes or until the top is golden brown and the filling is set.
Step 6: Cool and Serve

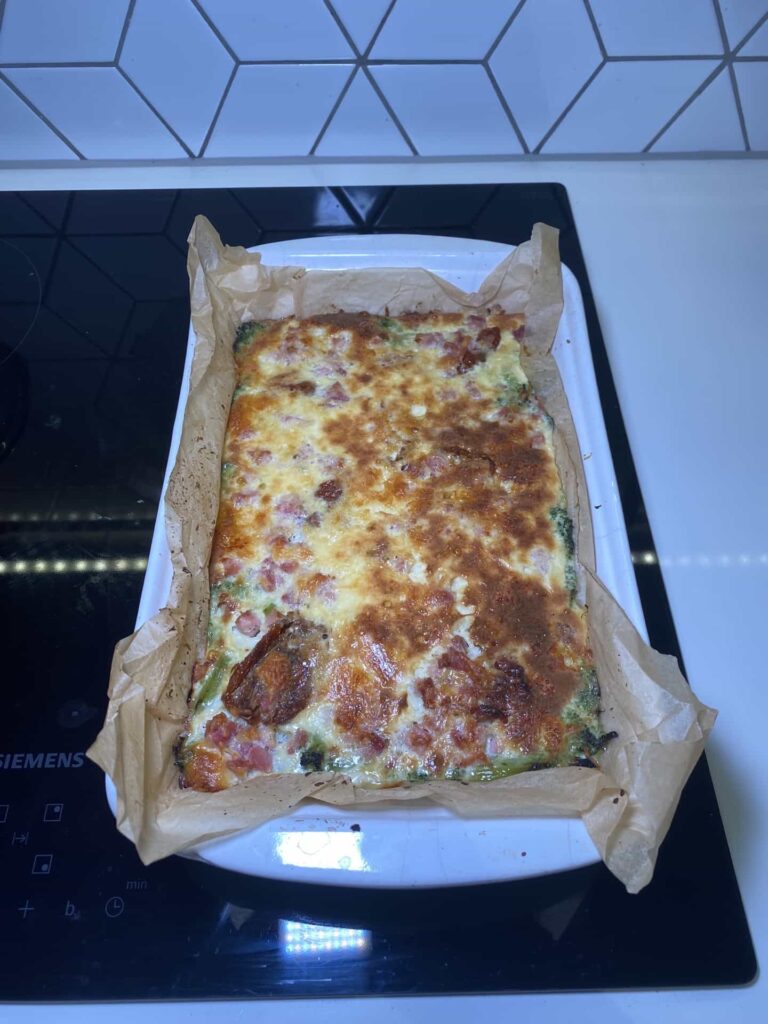
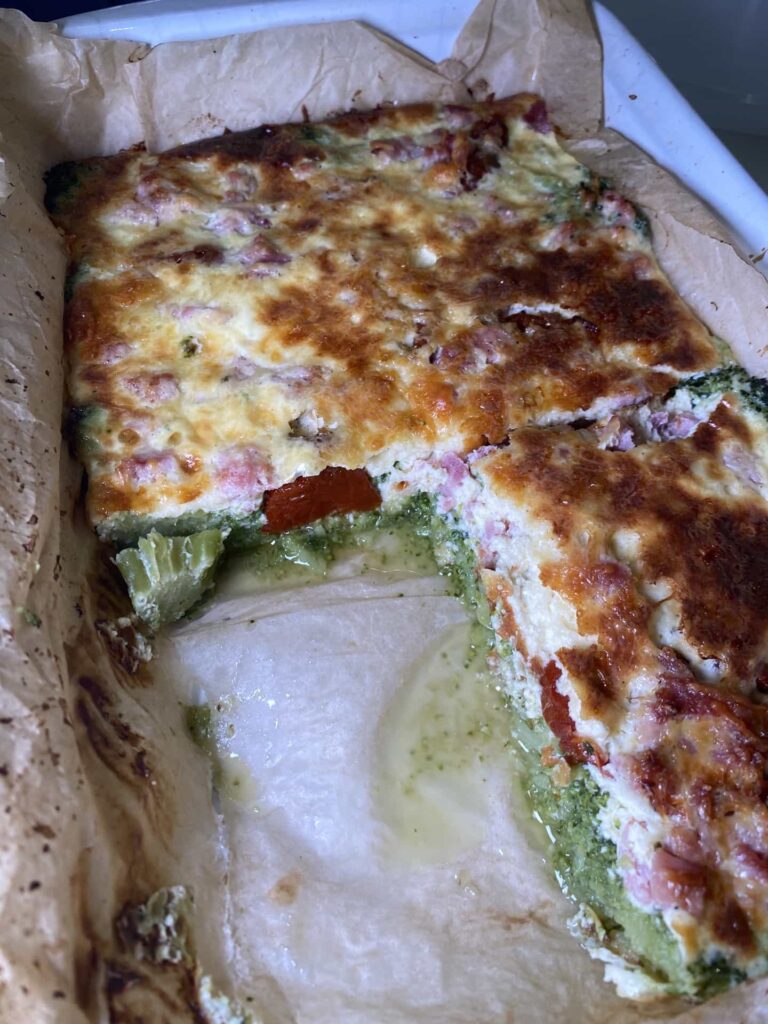
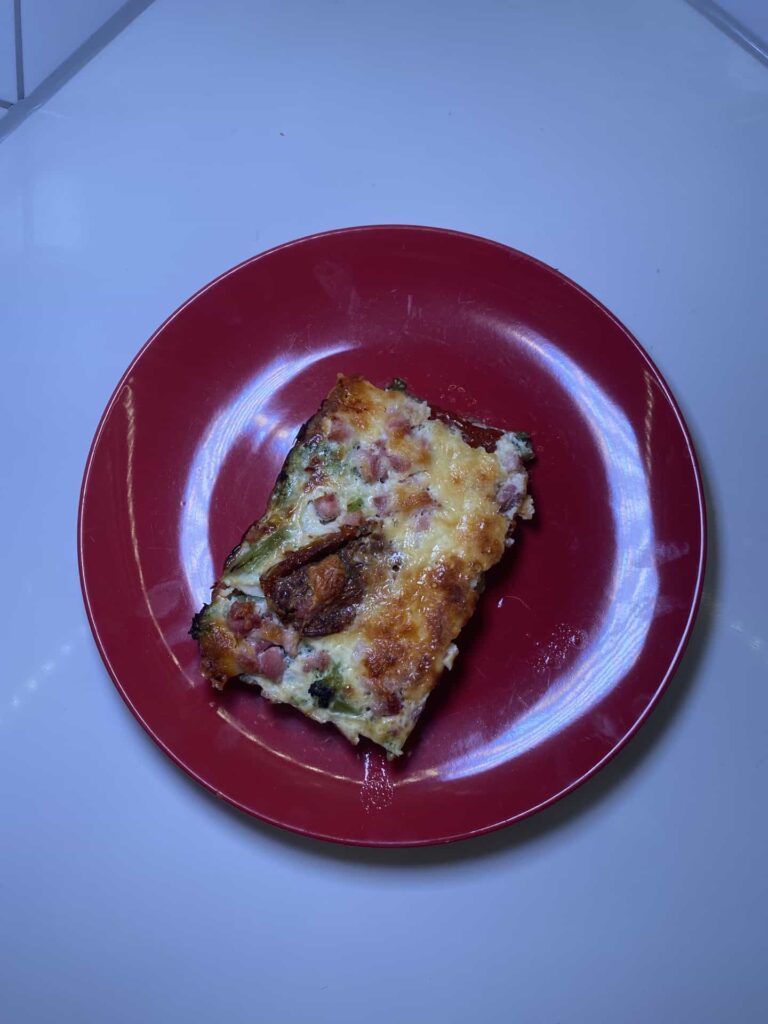
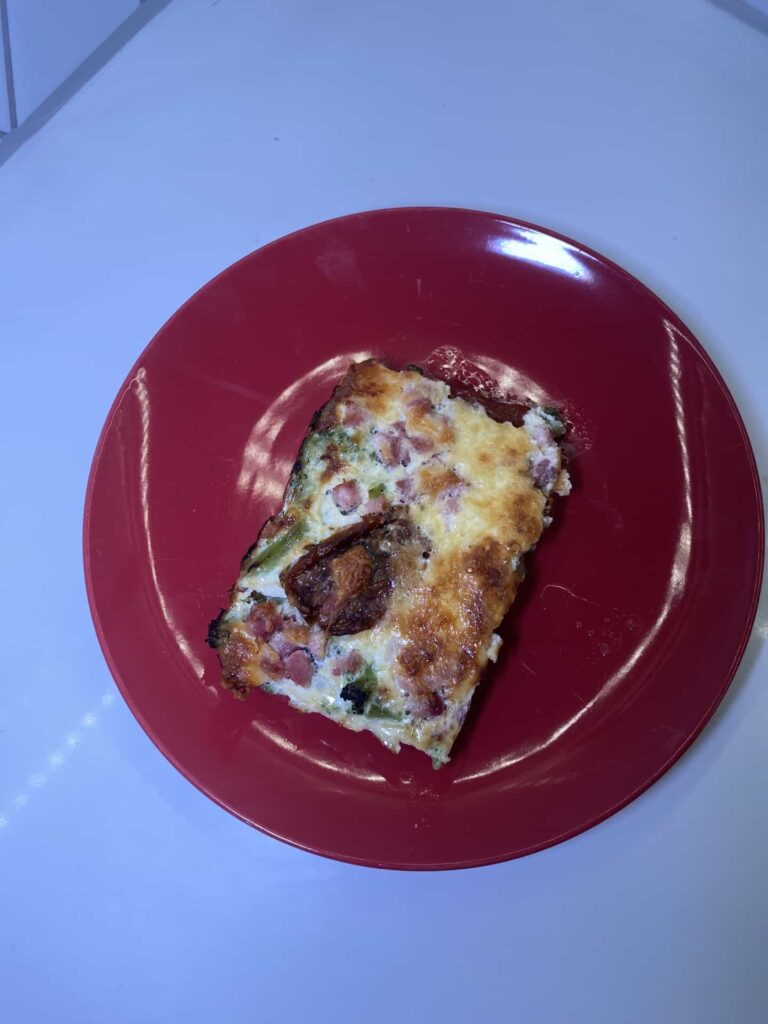
Let the quiche sit for 5–10 minutes before slicing. This helps it firm up and makes it easier to serve. Enjoy warm or cold—it’s delicious either way!


— SAVE THIS POST —
Did you like this post? If you liked this post, don’t hesitate to share it!
Want to save this post? You can pin the following images on pinterest to save this post.
We are Mary and Eric, the founders of Be Right Back, a blog dedicated to romance around the globe and at home.
We are Mary and Eric, the founders of Be Right Back, a blog dedicated to romance around the globe and at home. With over 10 years of experience in dating and traveling to romantic places, we share our favorite date ideas and romantic destinations to help couples level up their relationships. Having lived in and traveled through the USA, we also share our favourite things to do in the States.
With 70,000 monthly readers and 16,000 followers on social media, Be Right Back is your go-to resource for romantic trip ideas and couple activities at home and abroad.