10 Things To Know About Air Dry Clay Before Starting
Air dry clay is one of the simplest and most accessible ways to dive into the world of clay crafting. Whether you’re looking for a unique creative date idea or a solo activity to unwind, working with air dry clay offers endless possibilities to express creativity and relax. Its ease of use makes it perfect for beginners, while still offering enough complexity for more advanced crafters to explore their artistic potential. Here are 10 essential tips to get started the right way, ensuring your air dry clay projects turn out beautifully and last.
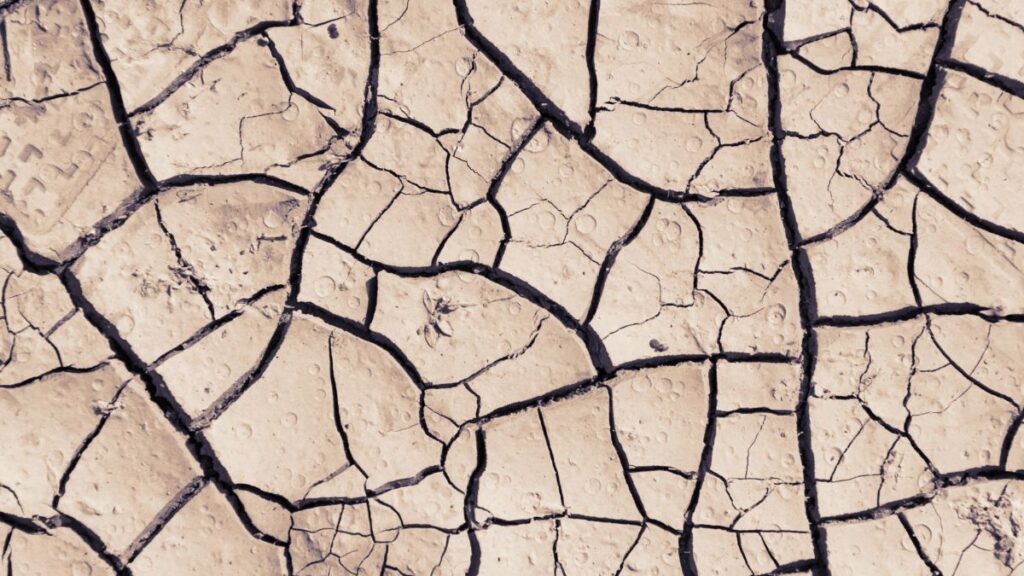
1. Less Water is Better
Using too much water when working with air dry clay can lead to cracking as it dries. It’s essential to keep the clay only slightly damp. This helps in maintaining the integrity of your creation, preventing unwanted cracks and ensuring a smooth finish.
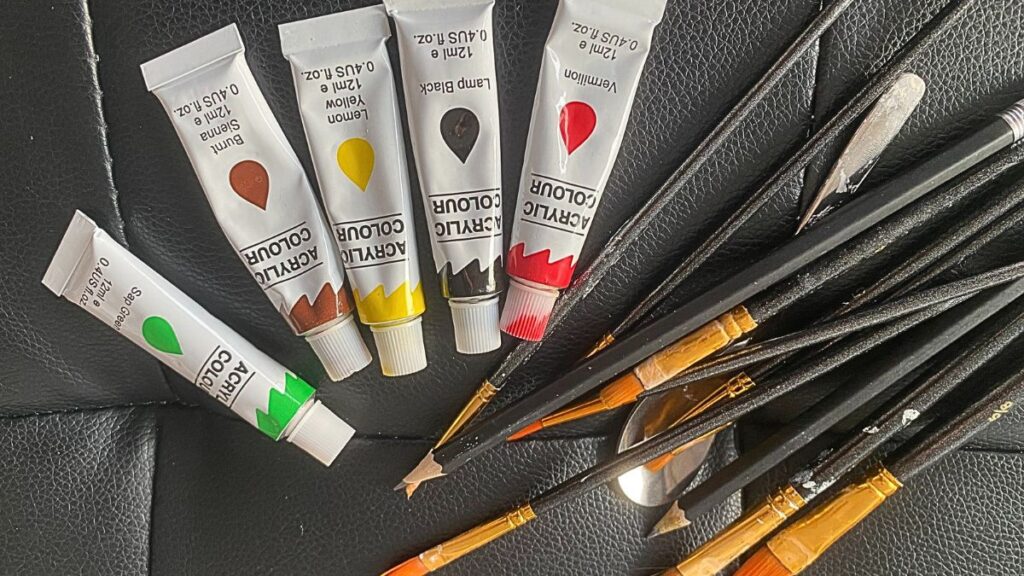
2. You Can Use Acrylic to Paint Your Creation
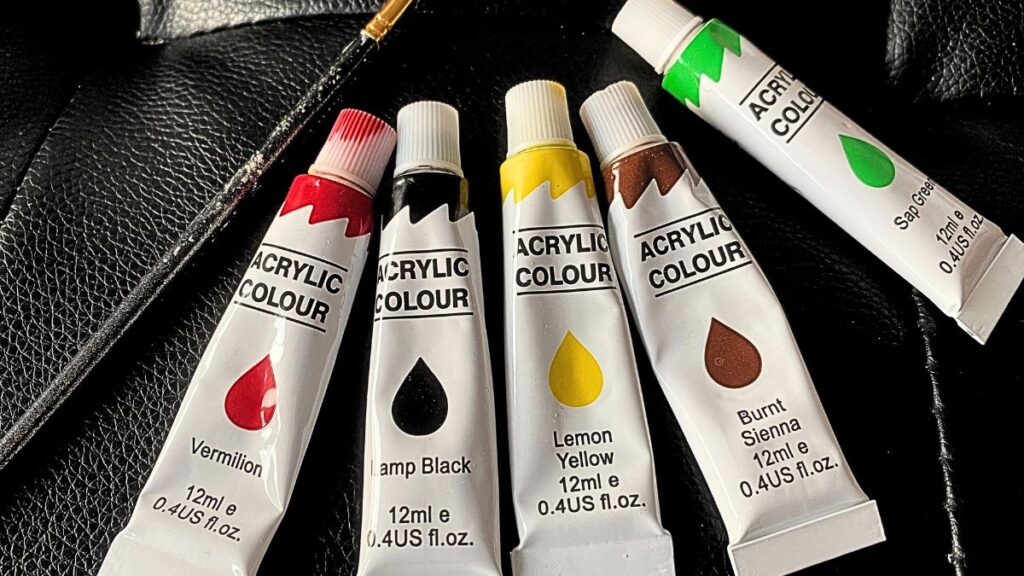
Acrylic paint is perfect for adding color to your air dry clay projects. However, be careful not to add too much water to the paint, as this can also cause the clay to crack. Acrylic allows for vibrant finishes, bringing your creations to life.
3. Use Varnish to Protect Your Paint
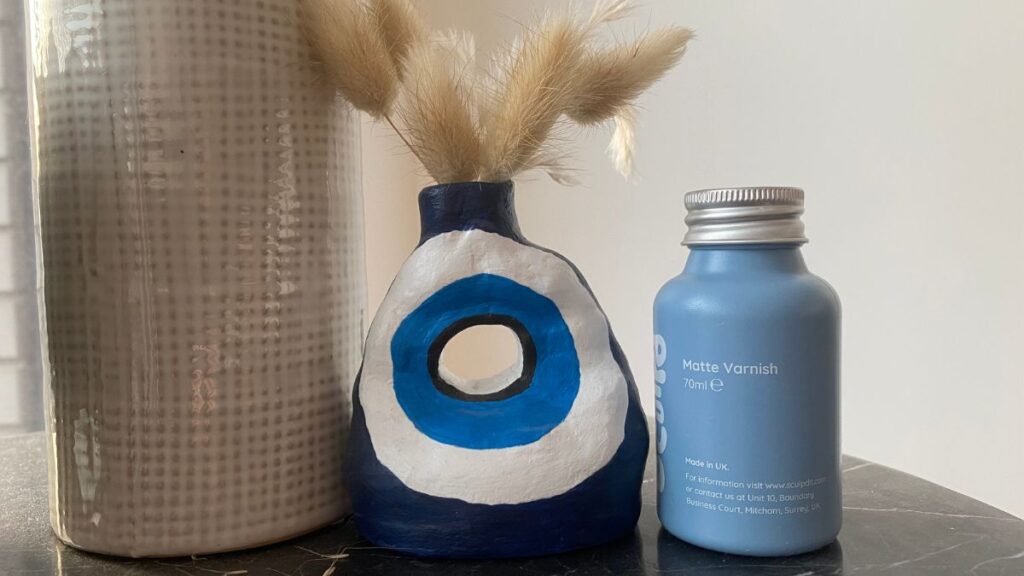
Applying varnish over your painted air dry clay projects can protect them from scratches and moisture. This step ensures that your artwork remains vibrant and durable over time, safeguarding the colors and details of your design.
You may also like: 25 Sip And Paint Date Ideas For Couples
4. Allow 24 Hours Before Varnishing
After painting your air dry clay project, it’s crucial to let the paint dry completely, which typically takes about 24 hours. Rushing the varnishing process can lead to smudges or blending of colors, potentially ruining your carefully painted design.
5. Keep Your Clay in a Closed Container
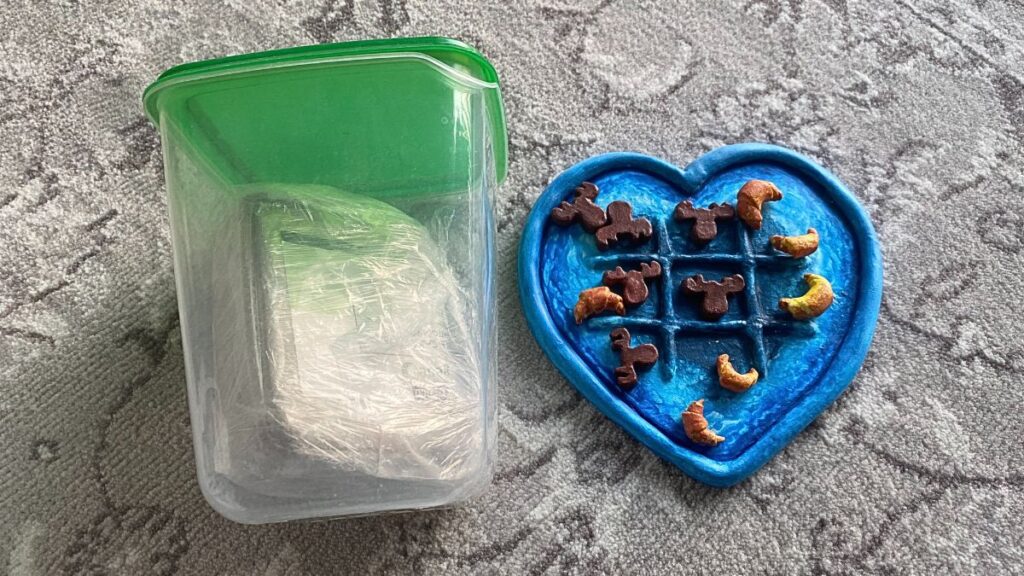
To prevent your air dry clay from drying out and becoming unusable, always store it in an airtight container. This keeps the clay moist and ready for your next project, saving you the frustration of hardened, unusable clay.
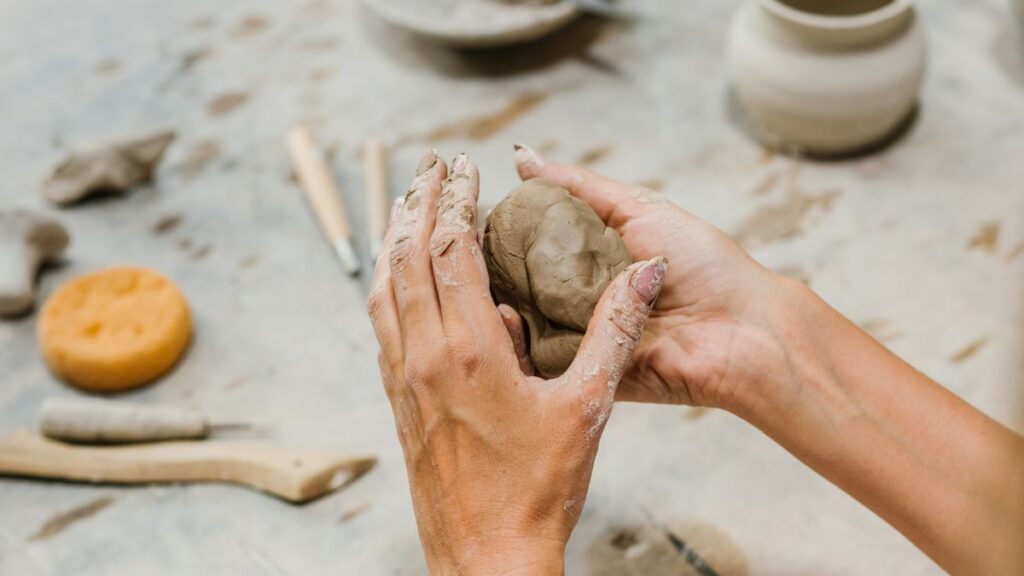
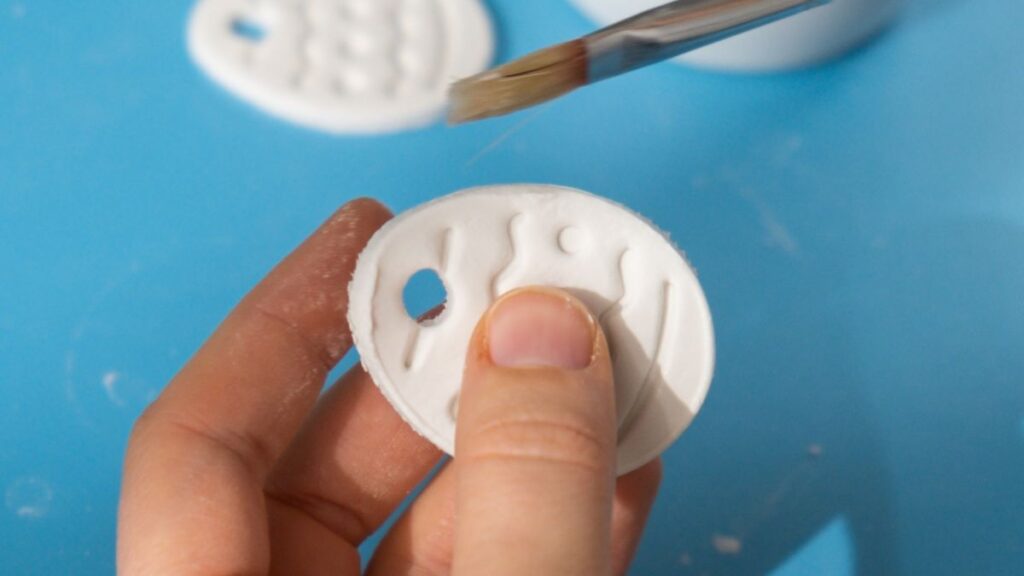
6. Use Wooden Tools
Air dry clay is very soft and can easily show fingerprints and marks. Using wooden tools instead of your fingers for shaping and detailing can help achieve a smoother and more professional finish on your creations.
7. Don’t Make Your Project Too Thin
Thin parts in your air dry clay project are more prone to breaking or cracking. It’s important to keep your creations at a reasonable thickness to ensure their durability and strength once dried.
8. Cover Your Project
If you need to pause your work and continue later, cover your project with a damp towel and wrap it in plastic. This keeps the clay from drying out, allowing you to pick up where you left off without starting over.
9. Score and Slip
For parts of your project to adhere properly, score (make scratches) on the surfaces to be joined and apply a little slip (watered-down clay). This technique ensures a strong bond between the pieces, preventing them from separating as they dry.
10. Use Food Coloring to Color Your Clay
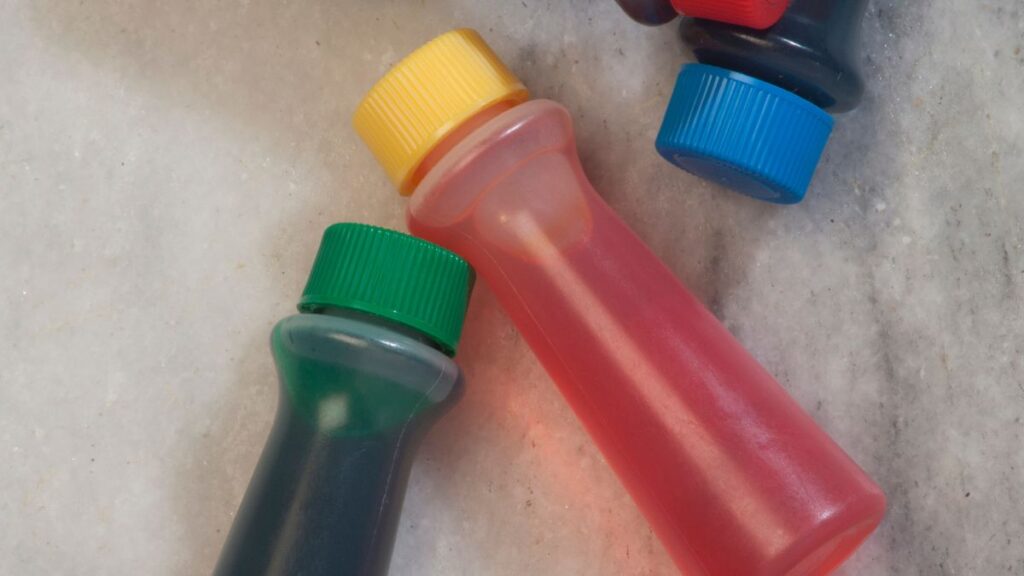
You can color your air dry clay before shaping it by adding food coloring. This allows for custom color creation and uniform coloring throughout your project, giving you more creative control over the final appearance.
We are Mary and Eric, the founders of Be Right Back, a blog dedicated to romance around the globe and at home.
We are Mary and Eric, the founders of Be Right Back, a blog dedicated to romance around the globe and at home. With over 10 years of experience in dating and traveling to romantic places, we share our favorite date ideas and romantic destinations to help couples level up their relationships. Having lived in and traveled through the USA, we also share our favourite things to do in the States.
With 70,000 monthly readers and 16,000 followers on social media, Be Right Back is your go-to resource for romantic trip ideas and couple activities at home and abroad.